


今天碰到Notification 捣鼓了好久,写个笔记免得以后又要用。
先传两张效果图
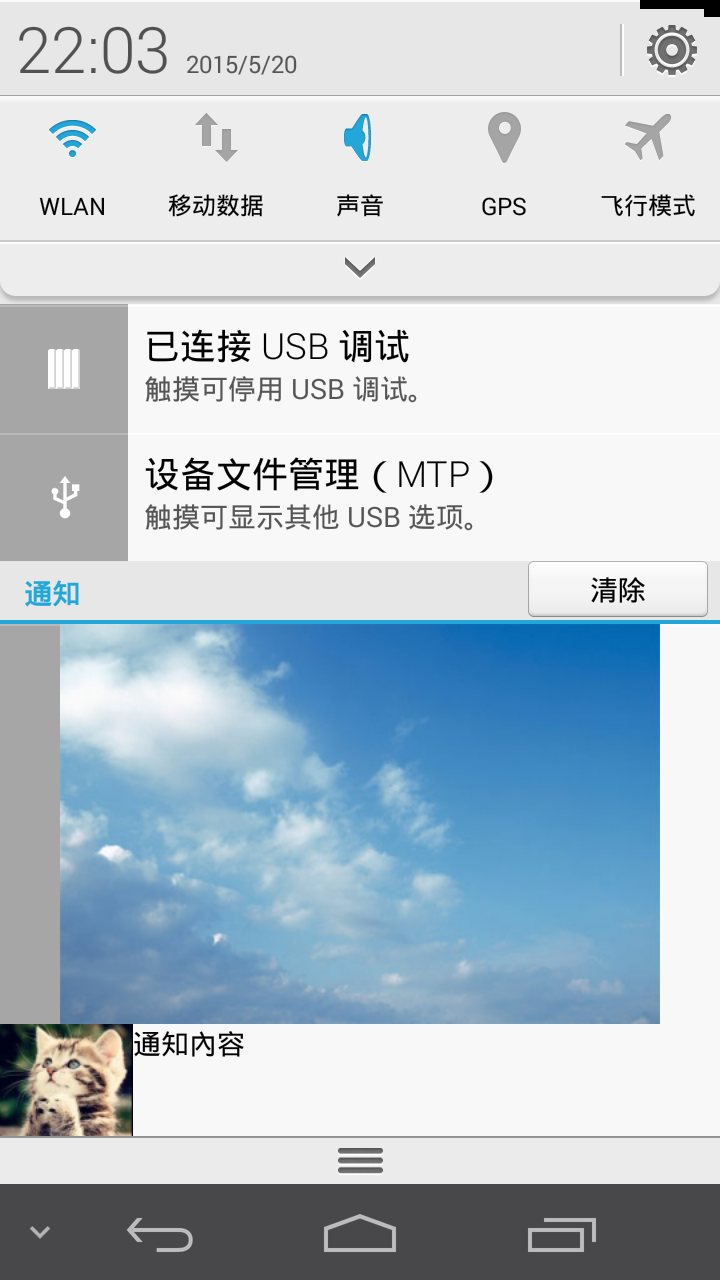

刚开始做的是老版本的不能像酷狗一样把通知栏内容缩小,后来换成4.1后支持的功能,可以缩放。
这是xml文件:
<?xml version="1.0" encoding="utf-8"?>
<LinearLayout xmlns:android="http://schemas.android.com/apk/res/android"
    android:layout_width="match_parent"
    android:layout_height="match_parent"
    android:orientation="vertical" >

    <LinearLayout
        android:layout_width="fill_parent"
        android:layout_height="wrap_content"
        android:gravity="center"
        android:orientation="vertical" >

        <ImageView
            android:id="@+id/imageview2"
            android:layout_width="wrap_content"
            android:layout_height="1dp"
            android:src="@drawable/backgro" />

        <LinearLayout
            android:layout_width="fill_parent"
            android:layout_height="wrap_content"
            android:orientation="horizontal" >

            <ImageView
                android:id="@+id/imageview1"
                android:layout_width="wrap_content"
                android:layout_height="wrap_content"
                android:src="@drawable/pic" />

            <TextView
                android:id="@+id/textview1"
                android:layout_width="wrap_content"
                android:layout_height="wrap_content" />
        </LinearLayout>
    </LinearLayout>

</LinearLayout> private Notification notification;
private NotificationManager mNotificationManager;
private static final int CUSTOM_VIEW_ID = 1; //设置内容
RemoteViews contentView = new RemoteViews(getPackageName(),
R.layout.notification);
contentView.setImageViewResource(R.id.imageview1, R.drawable.pic);
contentView.setTextViewText(R.id.textview1, "通知內容 ");
//使用Builder构造notification
NotificationCompat.Builder builder = new NotificationCompat.Builder(
this).setContent(contentView).setContentTitle("通知栏")
.setContentText("点我进入").setSmallIcon(R.drawable.ic_launcher);
notification = builder.build();
//判断当前版本,只有16开始才可以用缩放
if (Build.VERSION.SDK_INT >= 16) {
notification.bigContentView = bigContentView;//使用bigContentView进行缩放
} else {
notification.contentView = contentView;
}
//发送通知
Intent notificationIntent = new Intent(this, MainActivity.class);
PendingIntent contentIntent = PendingIntent.getActivity(
MainActivity.this, CUSTOM_VIEW_ID, notificationIntent,
PendingIntent.FLAG_UPDATE_CURRENT);
notification.contentIntent = contentIntent;
String ns = Context.NOTIFICATION_SERVICE;
mNotificationManager = (NotificationManager) getSystemService(ns);
mNotificationManager.notify(CUSTOM_VIEW_ID, notification);
在发送通知之前还可以做一些其他的处理比如
// 自定义提示音

		// SD卡内资源
		 String pathString = "/storage/sdcard1/1317.mp3";
		 File file = new File(pathString);
		 notification.sound = Uri.fromFile(file);

		// raw内资源
		notification.sound = Uri.parse("android.resource://" + getPackageName()
				+ "/" + R.raw.mm);

        // 使用系统通知音
        // notification.defaults=Notification.DEFAULT_SOUND;
//LED提示灯
                notification.flags |= Notification.FLAG_SHOW_LIGHTS;
		notification.ledARGB = Color.BLUE;//根据设备不同可执行的颜色也不同
		notification.ledOnMS = 2000;//开启时间
		notification.ledOffMS = 2000;//关闭时间
		notification.defaults |= Notification.DEFAULT_LIGHTS;
//震动
              notification.defaults |= Notification.DEFAULT_VIBRATE; // 震动
// 声音一直响到用户相应,就是通知会一直响起,直到你触碰通知栏的时间就会停止(包括震动、提示音、LED闪烁)
        // notification.flags |= Notification.FLAG_INSISTENT;
最后再加入两个权限
LED闪烁<uses-permission android:name="android.permission.FLASHLIGHT" />
震动 <uses-permission android:name="android.permission.VIBRATE" />


 29万+
29万+


 被折叠的 条评论
为什么被折叠?
被折叠的 条评论
为什么被折叠?
 到【灌水乐园】发言


