


一.介绍springboot
Spring Boot 是 Pivotal 团队在 Spring 的基础上提供的一套全新的开源框架,其目的是为了简化 Spring 应用的搭建和开发过程。Spring Boot 去除了大量的 XML 配置文件,简化了复杂的依赖管理。
Spring Boot 具有 Spring 一切优秀特性,Spring 能做的事,Spring Boot 都可以做,而且使用更加简单,功能更加丰富,性能更加稳定而健壮。随着近些年来微服务技术的流行,Spring Boot 也成了时下炙手可热的技术。
Spring Boot 集成了大量常用的第三方库配置,Spring Boot 应用中这些第三方库几乎可以是零配置的开箱即用(out-of-the-box),大部分的 Spring Boot 应用都只需要非常少量的配置代码(基于 Java 的配置),开发者能够更加专注于业务逻辑。
二.springboot的特点
(1)可以创建独立的Spring应用程序,并且基于其Maven或Gradle插件,可以创建可执行的JARs和WARs;
(2)内嵌Tomcat或Jetty等Servlet容器;
(3)提供自动配置的“starter”项目对象模型(POMS)以简化Maven配置;
(4)尽可能自动配置Spring容器;
(5)提供准备好的特性,如指标、健康检查和外部化配置;
(6)绝对没有代码生成,不需要XML配置。
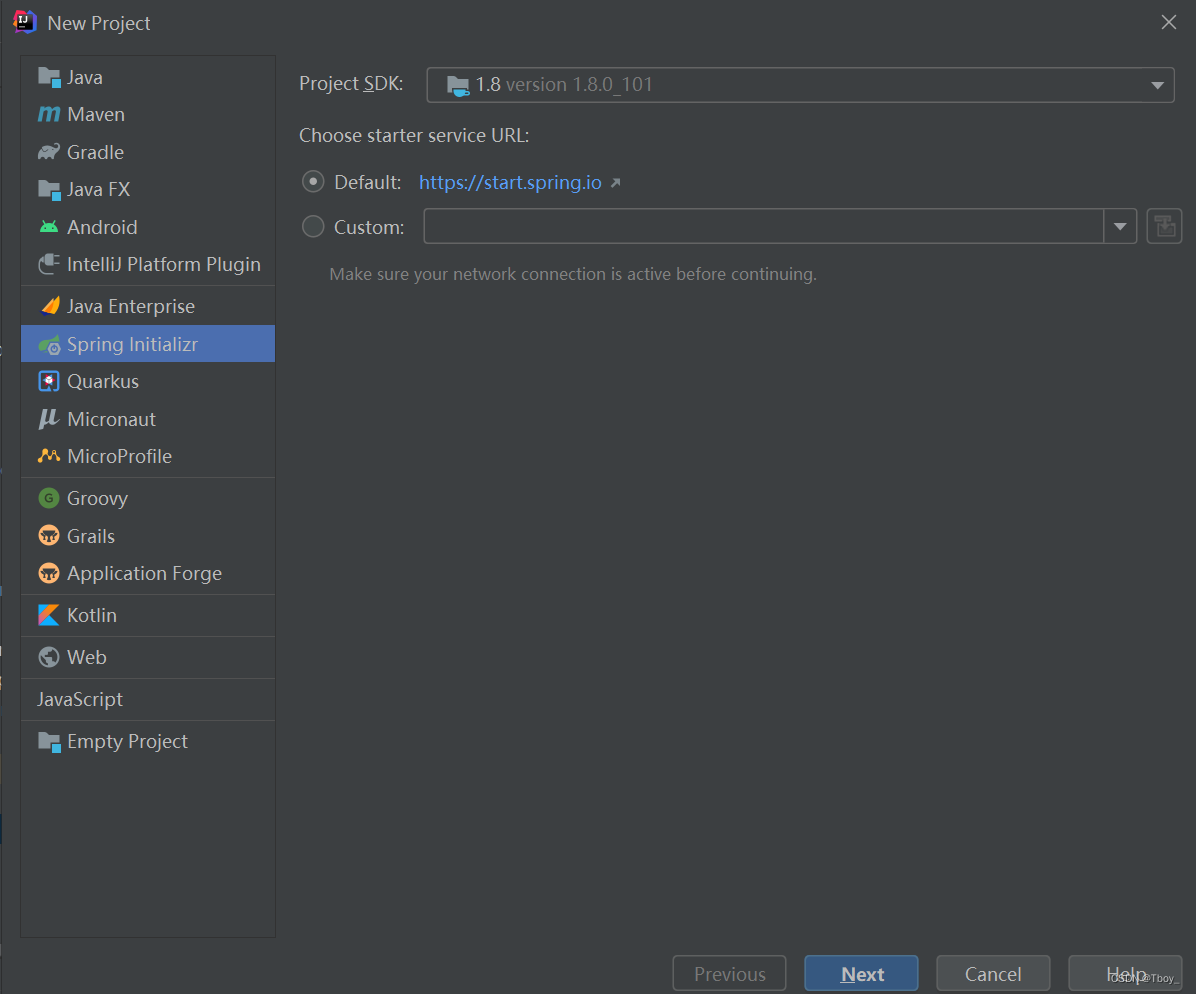
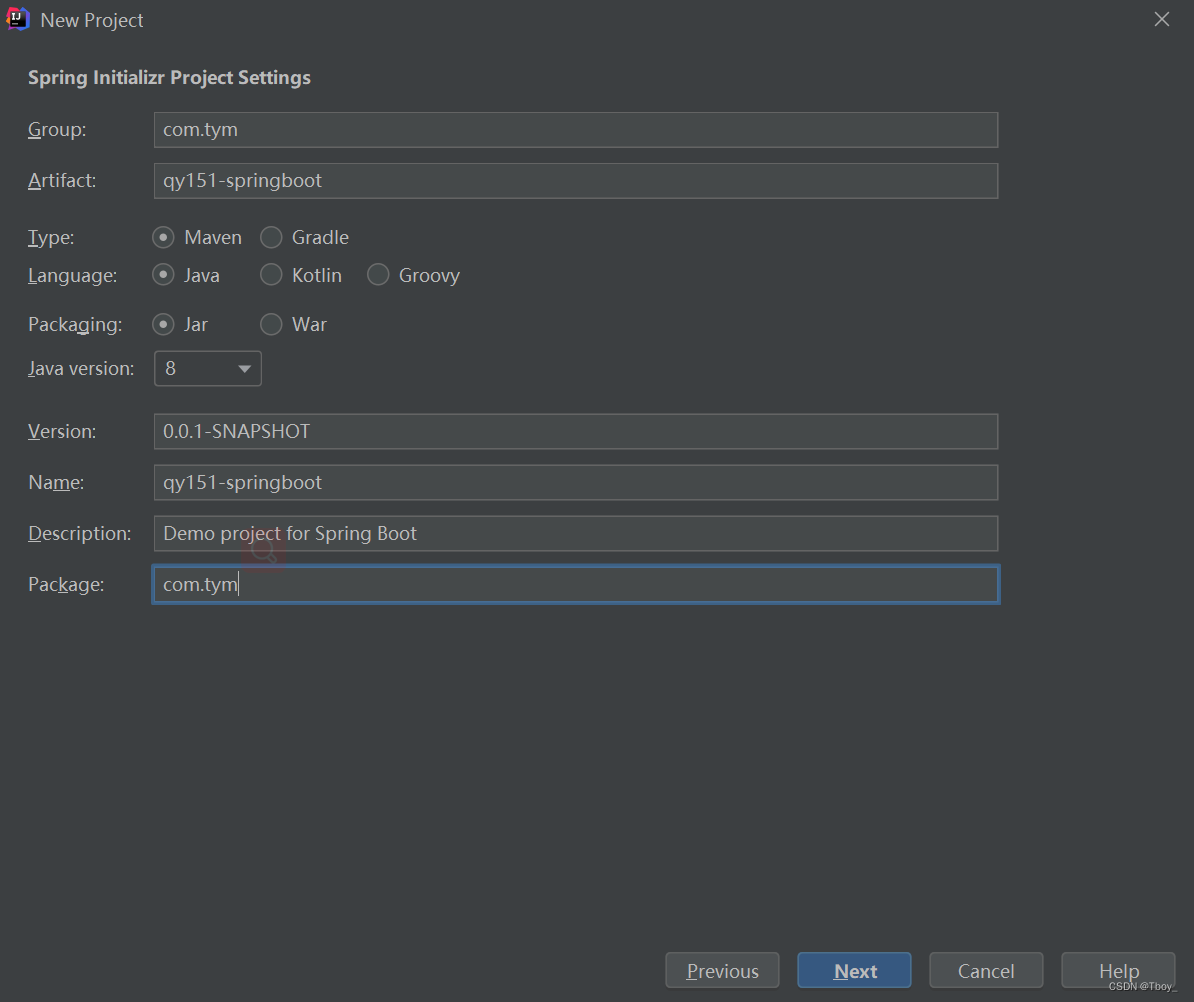
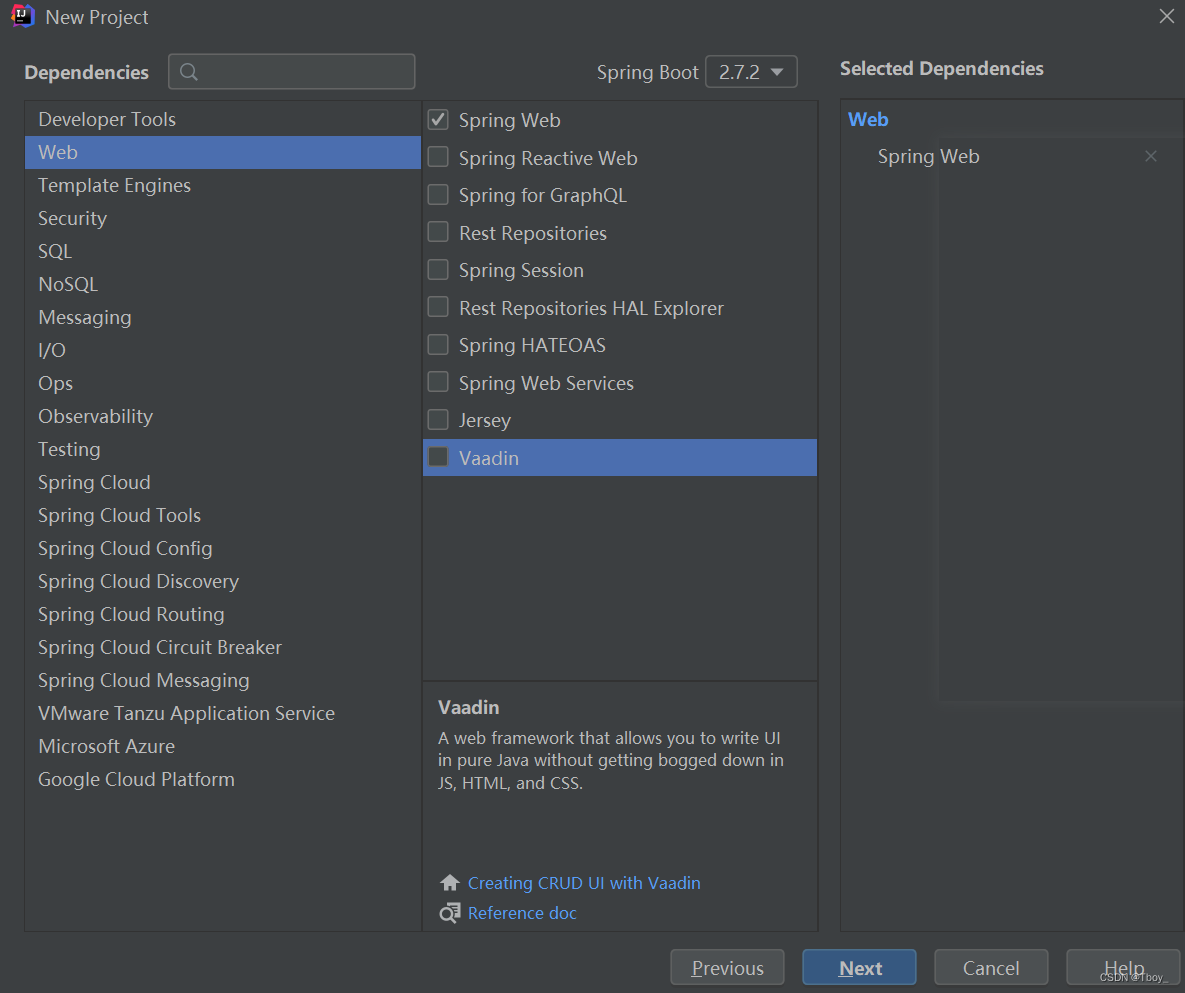
三.创建springboot工程
1.基于maven的形式创建
在该 Maven 项目的 pom.xml 中添加以下配置,导入 Spring Boot 相关的依赖。
    <project>
        ...
      <parent>
            <groupId>org.springframework.boot</groupId>
            <artifactId>spring-boot-starter-parent</artifactId>
            <version>2.4.5</version>
            <relativePath/> <!-- lookup parent from repository -->
        </parent>

        <dependencies>
            <dependency>
                <groupId>org.springframework.boot</groupId>
                <artifactId>spring-boot-starter-web</artifactId>
            </dependency>
            <dependency>
                <groupId>org.springframework.boot</groupId>
                <artifactId>spring-boot-starter-test</artifactId>
                <scope>test</scope>
            </dependency>
        </dependencies>
    ...
    </project>
2.idear快速创建
四.启动springboot
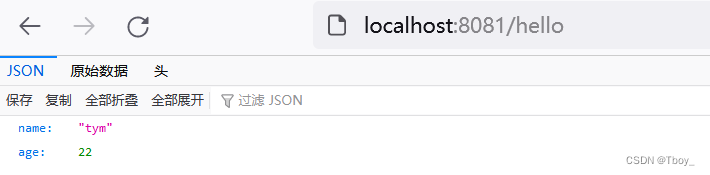
我们在 com.tym包下又创建一个 controller 包,并在该包内创建一个名为 HelloController 的 Controller
@RestController
public class HelloController {

    @RequestMapping(value = "/hello")
    public Map<String,Object> hello(){
        Map<String,Object> map  =new HashMap<>();
        map.put("name","tym");
        map.put("age",22);
        return map;
    }

}
Spring Boot 内部集成了 Tomcat,不需要人为手动配置 Tomcat
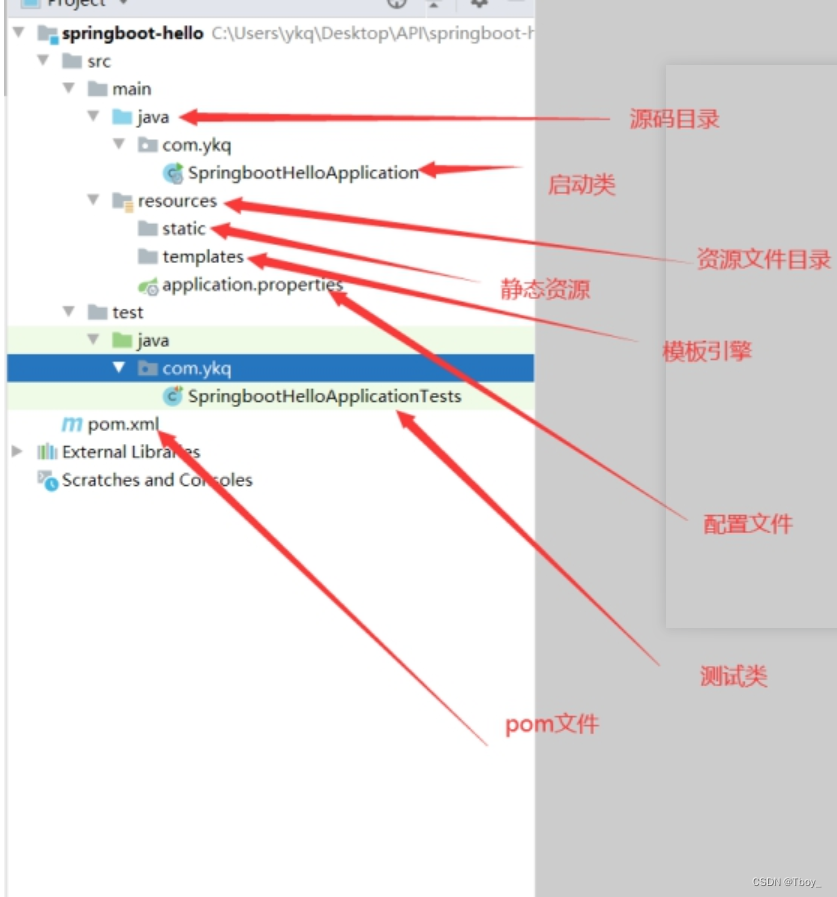
默认情况下,Spring Boot 项目会创建一个名为 ***Application 的主程序启动类 ,该类中使用了一个组合注解 @SpringBootApplication,用来开启 Spring Boot 的自动配置,另外该启动类中包含一个 main() 方法,用来启动该项目。
五.springboot配置文件
有两种格式的配置文件:
第一种: properties属性文件
student.name= tym
student.age= 22
studnet.hobby[0]=lol
studnet.hobby[1]=pingPong
studnet.hobby[2]=sleep
sutdent.map.clazz=qy151
student.map.stuno=1024
spring.profiles.active=dev
# 修改springboot中tomcat端口号
# server.port=8686
第二种: yml文件
student:
name: tym
age: 22
hobby:
- lol
- pingPang
- sleep
map:
clazz: qy151
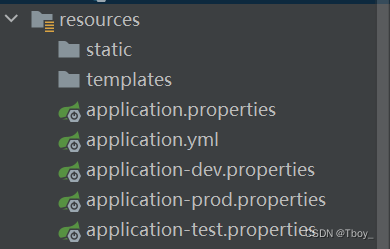
stuno: 1024通常情况下,Spring Boot 在启动时会将 resources 目录下的 application.properties 或 apllication.yml 作为其默认配置文件,我们可以在该配置文件中对项目进行配置,但这并不意味着 Spring Boot 项目中只能存在一个 application.properties 或 application.yml
application.properties 的优先级高于 application.yml
- 存在相同的配置内容时,高优先级的内容会覆盖低优先级的内容;
- 存在不同的配置内容时,高优先级和低优先级的配置内容取并集。
六.读取springboot配置文件中的内容
使用@ConfigurationProperties和@Value读取yml文件中的内容
@ConfigurationProperties该注解使用在类上
@Value 只能放在我们的类属性上。而且它只能读取基本类型和字符串类型。
1.如果配置是写在properties里面只有Map不能取到
2.如果配置写在yml 数组 集合 都取不到
3.如果属性是使用驼峰命名法则不能使用属性名注入,要使用@Value("${student.user-name}")来取值不能使用@Value("${student.userName}")来取值
student.name= tym
student.age= 22
studnet.hobby[0]=lol
studnet.hobby[1]=pingPong
studnet.hobby[2]=sleep
sutdent.map.clazz=qy151
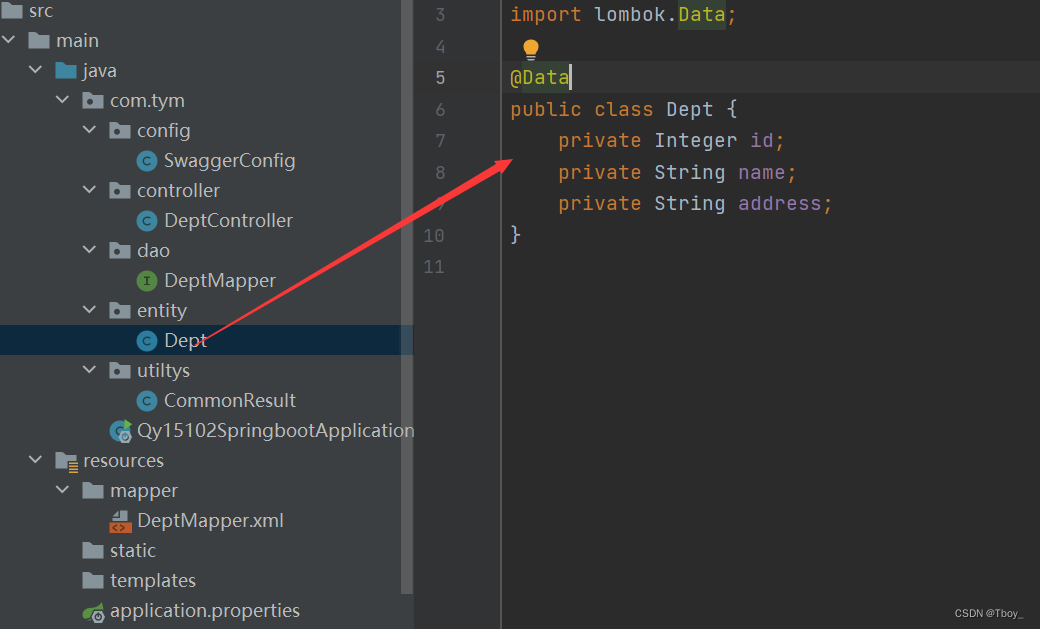
student.map.stuno=1024@Data
@AllArgsConstructor
@NoArgsConstructor
//该类对象的创建和销毁都有spring容器来管理
@Component
//读取springboot中的配置内容
@ConfigurationProperties(prefix = "student")
public class Student {
private String name;
private Integer age;
private String[] hobby;
private Map<String,Object> map;
}@RestController
public class MyController {
//spring容器帮你注入该对象
@Autowired
private Student student;
//@Value 只能放在我们的类属性上,而且它只能读取基本类型和字符串类型。
@Value("${student.name}")
private String name;
@Value("${student.age}")
private Integer age;
@RequestMapping(value = "/index")
public Student index(){
System.out.println("-------name:"+name);
System.out.println("=======age:"+age);
return student;
}
}
七.profiles文件介绍
思考: 我们在实际开发中,环境有哪些?
开发环境---->测试环境---->线上环境 由于环境的不同,那么就会有不同的配置内容。
难道我们不断的修改配置内容?
实际工作中,针对不同的环境配置不同的配置文件,然后再总的配置文件中激活相应的配置文件
1.创建applicatin-developer.properties
server.port=8081
2.创建applicatin-prod.properties
server.port=80823.创建applicatin-test.properties
server.port=8083
在application.properteis里面激活哪个文件就会使用哪个端口spring.profiles.active=developer
八.springboot注册web三大组件
什么是web的三个组件?
Servlet和Filter以及Linstener监听器。
为什么要注册这三个组件呢?
因为后面springboot有可能要集成第三方框架,而第三方框架的底层可能就依赖于过滤器或者servlet.
如何注册呢?
创建一个配置类:
//该类为配置类 xml文件
@Configuration
public class MyConfig {
    //理解为配置文件中<bean>
    @Bean
    public ServletRegistrationBean<Servlet> servletRegistrationBean(){
        //创建一个Servlet注册器
        ServletRegistrationBean<Servlet> servletRegistrationBean=new ServletRegistrationBean<>();
        servletRegistrationBean.setName("MyServlet");
        servletRegistrationBean.setServlet(new MyServlet());
        servletRegistrationBean.addUrlMappings("/MyServlet");
        return servletRegistrationBean;
    }
   @Bean
    public FilterRegistrationBean filterRegistrationBean(){
        FilterRegistrationBean<Filter> filterRegistrationBean=new FilterRegistrationBean<>();
        filterRegistrationBean.setName("MyFilter");
        filterRegistrationBean.setFilter(new MyFilter());
        filterRegistrationBean.addUrlPatterns("/*");
        return filterRegistrationBean;
    }
}
}
public class MyServlet extends HttpServlet {
@Override
protected void service(HttpServletRequest req, HttpServletResponse resp) throws ServletException, IOException {
System.out.println("自己的servlet");
}
}public class MyFilter implements Filter {
@Override
public void doFilter(ServletRequest servletRequest, ServletResponse servletResponse, FilterChain filterChain) throws IOException, ServletException {
System.out.println("经过了过滤器");
filterChain.doFilter(servletRequest,servletResponse);
}
}九.springboot自动装配原理
启动类的@SpringBootApplication注解是一个复合注解
@SpringBootConfiguration,
@EnableAutoConfiguration,
@ComponentScan
三个注解组成,三个注解共同完成自动装配;
@SpringBootConfiguration 注解标记启动类为配置类
@ComponentScan 注解实现启动时扫描启动类所在的包以及子包下所有标记为bean的类由IOC容器注册为bean
就是通过@EnableAutoConfiguration(启用自动配置)注解,加载AutoConfigurationImportSelector(自动配置导入选着器类)类中的selectImports方法,进而扫描MATE-INF下的spring.factories文件下的自动配置类,并将其装配至IOC容器的过程
十.springboot整合数据源
1.引依赖
<!--加入数据源的启动依赖: springboot启动时会加载对应的自动装配类。-->
<dependency>
<groupId>org.springframework.boot</groupId>
<artifactId>spring-boot-starter-jdbc</artifactId>
</dependency>
<dependency>
<groupId>mysql</groupId>
<artifactId>mysql-connector-java</artifactId>
</dependency>
2.配置数据源 (application.properties )
# 配置数据源
spring.datasource.driver-class-name=com.mysql.cj.jdbc.Driver
spring.datasource.url=jdbc:mysql://localhost:3306/mydb?serverTimezone=Asia/Shanghai
spring.datasource.username=root
spring.datasource.password=001024
3.测试
@SpringBootTest(classes = Qy15102SpringbootApplication.class)
class Qy15102SpringbootApplicationTests {
    @Autowired
    private DataSource dataSource;

    @Test
    void contextLoads() {
    }
    @Test
    public void test() throws SQLException {
        System.out.println(dataSource);
        System.out.println(dataSource.getConnection());
    }
}
集成durid数据源
1)依赖
<!--引入数据库连接池druid-->
<dependency>
<groupId>com.alibaba</groupId>
<artifactId>druid-spring-boot-starter</artifactId>
<version>1.2.8</version>
</dependency>
2)配置文件
# 配置数据源
spring.datasource.driver-class-name=com.mysql.cj.jdbc.Driver
spring.datasource.url=jdbc:mysql://localhost:3306/mydb?serverTimezone=Asia/Shanghai
spring.datasource.username=root
spring.datasource.password=001024
#初始化的个数
spring.datasource.druid.initial-size=5
# 最大活跃数
spring.datasource.druid.max-active=10
# 最大等待时间
spring.datasource.druid.max-wait=3000
# 最小的闲置个数
spring.datasource.druid.min-idle=5
3)测试
@SpringBootTest(classes = Qy15102SpringbootApplication.class)
class Qy15102SpringbootApplicationTests {
@Autowired
private DataSource dataSource;
@Test
void contextLoads() {
}
@Test
public void test() throws SQLException {
System.out.println(dataSource);
System.out.println(dataSource.getConnection());
}
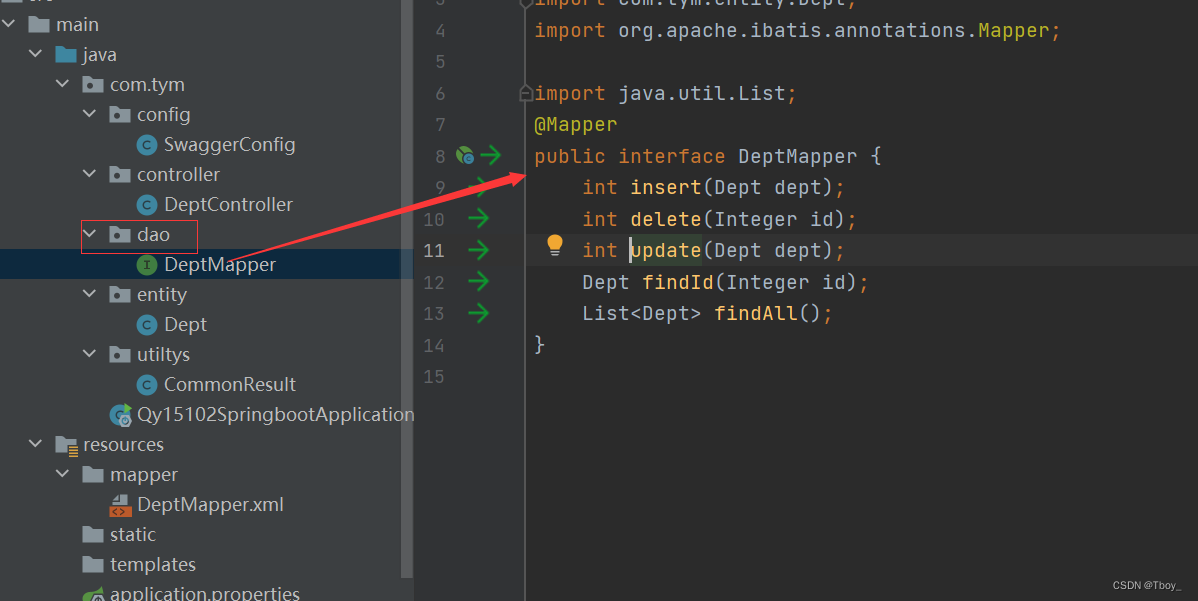
}十一.springboot整合mybatis
(1)引入mybatis启动依赖类
<!--引入mybatis的启动依赖-->
<dependency>
<groupId>org.mybatis.spring.boot</groupId>
<artifactId>mybatis-spring-boot-starter</artifactId>
<version>2.2.2</version>
</dependency>
(2) 配置文件
#指定映射文件的路径
mybatis.mapper-locations=classpath:mapper/*.xml
(3)再主启动类加上注解
@SpringBootApplication

//为指定的包下的接口生成代理实现类
@MapperScan(basePackages = "com.ykq.dao")
public class Qy151SpringbootApplication {

    public static void main(String[] args) {

        SpringApplication.run(Qy151SpringbootApplication.class, args);
    }

}
(4)测试
@SpringBootTest(classes = Qy15102SpringbootApplication.class)
class Qy15102SpringbootApplicationTests {

    @Autowired
    private DeptMapper deptMapper;
    @Test
    void contextLoads() {
    }

    @Test
    public void findId(){
        System.out.println(deptMapper.findId(3));
    }
}
十二.springboot整合PageHelper分页插件
(1)引入依赖
<!--pageHelper的启动依赖 自动装配拦截器-->
<dependency>
<groupId>com.github.pagehelper</groupId>
<artifactId>pagehelper-spring-boot-starter</artifactId>
<version>1.4.2</version>
</dependency>
(2)测试
@SpringBootTest(classes = Qy15102SpringbootApplication.class)
class Qy15102SpringbootApplicationTests {
@Autowired
private DeptMapper deptMapper;
@Test
void contextLoads() {
}
@Test
public void findAll(){
PageHelper.startPage(1,3);
List<Dept> all = deptMapper.findAll();
PageInfo<Dept> info = new PageInfo<>(all);
System.out.println("当前页码:"+info.getPageNum());
System.out.println("总条数:"+info.getTotal());
System.out.println("当前条数:"+info.getPages());
System.out.println(info.getList());
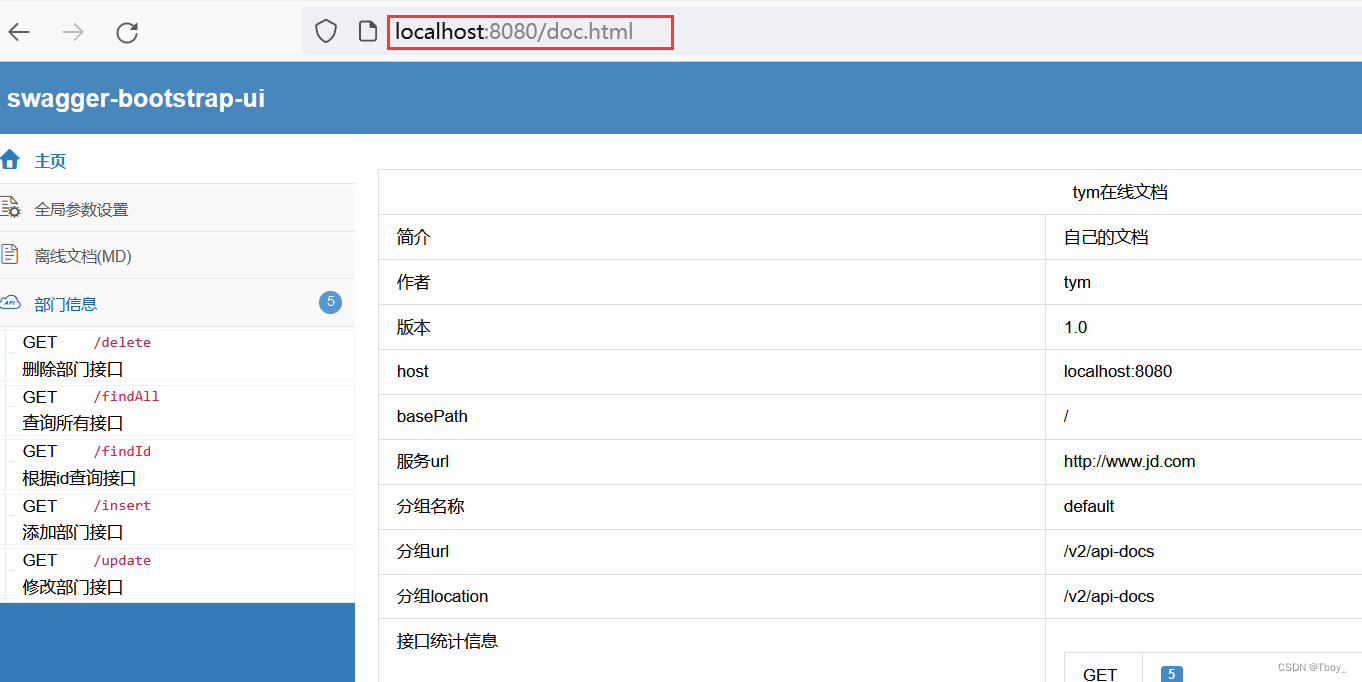
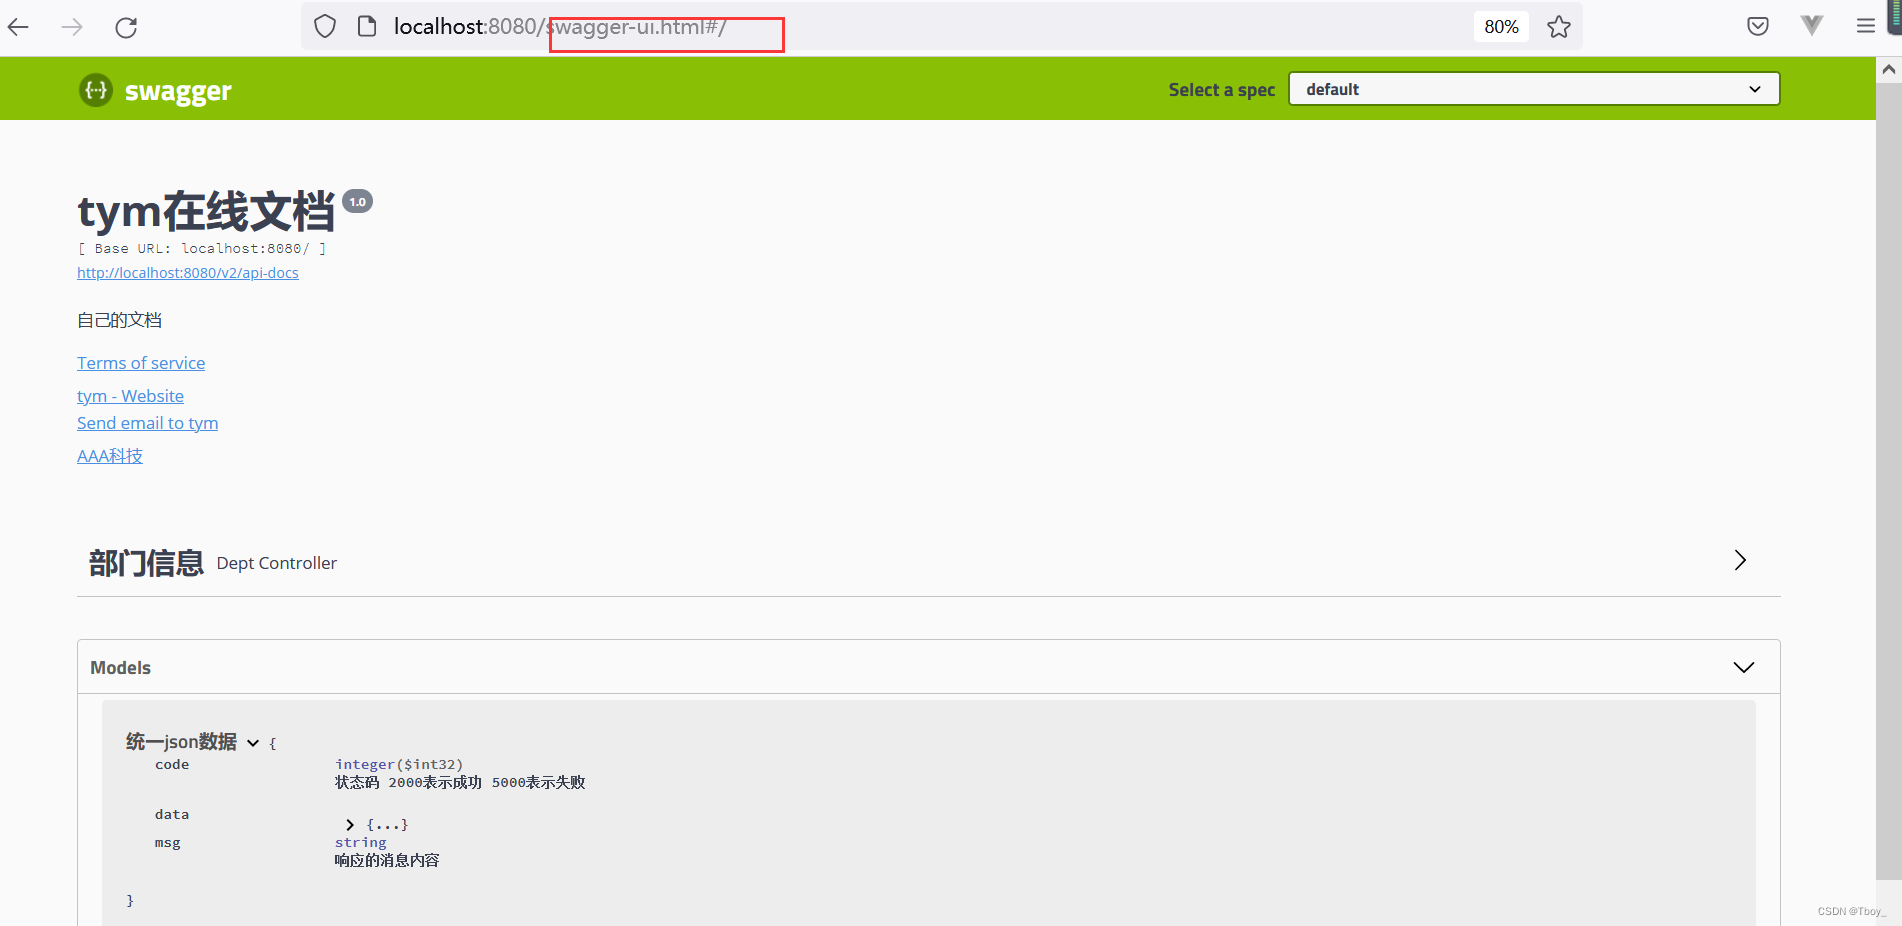
}十三.springboot整合swagger2(一个接口文档)
(1)引入swagger依赖
<dependency>
<groupId>com.spring4all</groupId>
<artifactId>swagger-spring-boot-starter</artifactId>
<version>1.9.1.RELEASE</version>
</dependency>
<dependency>
<groupId>com.github.xiaoymin</groupId>
<artifactId>swagger-bootstrap-ui</artifactId>
<version>1.7.8</version>
</dependency>
(2)创建swagger配置类
import org.springframework.context.annotation.Bean;
import org.springframework.context.annotation.Configuration;
import springfox.documentation.builders.RequestHandlerSelectors;
import springfox.documentation.service.ApiInfo;
import springfox.documentation.service.Contact;
import springfox.documentation.service.VendorExtension;
import springfox.documentation.spi.DocumentationType;
import springfox.documentation.spring.web.plugins.Docket;

import java.util.ArrayList;

@Configuration
public class SwaggerConfig {
    //swagger中所有的功能都封装再Docket类中。
    @Bean
    public Docket docket() {
        Docket docket = new Docket(DocumentationType.SWAGGER_2)
                .apiInfo(apiInfo())//设置api文档信息
                .select()
                .apis(RequestHandlerSelectors.basePackage("com.tym.controller")) //指定为哪些包下的类生成接口文档。
                .build()
                ;

        return docket;
    }
    //定义自己接口文档信息
    private ApiInfo apiInfo() {
        Contact DEFAULT_CONTACT = new Contact("tym", "http://www.baidu.com", "1024@qq.com");
        ApiInfo apiInfo = new ApiInfo("tym在线文档", "自己的文档", "1.0", "http://www.jd.com",
                DEFAULT_CONTACT, "AAA科技", "http://www.taobao.com", new ArrayList<VendorExtension>());

        return apiInfo;
    }
}
(3)开启swagger注解
@SpringBootApplication
@EnableSwagger2 //开启swagger注解
public class Qy15102SpringbootApplication {

    public static void main(String[] args) {
        SpringApplication.run(Qy15102SpringbootApplication.class, args);
    }

}
(4)使用swagger注解
@Api 注解可以用来标记 Controller 的功能
@ApiOperation 注解用来标记一个方法的作用
@ApilmplicitParam 注解用来描述一个参数,可以配置参数的中文含义,也可以给参数设置默认值,这样在接口测试的时候可以避免手动输入
@ApilmplicitParams 如果有多个参数,则需要使用多个 @ApilmplicitParam 注解来描述, 多个 @ApilmplicitParam 注解需要放在一个 @ApilmplicitParams 注解中
@ApiModel 如果参数是一个对象,则需要在对象所在的类上加上此注解
@ApiModelProperty 如果参数是一个对象,则需要在对应的属性上加上此注解,还需要在对象所在的类上加上 @ApiModel
@ApiIgnore 注解标识此参数可以忽略
@RestController
@Api(tags = "部门信息")
public class DeptController {
    @Autowired
    private DeptMapper deptMapper;
    @GetMapping(value = "/insert")
    @ApiOperation(value = "添加部门接口")
    @ApiImplicitParams(
            {
                    @ApiImplicitParam(value = "姓名",name="name",required = true),
                    @ApiImplicitParam(value = "地址",name="address",required = true),
                    @ApiImplicitParam(value = "编号",name="id",required = true,dataType = "int")
            }
    )
    public CommonResult insert(Dept dept){
        int insert = deptMapper.insert(dept);
        if (insert==1){
            return new CommonResult(2000,"添加成功",null);
        }
        return new CommonResult(2000,"添加失败",null);
    }
}
@Data
@NoArgsConstructor
@AllArgsConstructor
@ApiModel(value = "统一json数据")
public class CommonResult {
    @ApiModelProperty("状态码 2000表示成功 5000表示失败")
    private Integer code;
    @ApiModelProperty("响应的消息内容")
    private String msg;
    @ApiModelProperty("响应的数据")
    private Object data;
}
(5)访问


 765
765


 被折叠的 条评论
为什么被折叠?
被折叠的 条评论
为什么被折叠?
 到【灌水乐园】发言


