


 本文指导如何在Elasticsearch 8.x集群中更新CA证书,包括创建新CA、导入信任库、生成新节点证书并替换密钥库,确保节点间安全连接。
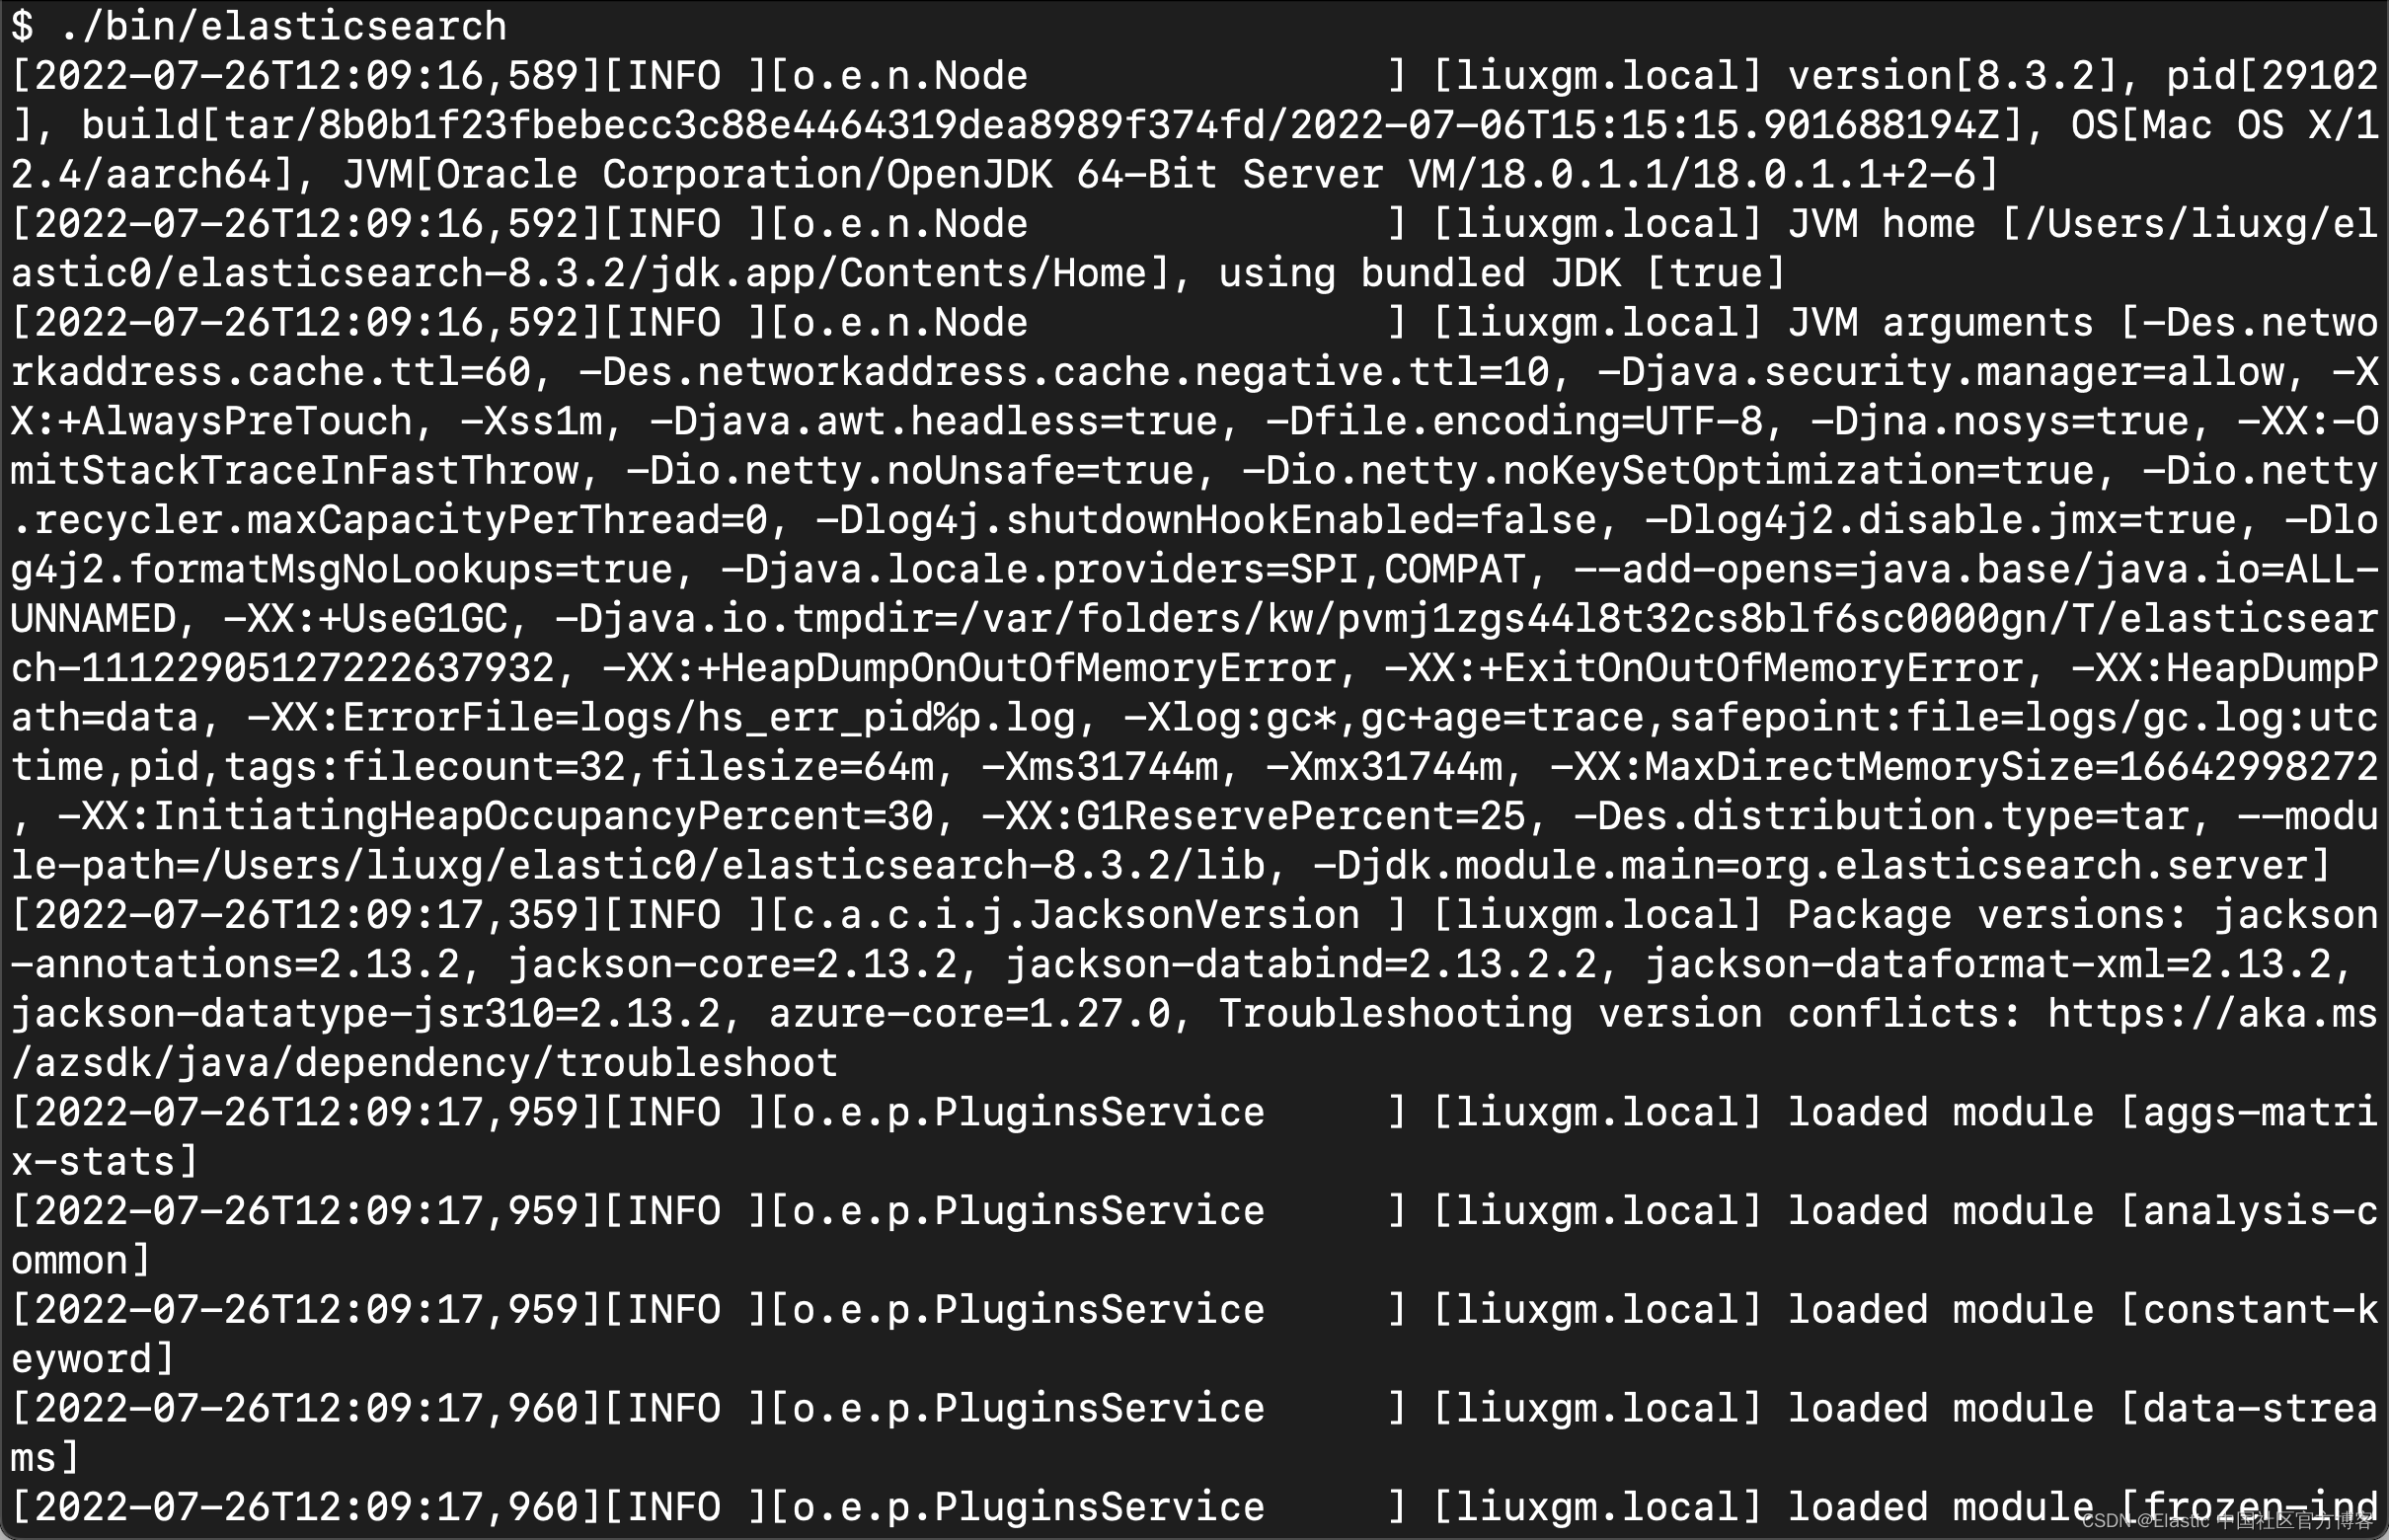
如果你必须添加组织中的新 CA 证书,或者你需要自己生成新 CA,请使用此新 CA 签署新节点证书并指示你的节点信任新 CA 证书。在今天的展示中,我将来演示如何更新一个 Elasticsearch 8.x 集群的 CA 证书。
Elasticsearch:使用不同的 CA 更新安全证书 (一)
前提条件
如果你还没有安装好自己的 Elasticsearch,请参考我之前的文章 “如何在 Linux,MacOS 及 Windows 上进行安装 Elasticsearch”。
为 transport 层生成新的证书
创建一个新的 CA 证书,或获取你组织的 CA 证书,并将其添加到你现有的 CA 信任库中。 完成所有节点的证书更新后,你可以从信任库中删除旧的 CA 证书(但之前不能!)。
注意:以下示例使用 PKCS#12 文件,但相同的步骤适用于 JKS 密钥库。
1)打开 ES_PATH_CONF/elasticsearch.yml 文件并检查当前正在使用的密钥库的名称和位置。 你将为新的密钥库使用相同的名称。请注意:这里的 ES_PATH_CONF 是我们的 elasticsearch.yml 所处的路径。这个根据不同的安装是不同。比如,在下面的例子中,密钥库(keystore)和信任库(trust store)使用不同的文件。 你的配置可能对密钥库和信任库使用相同的文件。
xpack.security.transport.ssl.keystore.path: config/elastic-certificates.p12
xpack.security.transport.ssl.keystore.type: PKCS12
xpack.security.transport.ssl.truststore.path: config/elastic-stack-ca.p12
xpack.security.transport.ssl.truststore.type: PKCS12
xpack.security.transport.ssl.verification_mode: certificate注意:这些说明假定提供的证书由受信任的 CA 签名并且验证模式(verification_mode)设置为 certificate。 此设置确保节点不会尝试执行主机名验证。
针对我的本地安装,在默认的情况下显示的是这样的:

上面显示我的 keystore.path 及 truststore.path 的值是一样的,尽管它们两个可以分别不同。
2) 在集群中的任何节点上,生成新的 CA 证书。 你只需完成此步骤一次。 如果你使用的是组织的 CA 证书,请跳过此步骤。
./bin/elasticsearch-certutil ca --pem$ pwd
/Users/liuxg/elastic0/elasticsearch-8.3.2
$ ./bin/elasticsearch-certutil ca --pem
This tool assists you in the generation of X.509 certificates and certificate
signing requests for use with SSL/TLS in the Elastic stack.
The 'ca' mode generates a new 'certificate authority'
This will create a new X.509 certificate and private key that can be used
to sign certificate when running in 'cert' mode.
Use the 'ca-dn' option if you wish to configure the 'distinguished name'
of the certificate authority
By default the 'ca' mode produces a single PKCS#12 output file which holds:
* The CA certificate
* The CA's private key
If you elect to generate PEM format certificates (the -pem option), then the output will
be a zip file containing individual files for the CA certificate and private key
Please enter the desired output file [elastic-stack-ca.zip]: 在上面,我选择了默认的名称 elastic-stack-ca.zip 文件名。显示当前目录下的文件:
$ pwd
/Users/liuxg/elastic0/elasticsearch-8.3.2
$ ls
LICENSE.txt          bin                  elastic-stack-ca.zip logs
NOTICE.txt           config               jdk.app              modules
README.asciidoc      data                 lib                  plugins
命令参数如下:
--pem:生成一个包含 CA 证书和 PEM 格式的密钥的目录,而不是 PKCS#12。
- 输入包含你的证书和密钥的压缩输出文件的名称,或接受默认名称 elastic-stack-ca.zip。
- 解压缩输出文件。 生成的目录包含 CA 证书 (ca.crt) 和私钥 (ca.key)。
$ pwd
/Users/liuxg/elastic0/elasticsearch-8.3.2
$ ls
LICENSE.txt          bin                  elastic-stack-ca.zip logs
NOTICE.txt           config               jdk.app              modules
README.asciidoc      data                 lib                  plugins
$ unzip elastic-stack-ca.zip
Archive:  elastic-stack-ca.zip
   creating: ca/
  inflating: ca/ca.crt
  inflating: ca/ca.key
$ ls ca/
ca.crt ca.key重要:将这些文件保存在安全位置,因为它们包含 CA 的私钥。
3)在集群中的每个节点上,将新的 ca.crt 证书导入现有的 CA 信任库。 此步骤可确保你的集群信任新的 CA 证书。 此示例使用 Java keytool 实用程序将证书导入 elastic-stack-ca.p12 CA 信任库。
keytool -importcert -trustcacerts -noprompt -keystore elastic-stack-ca.p12 -storepass <password> -alias new-ca -file ca.crt针对我的情况:
$ pwd
/Users/liuxg/elastic0/elasticsearch-8.3.2
$ keytool -importcert -trustcacerts -noprompt -keystore elastic-stack-ca.p12 -storepass 123456  -alias new-ca -file ./ca/ca.crt
Certificate was added to keystore
命令参数:
| -keystore | 要将新 CA 证书导入到的信任库的名称。 |
| -storepass | CA 信任库的密码。 |
| -alias | 你要分配给密钥库中新 CA 证书条目的名称。 |
| -file | 要导入的新 CA 证书的名称。 |
这个步骤将生成一个叫做 elastic-stack-ca.p12 的 CA 文件:
$ keytool -importcert -trustcacerts -noprompt -keystore elastic-stack-ca.p12 -storepass 123456  -alias new-ca -file ./ca/ca.crt
Certificate was added to keystore
$ ls
LICENSE.txt          ca                   elastic-stack-ca.zip modules
NOTICE.txt           config               jdk.app              plugins
README.asciidoc      data                 lib
bin                  elastic-stack-ca.p12 logs
4)检查新的 CA 证书是否已添加到你的信任库中。
keytool -keystore elastic-stack-ca.p12 -list针对我的情况:
$ pwd
/Users/liuxg/elastic0/elasticsearch-8.3.2
$ ls
LICENSE.txt          ca                   elastic-stack-ca.zip modules
NOTICE.txt           config               jdk.app              plugins
README.asciidoc      data                 lib
bin                  elastic-stack-ca.p12 logs
$ keytool -keystore elastic-stack-ca.p12 -list
Enter keystore password:
Keystore type: PKCS12
Keystore provider: SUN

Your keystore contains 1 entry

new-ca, Jul 26, 2022, trustedCertEntry,
Certificate fingerprint (SHA-256): B0:D4:CC:1F:D9:3B:4F:15:6F:2D:AC:71:3B:F4:83:20:28:C8:BE:E1:61:36:F3:8A:B5:97:67:06:F4:DC:35:8D
出现提示时,输入 CA 信任库的密码。针对我的情况,这个密码是 123456。上面显示的是 new-ca 证书。它是我们配置证书的别名。
输出应包含现有 CA 证书和你的新证书。 如果你之前使用 elasticsearch-certutil 工具生成密钥库,则旧 CA 的别名默认为 ca,条目类型 PrivateKeyEntry。
为集群中的每个节点生成一个新证书
现在你的 CA 信任库已更新,请使用你的新 CA 证书为你的节点签署证书。
注意:如果你的组织有自己的 CA,则需要生成证书签名请求 (CSR)。 CSR 包含你的 CA 用于生成和签署安全证书的信息。
1)使用新的 CA 证书和密钥,为你的节点创建一个新证书。
./bin/elasticsearch-certutil cert --ca-cert ca/ca.crt --ca-key ca/ca.key$ ./bin/elasticsearch-certutil cert --ca-cert ca/ca.crt --ca-key ca/ca.key
This tool assists you in the generation of X.509 certificates and certificate
signing requests for use with SSL/TLS in the Elastic stack.
The 'cert' mode generates X.509 certificate and private keys.
* By default, this generates a single certificate and key for use
on a single instance.
* The '-multiple' option will prompt you to enter details for multiple
instances and will generate a certificate and key for each one
* The '-in' option allows for the certificate generation to be automated by describing
the details of each instance in a YAML file
* An instance is any piece of the Elastic Stack that requires an SSL certificate.
Depending on your configuration, Elasticsearch, Logstash, Kibana, and Beats
may all require a certificate and private key.
* The minimum required value for each instance is a name. This can simply be the
hostname, which will be used as the Common Name of the certificate. A full
distinguished name may also be used.
* A filename value may be required for each instance. This is necessary when the
name would result in an invalid file or directory name. The name provided here
is used as the directory name (within the zip) and the prefix for the key and
certificate files. The filename is required if you are prompted and the name
is not displayed in the prompt.
* IP addresses and DNS names are optional. Multiple values can be specified as a
comma separated string. If no IP addresses or DNS names are provided, you may
disable hostname verification in your SSL configuration.
* All certificates generated by this tool will be signed by a certificate authority (CA)
unless the --self-signed command line option is specified.
The tool can automatically generate a new CA for you, or you can provide your own with
the --ca or --ca-cert command line options.
By default the 'cert' mode produces a single PKCS#12 output file which holds:
* The instance certificate
* The private key for the instance certificate
* The CA certificate
If you specify any of the following options:
* -pem (PEM formatted output)
* -multiple (generate multiple certificates)
* -in (generate certificates from an input file)
then the output will be be a zip file containing individual certificate/key files
Please enter the desired output file [elastic-certificates.p12]:
Enter password for elastic-certificates.p12 :
Certificates written to /Users/liuxg/elastic0/elasticsearch-8.3.2/elastic-certificates.p12
This file should be properly secured as it contains the private key for
your instance.
This file is a self contained file and can be copied and used 'as is'
For each Elastic product that you wish to configure, you should copy
this '.p12' file to the relevant configuration directory
and then follow the SSL configuration instructions in the product guide.
For client applications, you may only need to copy the CA certificate and
configure the client to trust this certificate.
$ ls
LICENSE.txt ca elastic-stack-ca.p12 logs
NOTICE.txt config elastic-stack-ca.zip modules
README.asciidoc data jdk.app plugins
bin elastic-certificates.p12 lib在上面,我使用了默认的文件名。在要求输入密码时,我使用了 123456。在上面 elastic-certificates.p12 是我们的生成文件。
命令行参数:
| --ca-cert | 以 PEM 格式指定新 CA 证书 (ca.crt) 的路径。 你还必须指定 --ca-key 参数。 |
| --ca-key | 指定 CA 证书的私钥 (ca.key) 的路径。 你还必须指定 --ca-cert 参数 |
- 输入输出文件的名称或接受默认的 elastic-certificates.p12。
- 出现提示时,输入节点证书的密码。
2)在集群中要更新密钥库的当前节点上,启动滚动重启。在指示 Perform any needed changes 的步骤处停止,然后继续执行此过程中的下一步。
3)用新的密钥库替换现有的密钥库,确保文件名匹配。 例如,elastic-certificates.p12。
重要:如果你的密钥库密码正在更改,请使用新文件名保存密钥库,以便 Elasticsearch 在你更新密码之前不会尝试重新加载文件。
根据我的情况:
$ pwd
/Users/liuxg/elastic0/elasticsearch-8.3.2
$ ls
LICENSE.txt              ca                       elastic-stack-ca.p12     logs
NOTICE.txt               config                   elastic-stack-ca.zip     modules
README.asciidoc          data                     jdk.app                  plugins
bin                      elastic-certificates.p12 lib
$ ls config/certs/
http.p12      http_ca.crt   transport.p12
$ cp elastic-certificates.p12 ./config/certs/transport.p12
overwrite ./config/certs/transport.p12? (y/n [n]) y
在上面,我确保 keystore 的名称是一样的,也即 transport.12。
4)如果你需要使用新文件名保存新密钥库,请更新 ES_PATH_CONF/elasticsearch.yml 文件以使用新密钥库的文件名。 例如:
xpack.security.transport.ssl.keystore.path: config/elastic-certificates.p12
xpack.security.transport.ssl.keystore.type: PKCS12
xpack.security.transport.ssl.truststore.path: config/elastic-stack-ca.p12
xpack.security.transport.ssl.truststore.type: PKCS12
5)修改 trustore 及 keystore 的密码。我们可以使用如下的命令来查看之前的密码:
$ ./bin/elasticsearch-keystore list
keystore.seed
xpack.security.http.ssl.keystore.secure_password
xpack.security.transport.ssl.keystore.secure_password
xpack.security.transport.ssl.truststore.secure_password
$ ./bin/elasticsearch-keystore show xpack.security.transport.ssl.keystore.secure_password
oPaowQ1CTkSYsw_wuHMLRA
$ ./bin/elasticsearch-keystore show xpack.security.transport.ssl.truststore.secure_password
oPaowQ1CTkSYsw_wuHMLRA
如上所示,上面显示的密码和我们之前设置的 123456 显然是不一样的。我们需要针对它们进行重新的设置。
$ ./bin/elasticsearch-keystore list
keystore.seed
xpack.security.http.ssl.keystore.secure_password
xpack.security.transport.ssl.keystore.secure_password
xpack.security.transport.ssl.truststore.secure_password
$ ./bin/elasticsearch-keystore show xpack.security.transport.ssl.keystore.secure_password
oPaowQ1CTkSYsw_wuHMLRA
$ ./bin/elasticsearch-keystore show xpack.security.transport.ssl.truststore.secure_password
oPaowQ1CTkSYsw_wuHMLRA
$ ./bin/elasticsearch-keystore add xpack.security.transport.ssl.keystore.secure_password
Setting xpack.security.transport.ssl.keystore.secure_password already exists. Overwrite? [y/N]y
Enter value for xpack.security.transport.ssl.keystore.secure_password:
$ ./bin/elasticsearch-keystore add xpack.security.transport.ssl.truststore.secure_password
Setting xpack.security.transport.ssl.truststore.secure_password already exists. Overwrite? [y/N]y
Enter value for xpack.security.transport.ssl.truststore.secure_password:
在上面,我们输入密码 123456。这样我们就完成了密码的更新。
5)启动更新密钥库的节点。
我们会发现节点会成功地启动起来,并且没有错误。我们可以在该节点的机器上访问 https://localhost:9200。
6)(可选)使用 SSL 证书 API 来验证 Elasticsearch 是否加载了新的密钥库。
GET /_ssl/certificates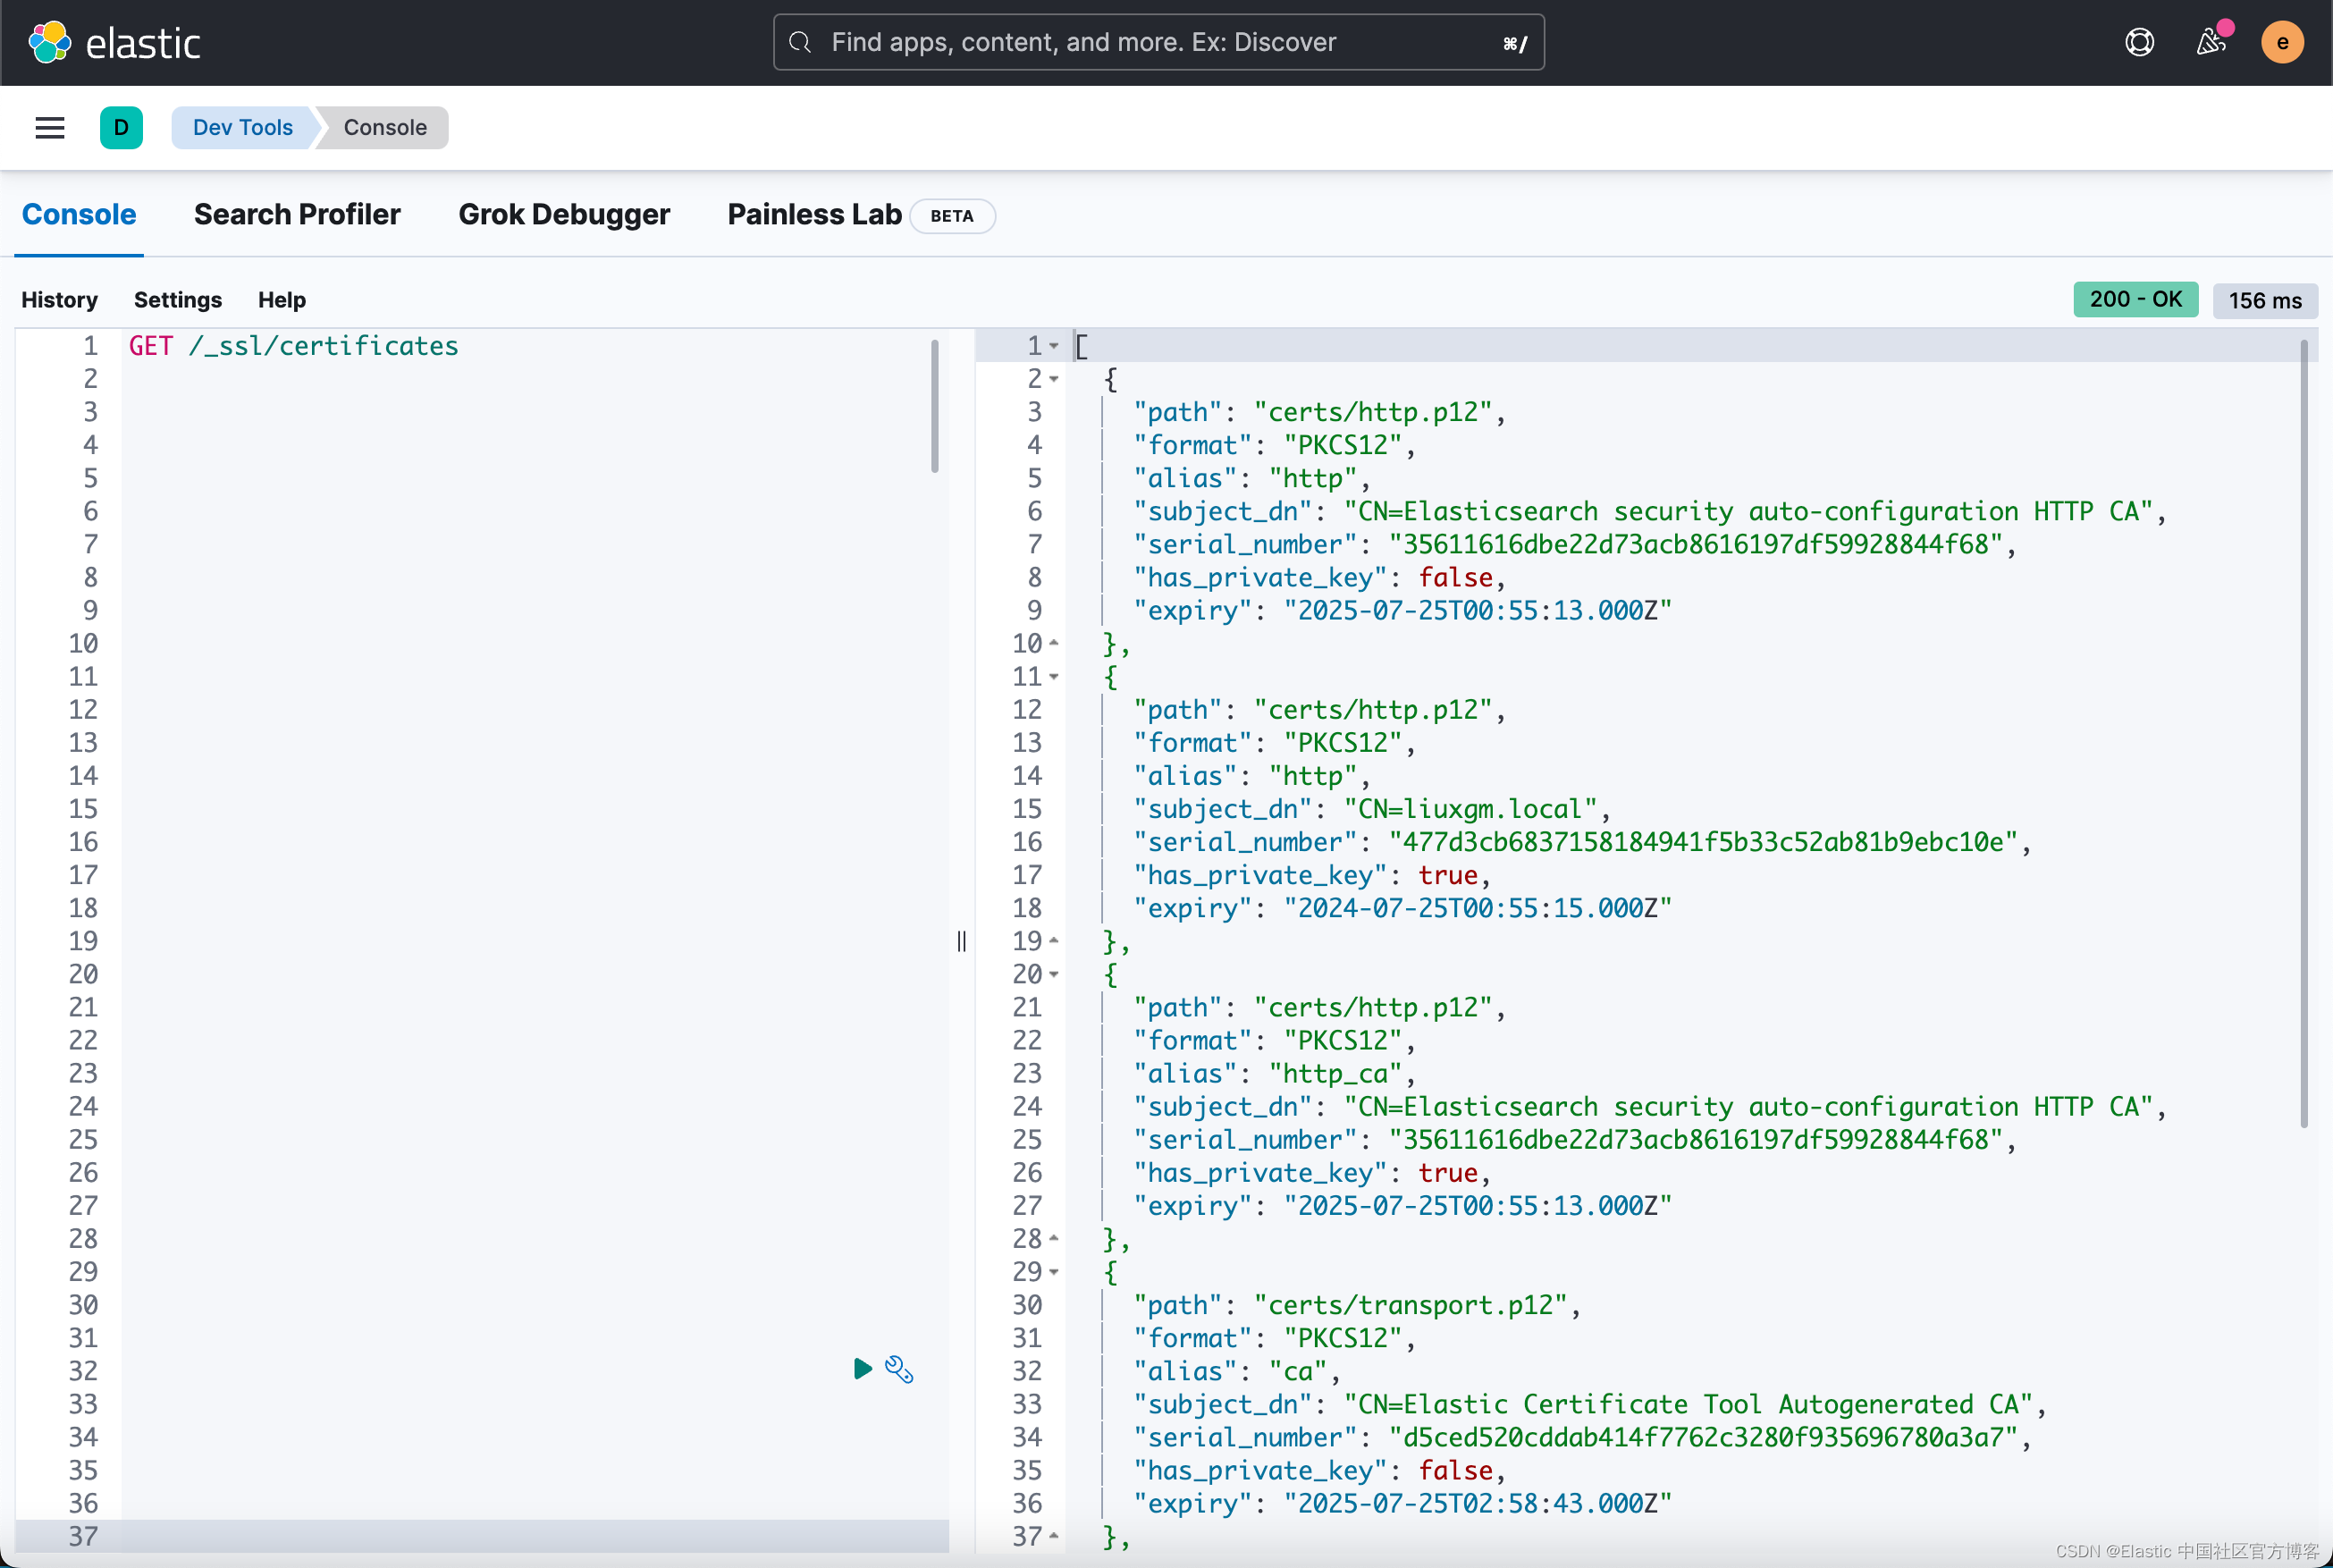
7)如果你只更新传输层(而不是 HTTP 层)的证书,则一次完成一个节点的第 2 步到第 6 步,直到你更新了集群中的所有密钥库。 然后,你可以完成滚动重启的剩余步骤。
否则,不要完成滚动重启。 相反,请继续执行为 HTTP 层生成新证书的步骤。
8)(可选)替换集群中每个节点上的密钥库后,列出信任库中的证书,然后删除旧的 CA 证书。你可以使用如下的命令来查看 truststore 里的所有证书:
$ pwd
/Users/liuxg/elastic0/elasticsearch-8.3.2
$ ls
LICENSE.txt              ca                       elastic-stack-ca.p12     logs
NOTICE.txt               config                   elastic-stack-ca.zip     modules
README.asciidoc          data                     jdk.app                  plugins
bin                      elastic-certificates.p12 lib
$ keytool -keystore elastic-stack-ca.p12 -list
Enter keystore password:
Keystore type: PKCS12
Keystore provider: SUN

Your keystore contains 1 entry

new-ca, Jul 26, 2022, trustedCertEntry,
Certificate fingerprint (SHA-256): B0:D4:CC:1F:D9:3B:4F:15:6F:2D:AC:71:3B:F4:83:20:28:C8:BE:E1:61:36:F3:8A:B5:97:67:06:F4:DC:35:8D
如上所示,上面显示的是 new-ca 证书。
如果你之前使用 elasticsearch-certutil 工具生成密钥库,则旧 CA 的别名默认为 ca,条目类型为 PrivateKeyEntry。
keytool -delete -noprompt -alias ca -keystore elastic-stack-ca.p12 -storepass <password>$ pwd
/Users/liuxg/elastic0/elasticsearch-8.3.2
$ ls
LICENSE.txt ca elastic-stack-ca.p12 logs
NOTICE.txt config elastic-stack-ca.zip modules
README.asciidoc data jdk.app plugins
bin elastic-certificates.p12 lib
$ keytool -delete -noprompt -alias ca -keystore elastic-stack-ca.p12 -storepass 123456
keytool error: java.lang.Exception: Alias <ca> does not exist如上所示,删除不成功,这是因为在上面的 list 显示,没有之前的 ca 别名的证书了。我们可以通过这个命令来删除多余的 PrivateKeyEntry。
命令参数:
| -alias | 要从信任库中删除的旧 CA 证书的密钥库别名的名称。 |
接下来,我们可以阅读文章 “Elasticsearch:使用不同的 CA 更新安全证书 (二)” 来更新 HTTP 层的证书。
参考:
【1】Update security certificates with a different CA | Elasticsearch Guide [master] | Elastic


 575
575

 被折叠的 条评论
为什么被折叠?
被折叠的 条评论
为什么被折叠?
 到【灌水乐园】发言


