


每个Ubuntu Core设备都需要使用我们的Ubuntu One账号进行登陆.对于一个已经安装好的Ubuntu Core设备怎么加入新的账号,从而使得我们能够使用新的账号进行登陆呢?在今天的这篇文章中,我们将介绍如何创建一个Ubuntu One账号并把它加入到已有的Ubuntu Core设备中.
1)创建自己的Ubuntu One账号
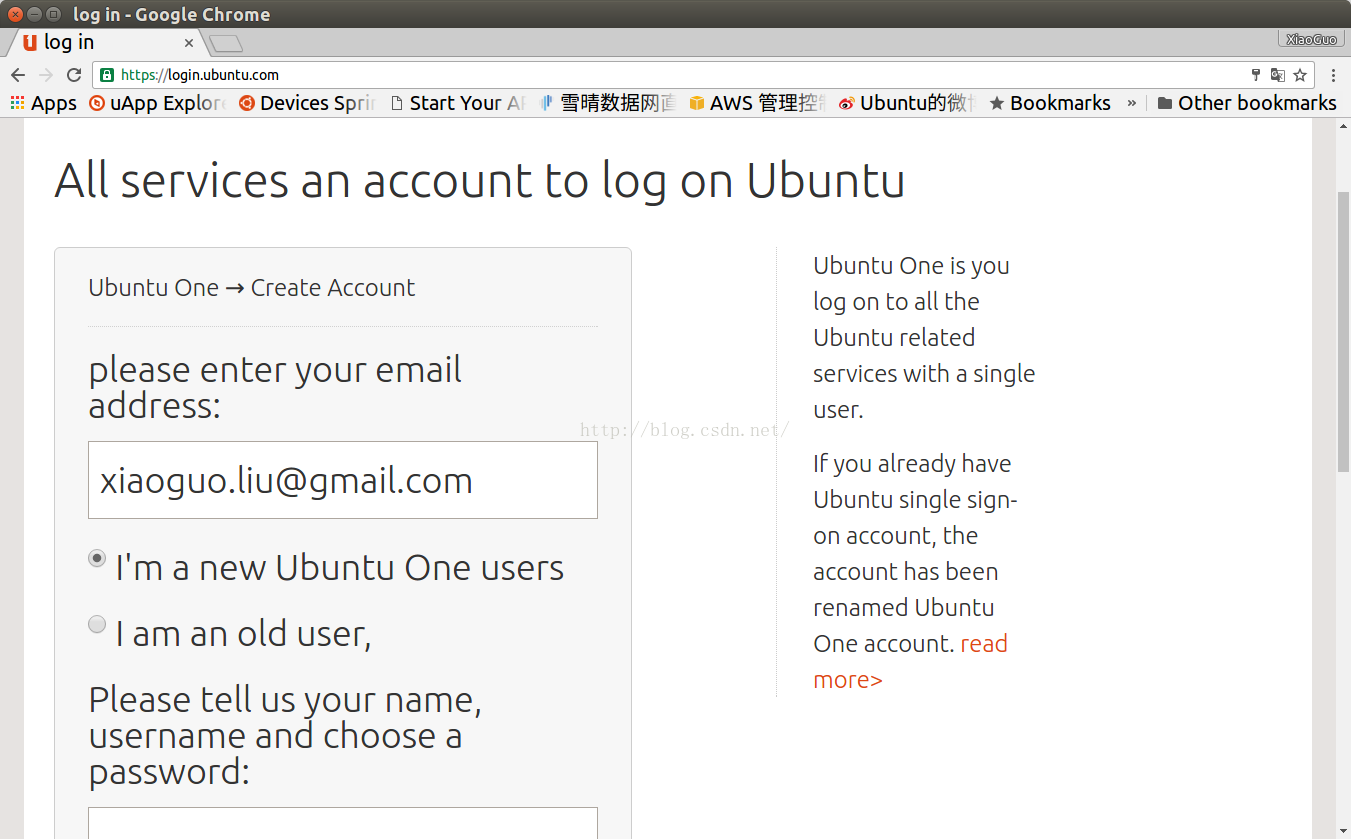
对于还没有自己的Ubuntu One账号的开发者来说,请到如下的地址:
注册自己的Ubuntu One账号.
一旦我们有了自己的Ubuntu One账号,我们可以在
https://launchpad.net/上进行登陆.
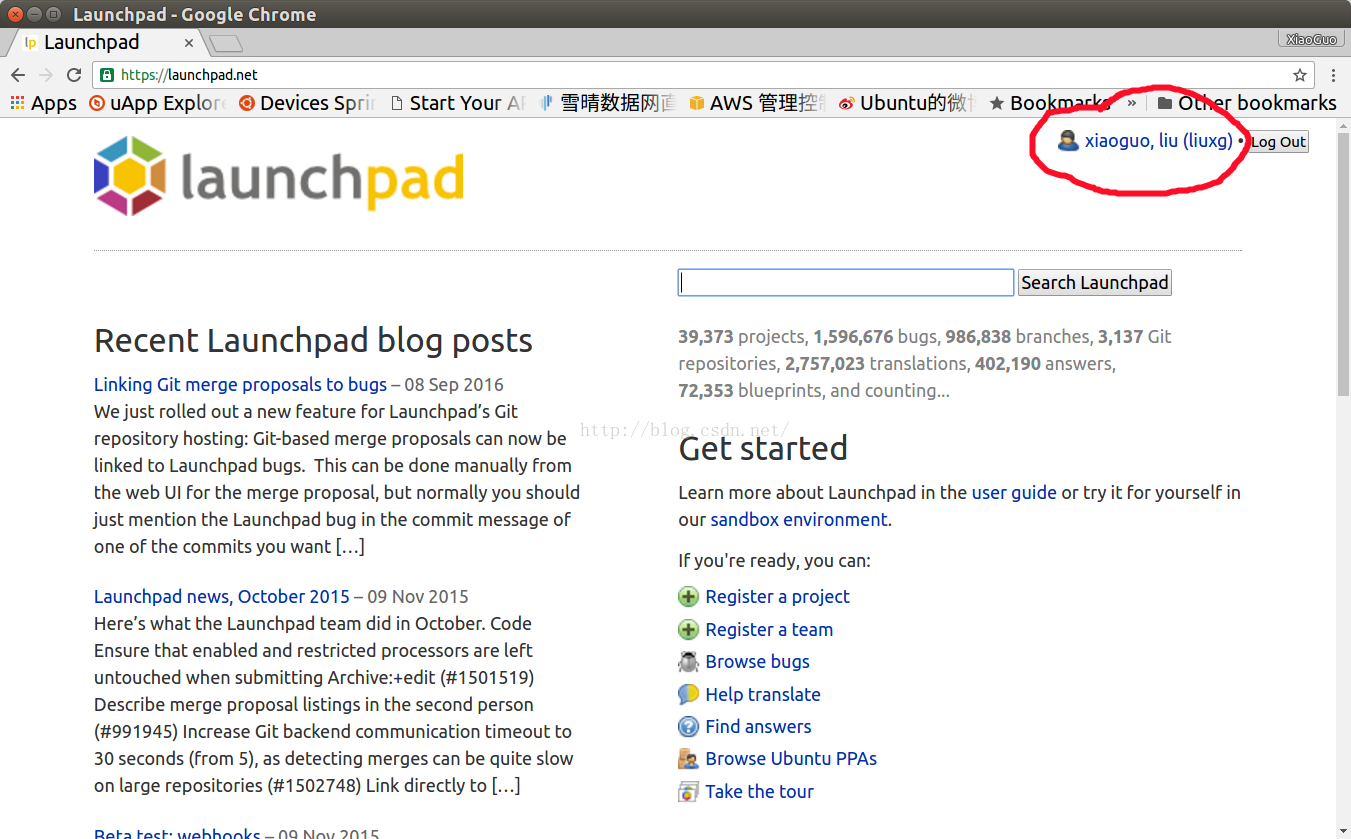
我们点击右上角的用户名上面的链接从而进入到我们的用户管理页面:
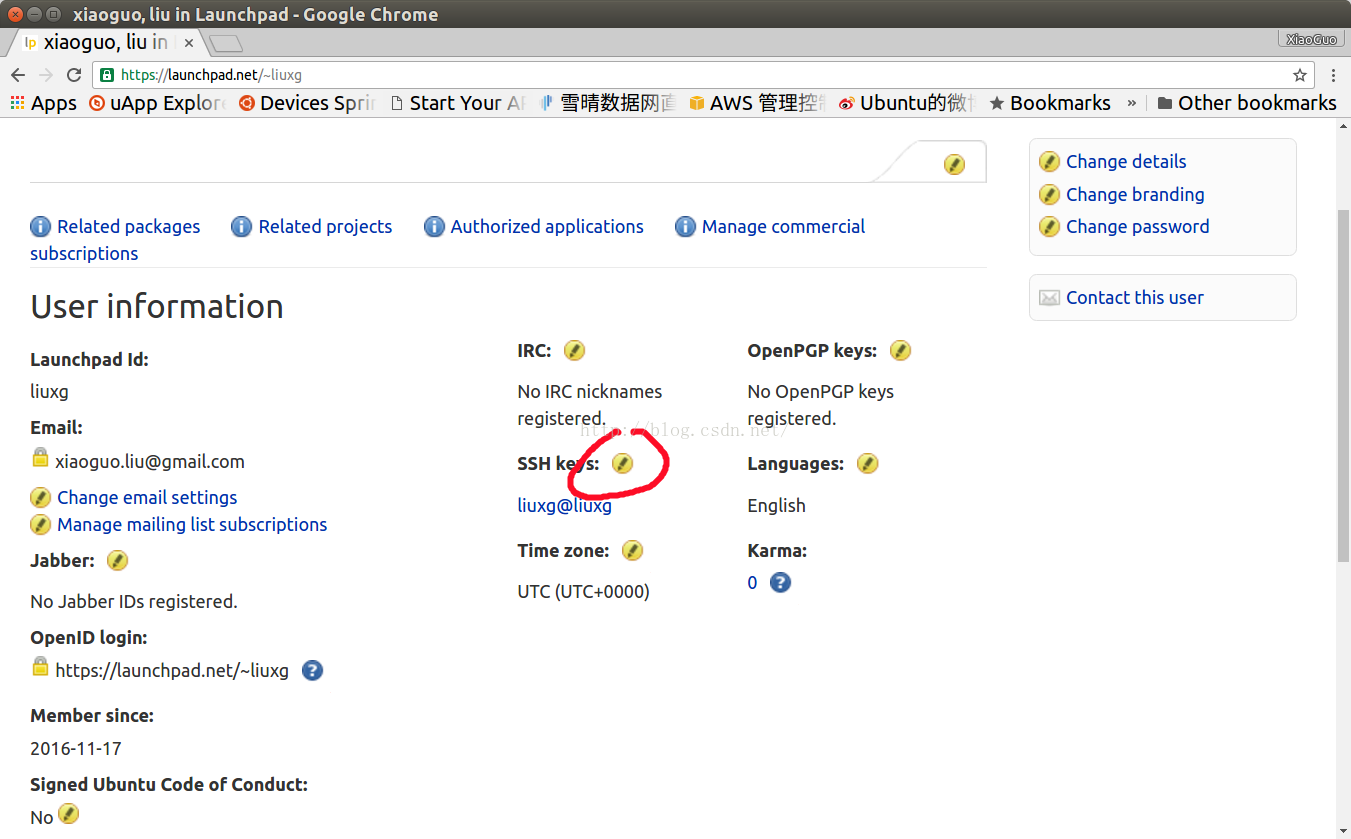
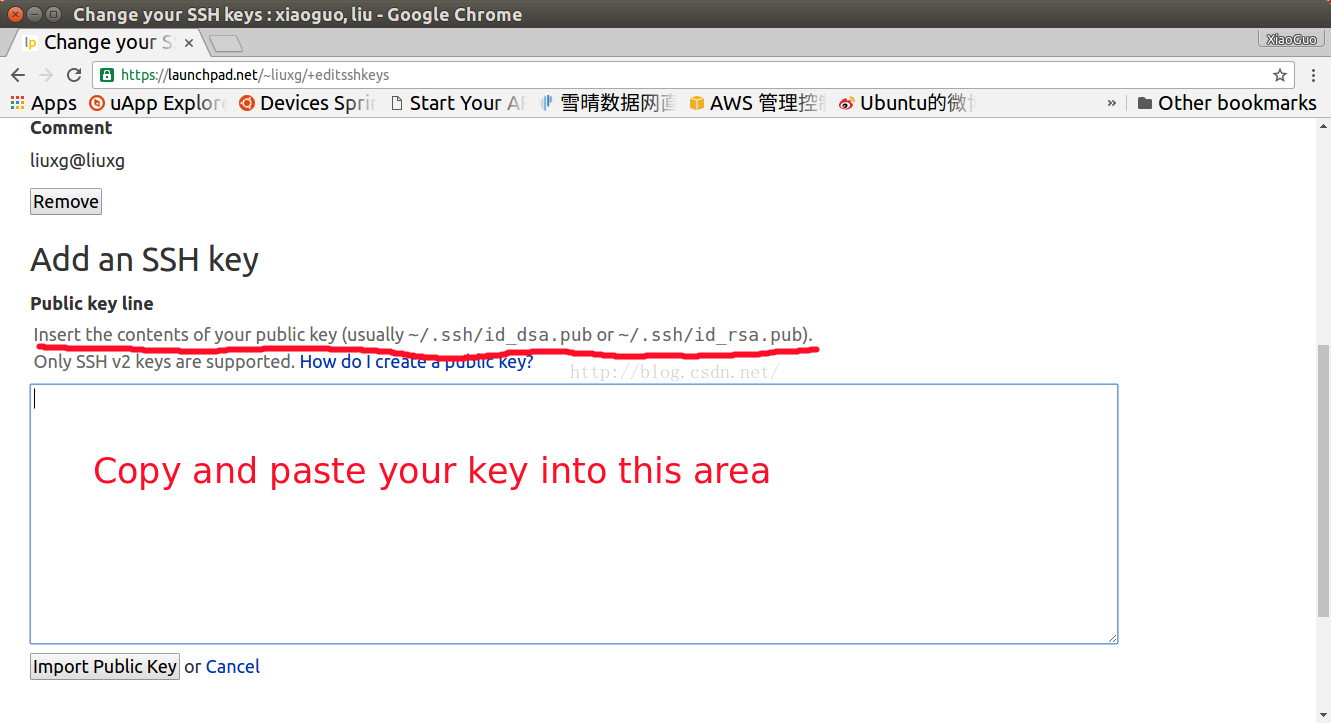
我们点击"SSH keys".紧接着,按照上面的提示,我们把我们Ubuntu Desktop里的
id_rsa.pub里的内容拷贝并粘贴到相应的区域:
这样,我们就基本完成了对我们的Ubuntu One账号的设置了.我们创建的账号可以被成功应用于安装一个Ubuntu Core的设备中.具体安装步骤请参阅文章"
安装Ubuntu Core系统".
2)为Ubuntu Core设备添加新的账号
一旦我们有了自己的Ubuntu Core账号,我们可以把这个账号加入到我们现有的Ubuntu Core的设置中.首先,我们先用已有Ubuntu Core的账号进行登陆:
我们可以看一下snap的命令:
liuxg@localhost:~$ snap --help
Usage:
  snap [OPTIONS] <command>

The snap tool interacts with the snapd daemon to control the snappy software platform.


Application Options:
      --version  Print the version and exit

Help Options:
  -h, --help     Show this help message

Available commands:
  abort        Abort a pending change
  ack          Adds an assertion to the system
  buy          Buys a snap
  change       List a change's tasks
  changes      List system changes
  connect      Connects a plug to a slot
  create-user  Creates a local system user
  disable      Disables a snap in the system
  disconnect   Disconnects a plug from a slot
  download     Download a given snap
  enable       Enables a snap in the system
  find         Finds packages to install
  get          Get snap configuration
  help         Help
  install      Installs a snap to the system
  interfaces   Lists interfaces in the system
  known        Shows known assertions of the provided type
  list         List installed snaps
  login        Authenticates on snapd and the store
  logout       Log out of the store
  refresh      Refreshes a snap in the system
  remove       Removes a snap from the system
  revert       Reverts the given snap to the previous state
  run          Run the given snap command
  set          Set snap configuration
  try          Tests a snap in the system
在上面的截图中,我们可以看到,有一个叫做create-user的命令.我们可以更一步了解这个命令的用法:
liuxg@localhost:~$ snap create-user -h
Usage:
  snap [OPTIONS] create-user [create-user-OPTIONS] [<email>]

The create-user command creates a local system user with the username and SSH
keys registered on the store account identified by the provided email address.

An account can be setup at https://login.ubuntu.com.

Application Options:
      --version      Print the version and exit

Help Options:
  -h, --help         Show this help message

[create-user command options]
          --json     Output results in JSON format
          --sudoer   Grant sudo access to the created user

[create-user command arguments]
  <email>:           An email of a user on login.ubuntu.com
我们打入如下的命令:
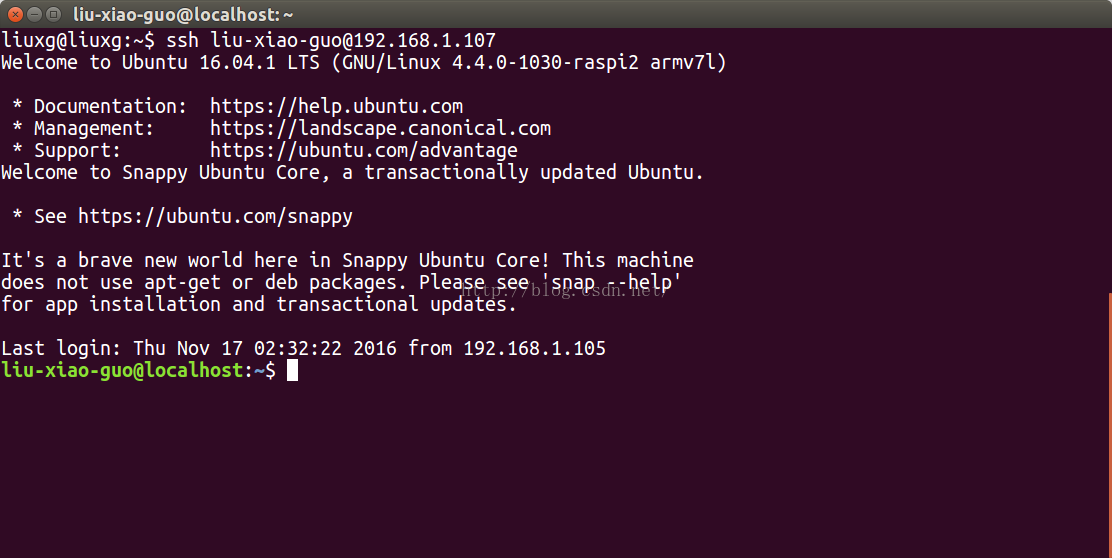
$ sudo snap create-user --sudoer xiaoguo.liu@gmail.com
如果你得到如下的错误信息:
liu-xiao-guo@localhost:~$ sudo snap create-user --sudoer xiaoguo.liu@gmail.com
error: while creating user: cannot create user: device already managed
我们可以利用如下的命令来强制完成:
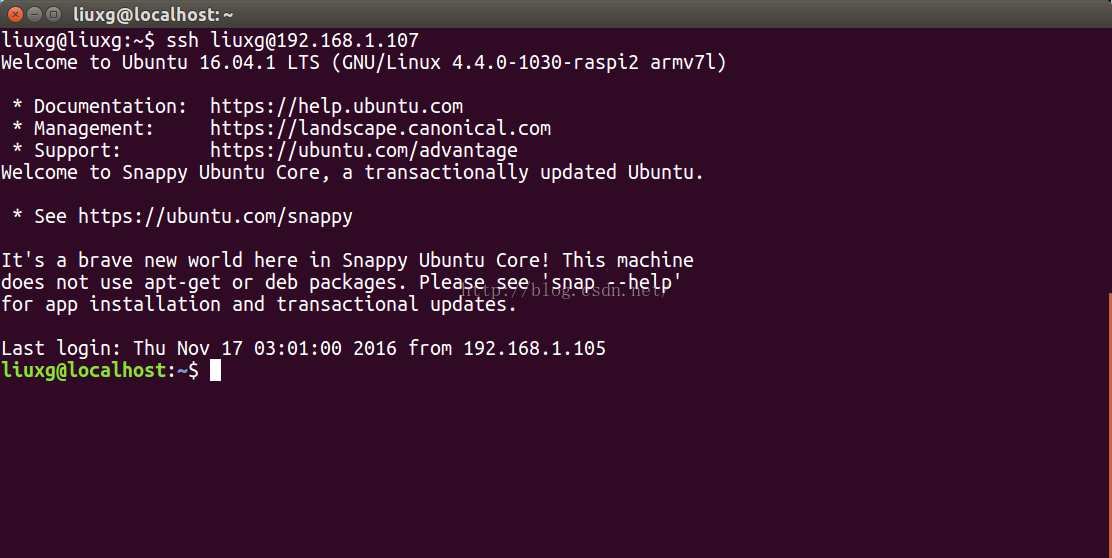
$ sudo snap create-user --sudoer --force-managed xiaoguo.liu@gmail.com 在上面,我们使用了新的Ubuntu One账号xiaoguo.liu@gmail.com.通过这样的方法,我们就把一个新的Ubuntu One账号添加到我们的Ubuntu Core设备中.我们就可以用新的账号liuxg进行登陆.
由于一些原因,到目前为止在树莓派2的系统中没有提供create-user命令.在树莓派3中是可以的.


 1391
1391


 被折叠的 条评论
为什么被折叠?
被折叠的 条评论
为什么被折叠?
 到【灌水乐园】发言


