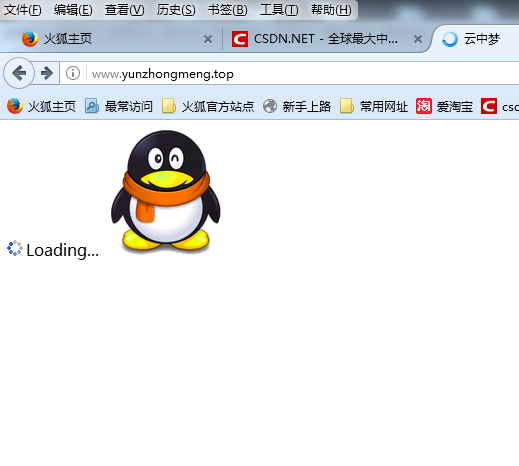
实现效果:

实现流程:
1、注册QQ互联开发者
QQ互联官网
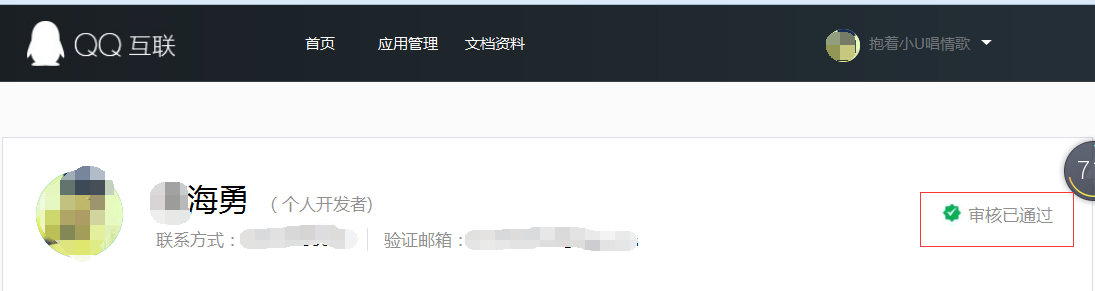
注册成为开发者(需要审核)
2、审核通过之后
申请应用(需要互联人员审核*需要备案成功的线上域名)

下面我们开始下载QQsdk包
QQsdk包
我下载的是PHP的
下载之后放在域名根目录下
访问 域名/Connect2.1
输入appId 、appkey 、以及回调地址:域名/Connect2.1/callpack.php(也可以按照例子面试试) 一般只点击 getuserinfo
完成
优化SDK包
1、将em../auth/callbac.php 放到connect2.1目录下 将除了API目录以外的目录全部删除 并将API下的所有文件及目录移动到connect2.1/下 删除API
2、打开 qqConnectAPI.php 修改
- <?php
- session_start();
-
-
-
-
-
-
-
-
-
-
- define("QQ_CONNECT_ROOT",dirname(__FILE__)."/");
- define("QQ_CLASS_PATH",QQ_CONNECT_ROOT."class/");
-
- require_once(QQ_CLASS_PATH."QC.class.php");
3、删除comm 下的conf.php 以及utils.php
4.修改 class 下的Recorder.class.php
- public function __construct(){
- $this->error = new ErrorCase();
-
-
-
- $incFileContents = '{"appid":"101337757","appkey":"f6588ae8cc52093202d92f6ee33d9af9","callback":"http://www.qqq.com/callback.php","scope":"get_user_info","errorReport":true,"storageType":"file","host":"localhost","user":"root","password":"root","database":"test"}'
-
-
-
-
-
-
-
-
-
-
- $this->inc->appid = "101337757";
- $this->inc->appkey = "f6588ae8cc52093202d92f6ee33d9af9";
- $this->inc->callback = "http://www.qqq.com/callback.php";
- $this->inc->scope = "get_user_info";
- $this->inc->errorReport = true;
- $this->inc->storageType = "file"
- $this->inc->host = "localhost";
- $this->inc->user = "root";
- $this->inc->password = "root";
- $this->inc->database = "test";
-
-
-
- if(empty($this->inc)){
- $this->error->showError("20001");
- }
-
- if(empty($_SESSION['QC_userData'])){
- self::$data = array();
- }else{
- self::$data = $_SESSION['QC_userData'];
- }
- }
完成!
在根目录下定义:
function.php
- <?php
-
-
-
-
-
-
-
-
- function debug($val,$dump=flase,$exit=true){
-
- if($dump){
- $func = 'var_dump';
- }else{
- $func = (is_array($val) || is_object($val)) ? 'print_r' : 'printf';
- }
-
-
- header("Content-type:text/html;charset=utf-8");
- echo "<pre>debug output:<hr/>";
- $func($val);
- echo '</pre>';
- if($exit) exit;
- }
-
-
-
-
- ?>
定义:qqlogin.php
- <?php
- require_once 'function.php';
- require_once 'Connect2.1/qqConnectAPI.php';
-
-
- $oauth = new Oauth();
- $oauth->qq_login();
-
-
-
-
- ?>
建立index.html
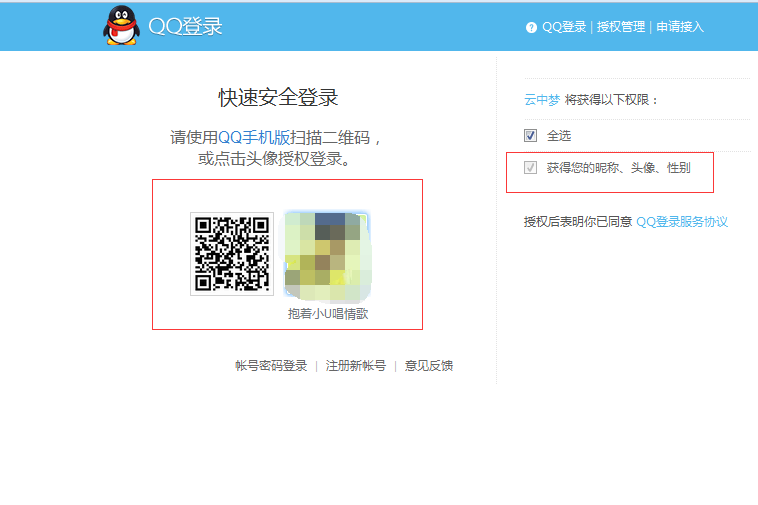
将qq登陆图片放入页面中、点击跳入到qqlogin.php
修改callback.php
- <?php
- require_once("./qqConnectAPI.php");
- $qc = new QC();
- echo $qc->qq_callback();
- echo $qc->get_openid();
完成!!!!!!
原文地址:点击打开链接
实现效果:
实现流程:
1、注册QQ互联开发者
QQ互联官网
注册成为开发者(需要审核)
2、审核通过之后
申请应用(需要互联人员审核*需要备案成功的线上域名)
下面我们开始下载QQsdk包
QQsdk包
我下载的是PHP的
下载之后放在域名根目录下
访问 域名/Connect2.1
输入appId 、appkey 、以及回调地址:域名/Connect2.1/callpack.php(也可以按照例子面试试) 一般只点击 getuserinfo
完成
优化SDK包
1、将em../auth/callbac.php 放到connect2.1目录下 将除了API目录以外的目录全部删除 并将API下的所有文件及目录移动到connect2.1/下 删除API
2、打开 qqConnectAPI.php 修改
- <?php
- session_start();
-
-
-
-
-
-
-
-
-
-
- define("QQ_CONNECT_ROOT",dirname(__FILE__)."/");
- define("QQ_CLASS_PATH",QQ_CONNECT_ROOT."class/");
-
- require_once(QQ_CLASS_PATH."QC.class.php");
3、删除comm 下的conf.php 以及utils.php
4.修改 class 下的Recorder.class.php
- public function __construct(){
- $this->error = new ErrorCase();
-
-
-
- $incFileContents = '{"appid":"101337757","appkey":"f6588ae8cc52093202d92f6ee33d9af9","callback":"http://www.qqq.com/callback.php","scope":"get_user_info","errorReport":true,"storageType":"file","host":"localhost","user":"root","password":"root","database":"test"}'
-
-
-
-
-
-
-
-
-
-
- $this->inc->appid = "101337757";
- $this->inc->appkey = "f6588ae8cc52093202d92f6ee33d9af9";
- $this->inc->callback = "http://www.qqq.com/callback.php";
- $this->inc->scope = "get_user_info";
- $this->inc->errorReport = true;
- $this->inc->storageType = "file"
- $this->inc->host = "localhost";
- $this->inc->user = "root";
- $this->inc->password = "root";
- $this->inc->database = "test";
-
-
-
- if(empty($this->inc)){
- $this->error->showError("20001");
- }
-
- if(empty($_SESSION['QC_userData'])){
- self::$data = array();
- }else{
- self::$data = $_SESSION['QC_userData'];
- }
- }
完成!
在根目录下定义:
function.php
- <?php
-
-
-
-
-
-
-
-
- function debug($val,$dump=flase,$exit=true){
-
- if($dump){
- $func = 'var_dump';
- }else{
- $func = (is_array($val) || is_object($val)) ? 'print_r' : 'printf';
- }
-
-
- header("Content-type:text/html;charset=utf-8");
- echo "<pre>debug output:<hr/>";
- $func($val);
- echo '</pre>';
- if($exit) exit;
- }
-
-
-
-
- ?>
定义:qqlogin.php
- <?php
- require_once 'function.php';
- require_once 'Connect2.1/qqConnectAPI.php';
-
-
- $oauth = new Oauth();
- $oauth->qq_login();
-
-
-
-
- ?>
建立index.html
将qq登陆图片放入页面中、点击跳入到qqlogin.php
修改callback.php
- <?php
- require_once("./qqConnectAPI.php");
- $qc = new QC();
- echo $qc->qq_callback();
- echo $qc->get_openid();
完成!!!!!!


 4202
4202

 被折叠的 条评论
为什么被折叠?
被折叠的 条评论
为什么被折叠?
 到【灌水乐园】发言


