


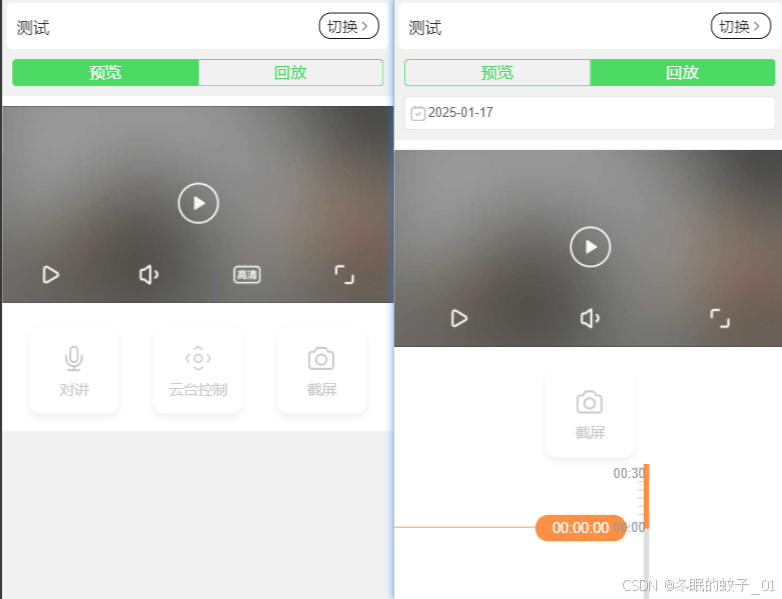
效果图:
前言:
根据萤石云官网,我采用的是插件的形式
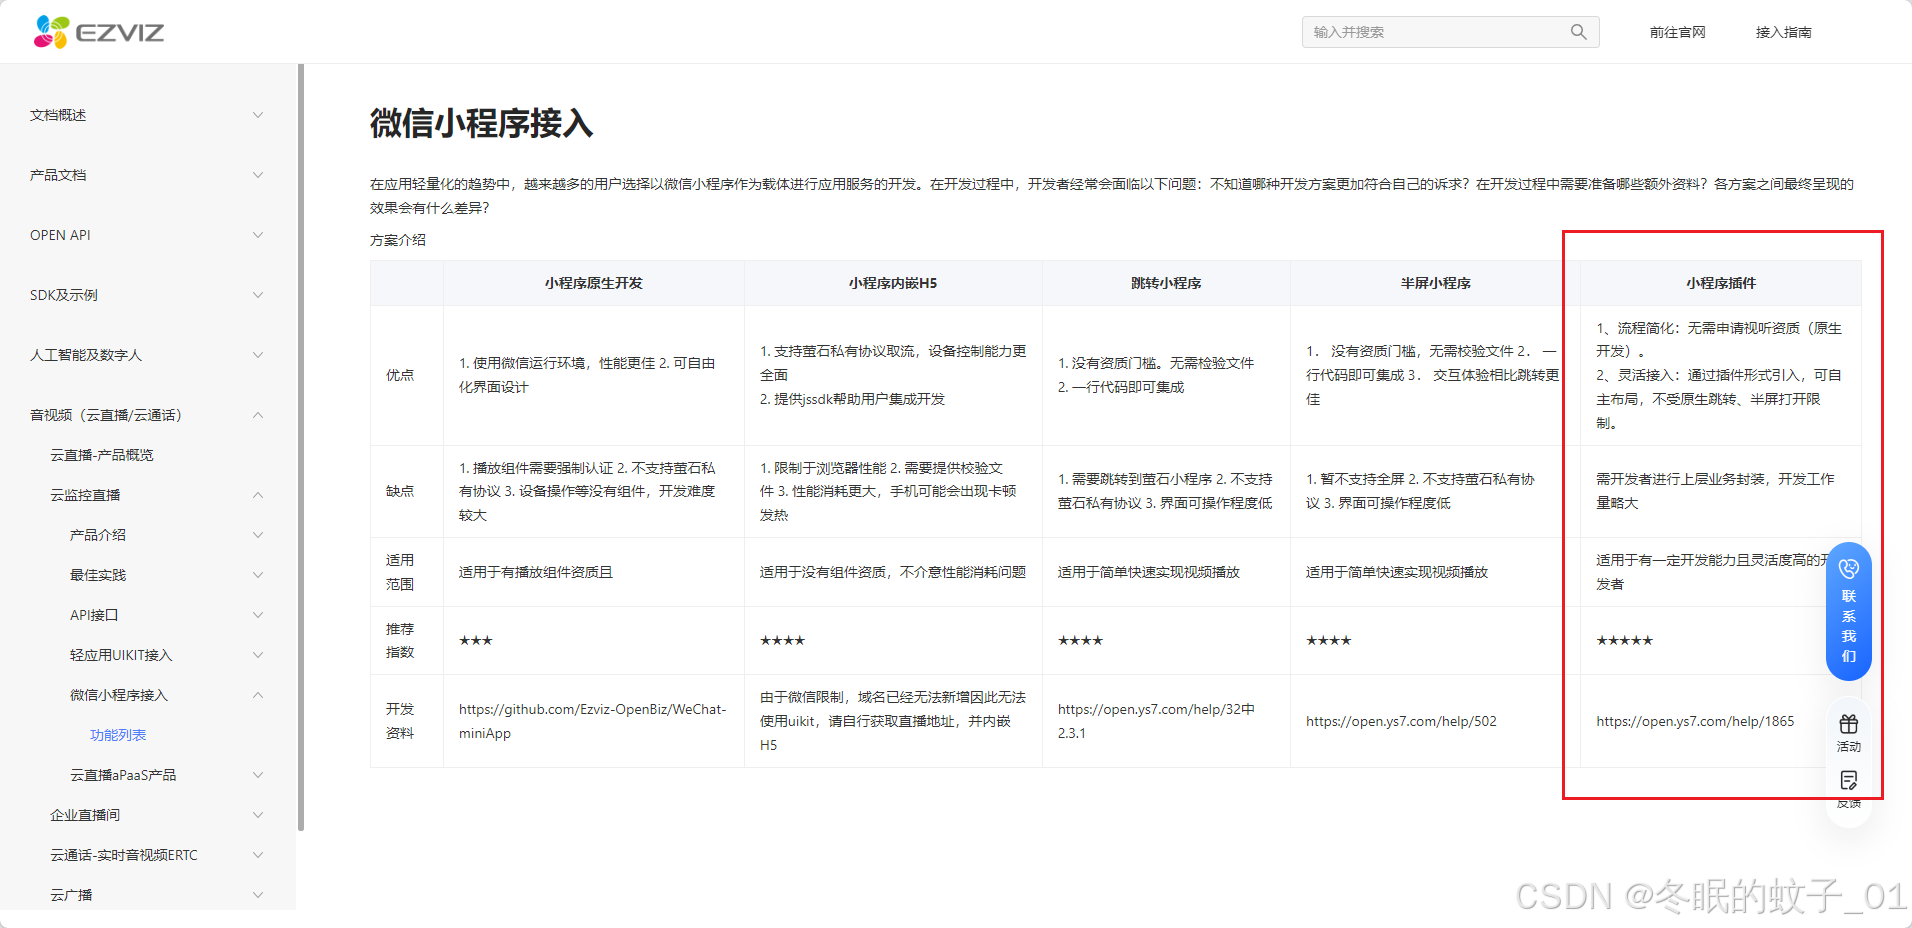
萤石云官网中有详细的方法教程:文档概述 · 萤石开放平台API文档
监控预览:
ezplayer中 我用到的参数配置就这几个,官网有非常详细的解释,这里就不说了
<view class="video_demo" v-if="ezstate" id="video_demo">
				<ezplayer id="ezplayer" :accessToken="accessToken" :url="ezplayerUrl" plugins="talk,capture,ptz"
					bind:handleError="handleError" />
</view>
监控预览其实非常简单,配对这两个参数传过去就ok了,如果像我这样有多个摄像头在同一页面切换的情况,可能会出现切换了设备,但是监控视频还是上一个的情况,这时候用v-if重新渲染即可。
监控回放:
监控回放也不难,但是官网文档没有教程 。 开始时间直接就是00:00:00就行,结束时间写23:59:59,占位即可,自带的插件会自己补时间。
第一步:
用的是uniapp自带的一个切换组件和选择日期组件
<uni-segmented-control :current="currentSeg" :values="itemSeg" :style-type="styleType" :active-color="activeColor"
				@clickItem="onClickItem" />

<view v-if="currentSeg === 1" style="padding: 0 20rpx; padding-bottom: 20rpx;">
			<uni-datetime-picker type="date" :clear-icon="false" v-model="singDate" @change="changeDate" />
		</view>
// 获取当前日期
onDateFn() {
const today = new Date();
const year = today.getFullYear();
const month = String(today.getMonth() + 1).padStart(2, '0'); // 月份从0开始,所以需要加1
const day = String(today.getDate()).padStart(2, '0');
const formattedDate = `${year}-${month}-${day}`;
this.singDate = formattedDate
},
// 选择日期
changeDate(e) {
// this.ezplayerUrl 是传给萤石云插件的url
let startIndex = this.ezplayerUrl.indexOf("local");
let result = this.ezplayerUrl.substring(0, startIndex + "local".length);
this.ezplayerUrl = `${result}${e} 00:00:00/${e} 23:59:59`
},
// 预览回放切换
onClickItem(e) {
this.currentSeg = e.currentIndex
this.ezstate = false
if (this.currentSeg === 0) {
this.typeE = 'live'
this.ezplayerUrl = this.ezplayerUrl.replace('local', 'live');
} else if (this.currentSeg === 1) {
this.typeE = 'local'
const ezUrl = this.ezplayerUrl.replace('live', 'local');
this.ezplayerUrl = `${ezUrl}/${this.singDate} 00:00:00/${this.singDate} 23:59:59`
}
setTimeout(() => {
this.ezstate = true
}, 500);
},


 1万+
1万+

 被折叠的 条评论
为什么被折叠?
被折叠的 条评论
为什么被折叠?
 到【灌水乐园】发言


