


Vs code+Vue+Element前端开发环境搭建
Vs code安装
- 下载可以访问Visual Studio Code的官方网站,但是由于是国外的镜像源下载很缓慢。

- 下载缓慢的解决方法
- 复制下载地址,将镜像源换为国内的( vscode.cdn.azure.cn)

- 安装过程很简单不过多赘述,自行安装即可。
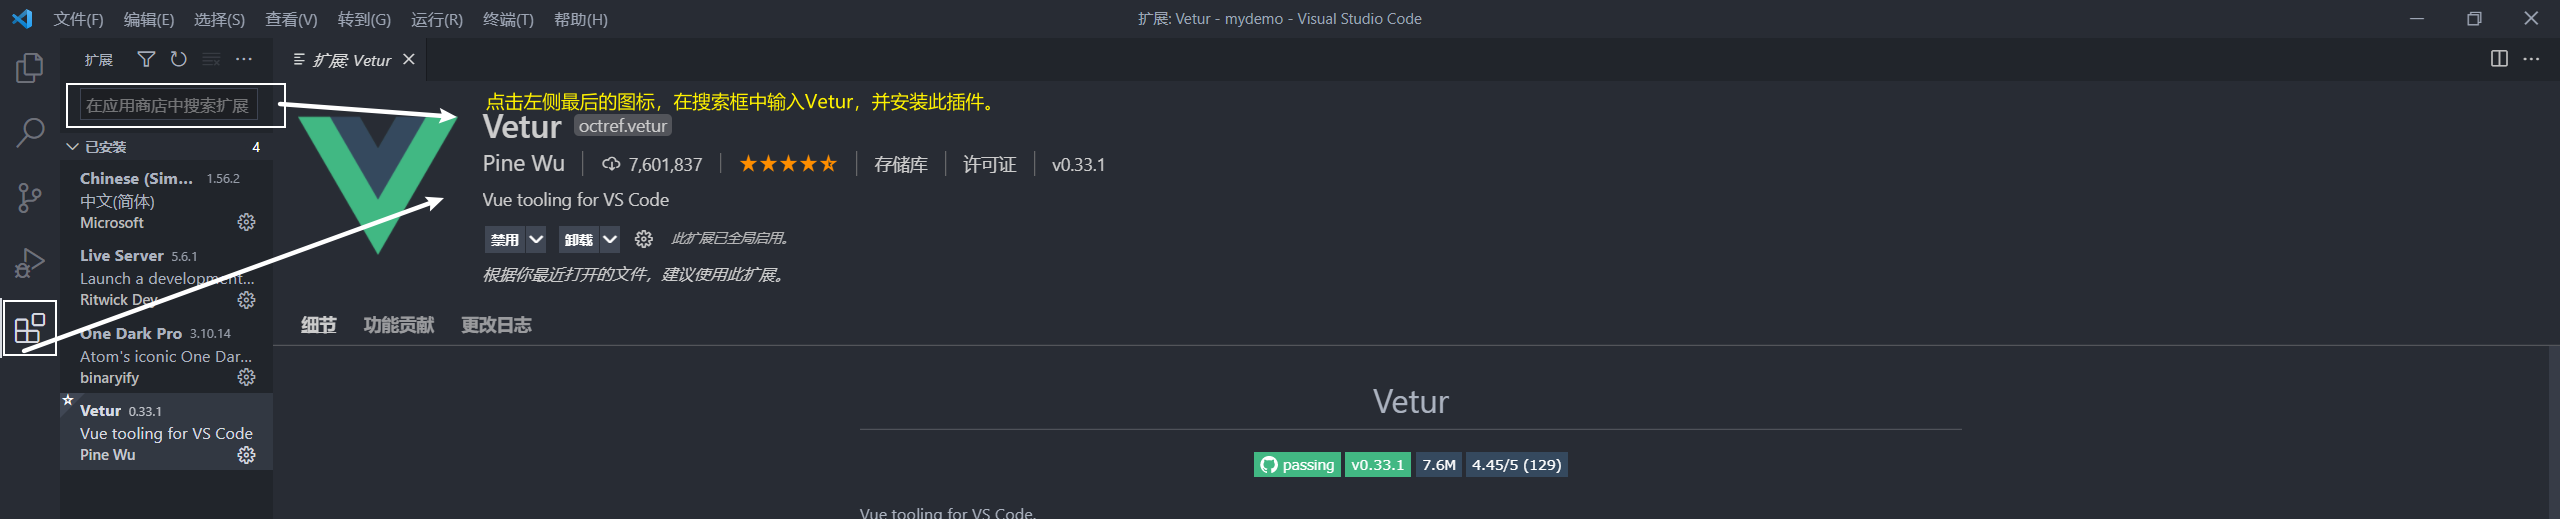
- VS code安装完成后,安装Vetur
Vue-Cli脚手架配置
- 首先打开cmd面板,输入:
npm install -g @vue/cli - 等待结束后,输入:
vue --version
正确出现这个时,即为安装成功

3. Vue项目创建(这里以进入E盘的MyUI文件夹创建项目为例)
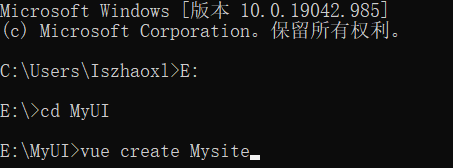
- 调出cmd面板,依次输入:
E:
cd MyUI
vue create name //name这里指的是项目名,项目名首字母不能大写,我这里大写了
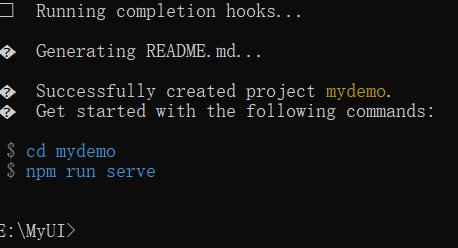
- enter后开始创建,如下图所示即为创建完成
- 使用Vs code打开我们刚刚创建的项目,如下图所示:
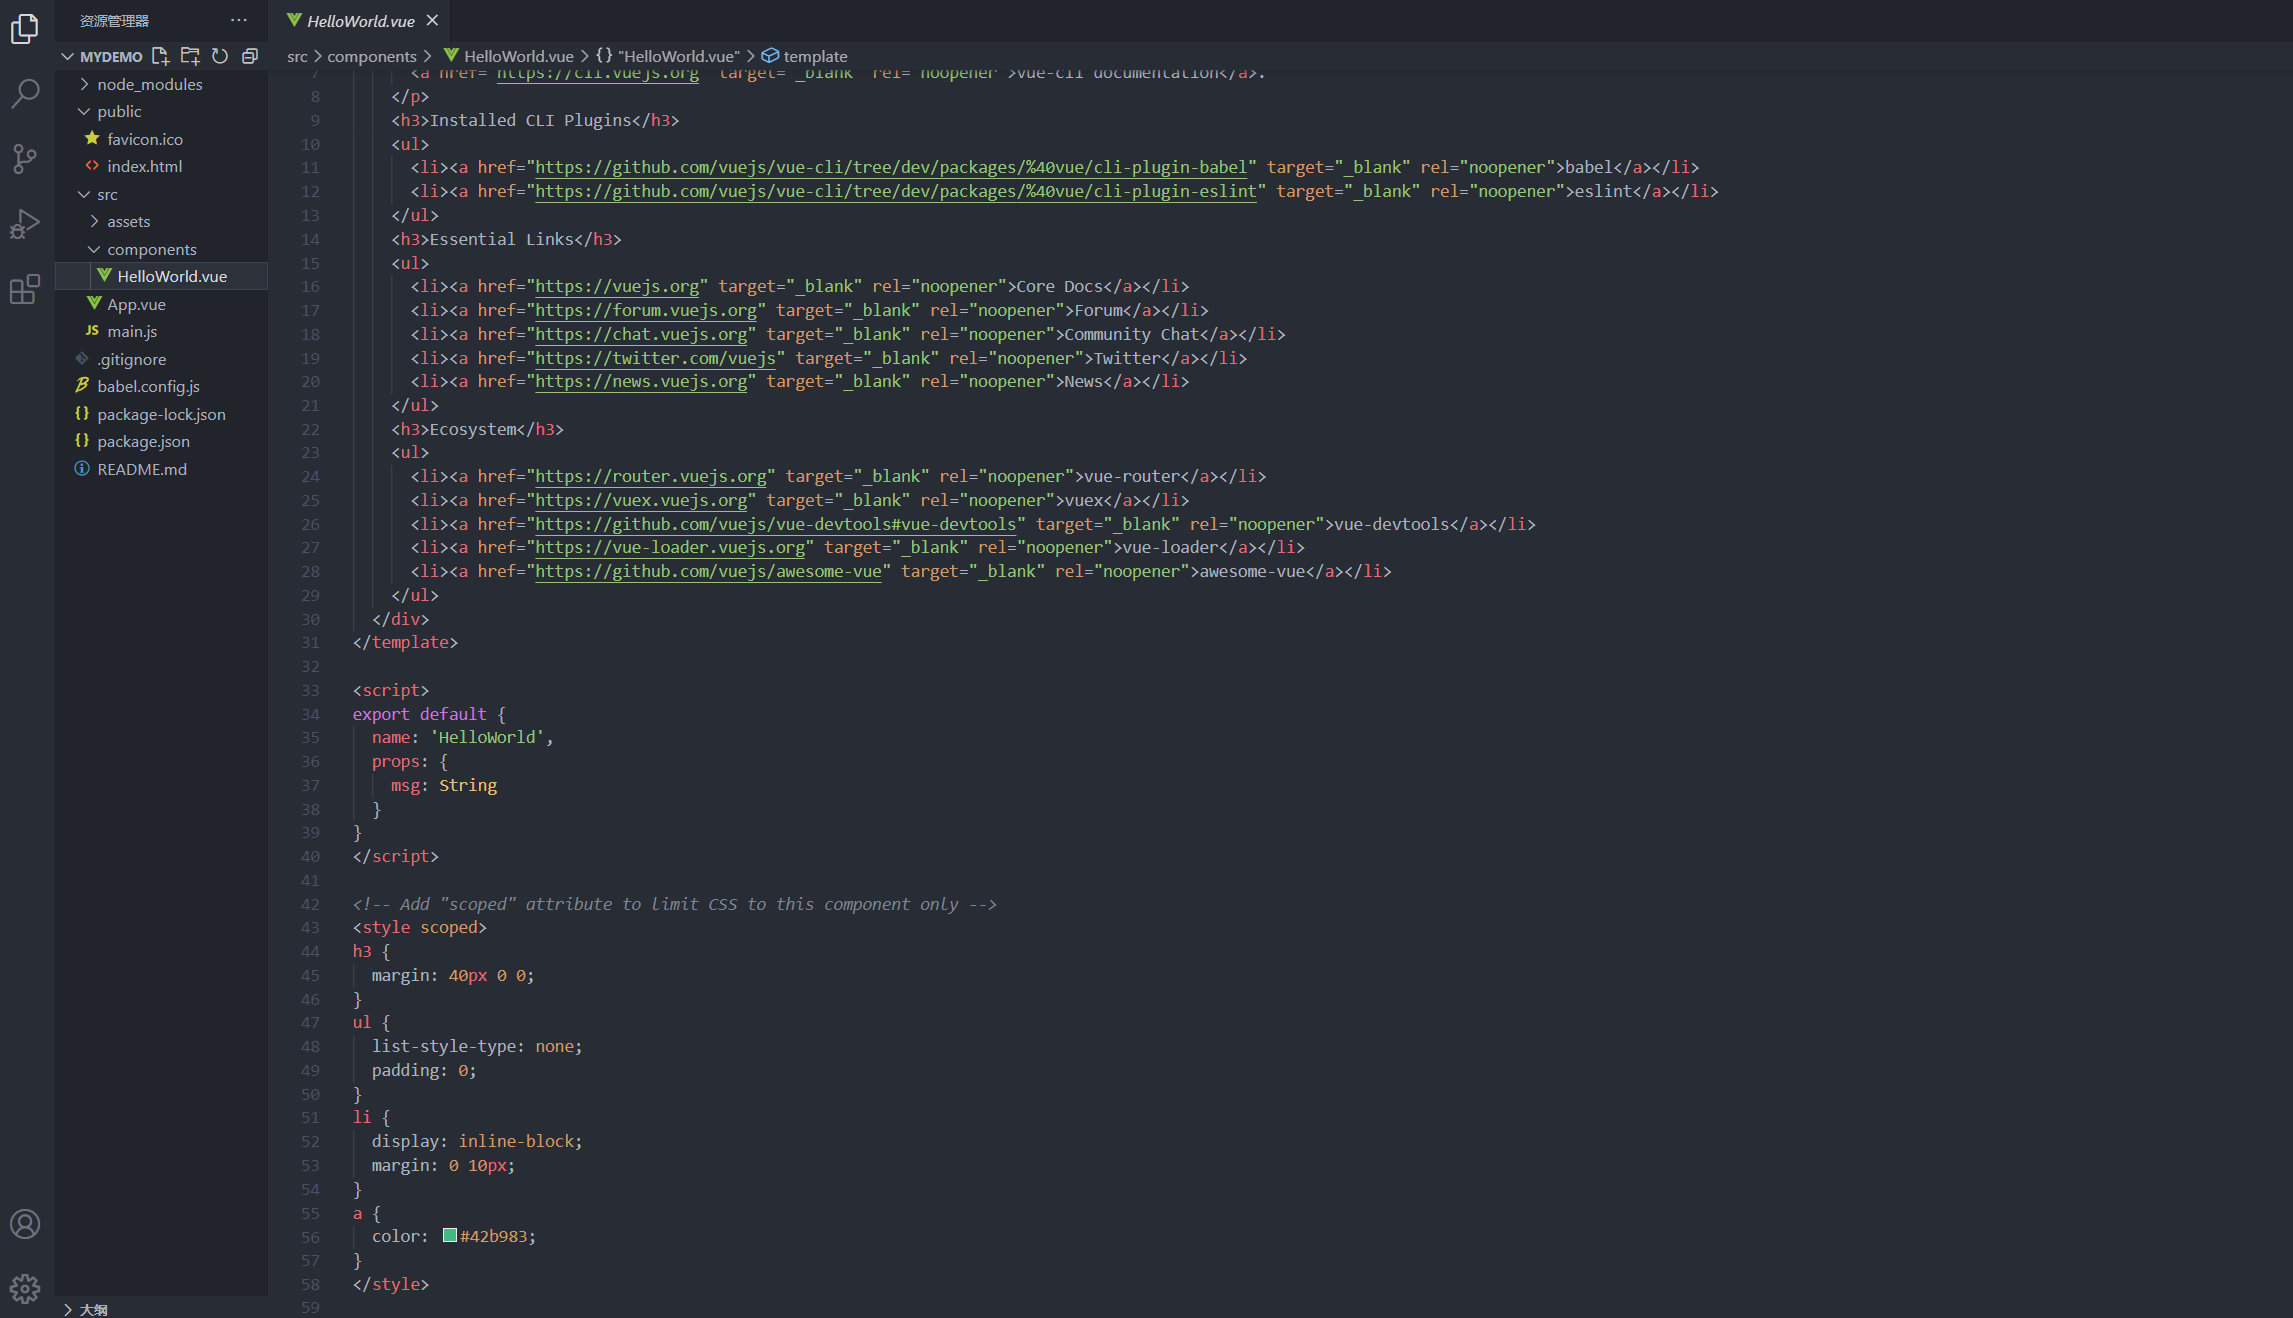
- 删除helloworld.vue文件,以及app.vue中与helloworld中的相关代码,app.vue中剩余代码如下所示:
<template>
  <div id="app">

  </div>
</template>

<script>
export default {
  name: 'App',

}
</script>

<style>
#app {
  font-family: Avenir, Helvetica, Arial, sans-serif;
  -webkit-font-smoothing: antialiased;
  -moz-osx-font-smoothing: grayscale;
  text-align: center;
  color: #2c3e50;
  margin-top: 60px;
}
</style>
安装element-ui
-
安装,打开Vs code的控制终端,输入:
npm i element-ui -S得到此图即为安装成功

-
在 webpack 入口页面 main.js 添加如下配置:
import ElementUI from 'element-ui';
import 'element-ui/lib/theme-chalk/index.css';
Vue.use(ElementUI);
修改后的main.js如下所示:
import Vue from 'vue'
import App from './App.vue'
import ElementUI from 'element-ui';
import 'element-ui/lib/theme-chalk/index.css';
Vue.use(ElementUI);
Vue.config.productionTip = false
new Vue({
  render: h => h(App),
}).$mount('#app')
安装router
- 安装,打开VS code的控制终端,输入:
得到此图即为安装成功npm install vue-router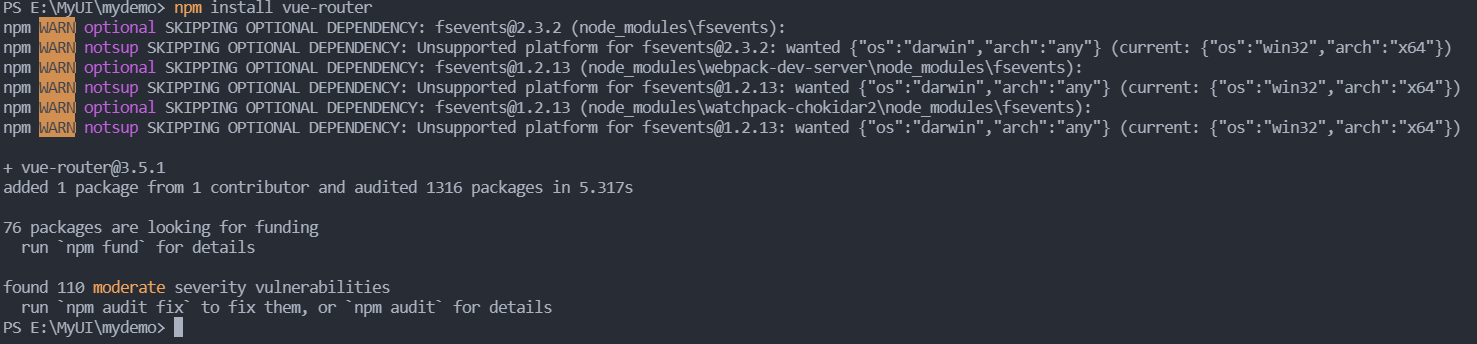
- 配置router
- 在项目的src文件夹下新建文件夹router和views,并在router文件夹下新建文件index.js,在views文件夹下新建test文件夹,并新建文件test.vue.
- 在router的index.js中添加路由
import Vue from "vue"; import VueRouter from "vue-router"; Vue.use(VueRouter); const routes = [ { path: "/", component: () => import('@/views/test/test'),//这里指向的是views文件夹下test文件夹中的文件test hidden: true }, ]; const router = new VueRouter({ mode: "history", base: process.env.BASE_URL, routes }); export default router; - 将main.js配置修改如下:
import Vue from 'vue' import App from './App.vue' import ElementUI from 'element-ui'; import 'element-ui/lib/theme-chalk/index.css'; import VueRouter from 'vue-router' import router from "./router"; Vue.config.productionTip = false; Vue.use(ElementUI); Vue.use(VueRouter); new Vue({ router, render: h => h(App), }).$mount('#app') - 在app.vue中添加路由容器:
app.vue中的代码如下:<router-view></router-view><template> <div id="app"> <router-view></router-view> </div> </template> <script> export default { name: "App", }; </script> <style> #app { font-family: Avenir, Helvetica, Arial, sans-serif; -webkit-font-smoothing: antialiased; -moz-osx-font-smoothing: grayscale; text-align: center; color: #2c3e50; margin-top: 60px; } </style>
项目运行
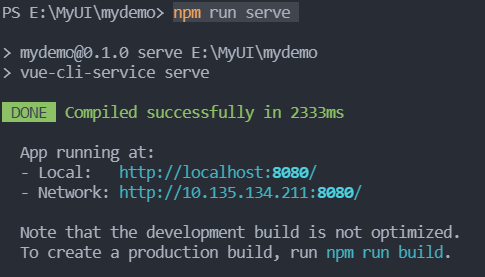
在Vs code的控制台输入:npm run serve
控制台显示如下,即为成功运行,按住ctrl并单击即可访问浏览器,显示的是一个空白页面。


 1535
1535


 被折叠的 条评论
为什么被折叠?
被折叠的 条评论
为什么被折叠?
 到【灌水乐园】发言


