


Props
props是什么?
props是properties(属性、性能)的缩写,我们可以通过他把任意类型的数据传递给组件。
大部分组件从Props获取数据并渲染
他是只读的!!!
来看一个例子
var Comment=React.createClass({
    render:function(){
            return (
                <div className = "comment" >
                    <h2 className="commentAuthor">
                        {this.props.author}
                    </h2>
                    <p className="commentContent">{this.props.children}</p>
                </div>
                );
        }
    })

React.render(
    <Comment author="Liz">
    Hello!world.
    </Comment>,
    document.getElementById('container')
);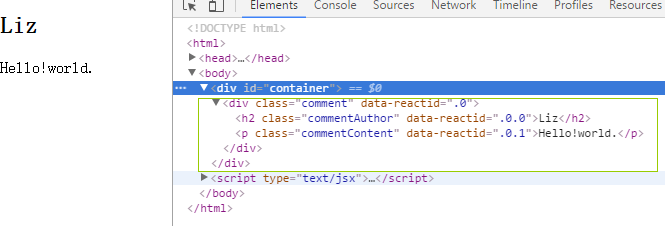
很明显,在Comment组件里,我们通过this.props.author获取到了<Comment author="Liz">Hello!world. </Comment>里author的值。通过{this.props.children}获取到了<Comment author="Liz">Hello!world. </Comment>内部的值。
this.props在控制台打印出来是这样的

设置Props
之前已经强调过Props是只读的。所以设置Props分成两个阶段。
预定义Props
- 使用jsx在render()里直接把props设置为字符串,如刚才的例子一样
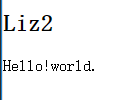
<Comment author="Liz">Hello!world. </Comment>。 - 使用{}语法,比如
<Comment author={"Liz"+2}>Hello!world. </Comment>。
- 使用jsx的解构语法
- 使用jsx在render()里直接把props设置为字符串,如刚才的例子一样
组组件已经被render(),修改Props.
var Comment=React.createClass({
    render:function(){
        return (
            <div className="comment">
                <h2 className="commentAuthor">
                    {this.props.author}
                </h2>
                <p className="commentContent">{this.props.children}</p>
            </div>
            );
        }
    })
var reAuthor=React.render(
    <Comment author="Liz">halo</Comment>,
    document.getElementById('container')
);
reAuthor.setProps({author:'cyt'});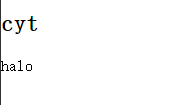
我们得到的是cyt,而不是Liz.
只能在子组件或组件树外调用setProps
State
state是什么?
有时需要对用户输入、服务器请求或者时间变化等作出响应,这时才需要使用 State.React 里,只需更新组件的 state,然后根据新的 state 重新渲染用户界面.
State 应该包括那些可能被组件的事件处理器改变并触发用户界面更新的数据.


 4975
4975

 被折叠的 条评论
为什么被折叠?
被折叠的 条评论
为什么被折叠?
 到【灌水乐园】发言


