


文章目录
一、什么是微服务
微服务:架构风格(服务微化)
一个应用应该是一个小型程序,可以通过http请求实现
每一个功能元素都是一个可独立替换和独立升级的软件单元
微服务官网:https://martinfowler.com/articles/microservices.html
二、Springboot的Hello world
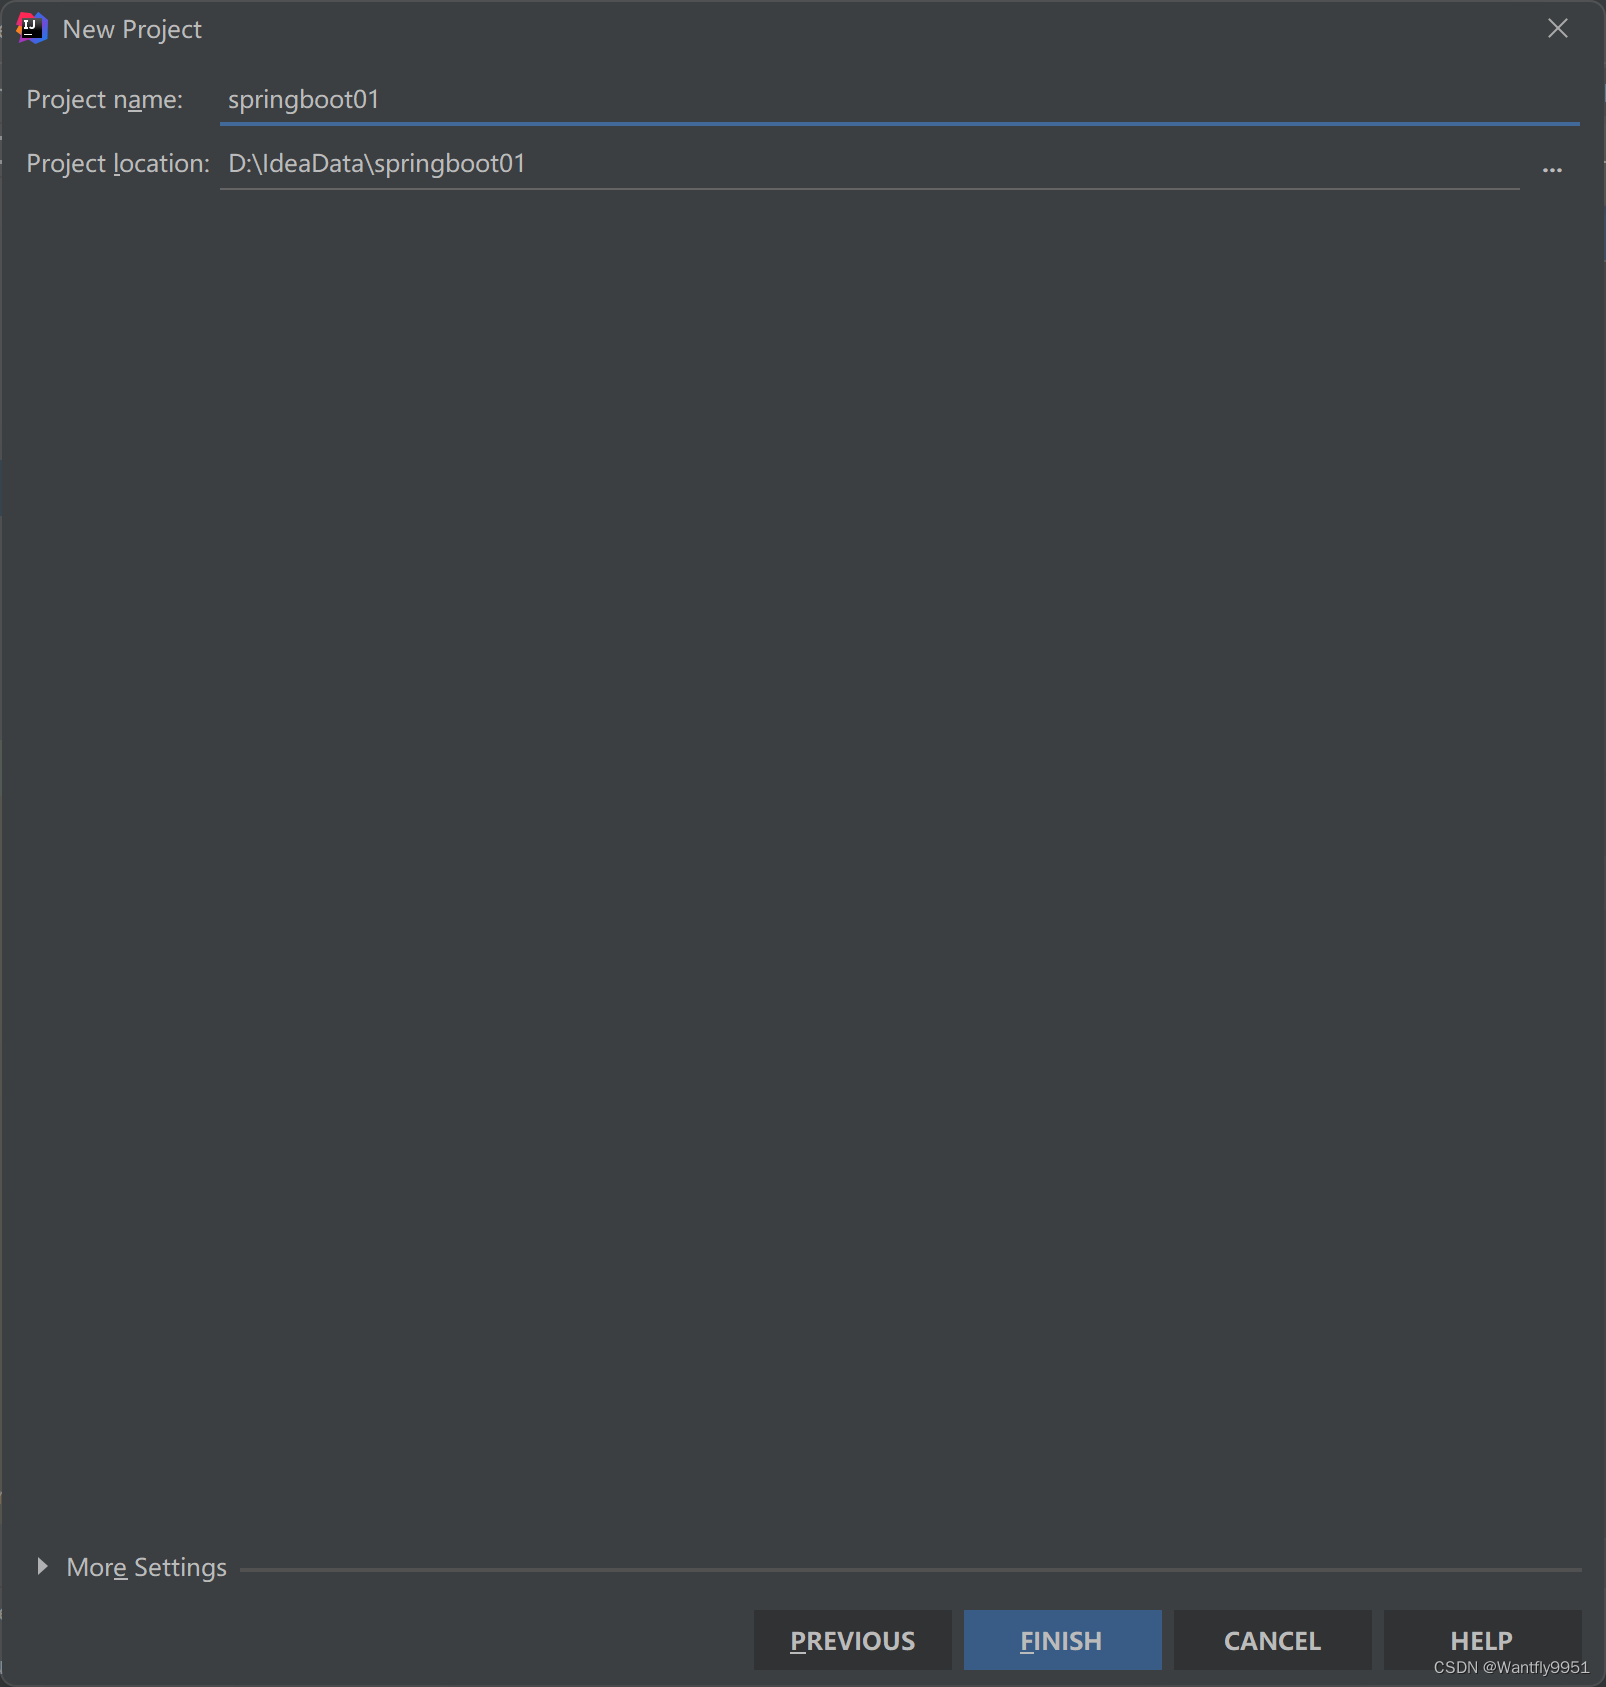
1、创建maven项目
2、导入springboot相关的依赖
<?xml version="1.0" encoding="UTF-8"?>
<project xmlns="http://maven.apache.org/POM/4.0.0"
         xmlns:xsi="http://www.w3.org/2001/XMLSchema-instance"
         xsi:schemaLocation="http://maven.apache.org/POM/4.0.0 http://maven.apache.org/xsd/maven-4.0.0.xsd">
    <modelVersion>4.0.0</modelVersion>

    <groupId>org.example</groupId>
    <artifactId>SpringbootChap1</artifactId>
    <version>1.0-SNAPSHOT</version>

    <properties>
        <maven.compiler.source>8</maven.compiler.source>
        <maven.compiler.target>8</maven.compiler.target>
    </properties>
    <parent>
        <groupId>org.springframework.boot</groupId>
        <artifactId>spring-boot-starter-parent</artifactId>
        <version>2.7.5</version>
    </parent>
    <dependencies>
        <dependency>
            <groupId>org.springframework.boot</groupId>
            <artifactId>spring-boot-starter-web</artifactId>
        </dependency>
    </dependencies>

</project>
3、编写主程序
package kawin;

import org.springframework.boot.SpringApplication;
import org.springframework.boot.autoconfigure.SpringBootApplication;

//标注一个主程序 说明这是一个Springboot应用 这个类也就是springboot的配置类
@SpringBootApplication
public class HelloSpringBoot {
    public static void main(String[] args) {
        SpringApplication.run(HelloSpringBoot.class,args);
    }
}
4、编写逻辑业务
package kawin;

import org.springframework.stereotype.Controller;
import org.springframework.web.bind.annotation.RequestMapping;
import org.springframework.web.bind.annotation.ResponseBody;

@Controller
public class HelloController {

    @ResponseBody
    @RequestMapping("/hello")
    public String hello(){
        return "Hello world";
    }
}
三、打jar包 运行
1、导入插件
    <dependencies>
        <dependency>
            <groupId>org.springframework.boot</groupId>
            <artifactId>spring-boot-maven-plugin</artifactId>
            <version>2.7.1</version>
        </dependency>
    </dependencies>
    <build>
        <plugins>
<!--            可以将应用打成一个可执行jar包-->
            <plugin>
                <groupId>org.springframework.boot</groupId>
                <artifactId>spring-boot-maven-plugin</artifactId>
            </plugin>
        </plugins>
    </build>
2、插件打包
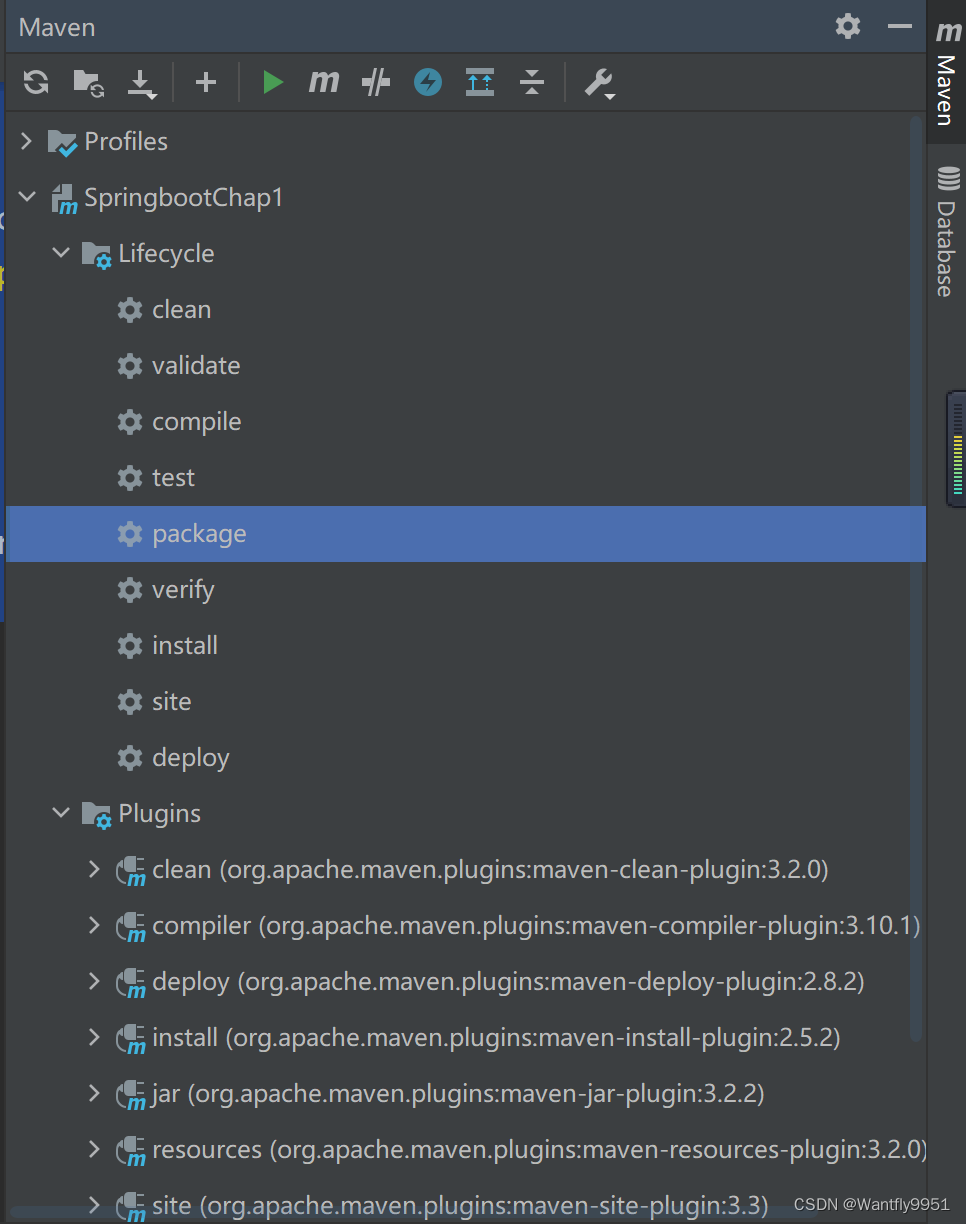
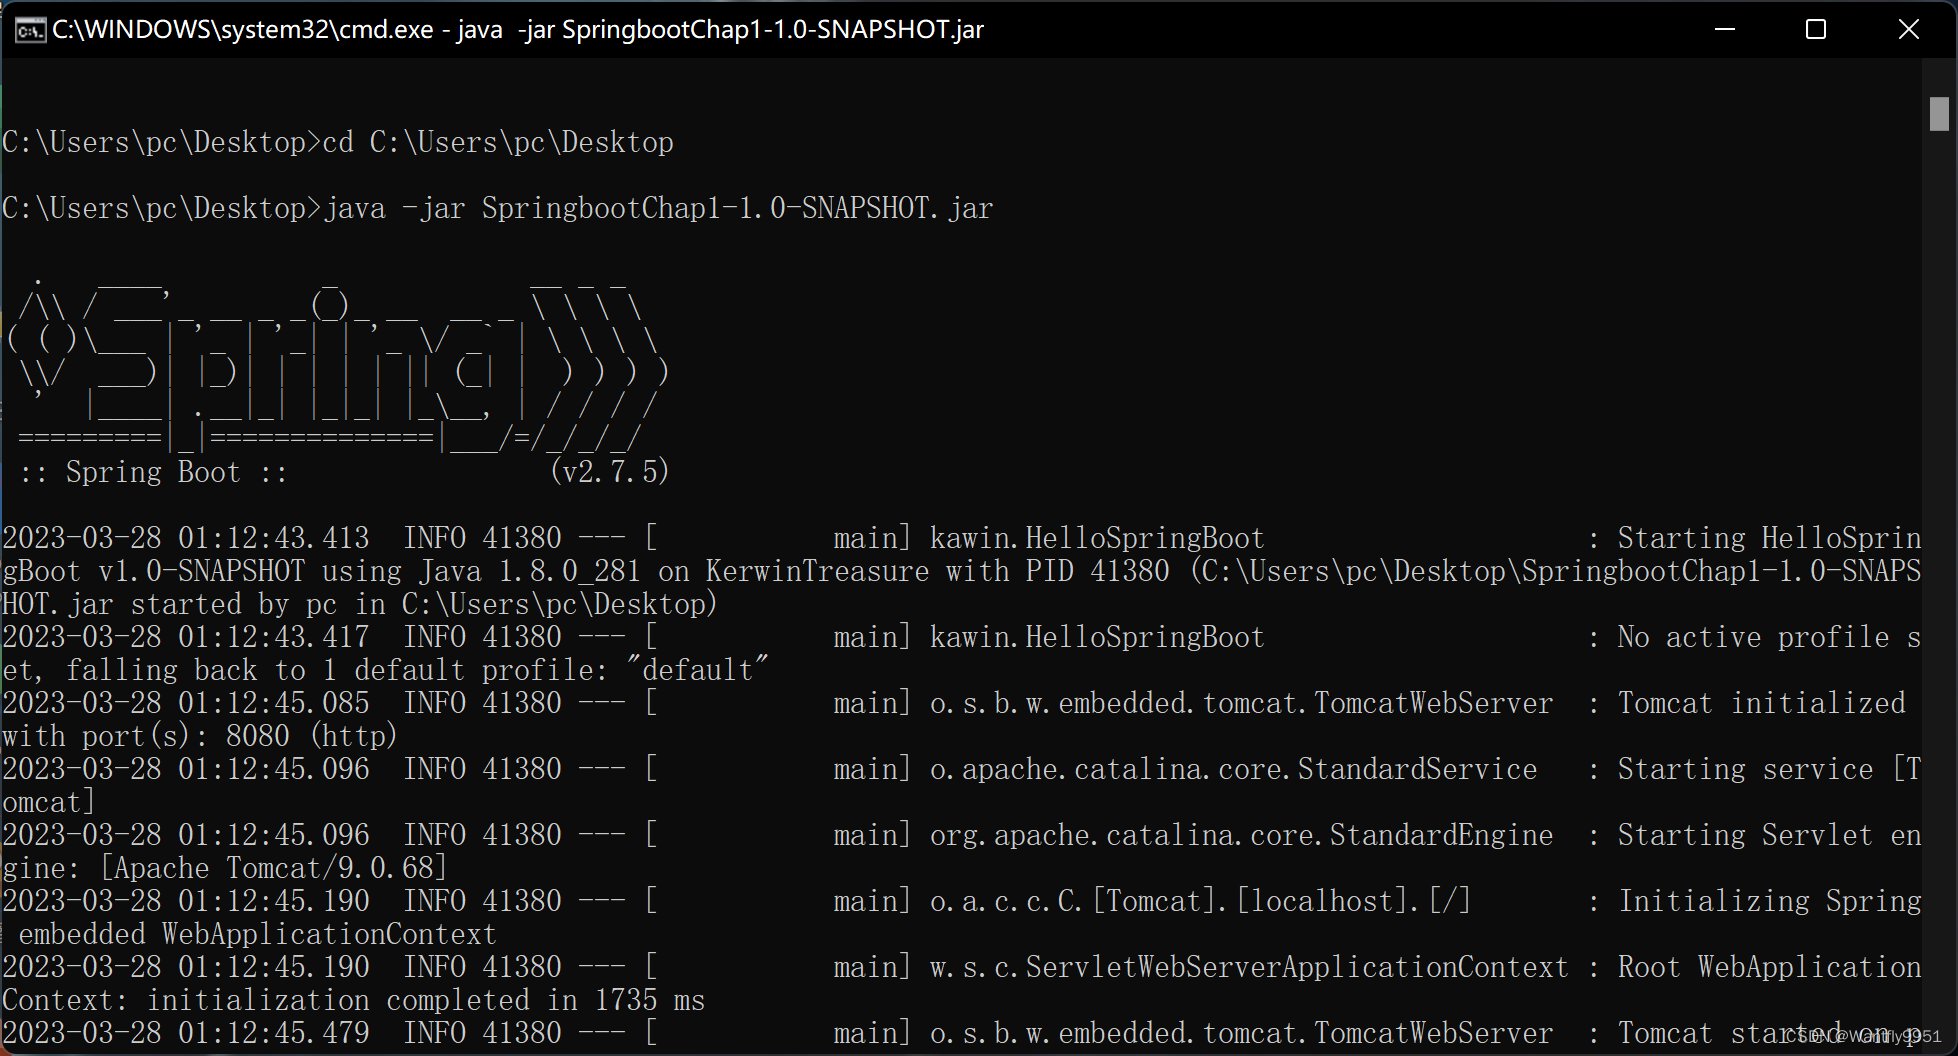
3、打包达到target目录中,取出来运行jar包
四、进一步分析hello world
spirng-boot-starter:springboot的场景启动器,帮助我们导入了web正常运行所依赖的组件
主要的依赖来源于
    <parent>
        <groupId>org.springframework.boot</groupId>
        <artifactId>spring-boot-starter-parent</artifactId>
        <version>2.7.5</version>
    </parent>
parent主要的依赖是来源于spring-boot-dependencies
springboot将一个个依赖抽取出来做成一个个启动器,只需要在项目里面引用这些启动器,则可以两对应的场景引入进来,需要什么功能就引入什么启动器
@SpringBootApplication标注一个类是springboot的配置类,调用这个类的main方法运行springboot
@SpringBootConfiguration:代表是springboot的配置类 也就是相当于配置文件 本质上用的是@Configuration注解来实现的 配置类也是一个组件,使用的是@Component注解
@EnableAutoConfiguration:开启自动配置功能 自动帮我配置类似SSM的配置操作
@AutoConfigurationPackage 自动配置包
@Import({AutoConfigurationImportSelector.class})
自动配置扫描的包是主配置类所在包下的包和组件
Springboot启动的时候在类路径下spring.factories中获取EnableAutoConfiguration指定的值,将这些值作为自动配置导入到容器中,自动配置类就生效,自动进行配置工作
五、Springboot Initializer快速创建Springboot项目
1、直接创建
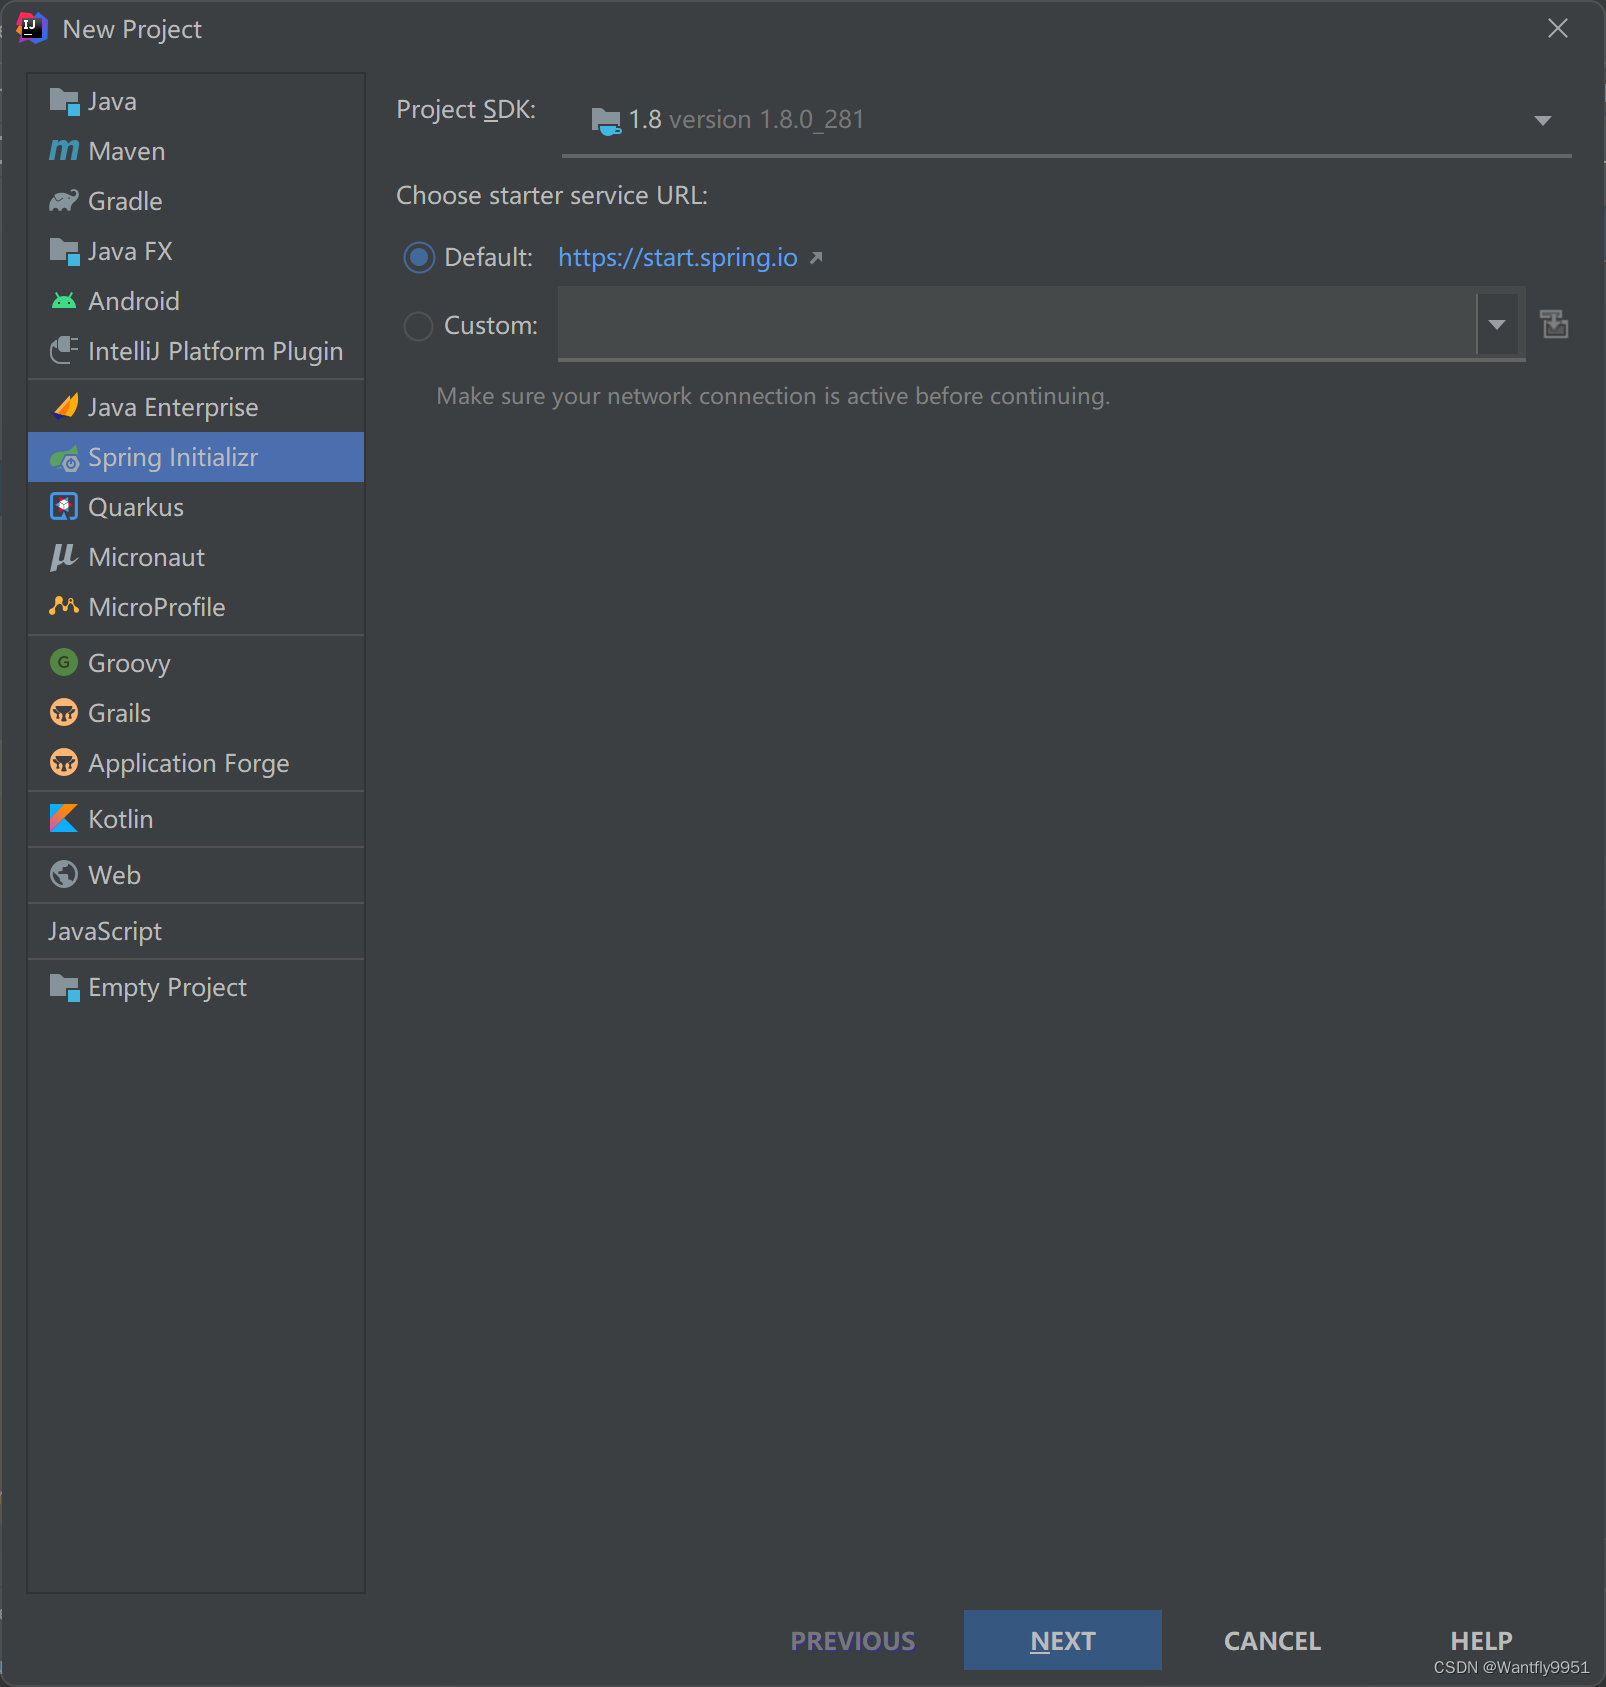
2、配置
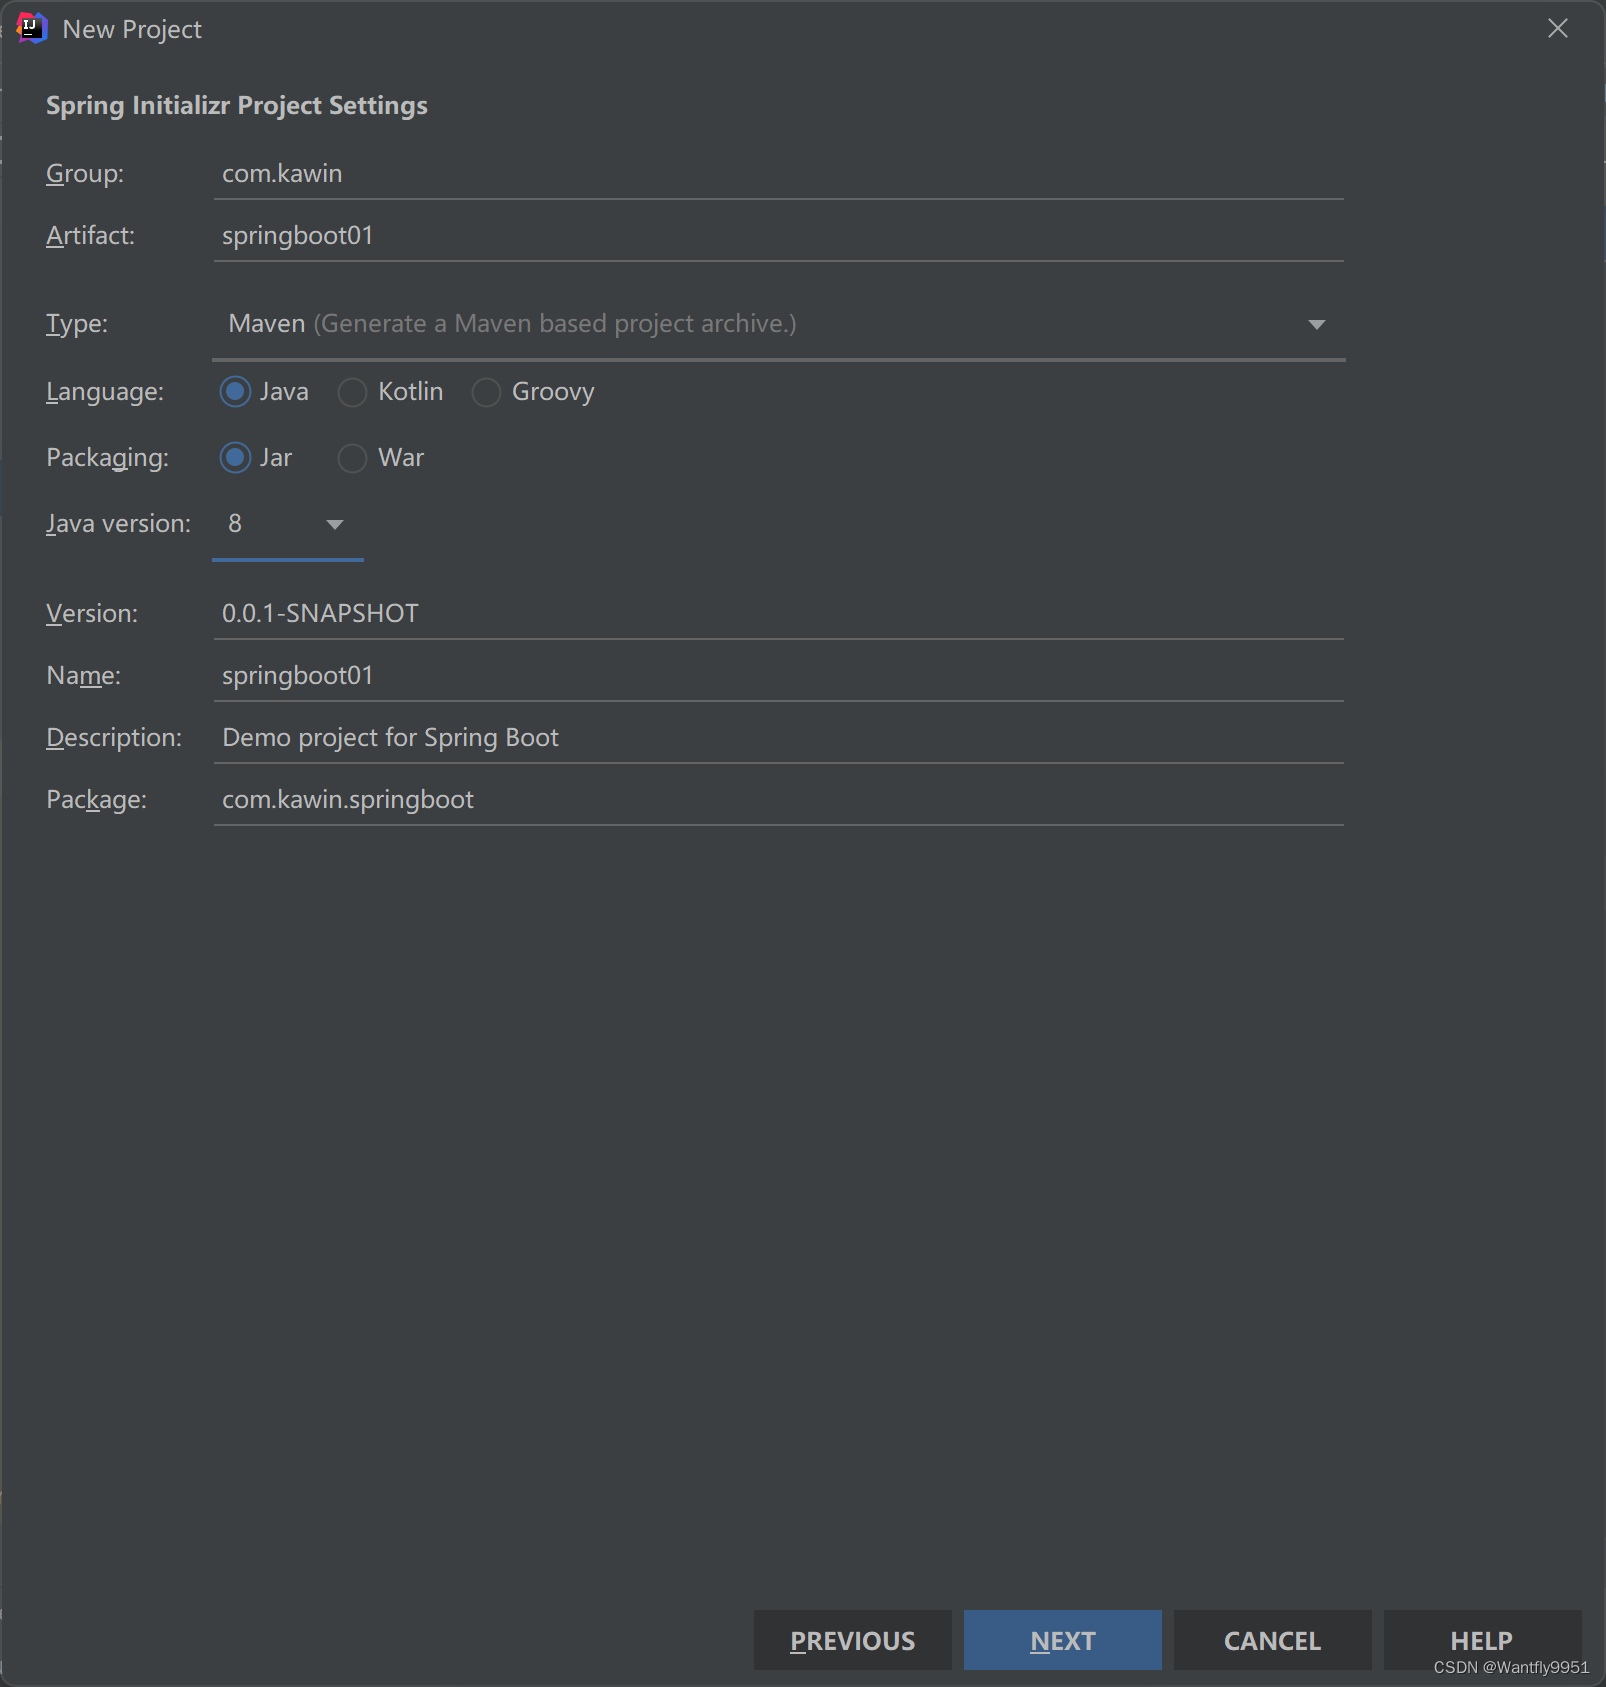
3、选择场景

4、确认路径
5、最后向导联网创建springboot项目
6、maven的重新导入依赖选项
六、Springboot常识
RestController=Controller+ResponseBody
resources文件中目录结构
	static:保存所有的静态资源 js css images
	templates:保存所有的模块页面(Springboot默认jar包使用嵌入式tomcat,默认不支持JSP页面)
		可以使用模板引擎(freemarker、thymeleaf)
	application.properties:Springboot应用的配置文件,可以修改一些默认设置
七、Springboot配置文件
Springboot有两种配置文件 配置文件的名字是固定的
application.properties和application.yml
配置文件的作用就是用来修改springboot自动配置的默认值
yml文件用的是YAML语言,YAML语言以数据为中心,更适合作为配置文件
八、YAML语法
1、YAML基础语法
key:(空格)value表示一对键值对
使用缩进表示层级关系
缩进时不允许使用tab,只允许使用空格
缩进的空格数目不重要,只要相同层级的元素左侧对齐即可
属性和值都是大小写敏感
2、YAML支持的三种数据结构
对象、Map:键值对的集合
	在下一行缩进来写对象的属性和值的关系
	还可以行内写法
	friend: {name: zhangsan,age 18}
数组:一组按次序排列的值 List、Set
	用值来表示数组中的一个元素
	也可以行内写法
	man: [zhangsan,lisi,wangwu]
字面量:单个的、不可再分的值	普通的值(数字、字符串、布尔)
	写法:直接写 字符串不需要加引号
		加上""则不会转义字符串的特殊字符
		加上''则会转移字符串的字符
package com.example.springstudy1.pojo;


import lombok.Data;
import org.springframework.boot.context.properties.ConfigurationProperties;
import org.springframework.stereotype.Component;

import java.util.Date;
import java.util.List;
import java.util.Map;
import java.util.Objects;
/*
将配置文件中配置的每一个属性 映射到这个组件中
prefix 指定配置文件中的哪一个下的所有属性 进行一一配置

只有这个组件是容器中的组件 才能使用容器提供的功能

 */
@Data
@Component
@ConfigurationProperties(prefix = "person")
public class Person {
    private String name;
    private int age;
    private boolean boss;
    private Date birth;

    private Map<String, String> maps;
    private List<String> lists;
    private Dog dog;

}
package com.example.springstudy1.pojo;


import lombok.Data;
import org.springframework.stereotype.Component;

@Data
@Component
public class Dog {
    private String name;
    private int age;

}
#配置端口号
server:
  port: 8080

person:
  name: zhangsan
  age: 18
  boss: true
  birth: 2022/01/02
  maps: {k1:v1,k2:v2}
  lists:
    - lisi
    - zhaoliu
  dog:
    name: wangwang
    age: 10
package com.example.springstudy1;

import com.example.springstudy1.pojo.Person;
import org.junit.jupiter.api.Test;
import org.springframework.beans.factory.annotation.Autowired;
import org.springframework.boot.test.context.SpringBootTest;

@SpringBootTest
class SpringStudy1ApplicationTests {
	@Autowired
	Person person;

	@Test
	void contextLoads() {
		System.out.println(person.toString());
	}

}
九、Properties配置文件
松散绑定(松散语法)
属性名匹配规则
person.firstName 标准方式
person,first-name 大写用-
person.first_name 大写用_
PERSON_FIRST_NAME 推荐系统属性用这个写法
@ConfigurationProperties
1、批量注入
2、支持松散绑定
3、不支持spEL
4、与@Bean结合为属性赋值
5、与@PropertySource结合读取指定文件
6、支持JSR303校验 比如@Email
7、支持复杂类型封装
8、需要进行映射则用@ConfigurationProperties  更好点
@Value
1、一个个指定
2、不支持松散绑定
3、支持spEL
4、不支持JSR303校验
5、不支持复杂类型封装
6、只是需要获取配置文件中的值用@Value
#server.port=8080

# idea properties 默认 utf-8 编码
# 设置person的值
person.name=zhangsan
person.age=20
person.birth=2017/12/23
person.boss=false
person.maps.k1=v1
person.maps.k2=v2
person.lists=1,2,3
person.dog.name=dog
person.dog.age=1
@Data
@Component
@ConfigurationProperties(prefix = "person")
public class Person {
    @Value("zhangsan")
    private String name;
    private int age;
    private boolean boss;
    private Date birth;

    private Map<String, String> maps;
    private List<String> lists;
    private Dog dog;

}
十、@PropertySource和@ImportResource
@PropertySource 加载指定的配置文件
@Data
@Component
@PropertySource(value = {"classpath:person.properties"})
@ConfigurationProperties(prefix = "person")
public class Person {
    @Value("zhangsan")
    private String name;
    private int age;
    private boolean boss;
    private Date birth;

    private Map<String, String> maps;
    private List<String> lists;
    private Dog dog;

}
@ImportResource 导入Spring的配置文件,让配置文件的内容生效
自己写的配置文件是没有加载进去,也不会自动识别
想让Spring配置文件生效,则需要将配置文件加载进去
	@Test
	void contextloads(){
		boolean helloService = ioc.containsBean("helloService");
		System.out.println(helloService);
	}
<?xml version="1.0" encoding="UTF-8"?>
<beans xmlns="http://www.springframework.org/schema/beans"
       xmlns:xsi="http://www.w3.org/2001/XMLSchema-instance"
       xsi:schemaLocation="http://www.springframework.org/schema/beans http://www.springframework.org/schema/beans/spring-beans.xsd">
    <bean id="helloService" class="com.example.springstudy1.Service.HelloService"></bean>

</beans>
package com.example.springstudy1;

import org.springframework.boot.SpringApplication;
import org.springframework.boot.autoconfigure.SpringBootApplication;
import org.springframework.context.annotation.ImportResource;

// 导入spring配置文件
@ImportResource(locations = {"classpath:beans.xml"})
@SpringBootApplication
public class SpringStudy1Application {

	public static void main(String[] args) {
		SpringApplication.run(SpringStudy1Application.class, args);
	}

}


 206
206


 被折叠的 条评论
为什么被折叠?
被折叠的 条评论
为什么被折叠?
 到【灌水乐园】发言


