


简介
本文主要介绍了基于CNN(卷积神经网络)算法的一个表情识别系统。基于CNN算法的表情识别系统是一个能够自动识别人脸表情的计算机应用程序。该系统主要的实现思路是使用卷积神经网络(CNN)对人脸图像进行分类。CNN是一种深度学习算法,最初应用于图像识别。CNN能够通过多层卷积和池化层,自动提取图像的特征,并根据这些特征进行分类。利用该算法,表情识别系统能够对人脸图像进行特征提取和分类,从而实现对人脸表情的自动识别。
实现流程
数据获取
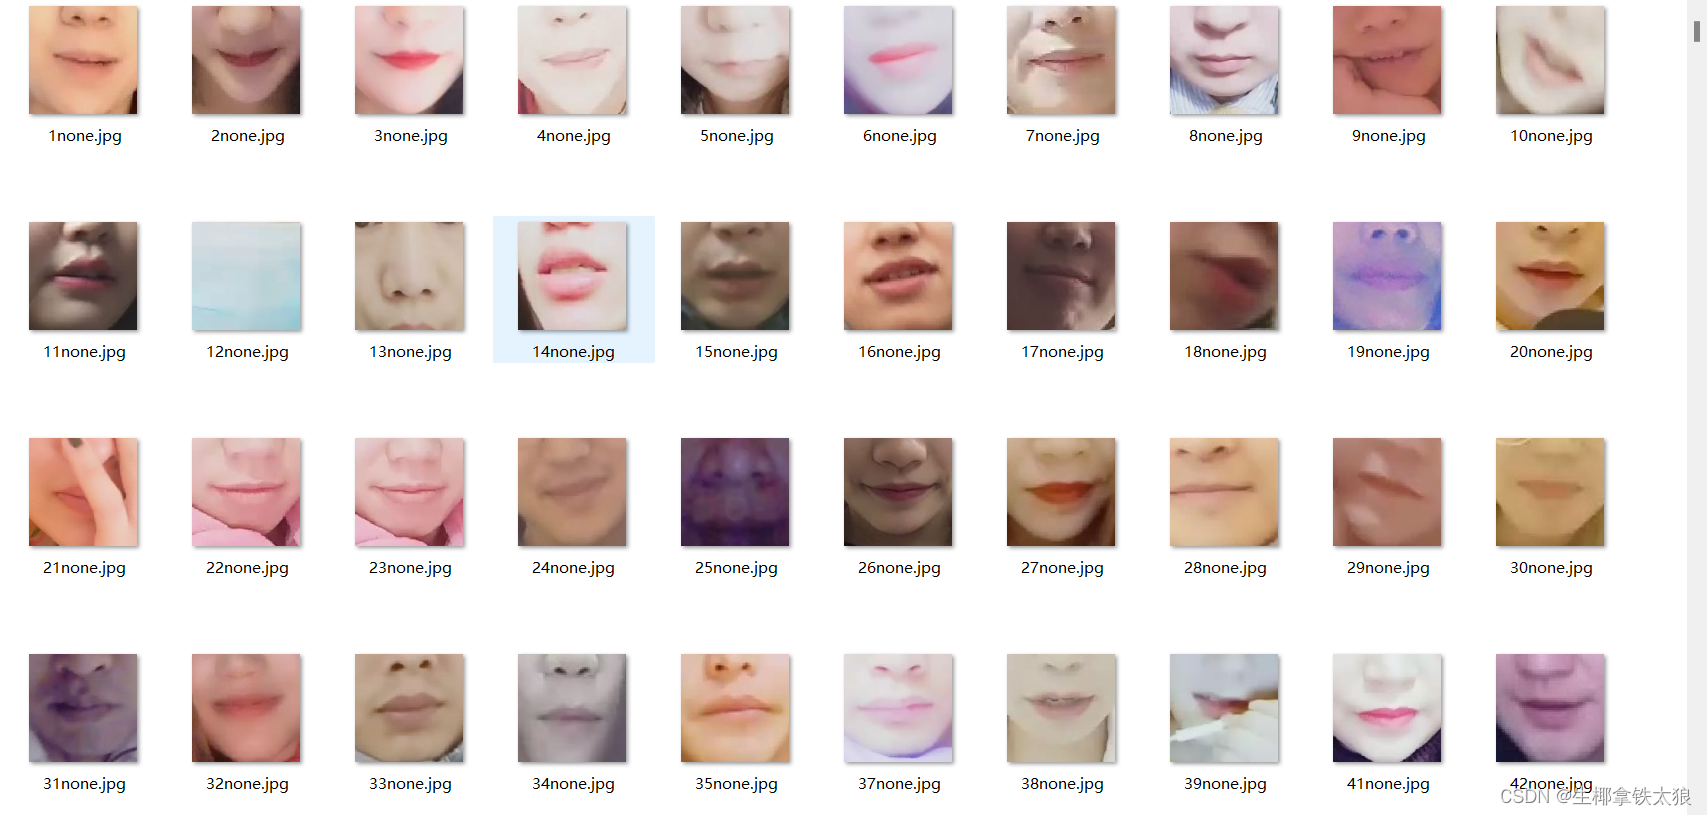
数据集来源于阿里云天池人工智能学习平台,该数据集包含了四种表情下的嘴唇的截取图像,并且不同类别的图像放在了不同的文件夹中。
数据预处理
我们获取到之后,先对数据进行预处理,对其进行数据增强,得到更多的训练数据。
    # 对数据进行预处理
    data_transforms = {
        'train': transforms.Compose([
            transforms.RandomResizedCrop(48),
            transforms.RandomHorizontalFlip(),
            transforms.ToTensor(),
            transforms.Normalize([0.5, 0.5, 0.5], [0.5, 0.5, 0.5])
        ]),
        'val': transforms.Compose([
            transforms.Resize(64),
            transforms.CenterCrop(48),
            transforms.ToTensor(),
            transforms.Normalize([0.5, 0.5, 0.5], [0.5, 0.5, 0.5])
        ]),
    }

    data_dir = './train_val_data/'
    image_datasets = {x: datasets.ImageFolder(os.path.join(data_dir, x),
                                              data_transforms[x]) for x in ['train', 'val']}
    dataloders = {x: torch.utils.data.DataLoader(image_datasets[x],
                                                 batch_size=64,
                                                 shuffle=True if x == "train" else False,
                                                 num_workers=8) for x in ['train', 'val']}

    dataset_sizes = {x: len(image_datasets[x]) for x in ['train', 'val']}
特征提取+模型训练
我们先构建一个三层的CNN卷积神经网络用来提取特征。
class simpleconv3(nn.Module):
    """三层卷积"""
    def __init__(self):
        super(simpleconv3,self).__init__()
        self.conv1 = nn.Conv2d(3, 12, 3, 2)
        self.bn1 = nn.BatchNorm2d(12)
        self.conv2 = nn.Conv2d(12, 24, 3, 2)
        self.bn2 = nn.BatchNorm2d(24)
        self.conv3 = nn.Conv2d(24, 48, 3, 2)
        self.bn3 = nn.BatchNorm2d(48)
        self.fc1 = nn.Linear(48 * 5 * 5 , 1200)
        self.fc2 = nn.Linear(1200 , 128)
        self.fc3 = nn.Linear(128 , 4)

    def forward(self , x):
        """运行操作"""
        x = F.relu(self.bn1(self.conv1(x)))
        x = F.relu(self.bn2(self.conv2(x)))
        x = F.relu(self.bn3(self.conv3(x)))
        x = x.view(-1 , 48 * 5 * 5)
        x = F.relu(self.fc1(x))
        x = F.relu(self.fc2(x))
        x = self.fc3(x)
        return x
然后将数据输入模型进行训练,对关键面部特征检测器(shape_predictor_68_face_landmarks.dat)进行拟合,训练完之后将模型保存。
def train_model(model, criterion, optimizer, scheduler, num_epochs=25): # 模型、标准、优化器、调度器、批次数据量
    """训练模型"""
    for epoch in range(num_epochs):
        print('Epoch {}/{}'.format(epoch, num_epochs - 1))
        for phase in ['train', 'val']:
            if phase == 'train':
                scheduler.step()
                model.train(True)
            else:
                model.train(False)

            running_loss = 0.0
            running_corrects = 0.0

            # 将tensor数据转换为varible数据,用于反向传播求梯度
            for data in dataloders[phase]:
                inputs, labels = data
                if use_gpu:
                    inputs = Variable(inputs.cuda())
                    labels = Variable(labels.cuda())
                else:
                    inputs, labels = Variable(inputs), Variable(labels)

                optimizer.zero_grad()
                outputs = model(inputs)
                _, preds = torch.max(outputs.data, 1)
                loss = criterion(outputs, labels)
                if phase == 'train':
                    loss.backward()
                    optimizer.step()

                running_loss += loss.data.item()
                running_corrects += torch.sum(preds == labels).item()

            # 计算损失
            epoch_loss = running_loss / dataset_sizes[phase]
            epoch_acc = running_corrects / dataset_sizes[phase]
            # 打印损失值与acc数据
            if phase == 'train':
                writer.add_scalar('data/trainloss', epoch_loss, epoch)
                writer.add_scalar('data/trainacc', epoch_acc, epoch)
            else:
                writer.add_scalar('data/valloss', epoch_loss, epoch)
                writer.add_scalar('data/valacc', epoch_acc, epoch)

            print('{} Loss: {:.4f} Acc: {:.4f}'.format(
                phase, epoch_loss, epoch_acc))

    writer.export_scalars_to_json("./all_scalars.json")
    writer.close()
    return model
检验分析
将测试图片放入文件夹中,打开detect.py文件,运行代码,首先通过haar级联分类器识别人脸,然后分析表情并且框选出表情。
for imagepath in imagepaths:
    im = cv2.imread(os.path.join(img_path, imagepath), 1)
    try:
        rects = cascade.detectMultiScale(im, 1.3, 5)
        x, y, w, h = rects[0] # 表情位置顺序
        rect = dlib.rectangle(int(x), int(y), int(x + w), int(y + h)) # 设置边框参数
        landmarks = np.matrix([[p.x, p.y]
                               for p in predictor(im, rect).parts()])
    except:
        print("没有检测到人脸")
        continue

    xmin = 10000
    xmax = 0
    ymin = 10000
    ymax = 0

    for i in range(48, 67):
        x = landmarks[i, 0]
        y = landmarks[i, 1]
        if x < xmin:
            xmin = x
        if x > xmax:
            xmax = x
        if y < ymin:
            ymin = y
        if y > ymax:
            ymax = y

    roiwidth = xmax - xmin
    roiheight = ymax - ymin
    roi = im[ymin:ymax, xmin:xmax, 0:3]

    if roiwidth > roiheight:
        dstlen = 1.5 * roiwidth
    else:
        dstlen = 1.5 * roiheight

    diff_xlen = dstlen - roiwidth
    diff_ylen = dstlen - roiheight

    newx = xmin
    newy = ymin

    imagerows, imagecols, channel = im.shape
    if newx >= diff_xlen / 2 and newx + roiwidth + diff_xlen / 2 < imagecols:
        newx = newx - diff_xlen / 2
    elif newx < diff_xlen / 2:
        newx = 0
    else:
        newx = imagecols - dstlen

    if newy >= diff_ylen / 2 and newy + roiheight + diff_ylen / 2 < imagerows:
        newy = newy - diff_ylen / 2
    elif newy < diff_ylen / 2:
        newy = 0
    else:
        newy = imagecols - dstlen

    roi = im[int(newy):int(newy + dstlen), int(newx):int(newx + dstlen), 0:3]
    roi = cv2.cvtColor(roi, cv2.COLOR_BGR2RGB)
    roiresized = cv2.resize(roi,
                            (testsize, testsize)).astype(np.float32) / 255.0
    imgblob = data_transforms(roiresized).unsqueeze(0)
    imgblob.requires_grad = False
    imgblob = Variable(imgblob)
    torch.no_grad()
    predict = F.softmax(net(imgblob))
    index = np.argmax(predict.detach().numpy())

    im_show = cv2.imread(os.path.join(img_path, imagepath), 1)
    im_h, im_w, im_c = im_show.shape
    pos_x = int(newx + dstlen)
    pos_y = int(newy + dstlen)
    font = cv2.FONT_HERSHEY_SIMPLEX
    cv2.rectangle(im_show, (int(newx), int(newy)),
                  (int(newx + dstlen), int(newy + dstlen)), (0, 255, 255), 2)
    if index == 0:
        cv2.putText(im_show, 'none', (pos_x, pos_y), font, 1.5, (0, 0, 255), 2)
        print('无表情')
    if index == 1:
        cv2.putText(im_show, 'pout', (pos_x, pos_y), font, 1.5, (0, 0, 255), 2)
        print('嘟嘴')
    if index == 2:
        cv2.putText(im_show, 'smile', (pos_x, pos_y), font, 1.5, (0, 0, 255), 2)
        print('微笑')
    if index == 3:
        cv2.putText(im_show, 'open', (pos_x, pos_y), font, 1.5, (0, 0, 255), 2)
        print('张嘴')
    cv2.imwrite(os.path.join('results', imagepath), im_show)
    plt.imshow(im_show[:, :, ::-1])  # 这里需要交换通道,因为 matplotlib 保存图片的通道顺序是 RGB,而在 OpenCV 中是 BGR
    plt.show()
效果实测

环境配置
python==3.9.13
dlib==19.23.0
matplotlib==3.7.2
numpy==1.24.3
opencv_contrib_python==4.7.0.72
opencv_python==4.8.0.74
tensorboardX==2.6
tensorboardX==2.6.2.2
torch==1.7.1+cu110
torchvision==0.8.2+cu110
资源链接
百度网盘链接: https://pan.baidu.com/s/1CVp76CXNfQCNN70_zFCSRA?pwd=jbdd 提取码: jbdd
感谢您阅读本文,如果对您有帮助希望能点个赞点个收藏,期待在未来的技术发展中与您共同前行!


 被折叠的 条评论
为什么被折叠?
被折叠的 条评论
为什么被折叠?
 到【灌水乐园】发言


