


前言
聚合项目(父子级项目)的核心价值: 版本的控制,可以通过父项目做依赖的管理,而依赖管理的核心其实就是管理各个依赖项的版本。以至于后续我们会有若干个子项目,这些子项目所使用的依赖项的版本是相同的,避免出现版本的冲突,因为子项目间也可能相互依赖,很容易冲突。
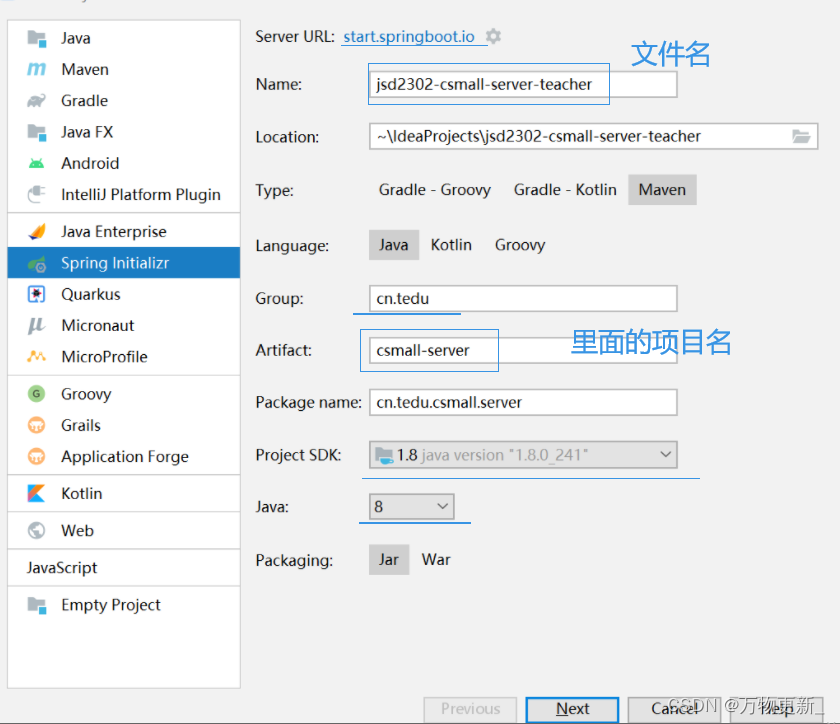
首先,创建父级项目:
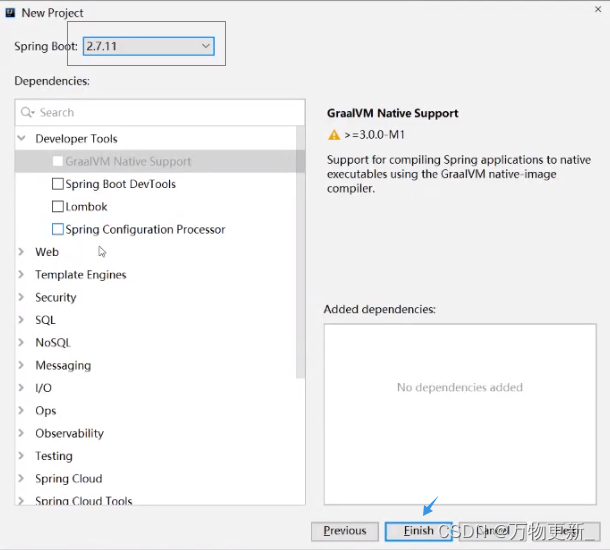
因为手动添加依赖,以下只选版本不打钩
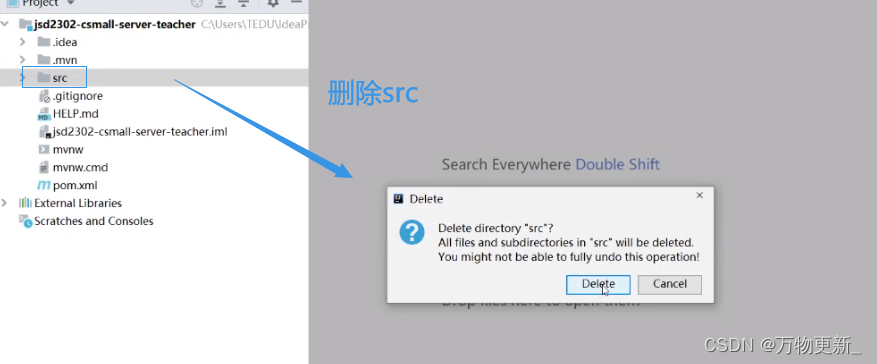
因为父项目不写代码,所以删除src
调整pom.xml文件(并刷新maven),如下:
<?xml version="1.0" encoding="UTF-8"?>
<project xmlns="http://maven.apache.org/POM/4.0.0" xmlns:xsi="http://www.w3.org/2001/XMLSchema-instance"
xsi:schemaLocation="http://maven.apache.org/POM/4.0.0 https://maven.apache.org/xsd/maven-4.0.0.xsd">
<!-- 模块版本,是相对固定的取值 -->
<modelVersion>4.0.0</modelVersion>
<packaging>pom</packaging>
<modules>
<module>untitled</module>
</modules>
<!-- 父级项目,其实,每个基于Spring Boot的项目,都应该是spring-boot-starter-parent的子项目 -->
<!-- 本次建议使用 2.5.x 系列的版本 -->
<parent>
<groupId>org.springframework.boot</groupId>
<artifactId>spring-boot-starter-parent</artifactId>
<version>2.5.0</version>
<relativePath/> <!-- lookup parent from repository -->
</parent>
<!-- 当前项目的信息 -->
<groupId>cn.tedu</groupId>
<artifactId>csmall-server</artifactId>
<version>0.0.1</version>
<!-- 父项目配置packaging为pom -->
<!-- 此标签的默认值是jar,各子级项目可以不必配置此标签 -->
<packaging>pom</packaging>
<!-- 子级模块项目清单 -->
<modules>
<module>csmall-product</module>
</modules>
<!-- 属性配置 -->
<!-- 可以自定义所需的配置 -->
<properties>
<java.version>1.8</java.version>
<spring-boot.version>2.5.0</spring-boot.version>
</properties>
<!-- 依赖管理 -->
<!-- 配置在此标签下的各依赖,不会被各子项目继承 -->
<!-- 依赖管理主要是管理各依赖项的版本,各项目添加此处配置的依赖项时不必指定版本号 -->
<dependencyManagement>
<dependencies>
<!-- Spring Boot的基础依赖项 -->
<dependency>
<groupId>org.springframework.boot</groupId>
<artifactId>spring-boot-starter</artifactId>
<version>${spring-boot.version}</version>
</dependency>
<!-- Spring Boot测试的依赖项 -->
<dependency>
<groupId>org.springframework.boot</groupId>
<artifactId>spring-boot-starter-test</artifactId>
<version>${spring-boot.version}</version>
</dependency>
</dependencies>
</dependencyManagement>
<!-- 当前项目使用的依赖项 -->
<!-- 在父项目中配置的依赖项,各子项目均可以直接继承得到,即:子项目不需要添加这些依赖 -->
<dependencies>
</dependencies>
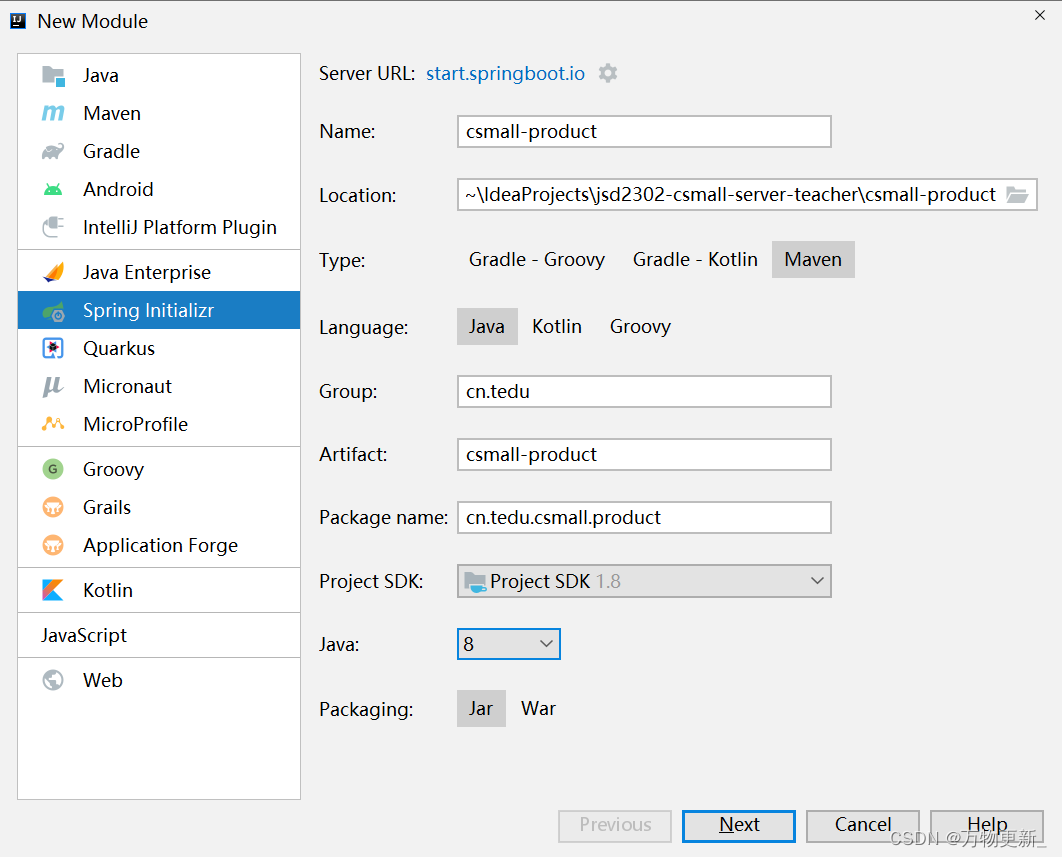
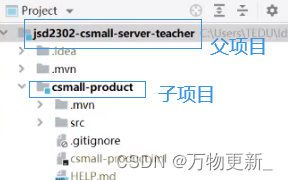
</project>完成后,对父级项目点击鼠标右键,选择New > Module以创建子级项目模块,先创建csmall-product,它是用于处理商品数据管理的:
调整pom文件
关于这个子项目,主要配置:
-
使用
csmall-server作为父项目 -
添加依赖项
具体配置为:
<?xml version="1.0" encoding="UTF-8"?>
<project xmlns="http://maven.apache.org/POM/4.0.0" xmlns:xsi="http://www.w3.org/2001/XMLSchema-instance"
         xsi:schemaLocation="http://maven.apache.org/POM/4.0.0 https://maven.apache.org/xsd/maven-4.0.0.xsd">

    <!-- 模块版本,是相对固定的取值 -->
    <modelVersion>4.0.0</modelVersion>

    <!-- 父级项目 -->
    <parent>
        <groupId>cn.tedu</groupId>
        <artifactId>csmall-server</artifactId>
        <version>0.0.1</version>
        <relativePath/> <!-- lookup parent from repository -->
    </parent>

    <!-- 当前项目的信息 -->
    <groupId>cn.tedu</groupId>
    <artifactId>csmall-product</artifactId>
    <version>0.0.1</version>

    <!-- 当前项目使用的依赖项 -->
    <dependencies>
        <!-- Spring Boot的基础依赖项 -->
        <dependency>
            <groupId>org.springframework.boot</groupId>
            <artifactId>spring-boot-starter</artifactId>
        </dependency>
        <!-- Spring Boot测试的依赖项 -->
        <dependency>
            <groupId>org.springframework.boot</groupId>
            <artifactId>spring-boot-starter-test</artifactId>
            <scope>test</scope>
        </dependency>
    </dependencies>

    <!-- 构建项目的配置 -->
    <!-- 如果此处的配置报错,可以: -->
    <!-- 1. 删除报错的标签,因为,除非你需要将项目打包,否则,可以不需要此处的配置 -->
    <!-- 2. 显式的指定版本号可能可以解决报错的问题 -->
    <build>
        <plugins>
            <plugin>
                <groupId>org.springframework.boot</groupId>
                <artifactId>spring-boot-maven-plugin</artifactId>
            </plugin>
        </plugins>
    </build>

</project>
聚合项目形式
关于依赖项的作用域
在配置依赖项时,可以通过<scope>指定此依赖项的作用域,例如:
<!-- Spring Boot测试的依赖项 -->
<dependency>
    <groupId>org.springframework.boot</groupId>
    <artifactId>spring-boot-starter-test</artifactId>
    <scope>test</scope>
</dependency>关于<scope>的配置值:
-
test:此依赖项仅用于测试,仅作用于src/test下的代码,并且,当项目编译打包时,不会被打包


 164
164


 被折叠的 条评论
为什么被折叠?
被折叠的 条评论
为什么被折叠?
 到【灌水乐园】发言


