


文章目录
1、sentinel的下载和安装
sentinel下载地址:https://github.com/alibaba/Sentinel/releases
1.7.1下载地址: https://github.com/alibaba/Sentinel/releases/download/1.7.1/sentinel-dashboard-1.7.1.jar
Windows启动Sentinel
java -jar sentinel-dashboard-1.7.1.jar
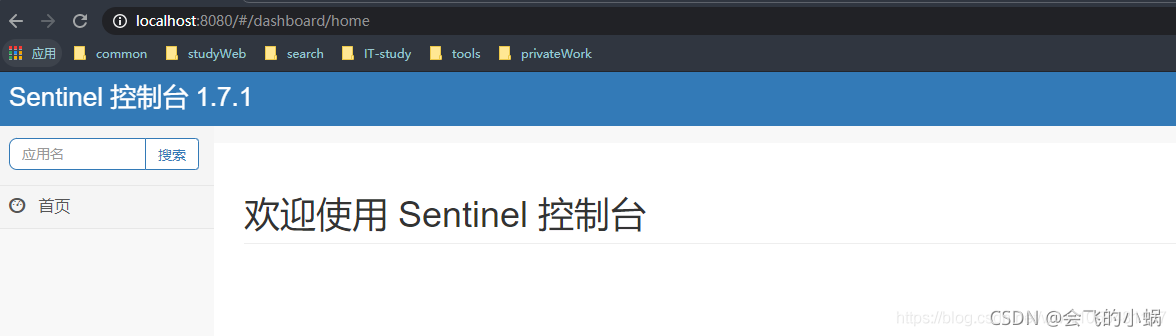
访问地址:
http://localhost:8080 //默认端口为:8080,用户名和密码sentinel/sentinel
Windows启动下如果8080端口被占用,还可以使用其他端口,需要指定一下,如:
java -Dserver.port=8070 -Dcsp.sentinel.dashboard.server=localhost:8070 -Dproject.name=sentinel-dashboard -jar sentinel-dashboard-1.7.1.jar
Sentinel Linux后台启动:
nohup java -Dserver.port=8070 -Dcsp.sentinel.dashboard.server=localhost:8070 -Dproject.name=sentinel-dashboard -jar /java/sentinel-dashboard-1.7.1.jar &
Sentinel 指定日志目录启动:
java -Dserver.port=8070 -Dcsp.sentinel.dashboard.server=localhost:8070 -Dproject.name=sentinel-dashboard -Dcsp.sentinel.log.dir=C:\logs\sentinel-dashboard -jar sentinel-dashboard-1.7.1.jar
启动(是否注册Sentinel自己):
不注册Sentinel自己
java -Dserver.port=8070 -Dcsp.sentinel.log.dir=C:\logs\sentinel-dashboard -jar sentinel-dashboard-1.7.1.jar
注册Sentinel自己
java -Dserver.port=8070 -Dcsp.sentinel.dashboard.server=localhost:8070 -Dproject.name=sentinel-dashboard -Dcsp.sentinel.log.dir=C:\logs\sentinel-dashboard -jar sentinel-dashboard-1.7.1.jar
访问地址:
http://localhost:8070/
其他配置项参考:
-Dserver.port=8080:用于指定 Sentinel 控制台端口为 8080,如若8080端口冲突,可使用 -Dserver.port=新端口 进行设置。。
-Dcsp.sentinel.dashboard.server=localhost:8080:指定控制台地址和端口,会自动向该地址发送心跳包。地址格式为:hostIp:port,l配置成ocalhost:8080即监控自己
-Dproject.name=sentinel-dashboard:指定Sentinel控制台程序显示的名称
-Dcsp.sentinel.log.dir:指定Sentinel 日志文件目录,默认是:${user.home}/logs/csp/
-Dcsp.sentinel.api.port=xxxx:本地的 Sentinel 客户端端口(可选,默认是 8719,有冲突会尝试向后探测)。若启动多个应用,则需要通过 -Dcsp.sentinel.api.port=xxxx 指定客户端监控 API 的端口(默认是 8719)。
-Dcsp.sentinel.app.type=1:从 1.6.3 版本开始,控制台支持网关流控规则管理。启动参数以将您的服务标记为 API Gateway,在接入控制台时您的服务会自动注册为网关类型,然后您即可在控制台配置网关规则和 API 分组。

用户可以通过如下参数进行鉴权配置:
-Dsentinel.dashboard.auth.username=sentinel 用于指定控制台的登录用户名为 sentinel;
-Dsentinel.dashboard.auth.password=123456 用于指定控制台的登录密码为 123456;如果省略这两个参数,默认用户和密码均为 sentinel;
-Dserver.servlet.session.timeout=7200 用于指定 Spring Boot 服务端 session 的过期时间,如 7200 表示 7200 秒;60m 表示 60 分钟,默认为 30 分钟;
2、Sentinel规则管理及推送
一般来说,规则的推送有下面三种模式:
推送模式 说明 优点 缺点
1、原始模式
API 将规则推送至客户端并直接更新到内存中,扩展写数据源(WritableDataSource)
优点
简单,无任何依赖
缺点
不保证一致性;规则保存在内存中,重启即消失。严重不建议用于生产环境
2、Pull 模式
扩展写数据源(WritableDataSource), 客户端主动向某个规则管理中心定期轮询拉取规则,这个规则中心可以是 RDBMS、文件 等
优点
简单,无任何依赖;规则持久化 不保证一致性;
缺点
实时性不保证,拉取过于频繁也可能会有性能问题。
3、Push 模式
扩展读数据源(ReadableDataSource),规则中心统一推送,客户端通过注册监听器的方式时刻监听变化,比如使用 Nacos、Zookeeper 等配置中心。这种方式有更好的实时性和一致性保证。生产环境下一般采用 push 模式的数据源。
优点
规则持久化;一致性;快速
缺点
引入第三方依赖
3、整合项目配置Sentinel,在Sentinel dashboard实现监控
1.如果是在spring cloud Alibaba 微服务架构的生态下,则引入一个包即可:
<dependency>
    <groupId>com.alibaba.cloud</groupId>
    <artifactId>spring-cloud-starter-alibaba-sentinel</artifactId>
</dependency>
如果在其他生态下,想要使用注解来定义资源需要引入 专属的AOP 包:
<!-- 开启注解 -->
<dependency>
	<groupId>com.alibaba.csp</groupId>
	<artifactId>sentinel-annotation-aspectj</artifactId>
</dependency>
配置信息:
server:
  port: 8000
spring:
  application:
    name: datacenter
  datasource:
    username: root
    password: root
    url: jdbc:mysql://localhost:3306/elq_master?useUnicode=true&characterEncoding=UTF-8&serverTimezone=Asia/Shanghai
    driver-class-name: com.mysql.cj.jdbc.Driver
  cloud:
    nacos:
      discovery:
        server-addr: localhost:8848
    #sentinel 相关配置
    sentinel:
      transport:
        #默认是:localhost:8080
        dashboard: localhost:8080
  redis:
    host: 192.168.56.10
    port: 6379
#
#feign:
#  sentinel:
#    enabled: true
#  jackson:
#    date-format: yyyy-MM-dd HH:mm:ss
mybatis-plus:
  mapper-locations: classpath:/mapper/**/*.xml
4、实例
1、第一个实例(抛出异常的方式定义资源):
package com.elq.product.app;
import com.alibaba.csp.sentinel.Entry;
import com.alibaba.csp.sentinel.SphU;
import com.alibaba.csp.sentinel.slots.block.RuleConstant;
import com.alibaba.csp.sentinel.slots.block.flow.FlowRule;
import com.alibaba.csp.sentinel.slots.block.flow.FlowRuleManager;
import org.springframework.web.bind.annotation.RequestMapping;
import org.springframework.web.bind.annotation.RestController;
import javax.annotation.PostConstruct;
import java.util.ArrayList;
import java.util.List;
@RestController
@RequestMapping("/sentinel")
public class SentinelTest {
@RequestMapping("/helloWord")
public String helloWord(){
//使用先流规则 helloWord
try(Entry entry= SphU.entry("helloWord")){
return "正常业务~~";
}catch (Exception e){
e.printStackTrace();
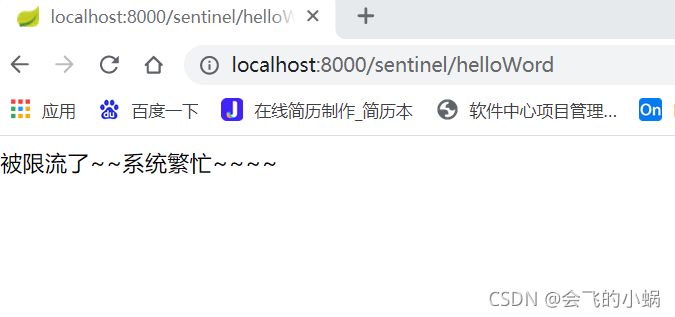
return "被限流了~~系统繁忙~~~~";
}
}
/**
* 定义先流规则
* PostConstruct 构造方法执行完成之后执行,定义和加载先流规则
*/
@PostConstruct
public void initFloRules(){
List<FlowRule> rules=new ArrayList<>();//定义限流规则集合
FlowRule flowRule = new FlowRule();//定义限流规则
flowRule.setResource("helloWord");//定义限流资源
flowRule.setGrade(RuleConstant.FLOW_GRADE_QPS);//定义限流类型为 QPS
flowRule.setCount(2);//限流的阈值(如这里我们上面类型为QPS ,所以这里的2表示每秒2次)
rules.add(flowRule);//添加到规则集合中
FlowRuleManager.loadRules(rules);//添加规则集合
}
}
快速刷新资源地址:http://localhost:8000/sentinel/helloWord
2、第二个实例(布尔值判断方式定义资源)
package com.elq.product.app;
import com.alibaba.csp.sentinel.SphO;
import org.springframework.web.bind.annotation.RequestMapping;
import org.springframework.web.bind.annotation.RestController;
@RestController
@RequestMapping("/sentinel")
public class SnetinelTest1 {
@RequestMapping("/helloword1")
public String helloword1(){
/**
* 返回布尔值资源
*/
if(SphO.entry("helloword1")){ //判断资源是否可用
try{
return "正常业务~~";
}finally {
SphO.exit();//必须与 SphO.entry 成对出现!
}
}else{
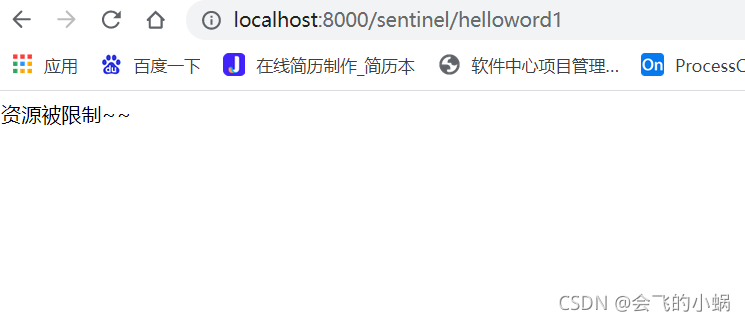
return "资源被限制~~";
}
}
}
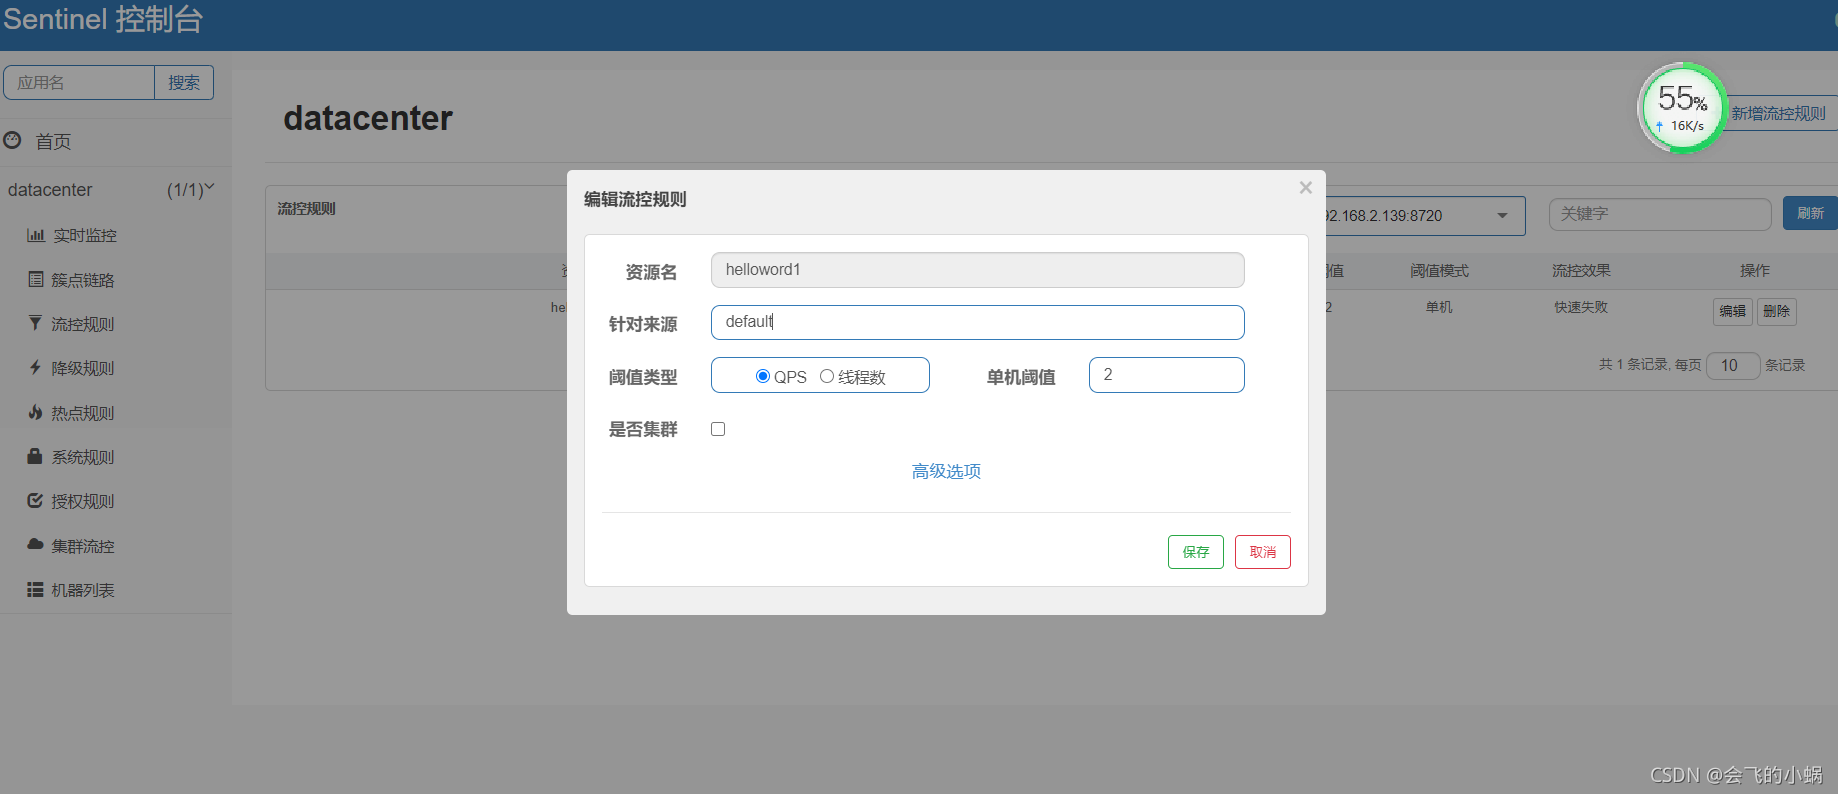
sentinel 资源限流配置:
快速刷新:http://localhost:8000/sentinel/helloword1
3、第三个实例,也是最常用的(注解方式定义资源)
首先,想要使用注解@SentinelResource,需要引入切面的依赖:
<!-- 开启注解 -->
<dependency>
	<groupId>com.alibaba.csp</groupId>
	<artifactId>sentinel-annotation-aspectj</artifactId>
</dependency>
第二步,配置类:
这里有两种情况,如果你使用的框架集成了 spring cloud Alibaba ,则可以直接来使用 @SentinelResource 注解。
如果没有集成 spring cloud Alibaba ,则需要初始化配置类:
@Configuration
public class SentinelAspectjConfiguration {
    @Bean
    public SentinelResourceAspect sentinelResourceAspect(){
        return new SentinelResourceAspect();
    }
}
注解定义资源实例:
package com.elq.product.app;
import com.alibaba.csp.sentinel.annotation.SentinelResource;
import com.alibaba.csp.sentinel.slots.block.BlockException;
import com.elq.product.service.IndexService;
import org.springframework.beans.factory.annotation.Autowired;
import org.springframework.web.bind.annotation.RequestMapping;
import org.springframework.web.bind.annotation.RestController;
@RestController
@RequestMapping("/sentinel")
public class IndexController {
@Autowired
IndexService indexService;
@SentinelResource(value="index",blockHandler = "indexError")
@RequestMapping("/index")
public String index(){
String indexList = indexService.getIndexList();
return indexList;
}
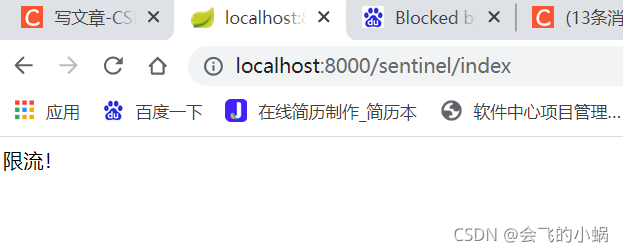
public String indexError(BlockException e){
return "限流!";
}
}
添加流控规则:
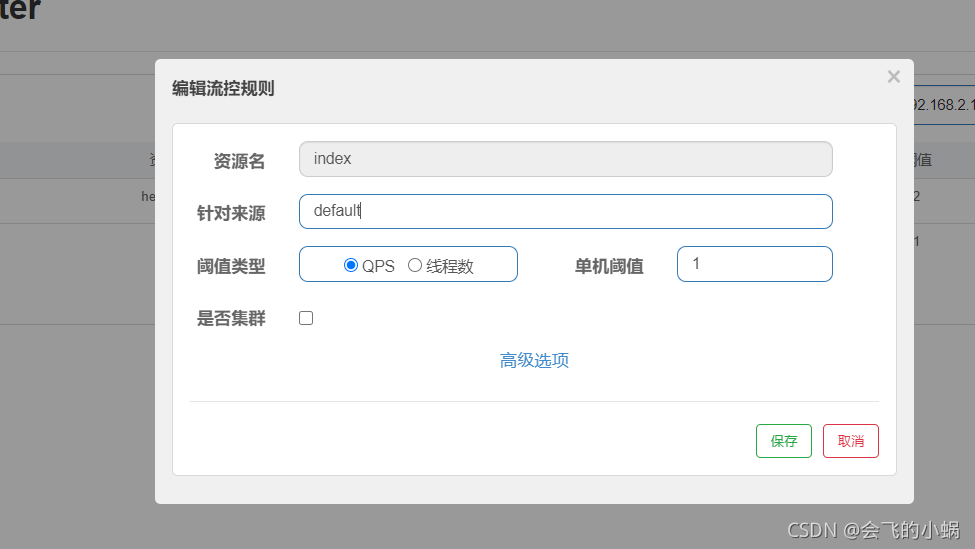
快速刷新:http://localhost:8000/sentinel/index
则触发限流如下:
5、sentinel 配置持久化到nacos
首先,在微服务项目中引入依赖:
<dependency>
  <groupId>com.alibaba.csp</groupId>
  <artifactId>sentinel-datasource-nacos</artifactId>
</dependency>
配置:
server:
  port: 8000
spring:
  application:
    name: datacenter
  datasource:
    username: root
    password: root
    url: jdbc:mysql://localhost:3306/elq_master?useUnicode=true&characterEncoding=UTF-8&serverTimezone=Asia/Shanghai
    driver-class-name: com.mysql.cj.jdbc.Driver
  cloud:
    nacos:
      discovery:
        server-addr: localhost:8848

    #sentinel持久化配置项***********************
    sentinel:
      transport:
        #默认是:localhost:8080
        dashboard: localhost:8080
      datasource:
        ds:
          nacos:
            server-addr: localhost:8848
            data-id: sentinel-datacenter
            group-id: DEFAULT_GROUP #默认分株
            data-type: json #配置类型为json
            rule-type: flow #限流
  #sentinel持久化配置项***********************

  redis:
    host: 192.168.56.10
    port: 6379
#
#feign:
#  sentinel:
#    enabled: true
#  jackson:
#    date-format: yyyy-MM-dd HH:mm:ss
mybatis-plus:
  mapper-locations: classpath:/mapper/**/*.xml
nacos 中保存配置项:
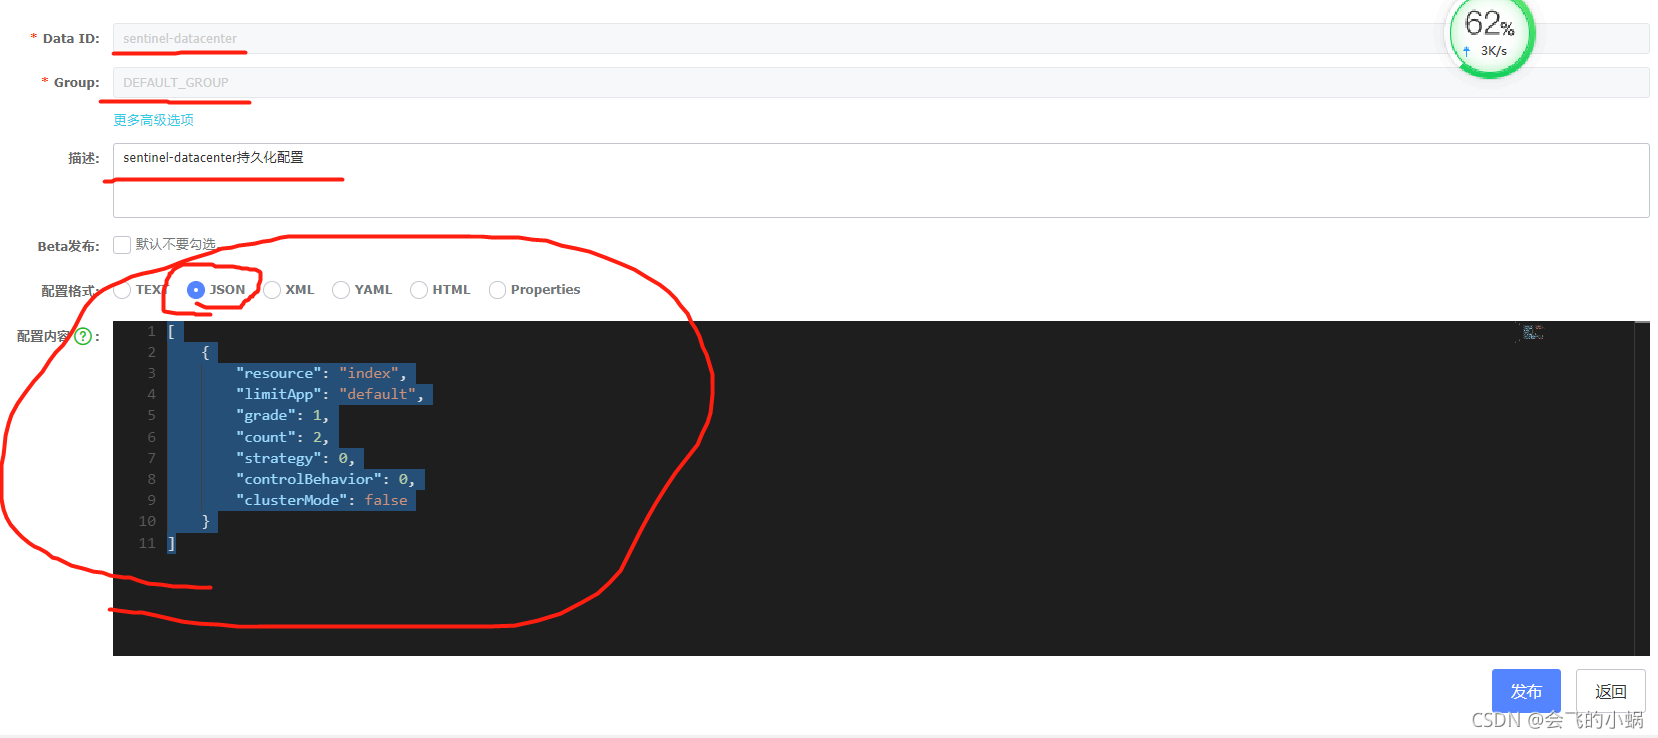
[
    {
        "resource": "index",
        "limitApp": "default",
        "grade": 0,# 0 是QPS  ,1 是线程
        "count": 2,# 阈值数
        "strategy": 0,
        "controlBehavior": 0,
        "clusterMode": false
    }
]
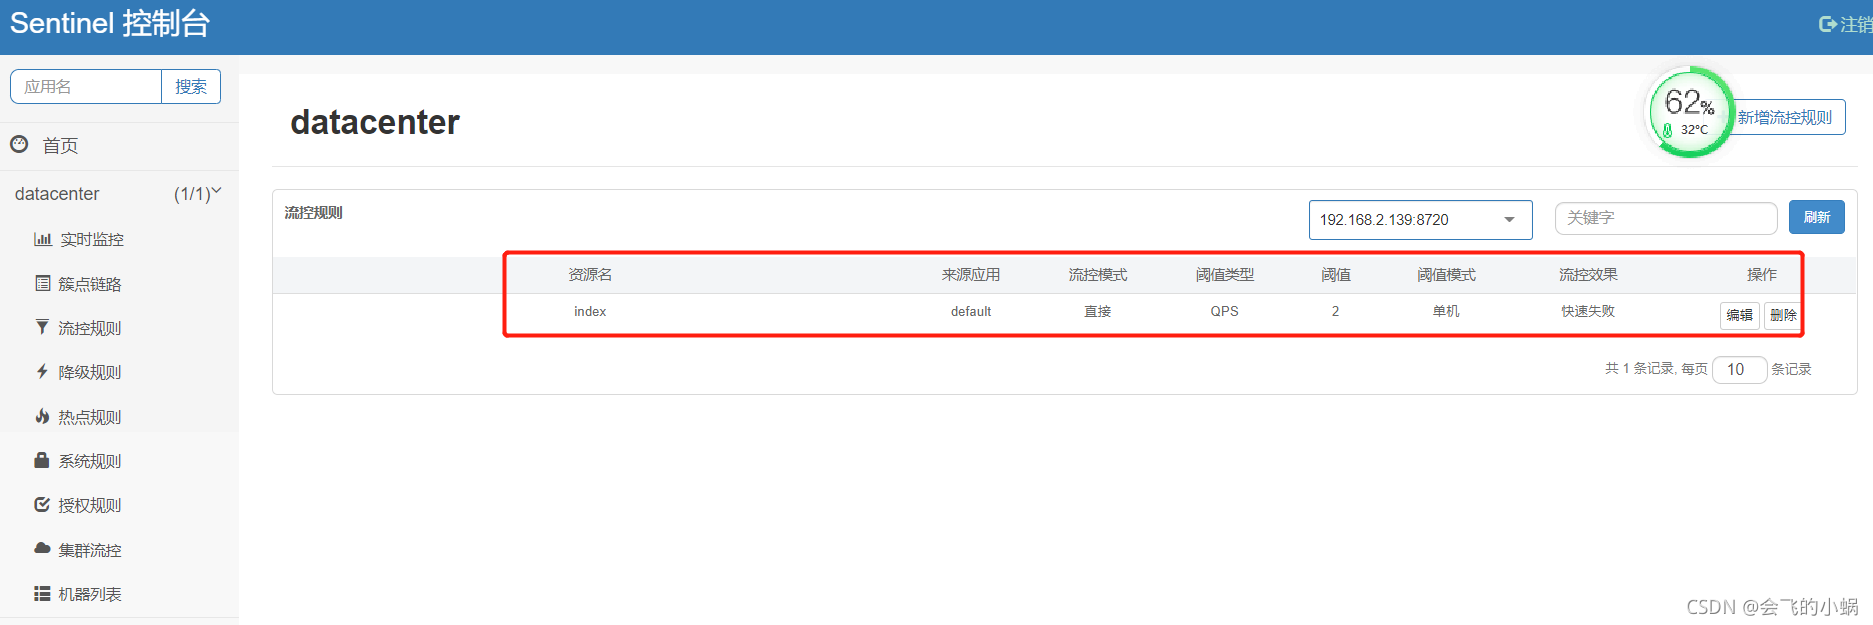
这样我们重启服务后,再开看sentinel 客户端,就可以看见 资源index 被持久化保存了:


 958
958


 被折叠的 条评论
为什么被折叠?
被折叠的 条评论
为什么被折叠?
 到【灌水乐园】发言


