


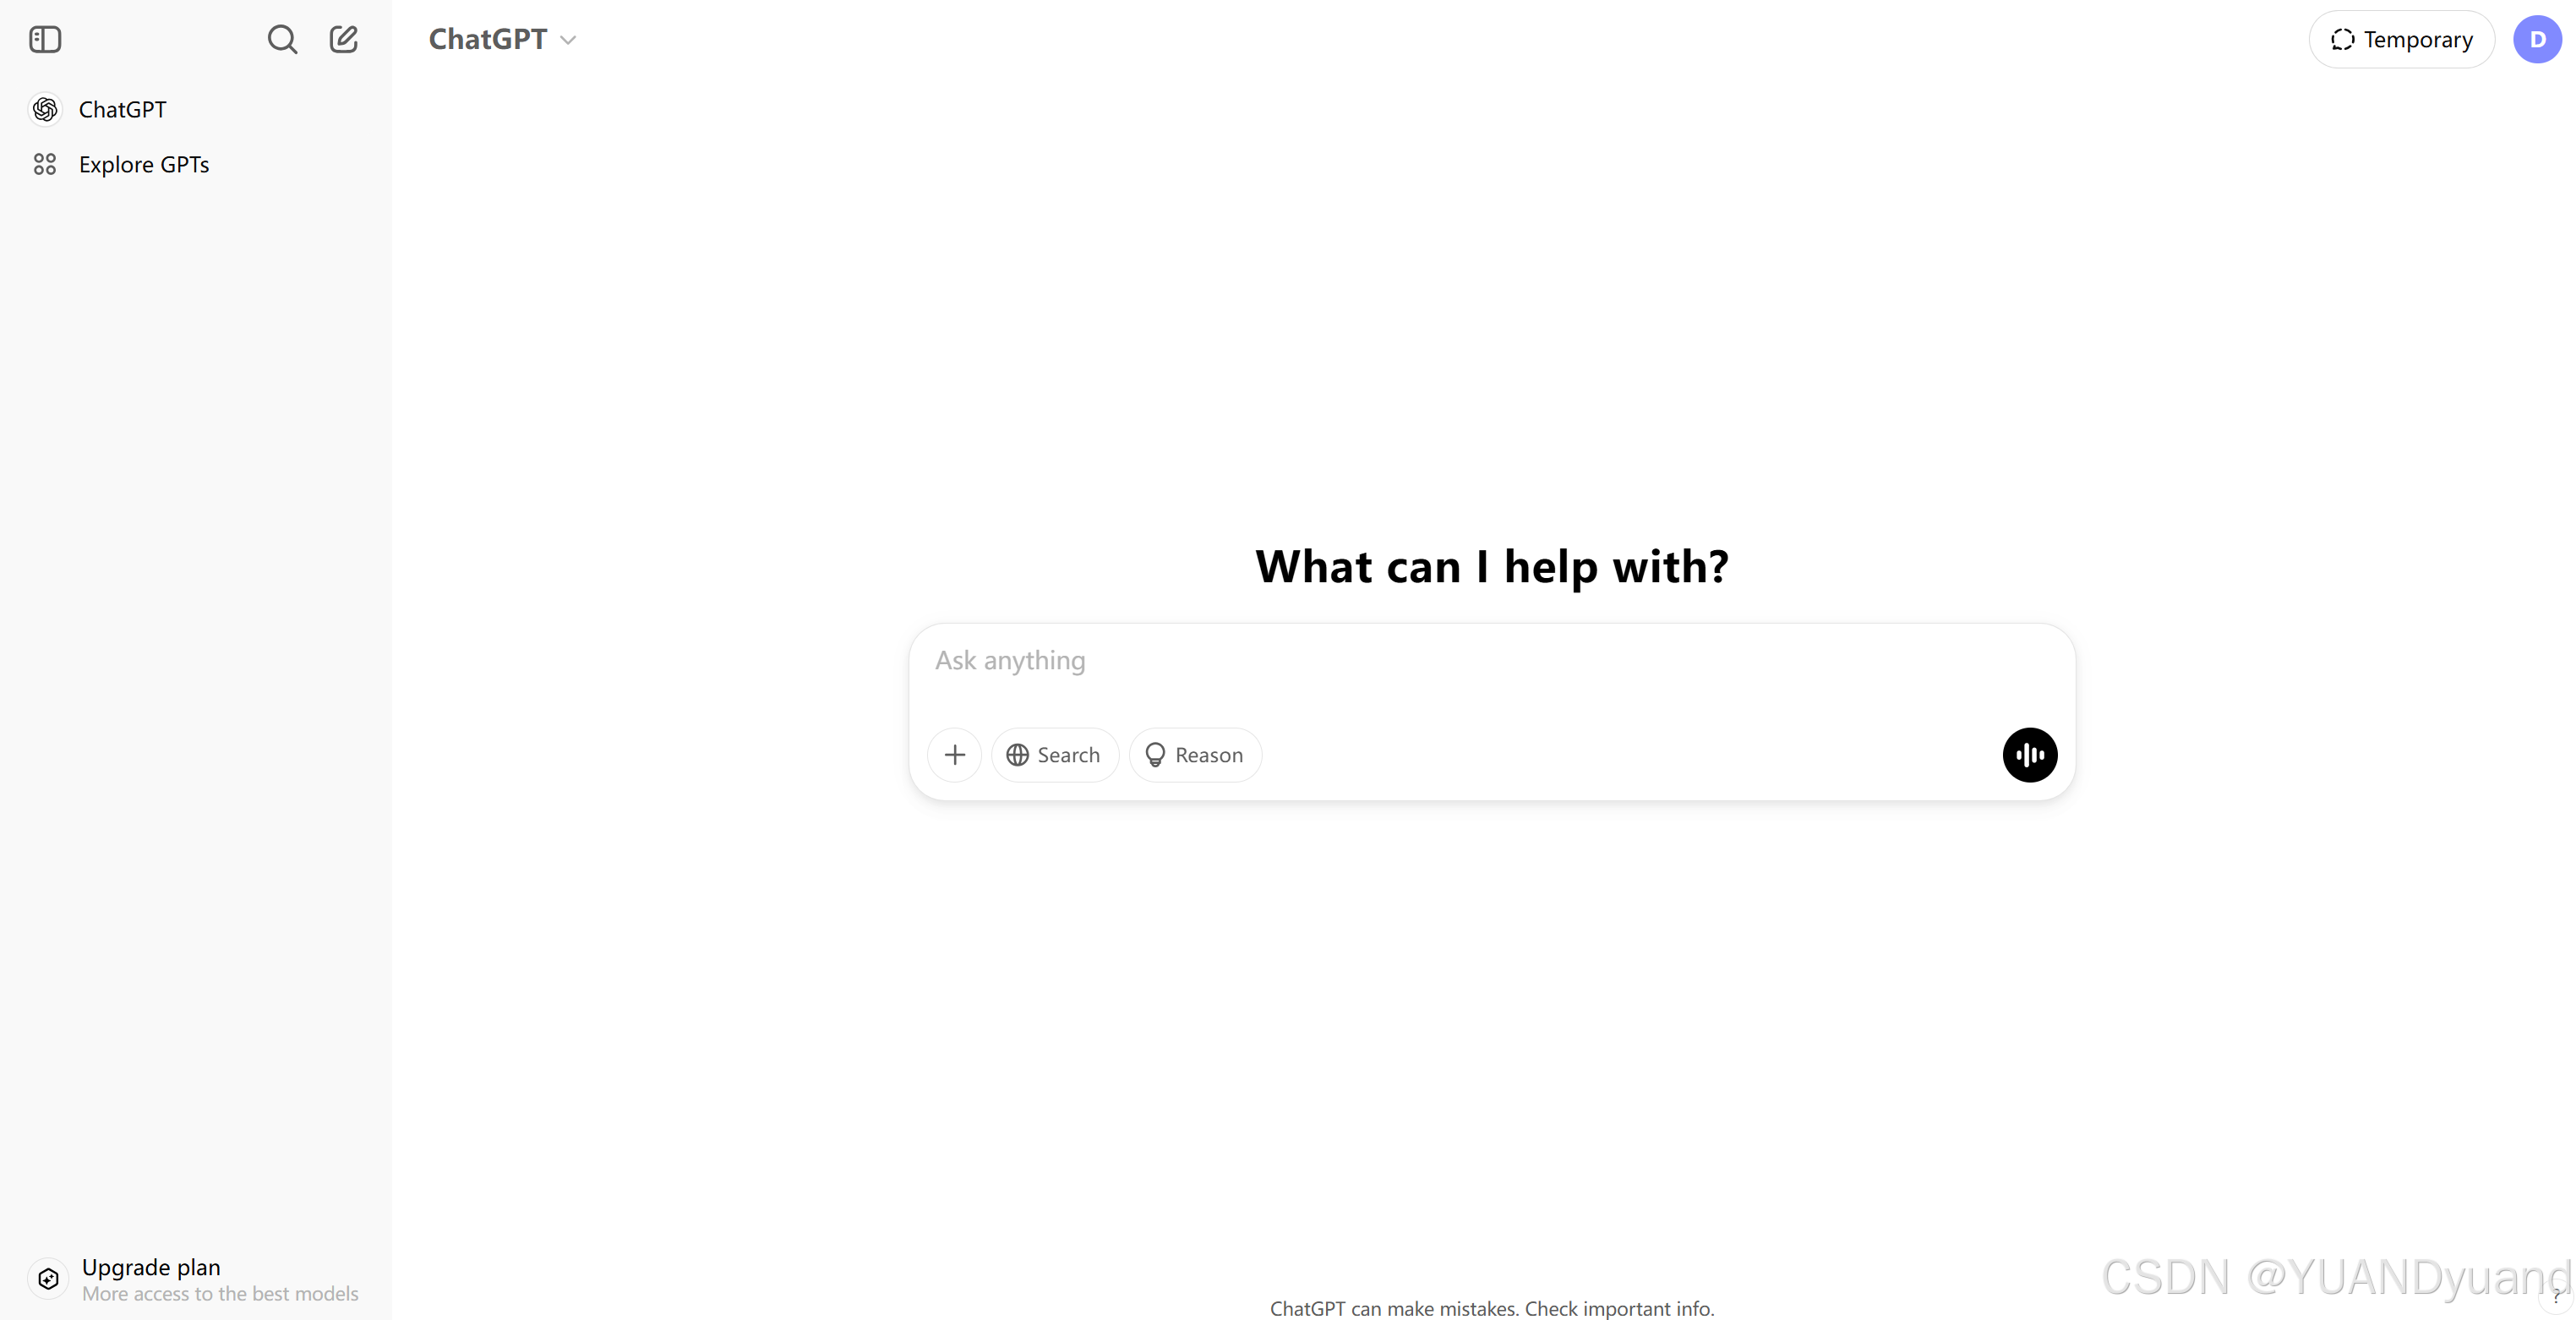
如今AI开发越来越火热,觉得作为一个新手开发,做一个chatbot来进行入门是一个不错的选择,但是其中难点就在于对于很多新手来说,对chatbot的交互逻辑和各个功能记录的管理可能会不甚清晰,所以这里,我希望来讲解一下讲解一下一些chatbot里的逻辑管理,来帮助大家理解。 这第一篇我希望以聊天记录来入手,在很多chatbot中(不包括grok),都会有一个侧边栏用来管理用户的聊天记录,以ChatGPT为例,不考虑一些特殊的功能,这个侧边栏主要包括
- 顶部打开与关闭侧边栏,新建对话,搜索历史
- 中间按时间分类的聊天记录模块,每条聊天记录的功能
- 底部个人信息等
接下来我将重点介绍顶部与中间部分。
总体交互流程
这个流程可以分两部分:
-
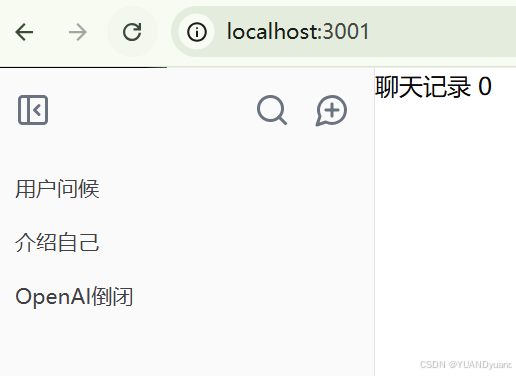
首先是要获取一个历史纪录的对象数组,这个字段可以是:
const history = [
  {
    createdAt: "2025-03-14T12:39:15.441Z",
    id: "2f25796b-1521-43bf-9a52-1e3b7cba7499",
    title: "用户问候",
    userId: "110",
  },
  {
    createdAt: "2025-03-14T12:39:15.441Z",
    id: "2f25796b-1521-43bf-9a52-1e3b7cba7499",
    title: "用户问候",
    userId: "110",
  },
  {
    createdAt: "2025-03-14T12:39:15.441Z",
    id: "2f25796b-1521-43bf-9a52-1e3b7cba7499",
    title: "用户问候",
    userId: "110",
  },
]
它的作用是在侧边栏渲染每一条聊天记录的大致信息,也就是这个title,提供用户选择,并渲染一个初始对话界面,具体对应如下部分。
-
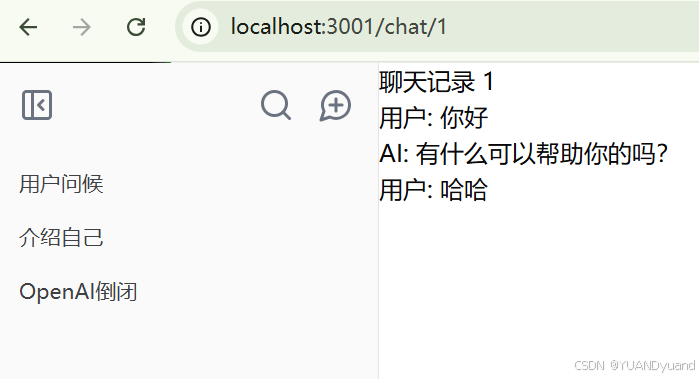
接下来再在用户选择某条记录内容时,跳转到对应的路由,再使用对应的id去获取对应的每次对话的详细历史,将其渲染出来。
- 点击”用户问候“这条
- 路由切换到这条的id对应的路由http://localhost:3001/chat/1
- 使用id想后端请求对话
- 渲染出对话
 组件划分:
组件划分:
-
整体侧边栏:ChatSidebar
'use client' import React from 'react' import { SidebarHeader, SidebarMenu, Sidebar, SidebarContent } from '../ui/sidebar' import SidebarToggle from './sidebar-toggle'; import { Button } from '../ui/button'; import { MessageCirclePlus, SearchIcon } from 'lucide-react'; import SidebarHistory from './sidebar-history'; import { useRouter } from 'next/navigation'; function ChatSidebar() { const router = useRouter(); return ( <Sidebar> <SidebarHeader> <SidebarMenu> <div className='flex flex-row items-center justify-between'> <SidebarToggle /> <span className='flex'> <Button className='size-10' variant='ghost'> <SearchIcon className='!size-6 text-gray-500'/> </Button> {/* 新建对话按钮,也是初始的Chat界面,直接以原始的路由 */} <Button className='size-10' variant='ghost' onClick={() => { router.push('/') }} > <MessageCirclePlus className='!size-6 text-gray-500'/> </Button> </span> </div> </SidebarMenu> </SidebarHeader> <SidebarContent> {/* 历史纪录 */} <History /> </SidebarContent> </Sidebar> ) } export default ChatSidebar -
整个历史纪录和每个历史记录条:History和ChatItem 这里要注意id,它是我们获取具体的对话的凭证
ChatItem
对于chatItem我们应该想到每一个Item对应的是一个聊天记录。
每一个Item对应的是一个聊天记录
引申出如下的问题:
- 如何点击Item切换到对应的聊天记录
如果经常使用各种Chatbot可以发现
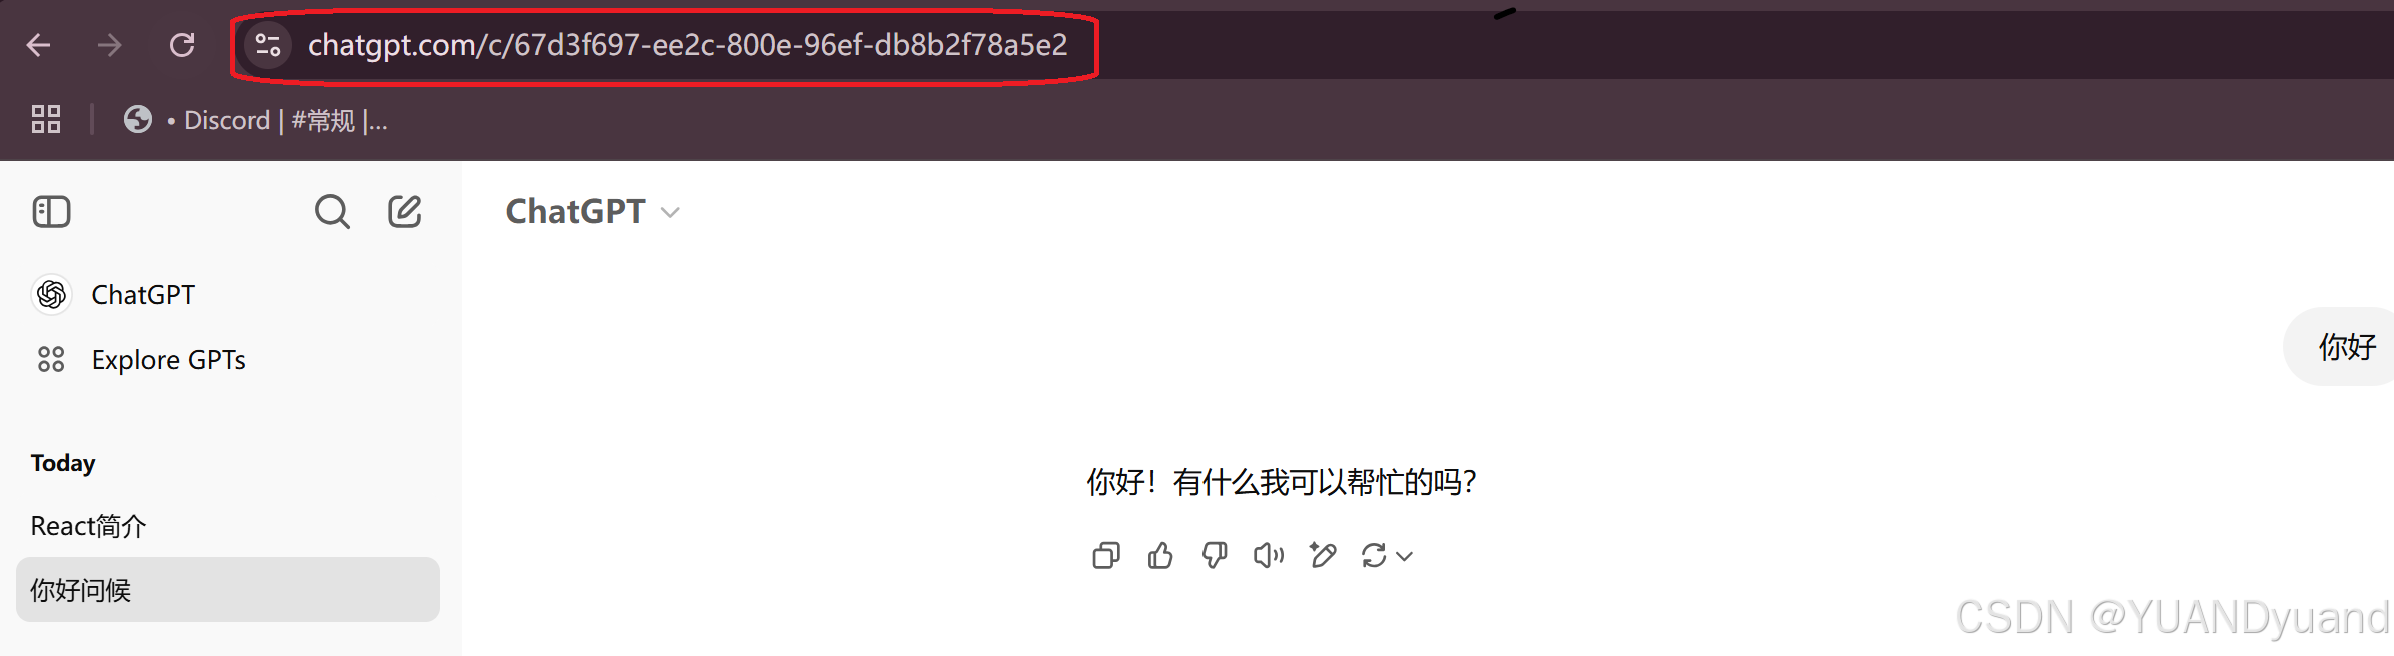
在每个聊天的路由一般是
https://chatgpt.com/c/67d3f697-ee2c-800e-96ef-db8b2f78a5e2
这里面的id就是我们切换聊天记录的关键,通过不同的id添加到url中,设置动态路由,我们可以直接导航到对应的聊天记录。
import React from 'react'
import { SidebarGroup, SidebarGroupContent, SidebarMenu, SidebarMenuButton, SidebarMenuItem } from '../ui/sidebar'
import Link from 'next/link'

const ChatItem = ({
  chat,
}: {
  chat: any,
}) => {
  return (
    <SidebarMenuItem>
      <SidebarMenuButton asChild>
        {/* 提供id,方便跳转到对应的路由,使用id获取数据 */}
        <Link href={`/chat/${chat.id}`}>
          <span>{chat.title}</span>
        </Link>
      </SidebarMenuButton>
    </SidebarMenuItem>
  )
}

function SidebarHistory() {
  // 从后端获取记录,这里使用一些假记录
  const history = [
    {
      createdAt: "2025-03-14T12:39:15.441Z",
      id: "1",
      title: "用户问候",
      userId: "110",
    },
    {
      createdAt: "2025-03-14T12:39:15.441Z",
      id: "2",
      title: "介绍自己",
      userId: "110",
    },
    {
      createdAt: "2025-03-14T12:39:15.441Z",
      id: "3",
      title: "OpenAI倒闭",
      userId: "110",
    },
  ]

  return (
    <SidebarGroup>
      <SidebarGroupContent>
        <SidebarMenu>
          {/* 将其渲染 */}
          {history.map((chat) =>
            <ChatItem
              key={chat.id}
              chat={chat}
            />)}
        </SidebarMenu>
      </SidebarGroupContent>
    </SidebarGroup>
  )
}

export default SidebarHistory
- https://chatgpt.com:域名
- /c:表示聊天
- id:一个动态的id,对应各个记录
-
侧边渲染对话的:Chat
import React from 'react' function Chat({ id, Messages, }: { id: string, Messages: Array<any>, }) { return ( <div> 聊天记录 {id} {Messages.map((message, index) => ( <div key={index}> {message.role === 'user' ? '用户' : 'AI'}: {message.content} </div> ))} </div> ) } export default Chat -
我使用的是Nextjs
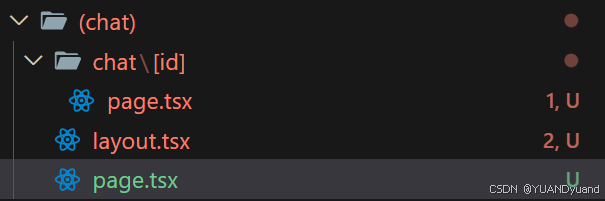
-
在原始的page路由里,可以使用一个空数组与新的id表示
import Chat from "@/components/chat/chat"; export default async function Page() { const id = "0"; return ( <div> <Chat id={id} Messages={[]} /> </div> ) } -
在动态路由里,获取id
export default function Page({ params }: { params: { id: string } }) {
  // 1. 得到用户选择的路由id
  const id = params.id

  // 2. 再使用id向后端请求对应的数据,这里使用了一个假数据chats
  const messages = chats[id].messages

  return (
    <div>
      {/* 3. 将数据放到对话框chat里渲染 */}
      <Chat
        id={id}
        Messages={messages}
      />
    </div>
  )
}
-


 被折叠的 条评论
为什么被折叠?
被折叠的 条评论
为什么被折叠?
 到【灌水乐园】发言


