


目录
一、Netty编码解码器
编码和解码也叫做序列化和反序列化。
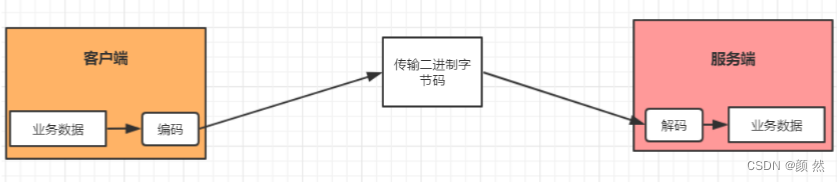
Netty的编解码器实现主要是基于ChannelInboundHandler接口(解码)和ChannelOutboundHandler接口(编码)。
1、解码器:Decoder
解码器的实现主要依靠两个类:
- ByteToMessageDecoder:将字节解码为消息(需要检查buffer是否有足够字节)
- MessageToMessageDecoder:从消息解码为另一种消息
核心方法是重写decode(ChannelHandlerContext ctx, ByteBuf msg, List<Object> out)
public class MessageDecoder extends MessageToMessageDecoder<ByteBuf> {
@Override
protected void decode(ChannelHandlerContext ctx, ByteBuf in, List<Object> out) throws Exception {
System.out.println("running decoding....");
out.add(in.toString(CharsetUtil.UTF_8));
}
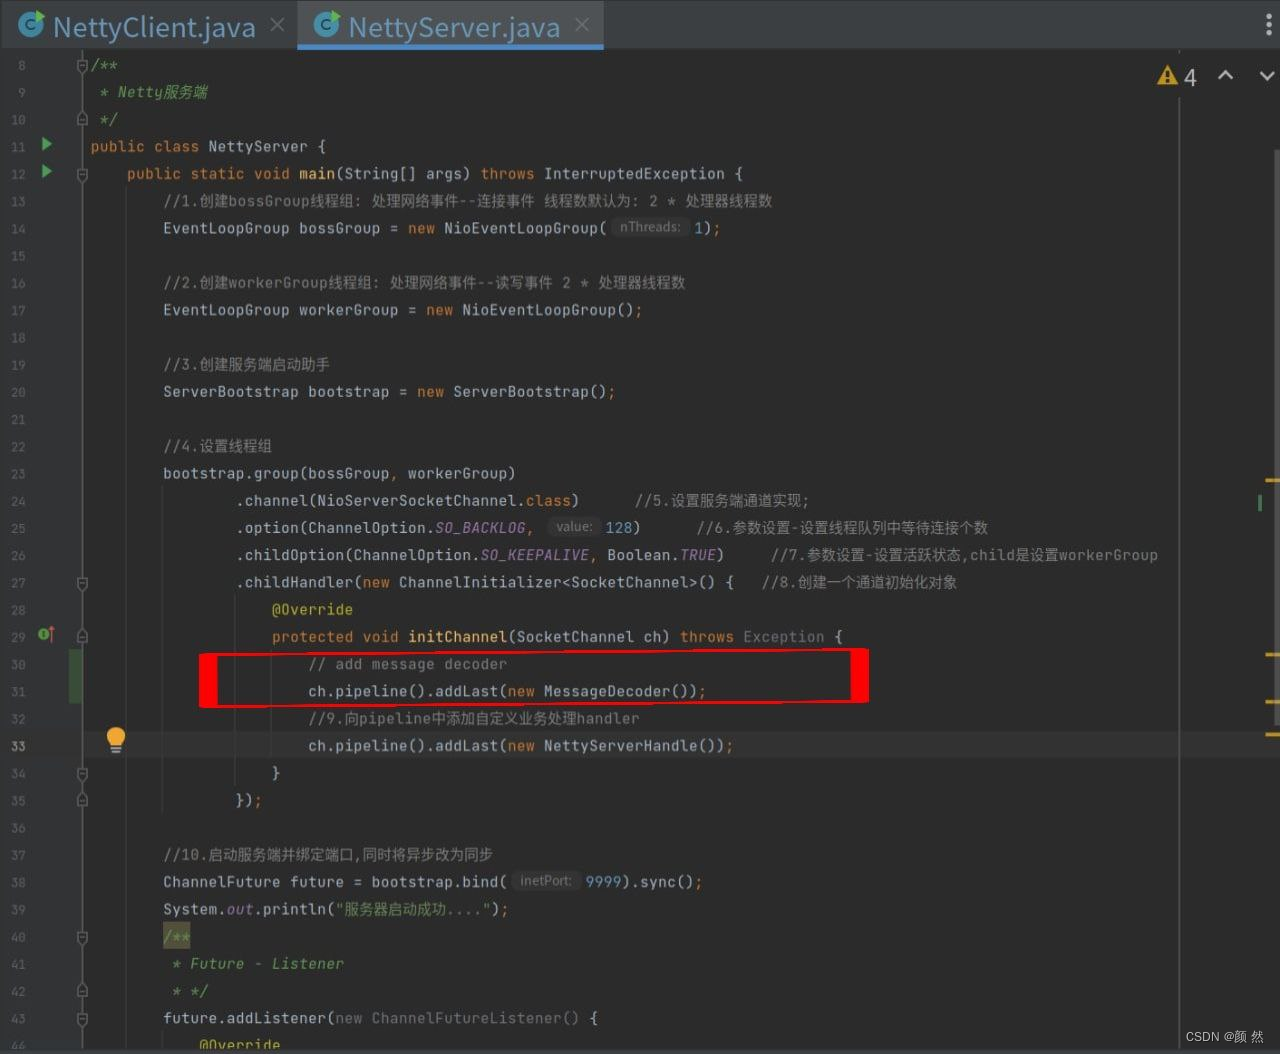
}解码器类已经完成,接下来添加解码器只需在创建通道初始化对象,重写initChannal方法时使用下列语句添加即可:
// add message decoder
SocketChannel.pipeline().addLast(new MessageDecoder());
我把它添加到了之前那段NettyServer demo中,如下:
2、编码器:Encoder
和解码器一样,编码器也是依靠两个类:
- MessageToByteEncoder: 将消息编码成字节
- MessageToMessageEncoder: 用于从一种消息编码为另外一种消息
核心方法是重写encode(ChannelHandlerContext ctx, String msg, List<Object> out)
public class MessageEncoder extends MessageToMessageEncoder<String> {
    @Override
    protected void encode(ChannelHandlerContext ctc, String msg, List<Object> out) throws Exception {
        System.out.println("running encoding...");
        out.add(Unpooled.copiedBuffer(msg, CharsetUtil.UTF_8));
    }
}
添加方法和解码器大同小异:
// add message encoder
ch.pipeline().addLast(new MessageEncoder());
添加位置就在添加解码器语句的下一行,这里不再作展示。
3、编码解码器:Codec
同时具有编码与解码功能,同时实现了ChannelInboundHandler和ChannelOutboundHandler接口。同样有两个类ByteToMessageCodec和MessageToMessageCodec,不同的是要重写两个方法:
public class MessageCoder extends MessageToMessageCodec {
@Override
protected void encode(ChannelHandlerContext ctx, Object msg, List out) throws Exception {
System.out.println("running encoding...");
String str =(String)msg;
out.add(Unpooled.copiedBuffer(str, CharsetUtil.UTF_8));
}
@Override
protected void decode(ChannelHandlerContext ctx, Object msg, List out) throws Exception {
System.out.println("running decoding...");
ByteBuf bytebuf = (ByteBuf)msg;
out.add(bytebuf.toString(CharsetUtil.UTF_8));
}
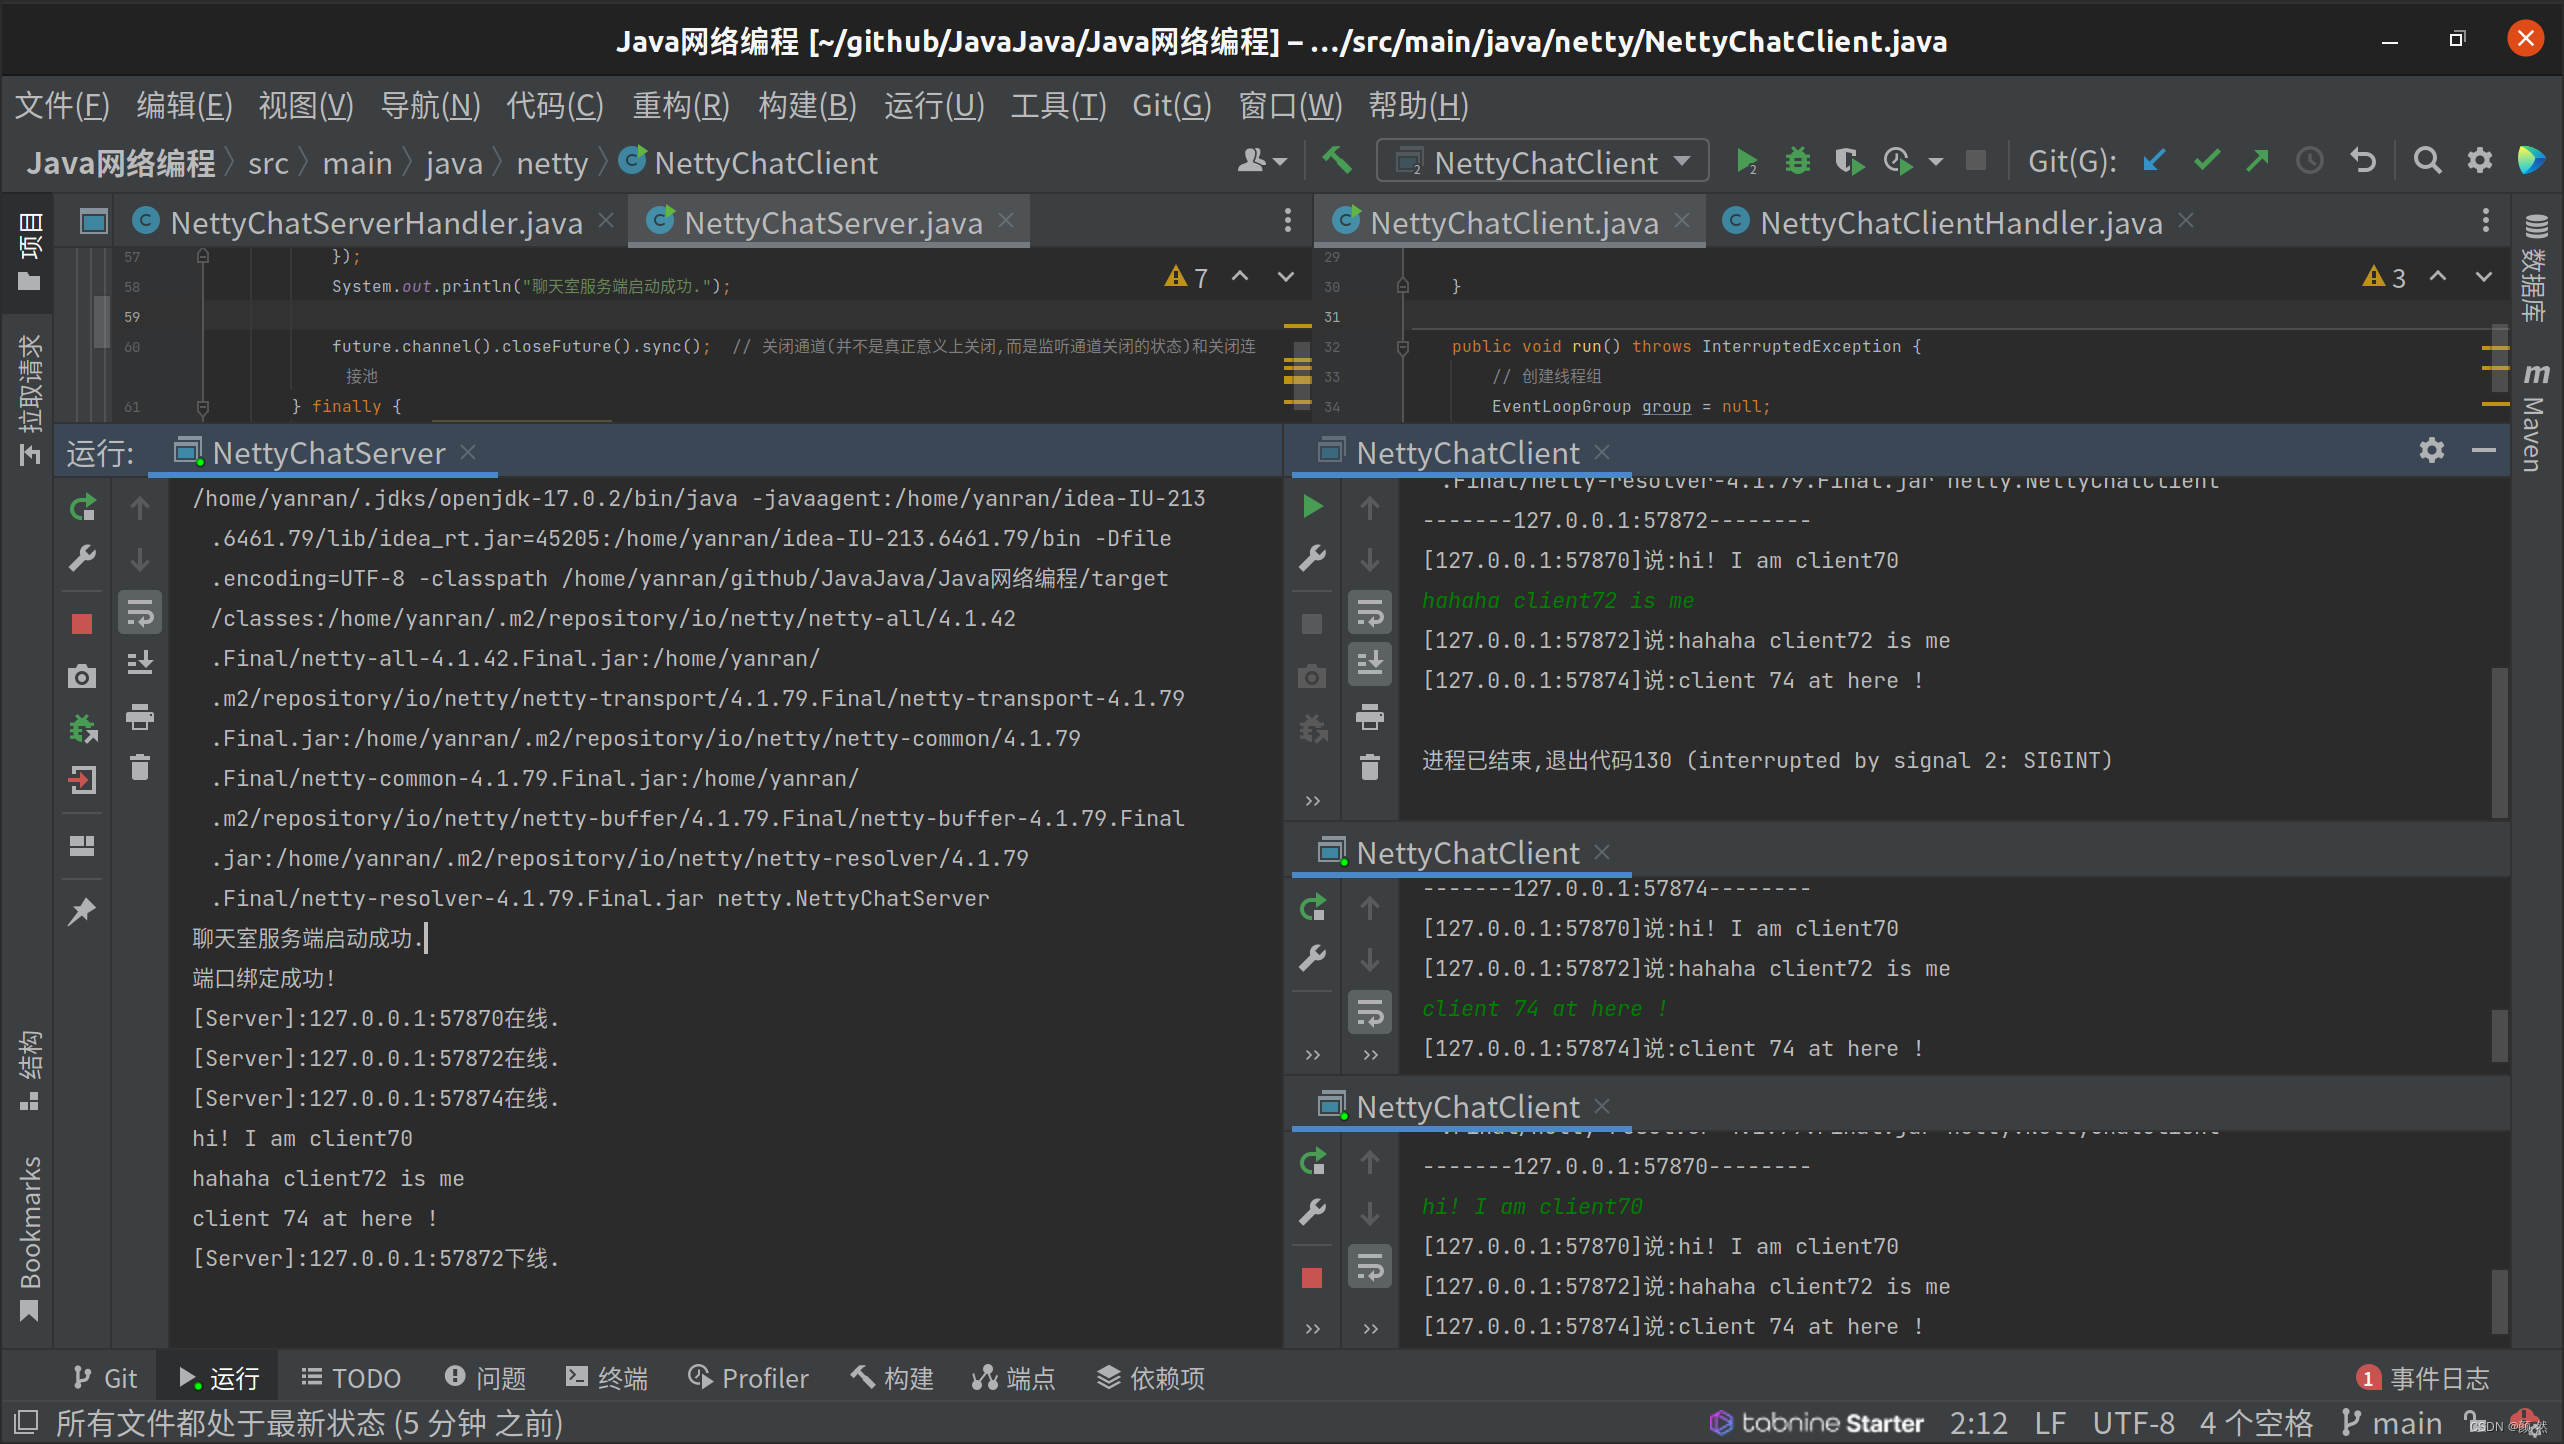
}二、Netty实现群聊客户端和服务端
效果如下。将客户端并行运行后模拟三个用户聊天状态:
1、服务端
可监测用户上线、离线状态:
/**
 * 聊天室服务端
 */
public class NettyChatServer {
    private int port;   //端口号

    public NettyChatServer(int port) {
        this.port = port;
    }

    public void run() throws InterruptedException {
        // 创建bossGroup线程组: 处理连接事件
        EventLoopGroup bossGroup = null;
        // 创建workerGroup线程组: 处理读写事件
        EventLoopGroup workerGroup = null;
        try {
            bossGroup = new NioEventLoopGroup(1);
            workerGroup = new NioEventLoopGroup();

            ServerBootstrap serverBootstrap = new ServerBootstrap();    // 创建服务端启动助手
            serverBootstrap.group(bossGroup, workerGroup)
                        .channel(NioServerSocketChannel.class)
                        .option(ChannelOption.SO_BACKLOG, 128)
                        .childOption(ChannelOption.SO_KEEPALIVE, Boolean.TRUE)
                        .childHandler(new ChannelInitializer<SocketChannel>() {// 创建一个通道初始化对象
                            @Override
                            protected void initChannel(SocketChannel ch) throws Exception {
                                //添加编解码器
                                ch.pipeline().addLast(new StringDecoder());
                                ch.pipeline().addLast(new StringEncoder());
                                /** 向pipeline中添加自定义业务处理handler */
                                ch.pipeline().addLast(new NettyChatServerHandler());
                            }
                        });

            ChannelFuture future = serverBootstrap.bind(port); // 启动服务端,绑定端口,同时将异步改为同步
            // future-listener
            future.addListener(new ChannelFutureListener() {
                @Override
                public void operationComplete(ChannelFuture future) throws Exception {
                    if (future.isSuccess()) {
                        System.out.println("端口绑定成功!");
                    } else {
                        System.out.println("端口绑定失败!");
                    }
                }
            });
            System.out.println("聊天室服务端启动成功.");

            future.channel().closeFuture().sync();  // 关闭通道(并不是真正意义上关闭,而是监听通道关闭的状态)和关闭连接池
        } finally {
            bossGroup.shutdownGracefully();
            workerGroup.shutdownGracefully();
        }
    }

    public static void main(String[] args) throws InterruptedException {
        new NettyChatServer(9998).run();
    }
}因为我们要监听用户的在线和离线状态,也就是通道就绪事件和通道未就绪事件,所以通过重写channelActive和channelInactive方法来实现:
/**
 * 聊天室业务处理类
 */

public class NettyChatServerHandler extends SimpleChannelInboundHandler<String> {
    public static List<Channel> channelList = new ArrayList<>();
    /**
     * 通道就绪事件
     *
     * @param ctx
     * @throws Exception
     */
    @Override
    public void channelActive(ChannelHandlerContext ctx) throws Exception {
        Channel channel = ctx.channel();
        //当有新的客户端连接的时候, 将通道放入集合
        channelList.add(channel);
        System.out.println("[Server]:" + channel.remoteAddress().toString().substring(1) + "在线.");
    }

    /**
     * 通道未就绪--channel下线
     *
     * @param ctx
     * @throws Exception
     */
    @Override
    public void channelInactive(ChannelHandlerContext ctx) throws Exception
    {
        Channel channel = ctx.channel();
        //当有客户端断开连接的时候,就移除对应的通道
        channelList.remove(channel);
        System.out.println("[Server]:" + channel.remoteAddress().toString().substring(1) + "下线.");
    }

    /**
     * 异常处理事件
     *
     * @param ctx
     * @param cause
     * @throws Exception
     */
    @Override
    public void exceptionCaught(ChannelHandlerContext ctx, Throwable cause) throws Exception {
        cause.printStackTrace();
        Channel channel = ctx.channel();
        //移除集合
        channelList.remove(channel);
        System.out.println("[Server]:" + channel.remoteAddress().toString().substring(1) + "异常.");
    }

    /**
     * 通道读取事件
     *
     * @param ctx
     * @param msg
     * @throws Exception
     */
    @Override
    protected void channelRead0(ChannelHandlerContext ctx, String msg) throws Exception {
        System.out.println(msg);
        //当前发送消息的通道, 当前发送的客户端连接
        Channel channel = ctx.channel();
        for (Channel channel1 : channelList) {
            //排除自身通道
            //if (channel != channel1) {
                channel1.writeAndFlush("[" + channel.remoteAddress().toString().substring(1) + "]说:" + msg);
            //}
        }
    }

}
2、客户端
实现多人群聊功能。即多个客户端之间的消息接受和发送:
/**
 * 聊天室的客户端
 */
public class NettyChatClient {
    private String ip;  //服务端IP
    private int port;   //服务端端口号

    public NettyChatClient(String ip, int port) {
        this.ip = ip;
        this.port = port;
    }

    public NettyChatClient() {

    }

    public void run() throws InterruptedException {
        // 创建线程组
        EventLoopGroup group = null;
        try {
            group = new NioEventLoopGroup();

            Bootstrap bootstrap = new Bootstrap();  // 创建客户端启动助手
            bootstrap.group(group)
                    .channel(NioSocketChannel.class)
                    .handler(new ChannelInitializer<SocketChannel>() { // 创建一个通道初始化对象
                        @Override
                        protected void initChannel(SocketChannel ch) throws Exception {
                            //编解码器
                            ch.pipeline().addLast(new StringDecoder());
                            ch.pipeline().addLast(new StringEncoder());
                            // 添加自定义业务处理handler
                            ch.pipeline().addLast(new NettyChatClientHandler());
                        }
                    });

            ChannelFuture channelFuture = bootstrap.connect(ip, port).sync();   // 启动客户端,等待连接服务端,同时将异步改为同步

            Channel channel = channelFuture.channel();
            System.out.println("-------" + channel.localAddress().toString().substring(1) +"--------");

            // input
            Scanner scanner = new Scanner(System.in);
            while (scanner.hasNextLine()) {
                String msg = scanner.nextLine();
                //向服务端发送消息
                channel.writeAndFlush(msg);
            }
            channelFuture.channel().closeFuture().sync();   // 关闭通道和关闭连接池
        } finally {
            group.shutdownGracefully();
        }
    }
    public static void main(String[] args) throws InterruptedException {
        new NettyChatClient("127.0.0.1", 9998).run();
    }
}
客户端的事件处理只需要有读取就绪即可,即仅重写channelRead0方法:
/**
* 聊天室处理类
*/
public class NettyChatClientHandler extends SimpleChannelInboundHandler<String> {
public static List<Channel> channelList = new ArrayList<>();
/**
* 通道读取就绪事件
*
* @param ctx
* @param msg
* @throws Exception
*/
@Override
protected void channelRead0(ChannelHandlerContext ctx, String msg) throws Exception {
System.out.println(msg);
//当前发送消息的通道, 当前发送的客户端连接
Channel channel = ctx.channel();
for (Channel channel1 : channelList) {
//排除自身通道
if (channel != channel1) {
channel1.writeAndFlush("[" + channel.remoteAddress().toString().substring(1) + "]说:" + msg);
}
}
}
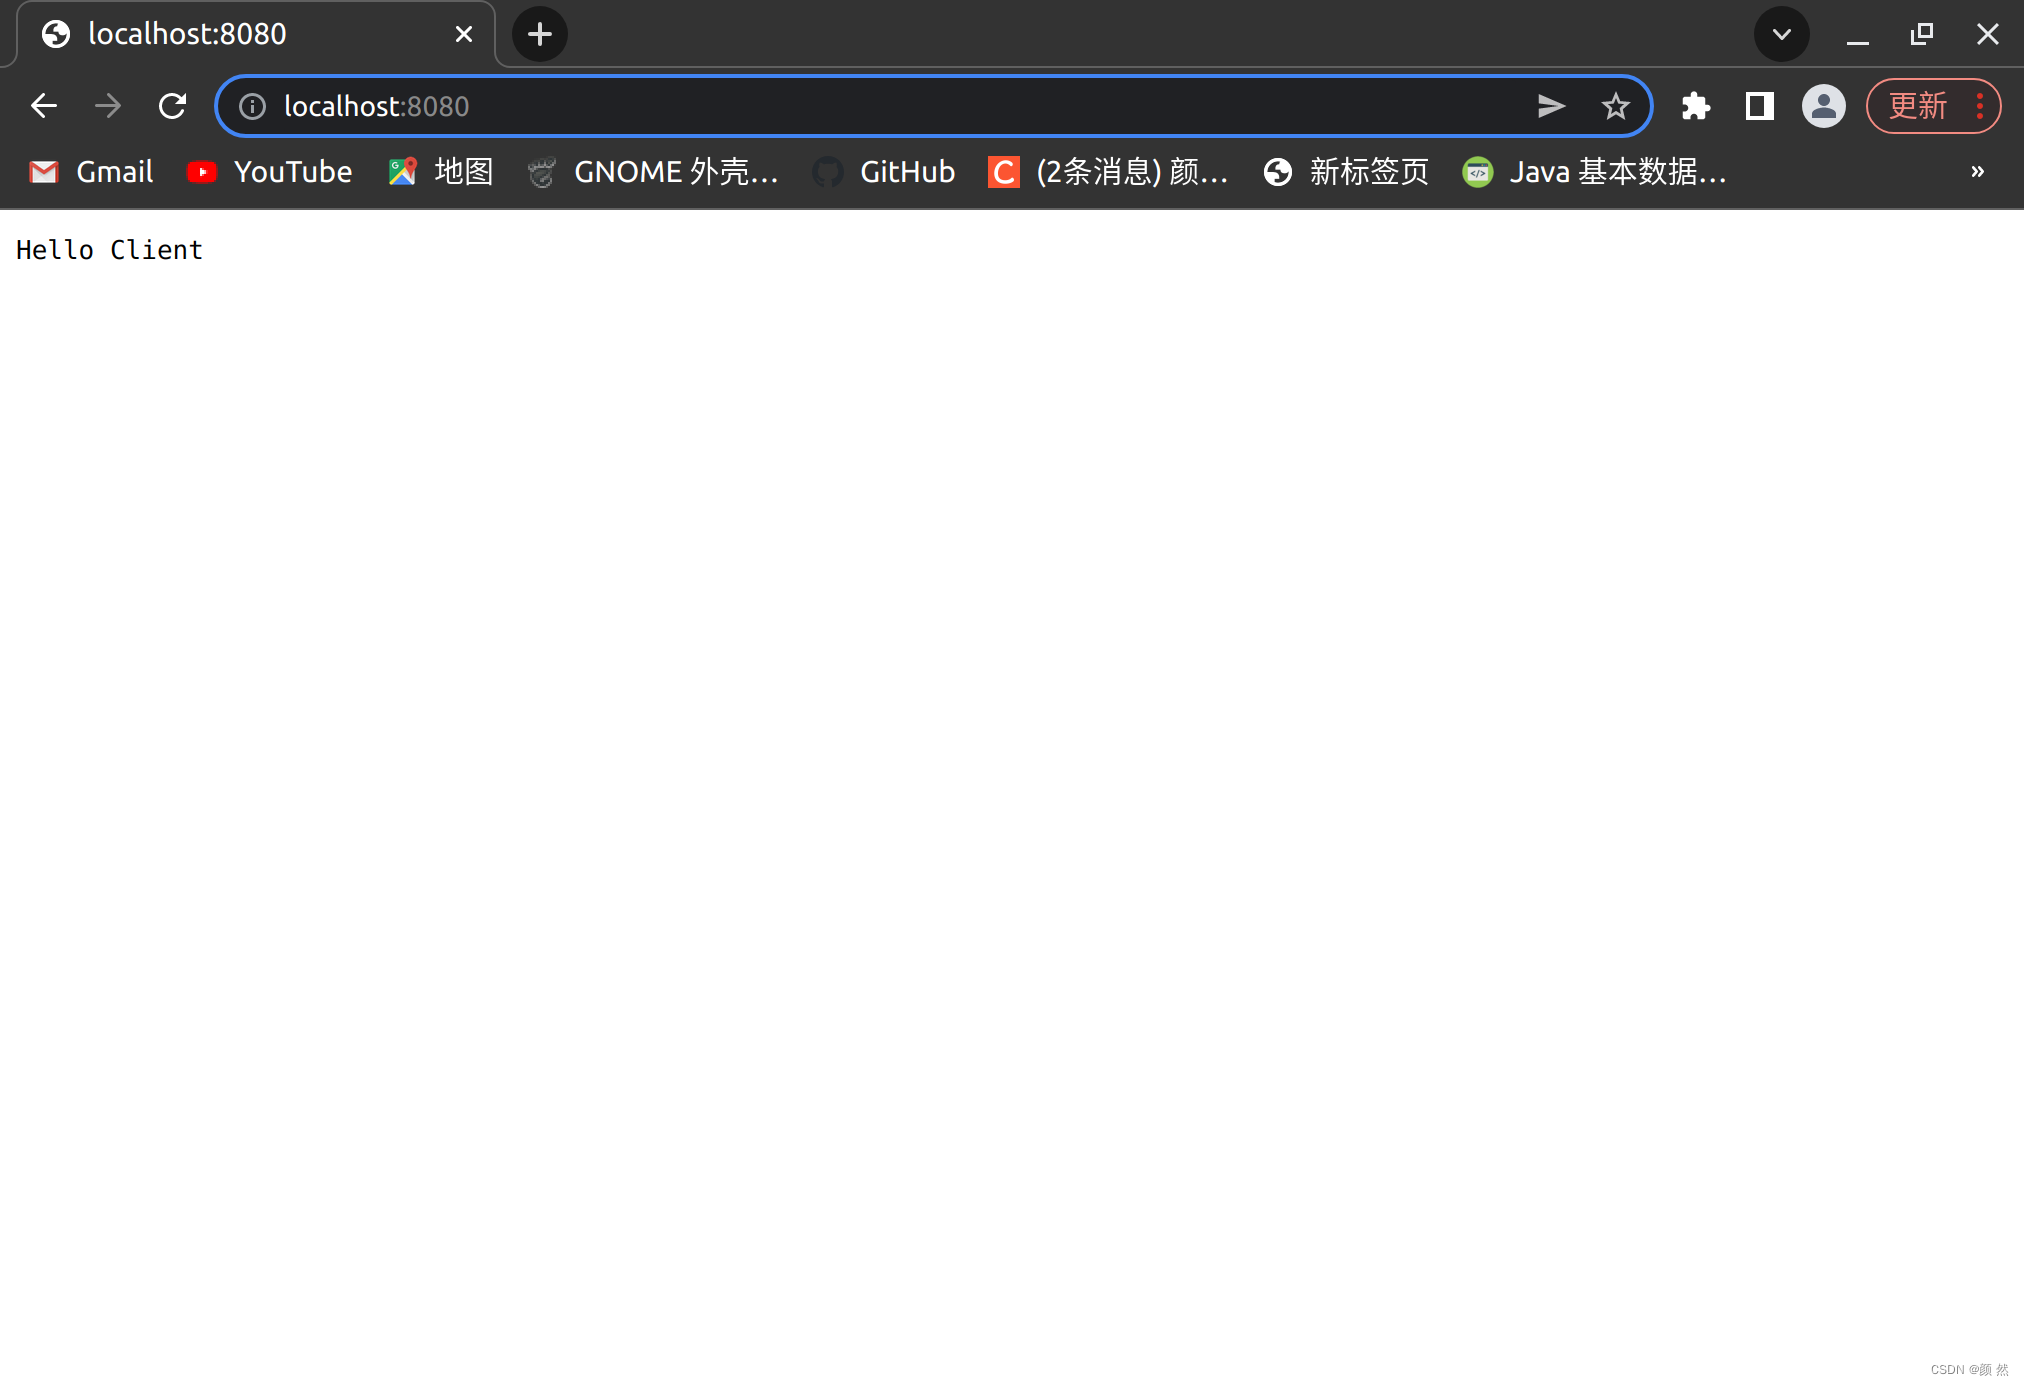
}三、Netty开发Http服务器
NettyServer在8080端口监听实现,然后浏览器发出请求http://localhost:8080/,服务器可以回发送消息给客户端浏览器页面。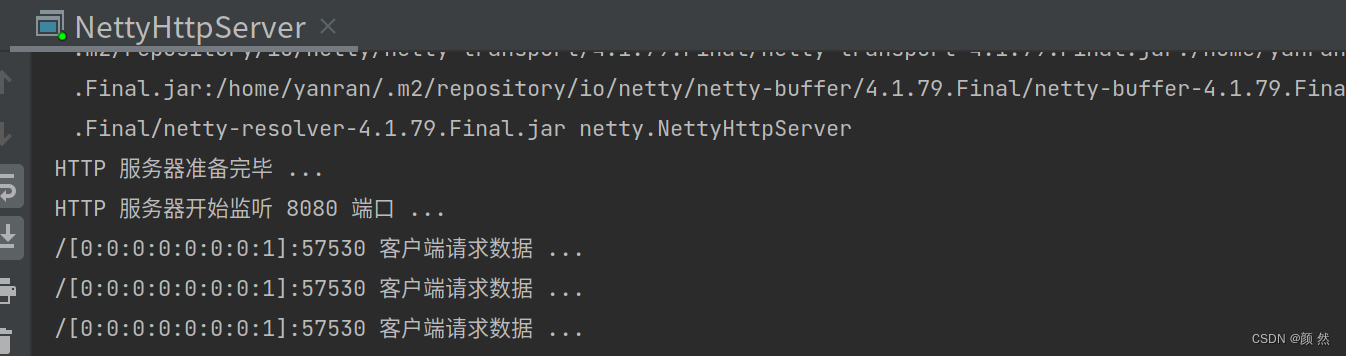
我们可以在自定义业务逻辑处理器中重写channelRead0方法时添加判断条件:
msg instanceof HttpRequest(判断是否为Http请求)
- instanceof关键字 --> 测试左边对象是否是右边类的实例,返回 boolean 的数据类型。
服务端的编写其实还是老样子一套流程,只不过是把端口换为8080而已:
/**
 * HTTP 服务器
 * 客户端使用浏览器访问即可
 */
public class NettyHttpServer {
    public static void main(String[] args) {
        EventLoopGroup bossGroup = new NioEventLoopGroup(1);
        EventLoopGroup workerGroup = new NioEventLoopGroup();

        ServerBootstrap bootstrap = new ServerBootstrap();
        bootstrap.group(bossGroup, workerGroup)
                .channel(NioServerSocketChannel.class)
                .option(ChannelOption.SO_BACKLOG, 128)
                .childOption(ChannelOption.SO_KEEPALIVE, true)
                .childHandler(
                        new ChannelInitializer<SocketChannel>() {
                            @Override
                            protected void initChannel(SocketChannel ch) throws Exception {
                                ch.pipeline().addLast(new HttpServerCodec());
                                ch.pipeline().addLast(new NettyHttpServerHandler());
                            }
                        }
                );
        System.out.println("HTTP 服务器准备完毕 ...");

        try {
            // 绑定本地端口, 进行同步操作
            ChannelFuture channelFuture = bootstrap.bind(8080).sync();
            System.out.println("HTTP 服务器开始监听 8080 端口 ...");
            channelFuture.channel().closeFuture().sync();
        } catch (InterruptedException e) {
            e.printStackTrace();
        } finally {
            bossGroup.shutdownGracefully();
            workerGroup.shutdownGracefully();
        }
    }
}
主要的关键不同在于这个自定义的事件处理器handler类中的重写channelRead0:
/**
 * HTTP 服务器处理类
 * SimpleChannelInboundHandler 是 ChannelInboundHandlerAdapter 子类
 * HttpObject 指的是服务器端与客户端处理数据时的数据类型
 */
public class NettyHttpServerHandler extends SimpleChannelInboundHandler<HttpObject> {
    @Override
    protected void channelRead0(ChannelHandlerContext ctx, HttpObject msg) throws Exception {
        //判断 msg 参数是否是 Http 请求
        if(msg instanceof HttpRequest){
            System.out.println(ctx.channel().remoteAddress() + " 客户端请求数据 ... ");
            // 准备给客户端浏览器发送的数据
            // Unpooled.copiedBuffer(CharSequence string, Charset charset) --> 创建一个新的缓冲区,其内容 string在指定的charset字符集
            ByteBuf byteBuf = Unpooled.copiedBuffer("Hello Client", CharsetUtil.UTF_8);

            // 设置 HTTP 版本和 HTTP 的状态码, 返回内容
            DefaultFullHttpResponse defaultFullHttpResponse = new DefaultFullHttpResponse(HttpVersion.HTTP_1_1, HttpResponseStatus.OK, byteBuf);

            // 设置 HTTP 请求头,设置内容类型是文本类型
            defaultFullHttpResponse.headers().set(HttpHeaderNames.CONTENT_TYPE, "text/plain");

            // 设置返回内容的长度
            defaultFullHttpResponse.headers().set(HttpHeaderNames.CONTENT_LENGTH, byteBuf.readableBytes());

            // 写出 HTTP 数据
            ctx.writeAndFlush(defaultFullHttpResponse);
        }
    }
}
四、WebSocket协议
在说WebSocket协议前,为了对比先说说Http协议。
1、Http协议与WebSocket协议对比
Http协议是基于TCP协议的,也就是说Http协议在建立连接时必须要通过三次握手行为。Http的连接又分为短连接和长连接,短连接下的模式是完成一次三次握手发送一个信息,而长连接是一段时间保持TCP连接不断开。并且在Http协议下,总是客户端主动向服务端发起连接(服务端被动、客户端主动),所以如果客户端要想实时获取服务端消息就得不断发送长连接到服务端。
WebSocket协议是全双工通信(通信的双方可以同时发送和接收消息),实现了多路复用。
建立了WebSocket连接之后, 服务端可以主动发送信息到客户端。这种方式不仅能降低服务器的压力,而且也减少了部分多余的信息。
2、简单使用
package com.example.demo;
import org.springframework.boot.SpringApplication;
import org.springframework.boot.autoconfigure.SpringBootApplication;
import org.springframework.web.bind.annotation.GetMapping;
import org.springframework.web.bind.annotation.RequestParam;
import org.springframework.web.bind.annotation.RestController;
@SpringBootApplication
@RestController
public class DemoApplication {
public static void main(String[] args) {
SpringApplication.run(DemoApplication.class, args);
}
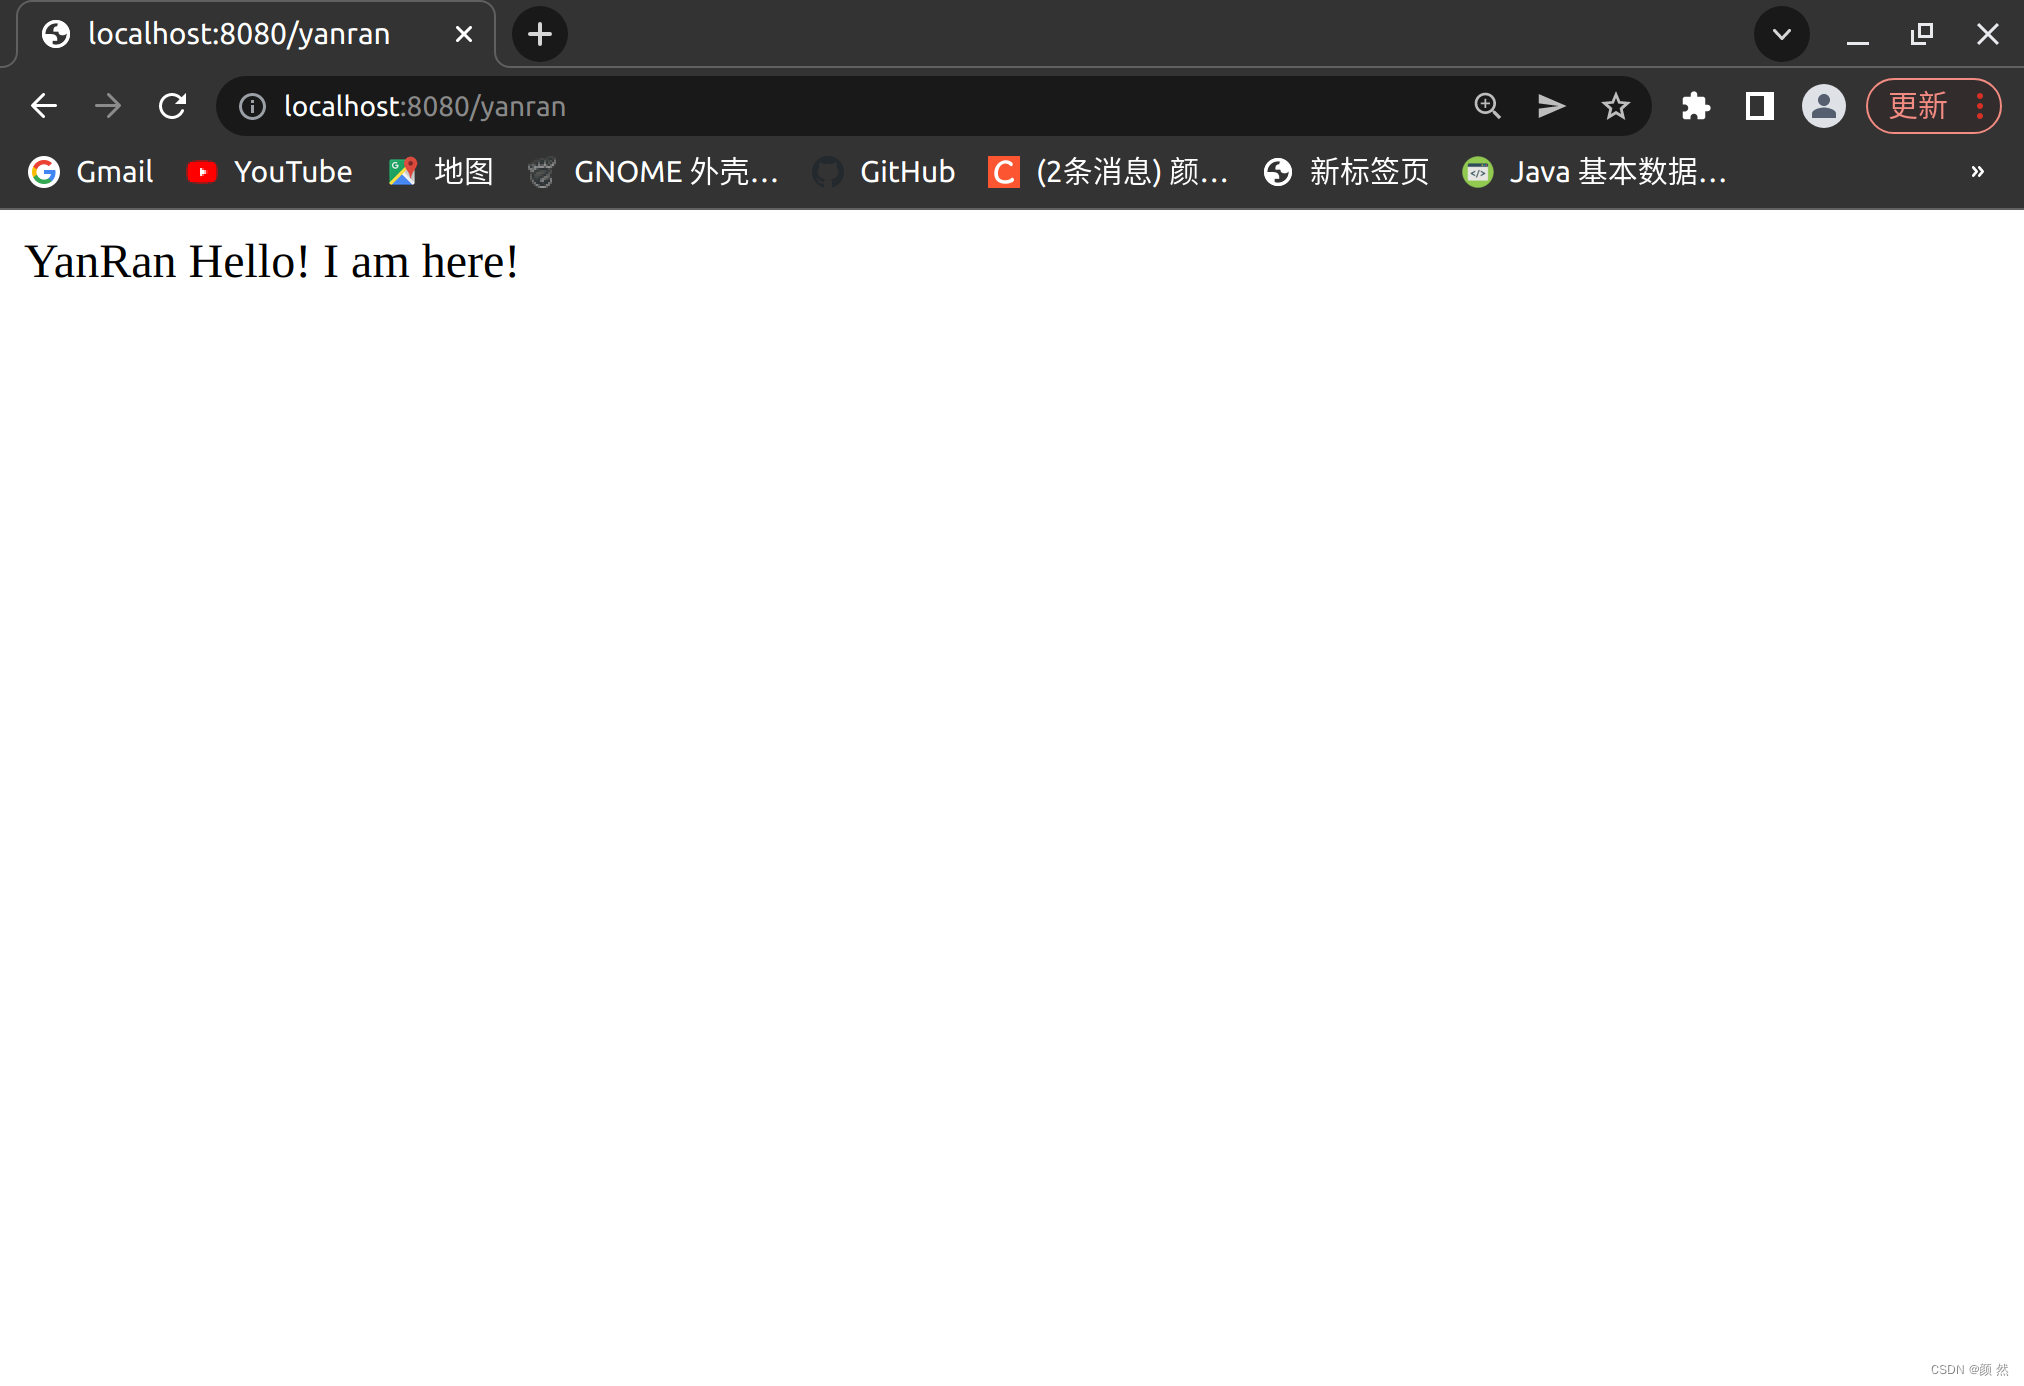
@GetMapping("/yanran")
public String hello(@RequestParam(value = "name", defaultValue = "Hello! I am here") String name) {
return String.format("YanRan %s!", name);
}
}
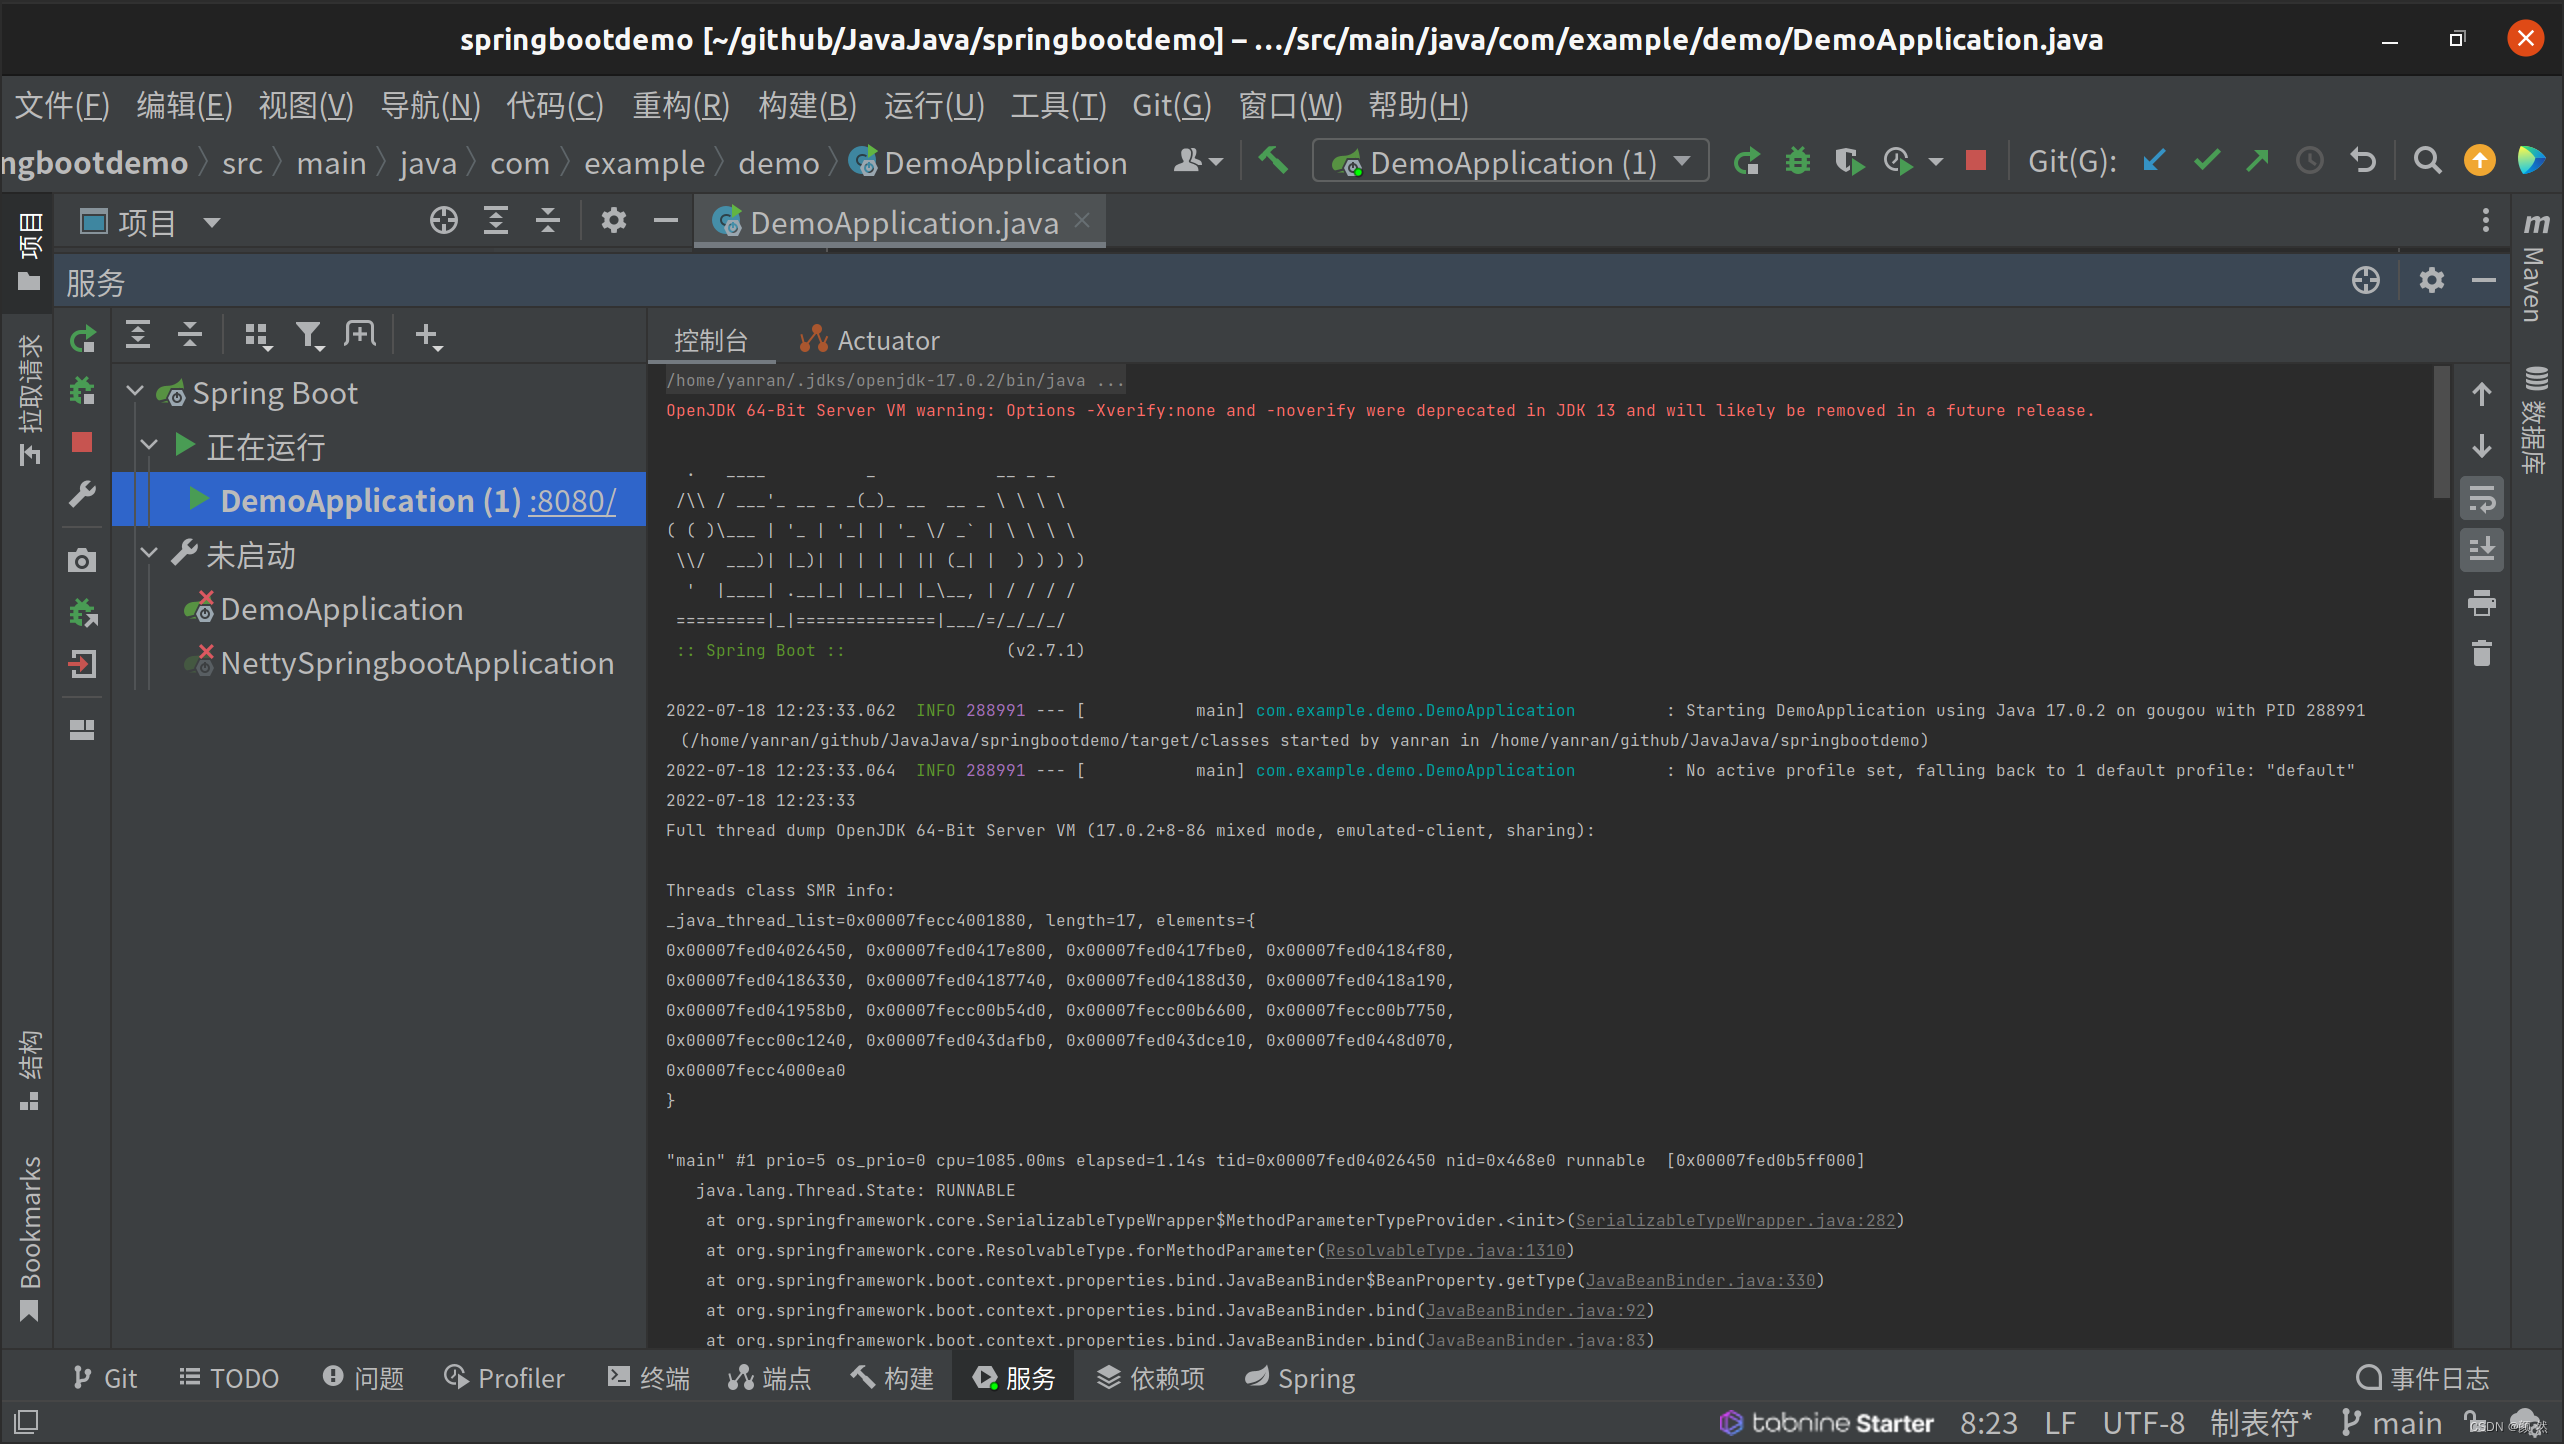
运行程序后控制台显示如下,SpringBoot已启动:
打开网页后显示:
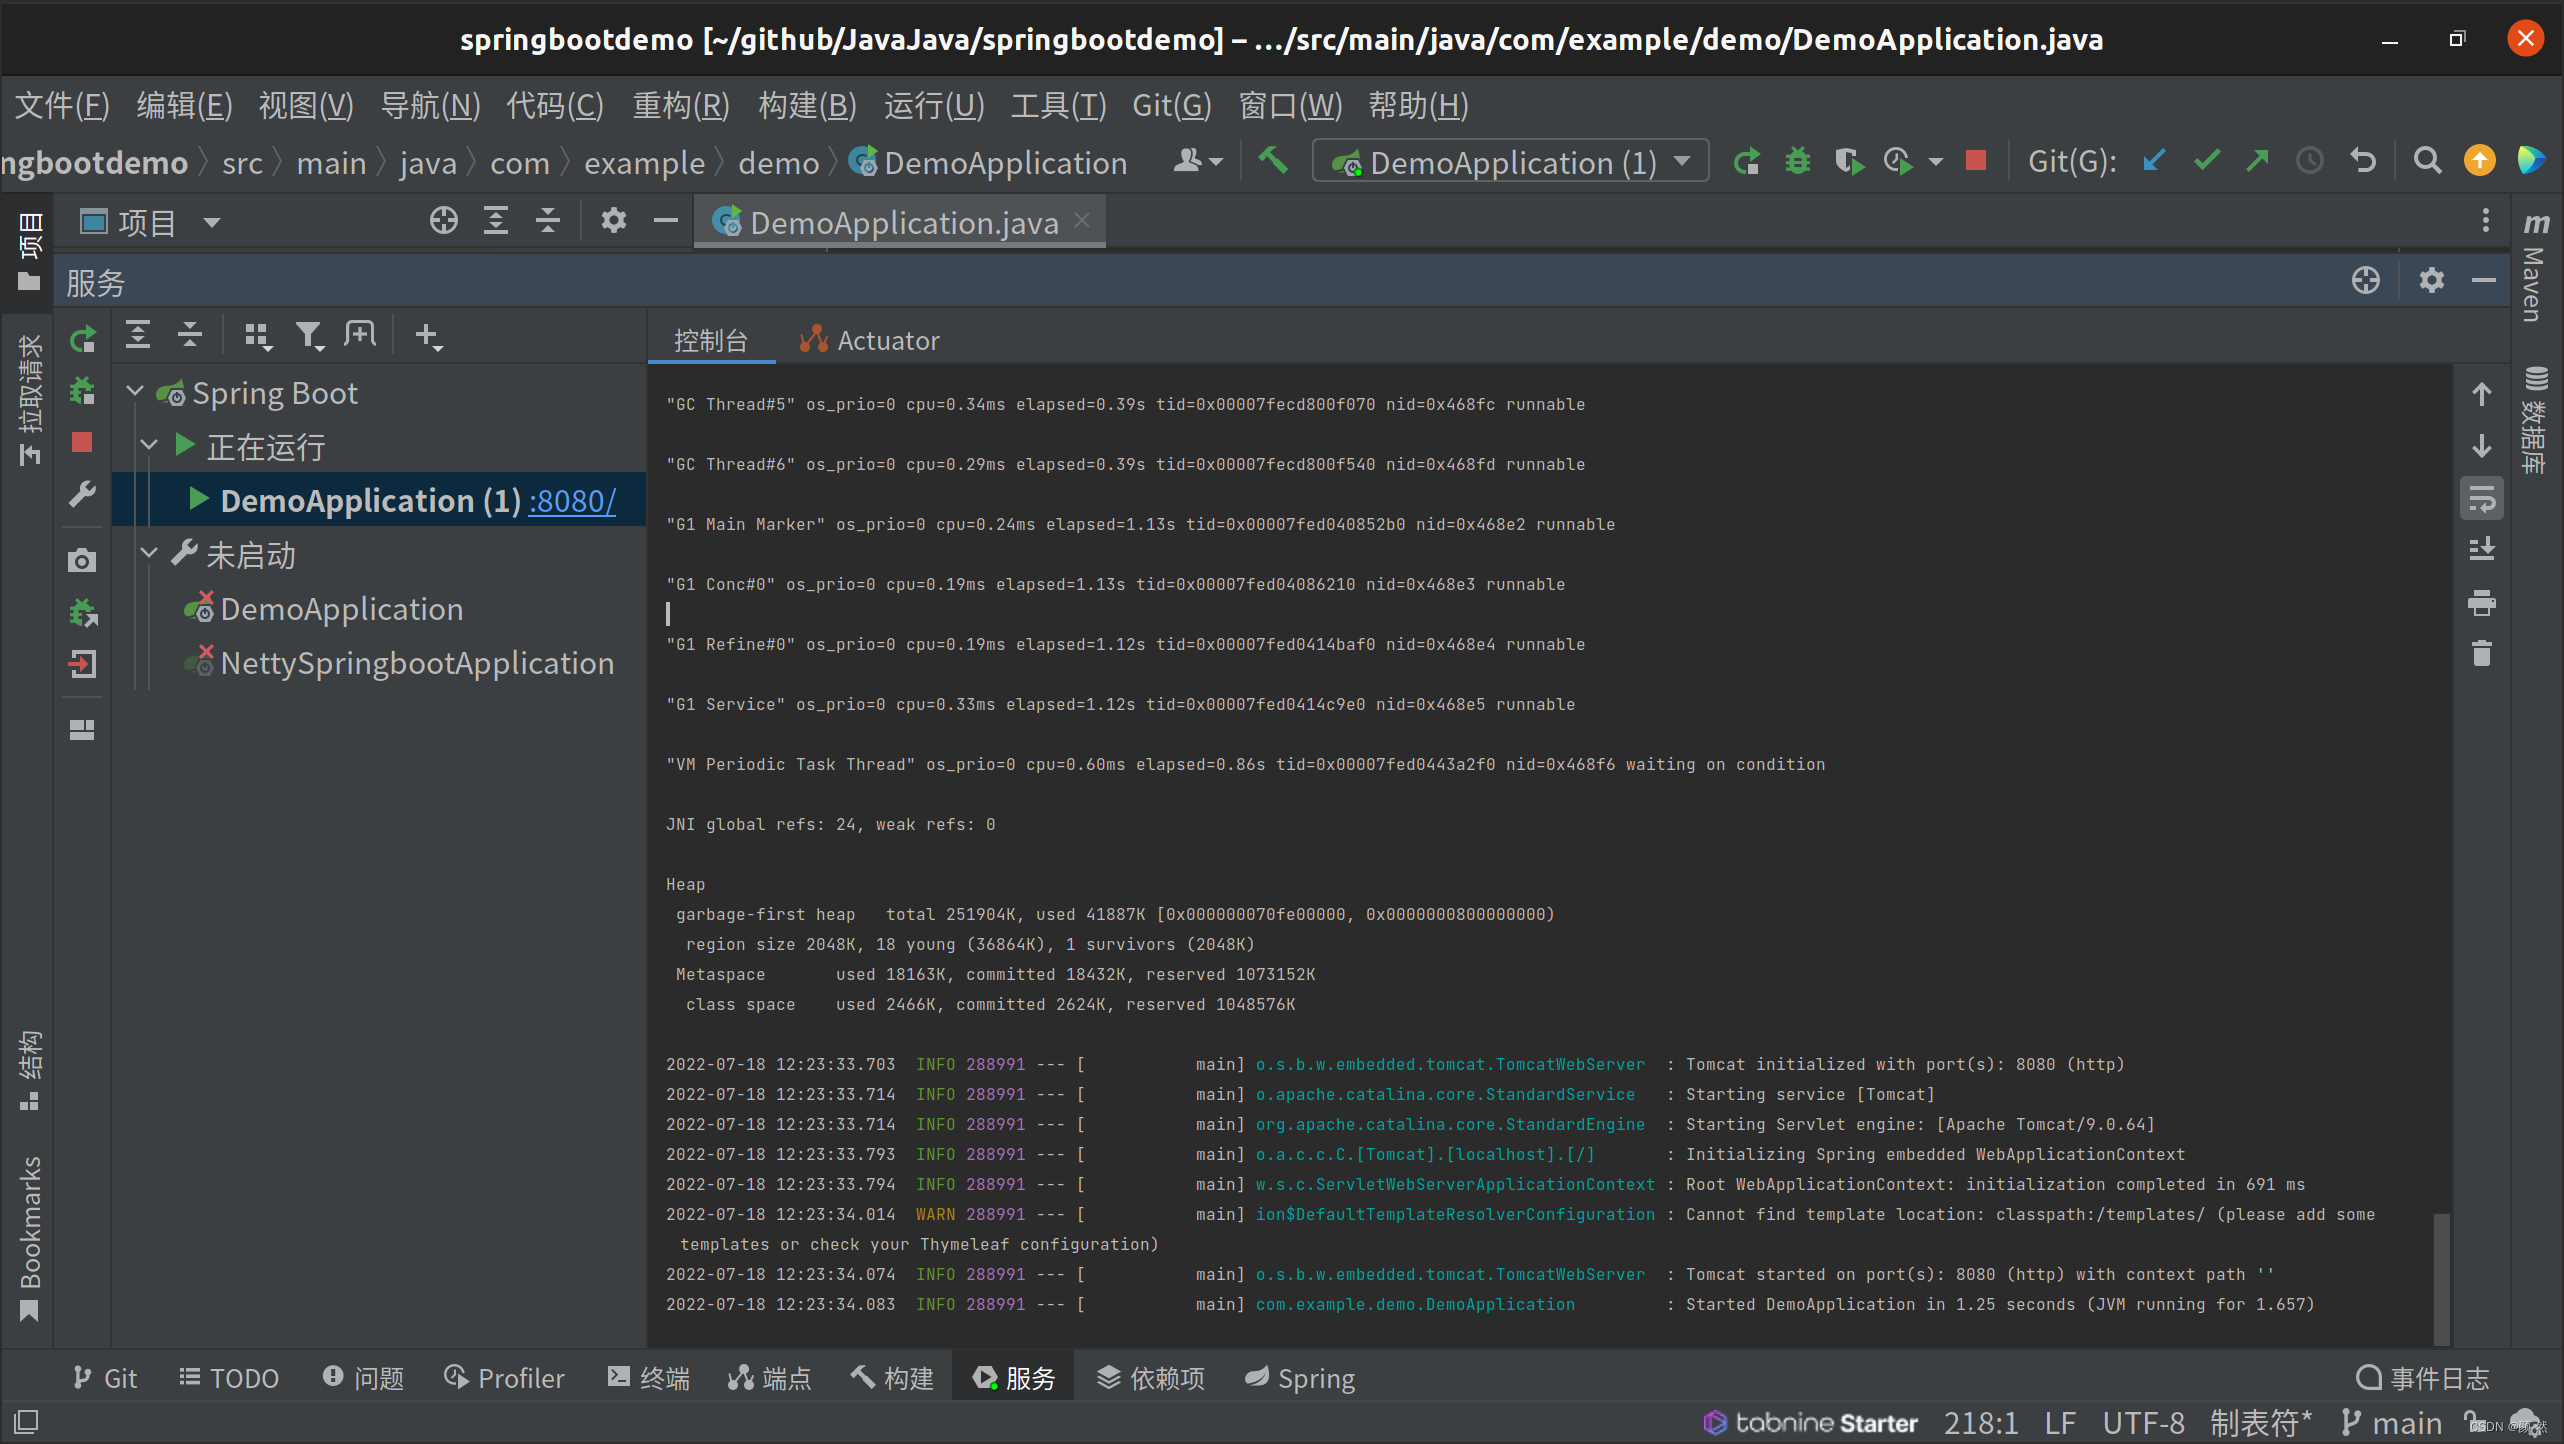
控制台显示:

后来结合了SpringBoot框架搞了一个基于WebSocket协议的网页版聊天室,中道未遂最后被告知web搞太早了,所以决定先搁置一段。


 1044
1044


 被折叠的 条评论
为什么被折叠?
被折叠的 条评论
为什么被折叠?
 到【灌水乐园】发言


