


 本文介绍了如何在Django项目中与MySQL数据库进行简单交互,包括启动数据库服务器,创建数据库和数据表,编写Python类进行数据的增删操作,并在Django视图中展示数据,最后通过URL路由访问页面。教程旨在提供一个实用且易于理解的方法。
前言:
1.走到这里大家对django的应用都有一个大概的逻辑了解;
2.MySQL数据库的数据怎样能够随时查看
3.看了查看很多大佬对MySQL数据库数据的交互资料,要么太高端,要么太复杂
4.结合以前的学习把django与MySQL数据库交互简单、实用化
一、MySQL数据库的建立:
1.MySQL数据库服务器的启动:
net start MySQ
2.pyCharmd创建jango文件my_site,子文件app01;
3.把my_site内的子文件my_site内新建一个文件[testdb.py]:
(1).在MySQL数据库中创建自己的数据库和数据表:
 import mysql.connector

        #链接mysql数据库:
        my_db = mysql.connector.connect(
                                            host = 'localhost',
                                            user = 'root',
                                            passwd = '123456',


        )
        my_cursor = my_db.cursor()
        #创建数据库:
        my_cursor.execute("CREATE DATABASE my_datas")
       #检验数据库创建是否成功:
        print(my_db)
       输出:<mysql.connector.connection_cext.CMySQLConnection object at 0x000001D63040AFD0>  #标明已经创建成功了.

        #数据库中创建数据表:
        my_cursor.execute('CREATE TABLE table_01 (name VARCHAR(255), url VARCHAR(255))')
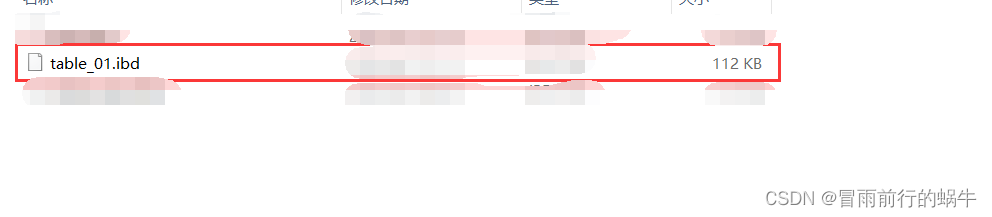
也可以直接去MySQL数据库[data]查看:
数据库:
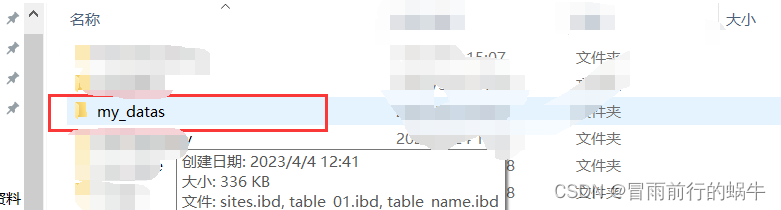 数据表:
数据表:
(2).创建好后在testdb.py文件中编写:
class UIfo:
    def __init__(self):
        self.my_db = mysql.connector.connect(
            host='localhost',
            user='root',
            passwd='123456',
            database='my_datas'  # 创建后加入

        )

    def pop_data(self, name):
        # 删除数据
        my_cursor = self.my_db.cursor()
        sql = 'DELETE FROM table_01 WHERE name = %s'%name
        my_cursor.execute(sql, name)
        self.my_db.cursor.commit()

    def add_data(self,  name, url):
        # 添加数据
        my_cursor = self.my_db.cursor()
        sql = "INSERT INTO table_01 (name,url) VALUES (%s, %s ,%s)  "
        val = [ (name, url)]
        my_cursor.executemany(sql, val)
        self.my_db.cursor.commit()
4.在my_site内的子文件my_site内的[settings.py]文件内容 DATABASES 配置项修改成:
ATABASES = {
                'default': {

                    'ENGINE': 'django.db.backends.mysql',    # 数据库引擎
                    'NAME':  'my_datas',
                    'HOST' :'localhost',
                    'PORT': 3306,
                    'USER':  'root',
                    'PASSWORD' : '123456',


                }
            }
5.在my_site内的templates子文件夹内创建一个空文本(如:index_02.txt)
6.在testdb.py文件继续编写:
         import mysql.connector
         my_db = mysql.connector.connect(
                                   host = 'localhost',
                                   user = 'root',
                                   passwd = '123456',
                                   database = 'my_datas'#创建后加入

          )

          my_cursor = my_db.cursor()

          #插入数据
          sql = "INSERT INTO table_01 (name, url) VALUES (%s, %s)"
          val = [
          #        ("Google", "https://www.google.com"),
          #        ("Github", "https://www.github.com"),
          #        ("Taobao", "https://www.taobao.com"),
          #        ("stackoverflow", "https://www.stackoverflow.com/"),
                  ('jingdong','https://www.jd.com/'),
          ]
          my_cursor.executemany(sql, val)
          my_db.commit()  # 数据表内容有更新,必须使用到该语句

          #查表填入数据详细:
          my_cursor.execute("SELECT * FROM table_01")
          my_result = my_cursor.fetchall()  # fetchall() 获取所有记录
          with open('.my_site/templates/index_02.txt','r+') as f:

              for x in my_result:
                  if type(x) != str:
                      for j in x:
                          if type(j) == str:
                              print(j)
                              x = j
                              f.write(x + '\n'+'<br>')
                          elif type(j) != str:
                              f.write('\n')
                              my_result = j
                  elif type(x) == str:
                          f.write(x)
                          f.close()
                  else:
                      break
7.在my_site内的app01子文件夹内创建一个空文本文件中views子文件中views.py编写:
from django.shortcuts import render

        def index(request):

            return render(request,'index_02.txt')
8.在my_sites内的my_sites子文件中url.py编写:
from django.urls import path

from app01 import views


        urlpatterns = [

               path('index/', views.index),

        ]
9.启动项目:
python manage.py runserver IP(自己定义,默认8000)
打开网页:
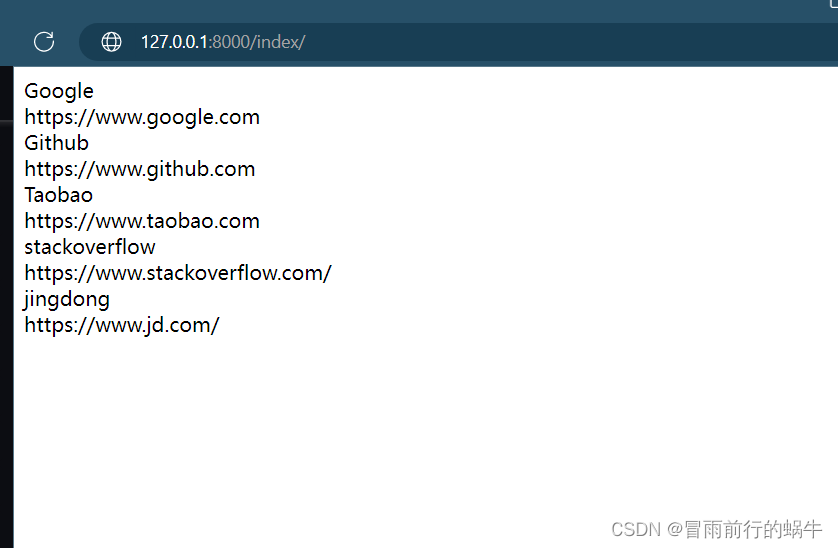
9.整理代码:
未完后面补充


 800
800

 被折叠的 条评论
为什么被折叠?
被折叠的 条评论
为什么被折叠?
 到【灌水乐园】发言


