


1.新建maven工程 pom.xml
<project xmlns="http://maven.apache.org/POM/4.0.0" xmlns:xsi="http://www.w3.org/2001/XMLSchema-instance"
  xsi:schemaLocation="http://maven.apache.org/POM/4.0.0 http://maven.apache.org/maven-v4_0_0.xsd">
  <modelVersion>4.0.0</modelVersion>
  <groupId>com.alipay.activeMQ</groupId>
  <artifactId>activeMQ.train</artifactId>
  <packaging>war</packaging>
  <version>0.0.1-SNAPSHOT</version>
  <name>activeMQ.train Maven Webapp</name>
  <url>http://maven.apache.org</url>
  <dependencies>
	<dependency>
		<groupId>junit</groupId>
		<artifactId>junit</artifactId>
		<version>3.8.1</version>
		<scope>test</scope>
	</dependency>
	<dependency>
		<groupId>org.apache.activemq</groupId>
		<artifactId>activemq-all</artifactId>
		<version>5.9.0</version>
	</dependency>
	<dependency>
		<groupId>org.apache.xbean</groupId>
		<artifactId>xbean-spring</artifactId>
		<version>3.16</version>
	</dependency>
  </dependencies>
  <build>
    <finalName>activeMQ.train</finalName>
  </build>
</project>
2.发送消息
/**
 * 发送消息
 *
 * @author xiajie
 * @version $Id: QueueSender.java, v 0.1 2017年10月19日 下午3:58:38 xiajie Exp $
 */
public class QueueSender {

    public static void main(String[] args) throws Exception{

        /**
         * 1.拿到连接工厂
         * 用来连接到ActivityMQ服务器
         */
        ConnectionFactory   connectionFactory = new ActiveMQConnectionFactory("tcp://localhost:61616");

        /**
         * 2.创建连接
         */
        Connection connection = connectionFactory.createConnection();

        /**
         * 3.启动连接
         */
        connection.start();

        /**
         * 4.创建一个会话
         * 通过连接拿到会话
         */
        Session session = connection.createSession(Boolean.TRUE, Session.AUTO_ACKNOWLEDGE);

        /**
         * 5.创建一个Destination(目的地)
         *  指的是消息要发送到的地方
         */
        Destination destination = session.createQueue("my-queue");

        /**
         * 6.创建生成者
         * 发送消息的人
         */
        MessageProducer producer = session.createProducer(destination);

        for(int i = 0 ; i < 3;i++){

            /**
             * 7.封装具体的消息
             */
            TextMessage message = session.createTextMessage("message--"+i);

            /**
             * 8.发送消息
             * 通过生产者发送消息
             */
            producer.send(message);
        }

        /**
         * 9.关闭会话和连接
         */
        session.commit();
        session.close();
        connection.close();

    }

}
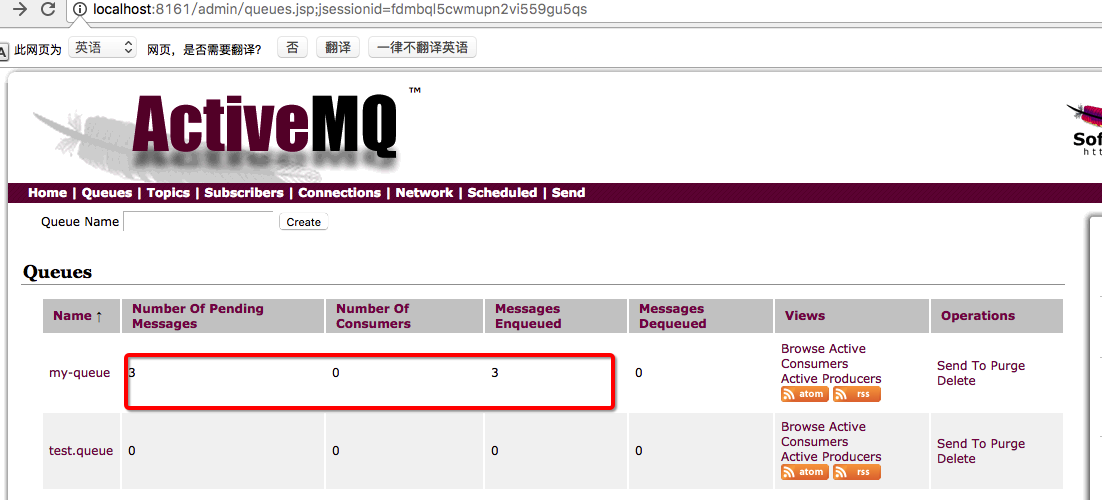
发送的消息,在ActiveMQ的管理界面中可以看到
3.接收消息
/**
* 接收消息
*
* @author xiajie
* @version $Id: QueueReceiver.java, v 0.1 2017年10月19日 下午4:11:28 xiajie Exp $
*/
public class QueueReceiver {
public static void main(String[] args) throws Exception {
/**
* 1.拿到连接工厂
* 用来连接到ActivityMQ服务器
*/
ConnectionFactory connectionFactory = new ActiveMQConnectionFactory("tcp://localhost:61616");
/**
* 2.创建连接
*/
Connection connection = connectionFactory.createConnection();
/**
* 3.启动连接
*/
connection.start();
/**
* 4.创建一个会话
* 通过连接拿到会话
*/
Session session = connection.createSession(Boolean.TRUE, Session.AUTO_ACKNOWLEDGE);
/**
* 5.创建一个Destination(目的地)
* 指的是消息要发送到的地方
*/
Destination destination = session.createQueue("my-queue");
/**
* 6.创建消费者
*/
MessageConsumer consumer = session.createConsumer(destination);
for(int i=0;i<3;i++){
/**
* 7.接收消息
*/
TextMessage message = (TextMessage)consumer.receive();
session.commit();
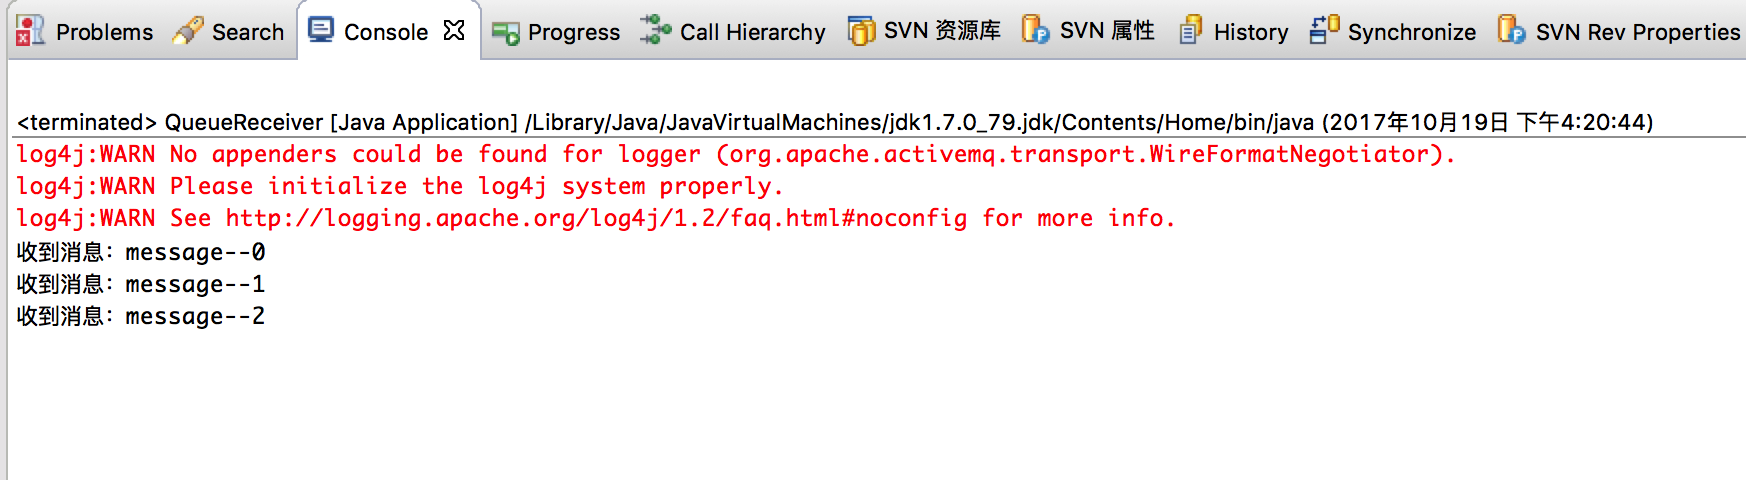
System.out.println("收到消息:" + message.getText());
}
session.close();
connection.close();
}
}


 337
337

 被折叠的 条评论
为什么被折叠?
被折叠的 条评论
为什么被折叠?
 到【灌水乐园】发言


