


前置工作
为了方便学习与理解,我们通过一个示例对模板语法展开学习。本文章基于上篇文章内容进行扩展,需要回顾的同学可以看上一篇《[Angular]先搞定路由》。
在welcome中新增链接
书接上篇文章,此处在welcome.component.html中增加一个<a>标签:
<li><a routerLink="/grammar-component" routerLinkActive="active">模板语法</a></li>
创建一个grammar的组件
D:\ideaProject\learn-project\src\app\welcome>ng generate component grammar
CREATE src/app/welcome/grammar/grammar.component.html (22 bytes)
CREATE src/app/welcome/grammar/grammar.component.spec.ts (633 bytes)
CREATE src/app/welcome/grammar/grammar.component.ts (280 bytes)
CREATE src/app/welcome/grammar/grammar.component.scss (0 bytes)
UPDATE src/app/app.module.ts (506 bytes)

在哪个路径下执行就会在相应路径下创建相关组件的文件,如图,这里我选择在welcome的路径下创建,创建的grammar组件在welcome的子路径下,就不再是和其他组件平行的关系。
添加grammar的路由
{ path: 'welcome-component', component: WelcomeComponent},
模板语法
Angular 的模板语法扩展了 HTML 和 JavaScript。
遍历
grammar.component.ts源码如下:
import { Component, OnInit } from '@angular/core';

@Component({
  selector: 'app-grammar',
  templateUrl: './grammar.component.html',
  styleUrls: ['./grammar.component.scss']
})
export class GrammarComponent implements OnInit {
  products: Product[] = [];

  constructor() {
    this.products[0] = new Product('Apple', 16);
    this.products[1] = new Product('Banana', 20);
  }

  ngOnInit(): void {
    this.products[1] = new Product('Luffy', 12);
    this.products[2] = new Product('Sangi', 32);
  }

}

export class Product {
  name: string;
  price: number;

  constructor(name: string, price: number) {
    this.name = name;
    this.price = price;
  }
}
此处定义了一个Product类,同时在GrammarComponent中定义了一个名为Products的数组的成员变量,并在构造器和ngOnInit中给予赋值。
遍历这些预定义的商品列表时使用的是 *ngFor 指令,把 *ngFor 指令加到 <div>上:
grammar.component.html源码:
<h2>Products</h2>

<div *ngFor="let product of products">
  <h3>
    {{ product.name }} : {{product.price}}
  </h3>
</div>
*ngFor 是一个 “结构型指令”。结构型指令会通过添加、删除和操纵它们的宿主元素等方式塑造或重塑 DOM 的结构。带有星号 * 的指令都是结构型指令。
插值
上面的源码中使用了{{}}进行取值,这里叫插值语法。插值会把属性的值作为文本渲染出来。
效果如图所示:
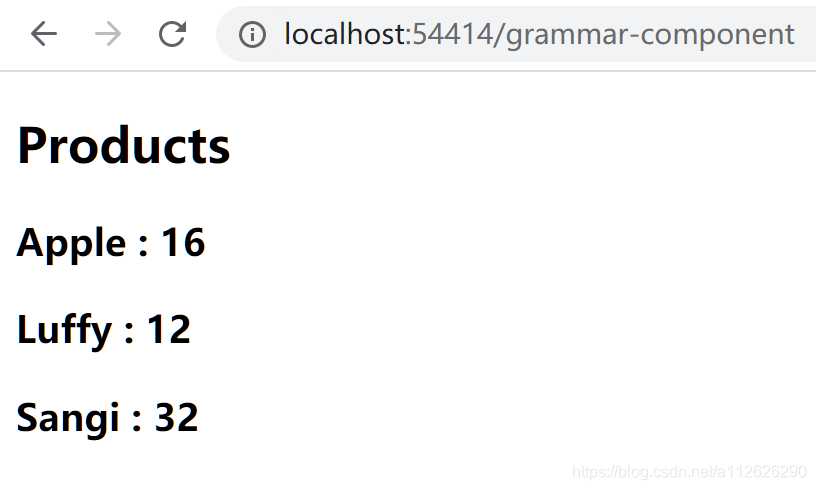
我在ts文件中的构造方法和ngOnInit方法中对数组进行赋值,我们发现:ngOnInit方法在构造器后执行。
属性绑定
添加一个 <a> 元素,并使用属性绑定语法 [] 把该链接的 title 设置成该商品的名字:
<h2>Products</h2>

<div *ngFor="let product of products">
  <h3>
    <a [title]="product.name + '的详情'">
    {{ product.name }} : {{product.price}}
    </a>
  </h3>
</div>
效果如图所示:

*ngIf
grammar.comonent.ts新增remark字段,表示商品的描述:
import { Component, OnInit } from '@angular/core';

@Component({
  selector: 'app-grammar',
  templateUrl: './grammar.component.html',
  styleUrls: ['./grammar.component.scss']
})
export class GrammarComponent implements OnInit {
  products: Product[] = [];

  constructor() {
    this.products[0] = new Product('Apple', 16);
    this.products[1] = new Product('Banana', 20);
  }

  ngOnInit(): void {
    const p1 = new Product('Luffy', 12);
    p1.remark = '海贼王的男人';
    this.products[1] = p1;
    this.products[2] = new Product('Sangi', 32);
  }

}

export class Product {
  name: string;
  price: number;
  remark: string | undefined;

  constructor(name: string, price: number) {
    this.name = name;
    this.price = price;
  }
}
然后在grammar.component.html中新增描述信息:
<h2>Products</h2>
<div *ngFor="let product of products">
<h3>
<a [title]="product.name + '的详情'">
{{ product.name }} : {{product.price}}
</a>
</h3>
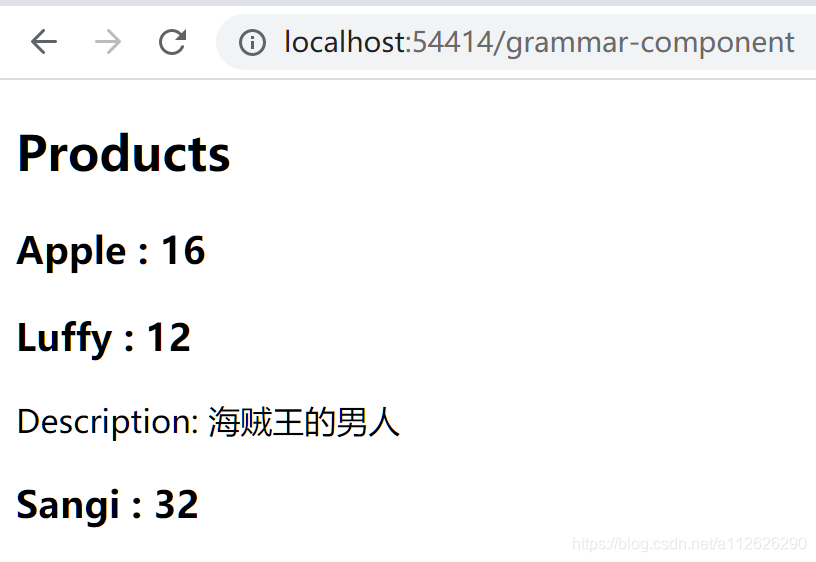
<p *ngIf="product.remark">
Description: {{ product.remark }}
</p>
</div>
在<p>标签上,使用*ngIf指令,这样 Angular 只会在当前商品有描述信息的情况下创建这个<p>元素。
效果如图所示:
添加一个按钮
在grammar.component.html中新增一个名为share的按钮:
<button (click)="share(product.name)">
    Share
</button>
在grammar.component.ts中增加share方法:
  share(name: any): void {
    alert(name + ' has been shared');
  }
效果如图所示:

总结
在这个过程中,我们学会了 Angular 模板语法的五个常用特性:- *ngFor
- *ngIf
- 插值 {{}}
- 属性绑定 []
- 事件绑定 ()
源码地址: https://gitee.com/YoungLu0919/learn-project.git


 813
813


 被折叠的 条评论
为什么被折叠?
被折叠的 条评论
为什么被折叠?
 到【灌水乐园】发言


