


1.添加依赖包:
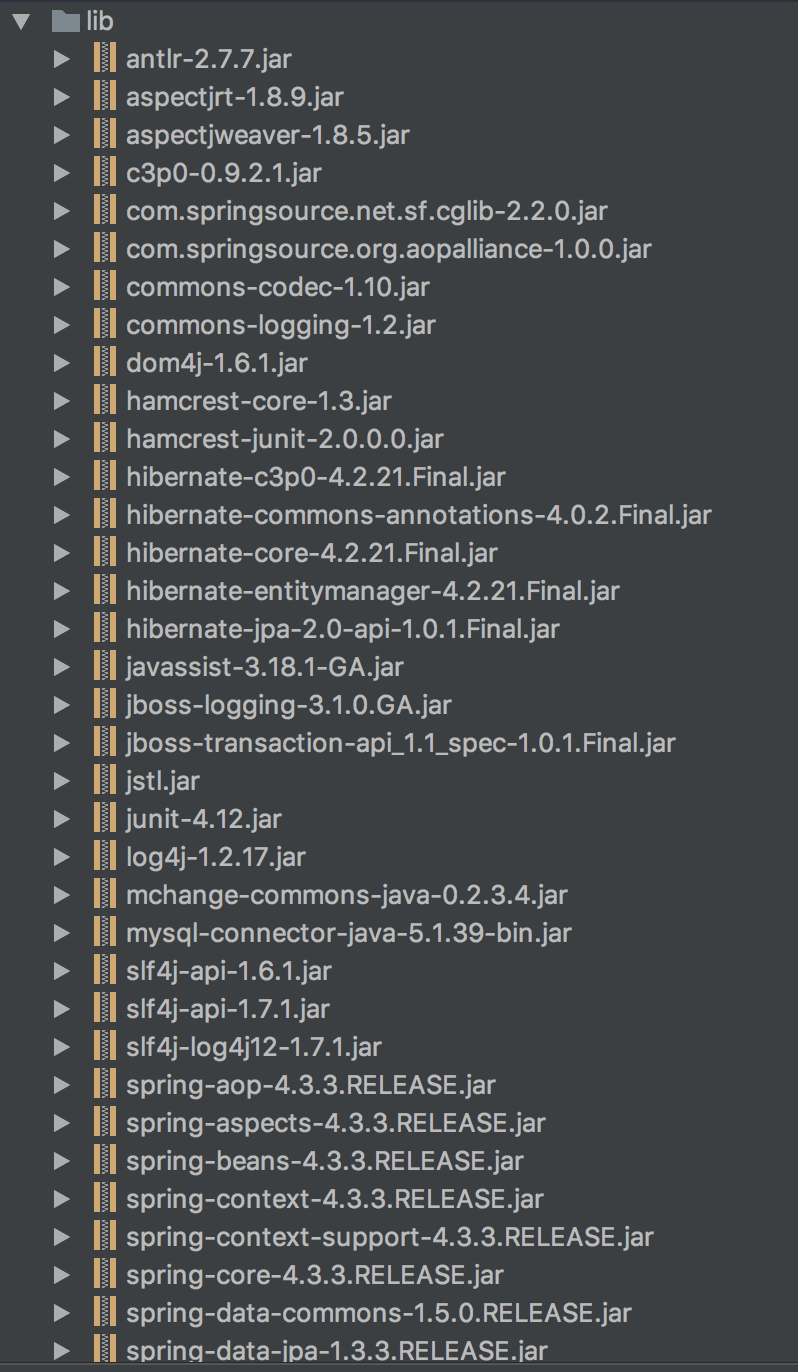
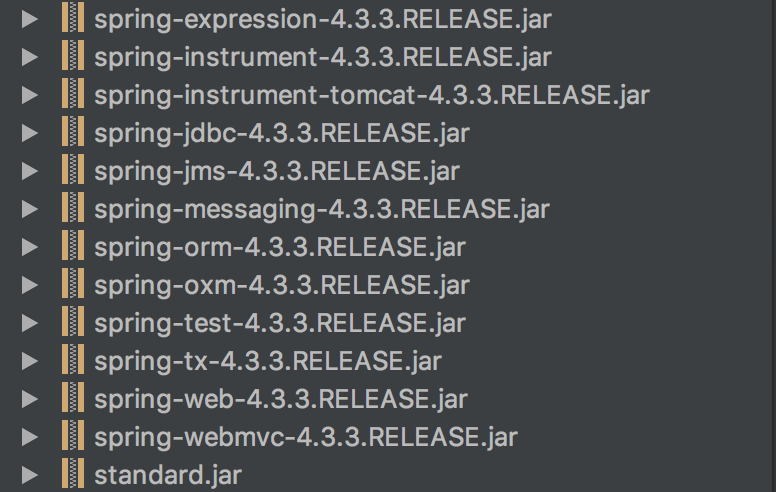
spring和hibernate的包还是好找的,记得加入hibernate/lib/jpa里面的jar包,接着最麻烦的事jpa了,需要添加spring-data的jar包了,给个网址吧:下载spring-data
我们需要的是spring-data-commons和spring-data-jpa,记得 如果包倒入的不对的话,会出现包冲突的一场,我个人使用的是commoms-1.5.0和jpa-1.3.3,这两个是兼容的,还需要的是slf4j的jar,因为这个也是一个依赖包。附上整个项目的包结构吧:
2.配置xml
先是配置applicationContext.xml
<?xml version="1.0" encoding="UTF-8"?>
<beans xmlns="http://www.springframework.org/schema/beans"
       xmlns:xsi="http://www.w3.org/2001/XMLSchema-instance"
       xmlns:context="http://www.springframework.org/schema/context"
       xmlns:tx="http://www.springframework.org/schema/tx"
       xmlns:aop="http://www.springframework.org/schema/aop"
       xmlns:jpa="http://www.springframework.org/schema/data/jpa"
       xsi:schemaLocation="http://www.springframework.org/schema/beans http://www.springframework.org/schema/beans/spring-beans.xsd
       http://www.springframework.org/schema/context http://www.springframework.org/schema/context/spring-context.xsd
       http://www.springframework.org/schema/tx http://www.springframework.org/schema/tx/spring-tx.xsd
       http://www.springframework.org/schema/aop http://www.springframework.org/schema/aop/spring-aop.xsd
       http://www.springframework.org/schema/data/jpa http://www.springframework.org/schema/data/jpa/spring-jpa-1.2.xsd">

    <!--自动扫描包-->
    <context:component-scan base-package="cn.limbo">
        <!--不要将Controller扫进来,否则aop无法使用-->
        <context:exclude-filter type="annotation" expression="org.springframework.stereotype.Controller"/>
    </context:component-scan>

    <!--使Aspect注解起作用,自动为匹配的类生成代理对象-->
    <aop:aspectj-autoproxy proxy-target-class="true"/>

    <!--引入properties-->
    <context:property-placeholder location="classpath:hibernate.properties"/>

    <!--配置数据源-->
    <bean id="dataSource" class="com.mchange.v2.c3p0.ComboPooledDataSource">
        <property name="user" value="${dataSource.username}"/>
        <property name="password" value="${dataSource.password}"/>
        <property name="jdbcUrl" value="${dataSource.url}"/>
        <property name="driverClass" value="${dataSource.driverClassName}"/>
    </bean>

    <!--<!–sessionFactory–>-->
    <!--<bean id="sessionFactory" class="org.springframework.orm.hibernate4.LocalSessionFactoryBean">-->
    <!--<!– 配置数据源属性 –>-->
    <!--<property name="dataSource" ref="dataSource"/>-->
    <!--<!– 配置扫描的实体包(pojo) –>-->
    <!--<property name="namingStrategy">-->
    <!--<bean class="org.hibernate.cfg.ImprovedNamingStrategy"/>-->
    <!--</property>-->
    <!--<property name="packagesToScan" value="cn.limbo.entity"/>-->

    <!--<property name="hibernateProperties">-->
    <!--<props>-->
    <!--<prop key="hibernate.dialect">org.hibernate.dialect.MySQL5InnoDBDialect</prop>-->
    <!--<prop key="hibernate.show_sql">true</prop>-->
    <!--<prop key="hibernate.format_sql">true</prop>-->
    <!--<prop key="hibernate.hbm2ddl.auto">update</prop>-->
    <!--</props>-->
    <!--</property>-->
    <!--</bean>-->

    <bean id="persistenceProvider"
          class="org.hibernate.ejb.HibernatePersistence"/>

    <bean id="jpaVendorAdapter" class="org.springframework.orm.jpa.vendor.HibernateJpaVendorAdapter">
        <property name="database" value="MYSQL"/>
    </bean>

    <bean id="jpaDialect" class="org.springframework.orm.jpa.vendor.HibernateJpaDialect"/>

    <!--jpa工厂-->
    <bean id="entityManagerFactory" class="org.springframework.orm.jpa.LocalContainerEntityManagerFactoryBean">
        <!--数据源-->
        <property name="dataSource" ref="dataSource"/>
	<!--持久层提供者-->
        <property name="persistenceProvider" ref="persistenceProvider"/>
        <!--适配器-->
        <property name="jpaVendorAdapter" ref="jpaVendorAdapter"/>

        <property name="jpaDialect" ref="jpaDialect"/>

        <property name="jpaProperties">
            <props>
                <prop key="hibernate.dialect">${dataSource.dialect}</prop>
                <prop key="hibernate.hbm2ddl.auto">${dataSource.hbm2ddl.auto}</prop>
                <prop key="hibernate.show_sql">${dataSource.show_sql}</prop>
                <prop key="hibernate.format_sql">${dataSource.format_sql}</prop>
            </props>
        </property>

        <property name="packagesToScan">
            <list>
                <value>cn.limbo.entity</value>
            </list>
        </property>
    </bean>

    <jpa:repositories base-package="cn.limbo.dao"
                      entity-manager-factory-ref="entityManagerFactory"
                      transaction-manager-ref="transactionManager"/>

    <!-- 配置Hibernate 的事物管理器 -->
    <bean id="transactionManager" class="org.springframework.orm.jpa.JpaTransactionManager">
        <property name="entityManagerFactory" ref="entityManagerFactory"/>
    </bean>


    <tx:annotation-driven transaction-manager="transactionManager"/>
</beans>
如果项目是web项目的话,一定一定要记得更改web.xml原先对sessionFactory的fliter,否则项目启动的时候会报找不到sessionFactory的错误,诶,当时有点粗心了。
web.xml
<?xml version="1.0" encoding="UTF-8"?>
<web-app xmlns="http://xmlns.jcp.org/xml/ns/javaee"
         xmlns:xsi="http://www.w3.org/2001/XMLSchema-instance"
         xsi:schemaLocation="http://xmlns.jcp.org/xml/ns/javaee http://xmlns.jcp.org/xml/ns/javaee/web-app_3_1.xsd"
         version="3.1">

    <display-name>Google Authenticator</display-name>
    <welcome-file-list>
        <welcome-file>login.html</welcome-file>
    </welcome-file-list>

    <!--配置IOC容器-->
    <context-param>
        <param-name>contextConfigLocation</param-name>
        <param-value>classpath:applicationContext.xml</param-value>
    </context-param>
    <listener>
        <listener-class>org.springframework.web.context.ContextLoaderListener</listener-class>
    </listener>

    <!--配置SpringMVC 的 DispatcherServlet-->
    <servlet>
        <servlet-name>springmvc</servlet-name>
        <servlet-class>org.springframework.web.servlet.DispatcherServlet</servlet-class>
        <init-param>
            <param-name>contextConfigLocation</param-name>
            <param-value>classpath:spring-mvc.xml</param-value>
        </init-param>
        <load-on-startup>1</load-on-startup>
    </servlet>
    <servlet-mapping>
        <servlet-name>springmvc</servlet-name>
        <url-pattern>*.do</url-pattern>
    </servlet-mapping>

    <!-- 配置编码方式过滤器,注意一点:要配置在所有过滤器的前面 -->
    <filter>
        <filter-name>characterEncodingFilter</filter-name>
        <filter-class>org.springframework.web.filter.CharacterEncodingFilter</filter-class>
        <init-param>
            <param-name>encoding</param-name>
            <param-value>UTF-8</param-value>
        </init-param>
    </filter>
    <filter-mapping>
        <filter-name>characterEncodingFilter</filter-name>
        <url-pattern>*.do</url-pattern>
    </filter-mapping>

    <!-- 为了使用SpringMVC框架实现REST风格,需要配置  HiddenHttpMethodFilter-->
    <filter>
        <filter-name>hiddenHttpMethodFilter</filter-name>
        <filter-class>org.springframework.web.filter.HiddenHttpMethodFilter</filter-class>
    </filter>
    <filter-mapping>
        <filter-name>hiddenHttpMethodFilter</filter-name>
        <url-pattern>*.do</url-pattern>
    </filter-mapping>

    <!--hibernate对对象的管理是基于session的,如果开启了延迟加载,
    对于关联对象的查询可能会在渲染jsp的时候才发生,但是这个时候hibernate的当前session默认已经关闭了,
    就会抛异常,所以我们经常需要hibernate在渲染jsp页面的时候还开着session,
    这就需要在web.xml中配置一个拦截所有请求的filter-->
    <!--如果是hibernate的话这样配置-->
    <!--<filter>-->
        <!--<filter-name>hibernateFilter</filter-name>-->
        <!--<filter-class>org.springframework.orm.hibernate4.support.OpenSessionInViewFilter</filter-class>-->
    <!--</filter>-->
    <!--<filter-mapping>-->
        <!--<filter-name>hibernateFilter</filter-name>-->
        <!--<url-pattern>*.do</url-pattern>-->
    <!--</filter-mapping>-->

    <!--jpa配置的方式,需要配置entityManager-->
    <filter>
        <filter-name>entityManagerInViewFilter</filter-name>
        <filter-class>org.springframework.orm.jpa.support.OpenEntityManagerInViewFilter</filter-class>
    </filter>
    <filter-mapping>
        <filter-name>entityManagerInViewFilter</filter-name>
        <url-pattern>*.do</url-pattern>
    </filter-mapping>

</web-app>
3.编写dao层
经过上面的配置之后,已经可以使用jpa了,接下来就是编写dao层的东西了
先贴上我的dao层实现
package cn.limbo.dao;

import cn.limbo.entity.User;
import org.springframework.data.jpa.repository.Modifying;
import org.springframework.data.jpa.repository.Query;
import org.springframework.data.repository.RepositoryDefinition;
import org.springframework.data.repository.query.Param;

import java.util.List;

/**
 * user表的数据操作
 * Created by limbo on 2016/11/26.
 */

@RepositoryDefinition(domainClass = User.class, idClass = Integer.class)
public interface UserDao{

    @Query("select u from User u where u.ID = ?1")
    public User getUserByID(int ID);

    @Query("select u from User u where u.name = ?1")
    public User getUserByName(String userName);

    @Query("select u from User u")
    public List<User> getAllUsers();

    public void save(User user);

    @Modifying
    @Query("delete from User u where u.ID = ?1")
    public void delete(int ID);

    @Modifying
    @Query("update User u set u.name = :name , u.password = :password where u.ID = :ID")
    public void update(@Param("ID") Integer ID ,@Param("name")  String name , @Param("password") String password);

}
实现jpa的方式有两种,一个是集成Repository<T,ID>接口,其中T表示你要操作的实体类,而ID表示实体类里面的ID的类型;还有一种就是加上注解@RepositoryDefinition
其中有两个参数一定要传值,domainClass表示实体类的Class,idClass表示ID的类型的class,就如我上面进行配置的。
jpa的接口类型有很多,一般用的最多的是
JpaRepository,还有CrudRepository,而Repository只是最基础的,没有实现任何的方法,是一个空的接口,所以可以进行自定义。
接下来就是使用dao的东西了,贴上我的service层
UserService.java
package cn.limbo.service;

import cn.limbo.entity.User;

import java.util.List;

/**
 * Created by limbo on 2016/11/26.
 */
public interface UserService {

    public User getUserByID(int ID);

    public List<User> getAllUsers();

    public void addUser(String name,String password);

    public void deleteUserByID(int ID);

    public void updateUser(User user);

    public boolean isExist(String userName);

}
package cn.limbo.service.impl;

import cn.limbo.dao.UserDao;
import cn.limbo.entity.User;
import cn.limbo.service.UserService;
import org.springframework.beans.factory.annotation.Autowired;
import org.springframework.stereotype.Service;
import org.springframework.transaction.annotation.Transactional;

import java.util.List;

/**
 * Created by limbo on 2016/11/26.
 */
@Service("userService")
@Transactional
public class UserServiceImpl implements UserService{

    @Autowired
    private UserDao userDao;

    @Override
    public User getUserByID(int ID) {
        return userDao.getUserByID(ID);
    }

    @Override
    public List<User> getAllUsers() {
        return userDao.getAllUsers();
    }

    @Override
    public void addUser(String name,String password) {
        User user = new User(name,password);
        userDao.save(user);
    }

    @Override
    public void deleteUserByID(int ID) {
        userDao.delete(ID);
    }

    @Override
    public void updateUser(User user) {
        userDao.update(user.getID(),user.getName(),user.getPassword());
    }

    @Override
    public boolean isExist(String userName) {
        if(userDao.getUserByName(userName) != null)
            return true;
        return false;
    }
}
附上当时我配置的时候的参考文章
整个项目我发在了github上了,有兴趣可以看看


 1946
1946


 被折叠的 条评论
为什么被折叠?
被折叠的 条评论
为什么被折叠?
 到【灌水乐园】发言


