


可以学到UIButton,UIImageView,UILabel的代码创建。实现一个简单的点击按钮,切换图片的小程序。
知识点:
在getter方法中,不要使用self.imageList(会调用imageList的getter方法),应该使用_imageList,否则会死循环
self.noLabel.textAlignment = NSTextAlignmentCenter; // 居中对齐
CGFloat imageY = CGRectGetMaxY(self.noLabel.frame) + 20;   // 取出noLabel的最大Y值,一定用frame,不能用bounds
plist资源的使用
NSString *path = [[NSBundle mainBundle] pathForResource:@"ImageList" ofType:@"plist"];
NSLog(@"%@", path);
// 需要完整的路径
_imageList = [NSArray arrayWithContentsOfFile:path];
在OC中
1.如果对象没有强引用,会被立即释放
2.默认的对象,都是强引用的。
__weak Person *p = [[Person alloc] init];// 声明一个弱引用对象部分代码展示:
#import "ViewController.h"

@interface ViewController ()

@property (nonatomic, strong) UILabel *noLabel;         // 序号
@property (nonatomic, strong) UIImageView *iconImage;   // 图片
@property (nonatomic, strong) UILabel *descLabel;       // 描述
@property (nonatomic, strong) UIButton *leftButton;     // 上一张
@property (nonatomic, strong) UIButton *rightButton;    // 下一张

@property (nonatomic, assign) int index;                // 当前显示的照片索引

@property (nonatomic, strong) NSArray *imageList;       // 信息

@end

@implementation ViewController

#pragma mark - 懒加载
- (NSArray *)imageList {
    if (_imageList == nil) {

        NSString *path = [[NSBundle mainBundle] pathForResource:@"ImageList" ofType:@"plist"];
        NSLog(@"%@", path);
        // 需要完整的路径
        _imageList = [NSArray arrayWithContentsOfFile:path];
        NSLog(@"%@", _imageList);
    }

    return _imageList;
}

- (UILabel *)noLabel {
    if (_noLabel == nil) {
        _noLabel = [[UILabel alloc] initWithFrame:CGRectMake(0, 20, self.view.bounds.size.width, 40)];
        _noLabel.textAlignment = NSTextAlignmentCenter; // 居中对齐
        [self.view addSubview:_noLabel];
    }

    return _noLabel;
}

- (UIImageView *)iconImage {
    if (_iconImage == nil) {
        CGFloat imageWidth = 200;
        CGFloat imageHeight = 200;
        CGFloat imageX = (self.view.bounds.size.width - imageWidth) * 0.5;
        CGFloat imageY = CGRectGetMaxY(self.noLabel.frame) + 20;   // 取出noLabel的最大Y值,一定用frame,不能用bounds

        _iconImage = [[UIImageView alloc] initWithFrame:CGRectMake(imageX, imageY, imageWidth, imageHeight)];
        _iconImage.backgroundColor = [UIColor redColor];
        [self.view addSubview:_iconImage];
    }

    return _iconImage;
}

- (UILabel *)descLabel {
    if (_descLabel == nil) {
        CGFloat descY = CGRectGetMaxY(self.iconImage.frame);
        _descLabel = [[UILabel alloc] initWithFrame:CGRectMake(0, descY, self.view.bounds.size.width, 100)];
        _descLabel.textAlignment = NSTextAlignmentCenter;
        _descLabel.numberOfLines = 0; // 不限制行数,但是保证label有足够的空间,高度大于行所占的总高度就好s
        [self.view addSubview:_descLabel];
    }

    return _descLabel;
}

- (UIButton *)leftButton {
    if (_leftButton == nil) {
        _leftButton = [[UIButton alloc] initWithFrame:CGRectMake(0, 0, 40, 40)];
        CGFloat centerY = self.iconImage.center.y;
        CGFloat centerX = self.iconImage.frame.origin.x * 0.5;
        _leftButton.center = CGPointMake(centerX, centerY);
        [_leftButton setBackgroundImage:[UIImage imageNamed:@"left_normal"] forState:UIControlStateNormal];
        [_leftButton setBackgroundImage:[UIImage imageNamed:@"left_highlighted"] forState:UIControlStateHighlighted];
        [_leftButton addTarget:self action:@selector(clickButton:) forControlEvents:UIControlEventTouchUpInside]; // 在OC中,很多方法的第一个参数都是触发该方法的对象,这里是self
        _leftButton.tag = -1;   // 设置tag
        [self.view addSubview:_leftButton];
    }

    return _leftButton;
}

- (UIButton *)rightButton {
    if (_rightButton == nil) {
        _rightButton = [[UIButton alloc] initWithFrame:CGRectMake(0, 0, 40, 40)];
        _rightButton.center = CGPointMake(self.view.bounds.size.width - self.leftButton.center.x, self.leftButton.center.y);
        [_rightButton setBackgroundImage:[UIImage imageNamed:@"right_normal"] forState:UIControlStateNormal];
        [_rightButton setBackgroundImage:[UIImage imageNamed:@"right_highlighted"] forState:UIControlStateHighlighted];
        // 添加监听事件
        [_rightButton addTarget:self action:@selector(clickButton:) forControlEvents:UIControlEventTouchUpInside];
        _rightButton.tag = 1;
        [self.view addSubview:_rightButton];
    }

    return _rightButton;
}

// 视图加载完后执行该函数
- (void)viewDidLoad {
    [super viewDidLoad];

    [self showPhotoInfo];
}

/*
 显示图片
 */
- (void)showPhotoInfo {
    self.noLabel.text = [NSString stringWithFormat:@"%d/%d", self.index + 1, 5];    // 设置序号

    self.iconImage.image = [UIImage imageNamed:self.imageList[self.index][@"name"]];
    self.descLabel.text = self.imageList[self.index][@"desc"];

    // 控制按钮状态
    self.rightButton.enabled = (self.index != 4);
    self.leftButton.enabled = (self.index != 0);
}

- (void)clickButton:(UIButton *)button {
    // 根据按钮调整当前显示图片的索引
    self.index += button.tag; // 这里通过设置特殊的tag实现的,挺巧妙

    [self showPhotoInfo];
}

@end
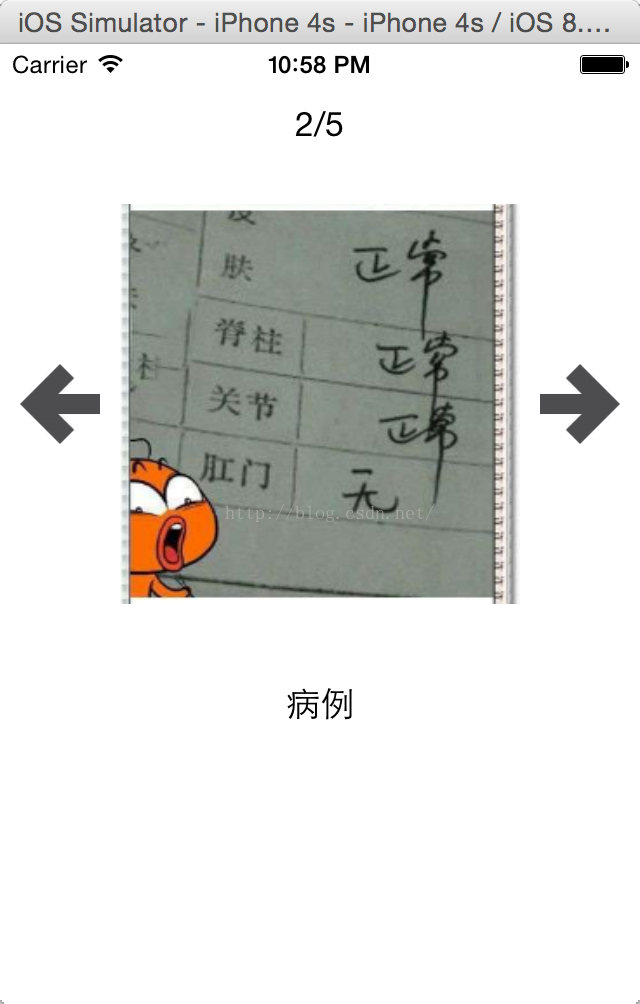
效果展示:


 126
126

 被折叠的 条评论
为什么被折叠?
被折叠的 条评论
为什么被折叠?
 到【灌水乐园】发言


