


安装版本
torch:1.5.1
python 3.6
mmdetection:2.3.0
mmcv-full 1.0.5
步骤
1、创建conda虚拟环境
conda create -n mmlab2.3 python=3.6 //创建一个名为mmlab2.3的虚拟环境
conda activate mmlab2.3 //进入虚拟环境
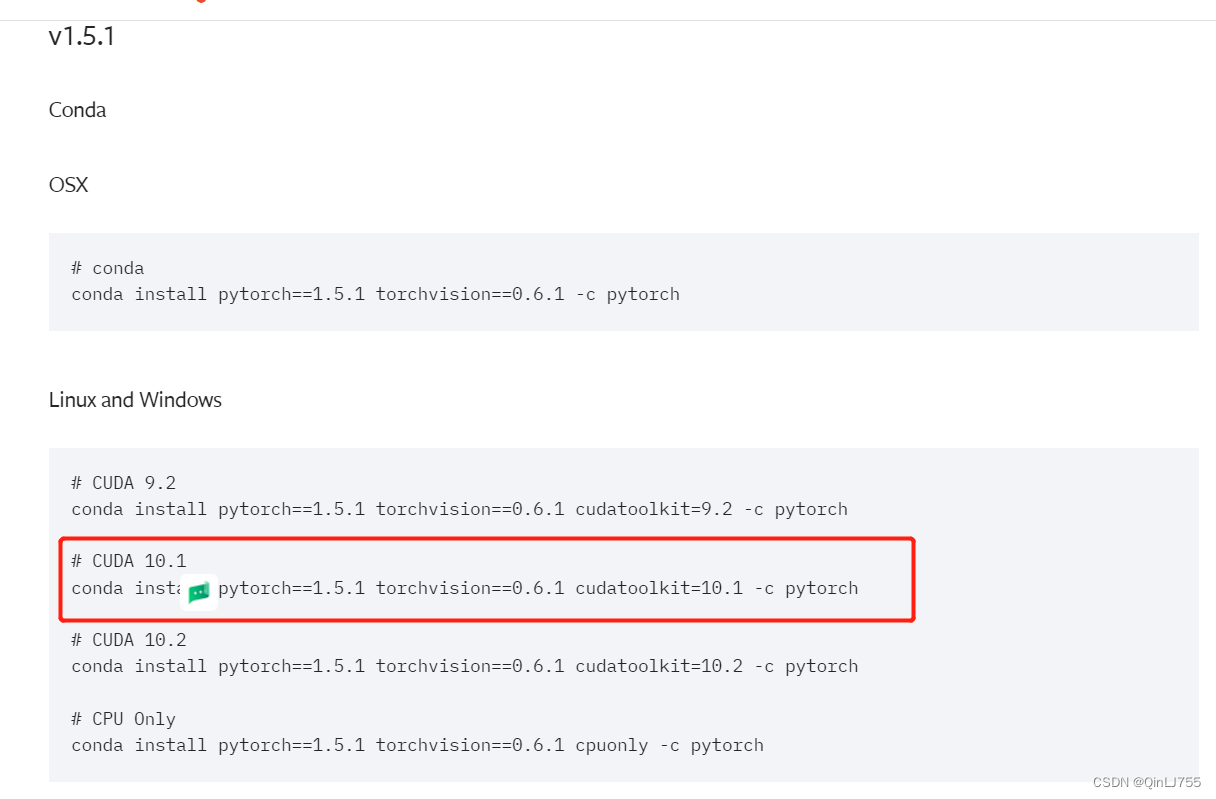
2、安装torch
根据自己系统cuda版本,安装torch 1.5.1,pytorch官网,我用的pip安装,如果网慢也可以考虑wheel安装
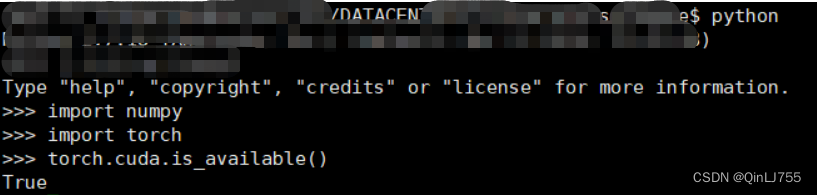
安装结束后,验证torch是否可用:
进入python环境,使用命令import torch torch.cuda.is_available()为true即成功!
3、安装mmcv-full
mmdetection要求mmcv-full版本是1.05,自己去mmcv github下载,再安装。
把github上的mmcv-full 1.0.5代码下载下来。
安装:
cd mmcv-1.0.5  # 进入下载的文件夹
pip install pytest-runner
pip install opencv-python==4.2.0.34 # 必须是这个版本
MMCV_WITH_OPS=1 pip install -e .
4、安装pycocoapi
!!!!注意:mmdetection 在 cocoapi 外面有封装,所以要使用 mmdetection 封装后的 cocoapi
有两种方法,一是git clone 会报错,二是源码安装,现在用官方之前推荐的gut clone会报错,也不知道为什么,于是直接源码下载安装
第一步:github下载cocoapi-master
第二步:
cd cocoapi-master/pycocotools  #进入文件夹
python setup.py install   #安装
5、安装mmdetection
第一步:
在github下载mmdetection 2.3.0版本
第二步:
cd mmdetection
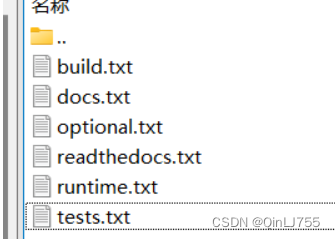
pip install -r requirements/build.txt
pip install -v -e .
可能会遇到报错 git clone cocoapi 错误,这是因为代码里还是默认git clone cocoapi;
解决:
删除requirments中所有git clone cocoapi语句,requirments有以下几个文件,一个个看,我记得是有两个文件里有git clone cocoapi语句,直接删除。
至此,安装已经完成,使用conda list即可查看,如果mmcv-full mmdet都存在,就是成功安装了。
5.1 测试代码可能会遇到的错误
报错"Tcl": have 8.6.11 , need exactly 8.6.8

解决:
参考这个文档,把两个文件中的8.6.8改为8.6.11(和文档是反的)
https://www.codeleading.com/article/77285561880/
报错cv2.imwrite … empty
是因为封装的show_result_pyplot函数返回的是空值,可以自己简单封装一下。
https://blog.csdn.net/m0_60360632/article/details/121554049
5.2我自己的测试代码
from mmdet.apis import init_detector, inference_detector # , show_result_pyplot
import cv2

def show_result_pyplot(model, img, result, score_thr=0.3, fig_size=(15, 10)):
    """Visualize the detection results on the image.
    Args:
        model (nn.Module): The loaded detector.
        img (str or np.ndarray): Image filename or loaded image.
        result (tuple[list] or list): The detection result, can be either
            (bbox, segm) or just bbox.
        score_thr (float): The threshold to visualize the bboxes and masks.
        fig_size (tuple): Figure size of the pyplot figure.
    """
    if hasattr(model, 'module'):
        model = model.module
    img = model.show_result(img, result, score_thr=score_thr, show=False)
    return img

config_file = './configs/faster_rcnn/faster_rcnn_r50_fpn_1x_coco.py'
# 从 model zoo 下载 checkpoint 并放在 `checkpoints/` 文件下
# 网址为: http://download.openmmlab.com/mmdetection/v2.0/faster_rcnn/faster_rcnn_r50_fpn_1x_coco/faster_rcnn_r50_fpn_1x_coco_20200130-047c8118.pth
checkpoint_file = '../checkpoints/faster_rcnn_r50_fpn_1x_coco_20200130-047c8118.pth'
device = 'cuda:0'

# 初始化检测器
model = init_detector(config_file, checkpoint_file, device=device)

# 推理演示图像
name = "./demo/demo.jpg"
result = inference_detector(model, name)

img = show_result_pyplot(model, name, result, score_thr=0.8)
cv2.imwrite("demo1.jpg", img)
安了好多个版本都报错,开始安装最新版本mmdet2.24.0, mmcv-full一直安上后mmdet检测不到,报错No Module named mmcv,没找到解决方法,就安了一个旧版本用着。


 238
238


 被折叠的 条评论
为什么被折叠?
被折叠的 条评论
为什么被折叠?
 到【灌水乐园】发言


