


spring boot 一:项目搭建
1 maven配置settings.xml
<?xml version="1.0" encoding="UTF-8"?>

<settings xmlns="http://maven.apache.org/SETTINGS/1.0.0"
          xmlns:xsi="http://www.w3.org/2001/XMLSchema-instance"
          xsi:schemaLocation="http://maven.apache.org/SETTINGS/1.0.0 https://maven.apache.org/xsd/settings-1.0.0.xsd">

    <mirrors>
        <mirror>
          <id>alimaven</id>
          <mirrorOf>central</mirrorOf>
          <name>aliyun maven</name>
          <url>http://maven.aliyun.com/nexus/content/groups/public</url>
        </mirror>
    </mirrors>

    <profiles>
        <profile>
          <id>jdk-1.8</id>

          <activation>
            <jdk>1.8</jdk>
          </activation>

          <properties>
              <maven.compiler.source>1.8</maven.compiler.source>
              <maven.compiler.target>1.8</maven.compiler.target>
              <maven.compiler.compilerVersion>1.8</maven.compiler.compilerVersion>
          </properties>
        </profile>
    </profiles>

</settings>
2 新建maven项目
新建前,确定maven的idea配置

3 配置
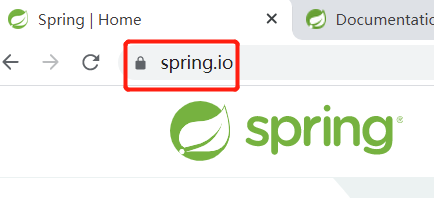
先进入spring boot官网


<parent>
	<groupId>org.springframework.boot</groupId>
	<artifactId>spring-boot-starter-parent</artifactId>
	<version>2.5.4</version>
</parent>

然后添加系统的依赖,开发web应用只需要添加以下一个即可:

<dependencies>
    <dependency>
        <groupId>org.springframework.boot</groupId>
        <artifactId>spring-boot-starter-web</artifactId>
    </dependency>
</dependencies>
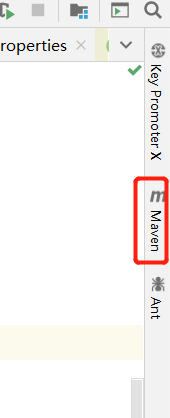
添加完全部所需的依赖后,pom.xml会出现如下的图标展示:

输入ctrl+shift+o即可(或者点这个图标)
然后external libraries下,除了原本的jdk,会多出来maven安装的依赖


4 开始


package com.xiaoxu.boot;

import org.springframework.boot.SpringApplication;
import org.springframework.boot.autoconfigure.SpringBootApplication;

/*
* 主程序类
* @SpringBootApplication: 这是一个SpringBoot应用
* */
@SpringBootApplication
public class MainApplication {
    public static void main(String[] args) {
        SpringApplication.run(MainApplication.class,args);
    }
}

package com.xiaoxu.boot.controller;

import org.springframework.stereotype.Controller;
import org.springframework.web.bind.annotation.RequestMapping;
import org.springframework.web.bind.annotation.ResponseBody;

//@ResponseBody直接写在类上时更方便
@Controller
public class HelloSpringBoot {
    //@ResponseBody写在方法上时,代表以字符串的形式发给浏览器,而不是跳转
    @ResponseBody
    @RequestMapping("/hello")
    public String handler01(){
        return "Hello,Spring boot2.";
    }
}
可以简写上述的代码:

查看RestController源码可知:


然后本机浏览器访问:
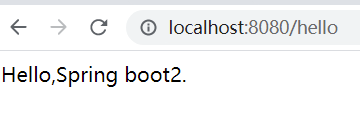
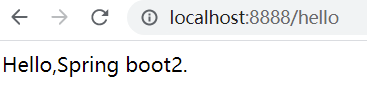
spring boot 相当于是一个整合全部如tomcat服务器等等的框架,可以配置启动的服务器端口号等等:


shift+F10重启:

全部配置见:


https://docs.spring.io/spring-boot/docs/current/reference/html/application-properties.html#application-properties
5 打包spring boot项目为jar包
getting start中:
fat jars


然后:


按下enter:


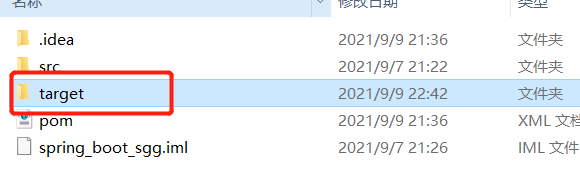
把项目打成jar包,直接在目标服务器执行即可
注意:取消cmd的快速编辑模式
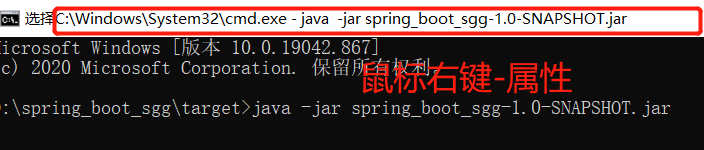

如下所示:

小技巧:用压缩文件打开该jar包
鼠标右键,用WinRAR打开

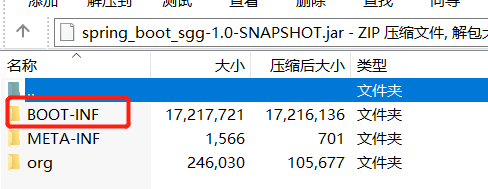
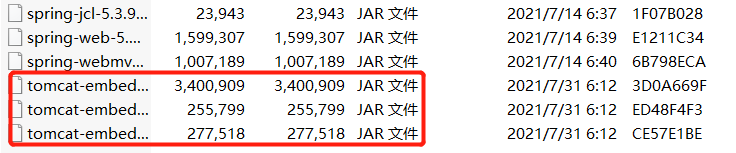
由此可知,spring boot项目打包时,jar包中也打包了tomcat服务器,所以可以运行jar包直接执行
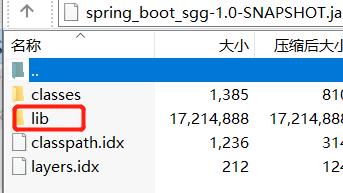
而我们自己写的程序,在BOOT-INF下的classes中


 2197
2197


 被折叠的 条评论
为什么被折叠?
被折叠的 条评论
为什么被折叠?
 到【灌水乐园】发言


