


本文用到的环境相关版本介绍
本文的tomcat会以maven插件的形式集成至maven
- maven3.2.5
- Intellij IDEA 15
- jdk1.8
- *Spring3.2.4
- tomcat-maven-plugin2.1
一、用maven+Intellij IDEA创建web项目
1.首先新打开IDEA,新建一个project
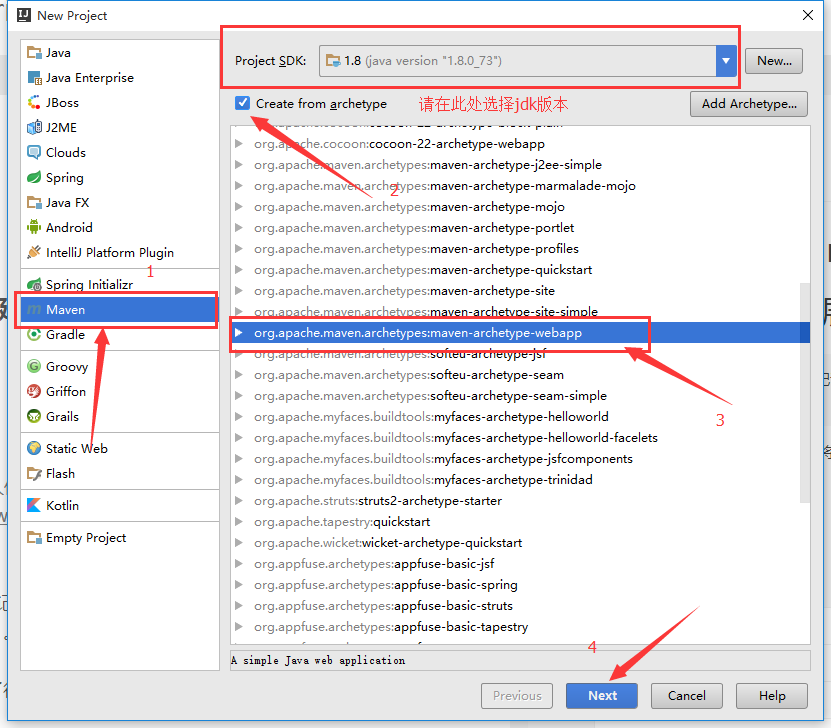
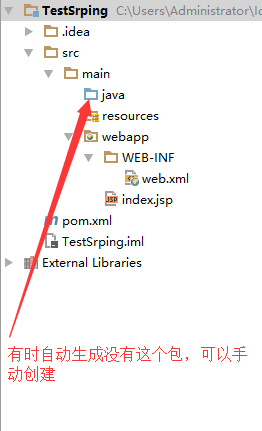
2.next之后填写一些名称,此处略掉,建完项目之后maven会下载一些依赖,完成之后工程目录如下图:
二、添加jar包依赖
1.在maven仓库中添加一些jar包依赖
- 1
- 2
- 3
- 4
- 5
- 6
- 7
- 8
- 9
- 10
- 11
- 12
- 13
- 14
- 15
- 16
- 17
- 18
- 19
- 20
- 21
- 22
- 23
- 24
- 25
- 26
- 27
- 28
- 29
- 30
- 31
- 32
- 33
- 34
- 35
- 36
- 37
- 38
- 39
- 40
- 41
- 42
- 43
- 44
- 45
- 46
- 47
- 48
- 49
- 50
- 51
- 52
- 53
- 54
- 55
- 56
- 57
- 58
- 59
- 60
- 61
- 62
- 63
- 64
- 65
- 66
- 67
- 68
- 69
- 70
- 71
- 72
- 73
- 74
- 75
- 76
2.将tomcat作为插件放到build节点中
- 1
- 2
- 3
- 4
- 5
- 6
- 7
- 8
- 9
- 10
- 11
- 12
- 13
- 14
- 15
- 16
- 17
- 18
- 19
- 20
- 21
- 22
- 23
- 24
- 25
- 26
- 27
- 28
- 29
- 30
- 31
- 32
- 33
- 1
- 2
- 3
- 4
- 5
- 6
- 7
- 8
- 9
- 10
- 11
- 12
- 13
- 14
- 15
- 16
- 17
- 18
- 19
- 20
- 21
- 22
- 23
- 24
- 25
- 26
- 27
- 28
- 29
- 30
- 31
- 32
- 33
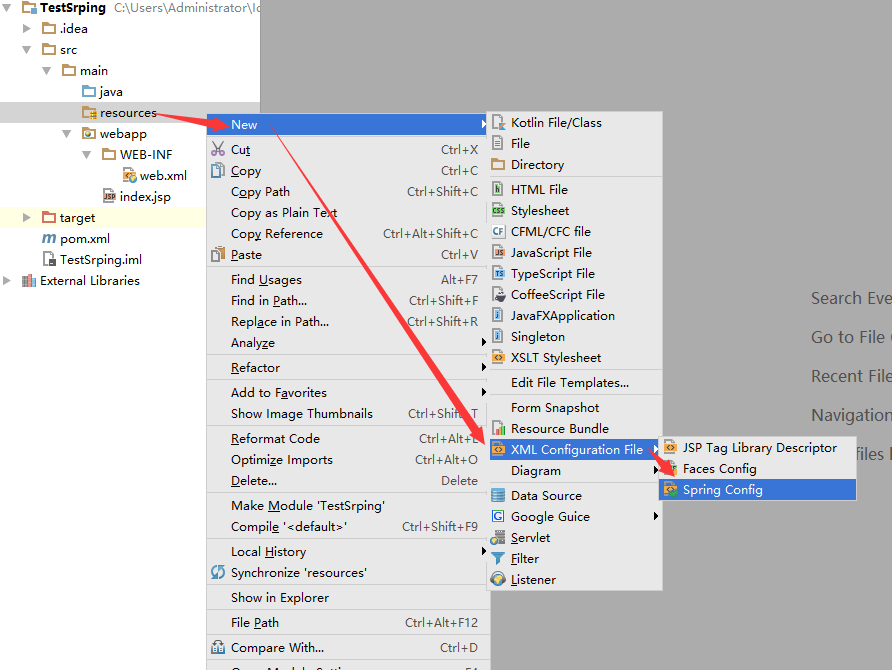
三、进行SpringMVC配置
1.首先在resource目录下新建一个spring的配置文件springmvc.xml,文件图片和内容如下
- 1
- 2
- 3
- 4
- 5
- 6
- 7
- 8
- 9
- 10
- 11
- 1
- 2
- 3
- 4
- 5
- 6
- 7
- 8
- 9
- 10
- 11
2.在web.xml配置前端控制器,并加载springmvc.xml的配置文件,内容如下
- 1
- 2
- 3
- 4
- 5
- 6
- 7
- 8
- 9
- 10
- 11
- 12
- 13
- 14
- 15
- 16
- 17
- 18
- 19
- 20
- 21
- 22
- 23
- 24
- 25
- 26
- 27
- 28
- 1
- 2
- 3
- 4
- 5
- 6
- 7
- 8
- 9
- 10
- 11
- 12
- 13
- 14
- 15
- 16
- 17
- 18
- 19
- 20
- 21
- 22
- 23
- 24
- 25
- 26
- 27
- 28
3.至此,文件配置完毕,下面我们用注解写一个方法测试一下,测试类放在springmvc.xml配置的扫描的包中,此处包名要与配置文件中扫描的包名一致
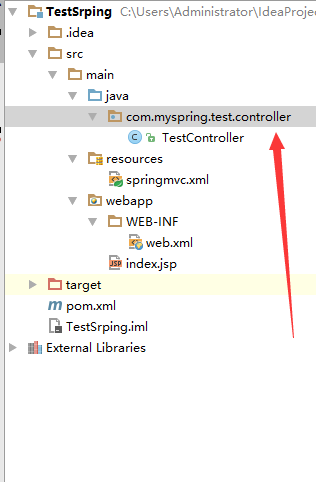
测试类中的代码:
- 1
- 2
- 3
- 4
- 5
- 6
- 7
- 8
- 1
- 2
- 3
- 4
- 5
- 6
- 7
- 8
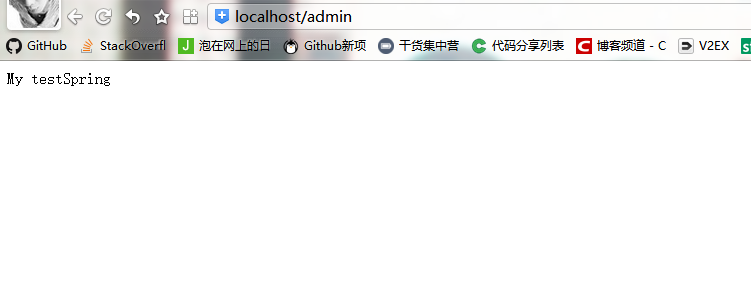
在maven插件中启动tomcat

在浏览器中访问方法上面的映射地址(@RequestMapping(value = “/admin”)),发现了我们返回的字符串!


 305
305


 被折叠的 条评论
为什么被折叠?
被折叠的 条评论
为什么被折叠?
 到【灌水乐园】发言


