


又到了晚上了,精神只有在晚上的时候才能爆发,可能程序员的命吧。废话就不多说了,今天我为大家带来的是一个气泡的效果。 代码下载
下面请看效果图
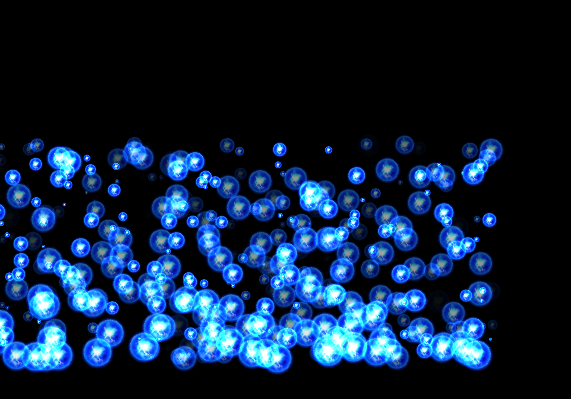
是否觉得挺好看啊。。。。。。
下面我会一步步的贴出代码来的
首先我们定义两个 全局变量来
var context; //画布
var particleList=new Array(); //保存各个颗粒数组
接下来我们会在页面加载完成后 ,初始化一些东西
$$(function(){
var c=document.getElementById("particle"); //得到canvas 元素变量
context = c.getContext("2d"); //得到画布
});
大家觉得这个$$没有见过,其实跟Jquery的 $ 一样,只是是自己封装了一套
到这里大家应该可以 想到。。我们需要创建一个类来管理每个图像运动
function MovieClip2D(img){
    //动画类的X坐标
    this.x=0;
    //动画类的Y坐标
    this.y=0;
    //动画类的角度
    this.rotation=0;
    //动画类比例
    this.scaleX=1;
    this.scaleY=1;
    //动画类的可见性
    this.visible=true;
    this.alpha=1;

    this.bindStyle="lighter";
    this.isPaly=true;

    this.vy=1;

    this.upFrameData=function(){

    }
    this.paint=function(){
        if(this.visible){
            //保存画布句柄状态
            this.y-=this.vy;
            this.rotation++;
            this.alpha-=0.01;
            this.scaleX-=0.005;
            this.scaleY-=0.005;
            if(this.y<=0||this.scaleX<=0.1||this.scaleY<=0.1){
                this.y=500;
                this.alpha=1;
                this.scaleX=1;this.scaleY=1;
            }

            context.save();
            context.globalCompositeOperation=this.bindStyle;
            context.globalAlpha=this.alpha;
            context.translate(this.x,this.y);
            context.rotate(this.rotation*Math.PI/180);
            //设置画布的比例
            context.scale(this.scaleX,this.scaleY);

            //显示区域,中心点位置,宽度
            context.drawImage(img,0,0,img.width,img.height,-img.width/2,-img.height/2,img.width,img.height);
            context.restore();
        }
    }
有了这个类 ,我们需要一个创建一个场景管理器 ,来管理上面动画类
代码如下:
//场景管理器
function Stage2D(){
    //初始化启动计时器
    this.init=function(){
        setTimeout(paint,0);
    }
    //添加子对象
    this.addChild=function(child){
        if(indexOf(child)==-1){
            particleList.push(child);
        }
        else{
            particleList.splice(child,1);
            particleList.push(child);
        }
    }
    //删除对象
    this.removeChild=function(child){
        if(indexOf(child)!=-1){
            particleList.splice(child,1);
        }
    }
}
有了上面的两个类 我们就轻松实现动画了 ,下面是类存在的功能模块
//查找元素
function indexOf(object){
    for(var i=0;i<particleList.length;i++){
        if(particleList[i]==object){
            return i;
        }
    }
    return -1;
}
function paint(){
    //清理画面
    context.clearRect(0,0,1366,768);
    context.fillStyle="black";
    context.fillRect(0,0,1366,768);
    //把透明度设为不透明
    context.globalAlpha=1;
    //循化显示对象paint 方法
    for(var i=0;i<particleList.length;i++) {
        particleList[i].paint();
    }
    setTimeout(paint,100);
}
下面 就是html 的调用了
<!DOCTYPE html>
<html>
<head>
    <meta charset="utf-8"/>
    <title></title>
    <script type="text/javascript" src="NANF.js"></script>
    <script type="text/javascript" src="dispalyObj.js"></script>
    <script type="text/javascript">
        var img = new Image();
        img.src="lizi1.PNG";
        img.onload=function(){
            var stage2D  =new  Stage2D();
            for(var i=0;i<400;i++) {
            var mc=new MovieClip2D(img);
            mc.x=500*Math.random();
            mc.y=500;
            mc.rotation=Math.random();
            var ran=Math.random();
            mc.alpha=Math.random();
            mc.scaleX=ran;
            mc.scaleY=ran;
            mc.vy=Math.random()*5;
            stage2D.addChild(mc);
            }
            stage2D.init();
        }


    </script>
</head>
<body>
<canvas height="768" width="1366" id="particle"></canvas>
</body>
</html>
好了代码 就贴到这里了。。。。谢谢大家观看


 1833
1833


 被折叠的 条评论
为什么被折叠?
被折叠的 条评论
为什么被折叠?
 到【灌水乐园】发言


