


官网demo地址:
这篇讲了如何随意移动地图上的矢量点。
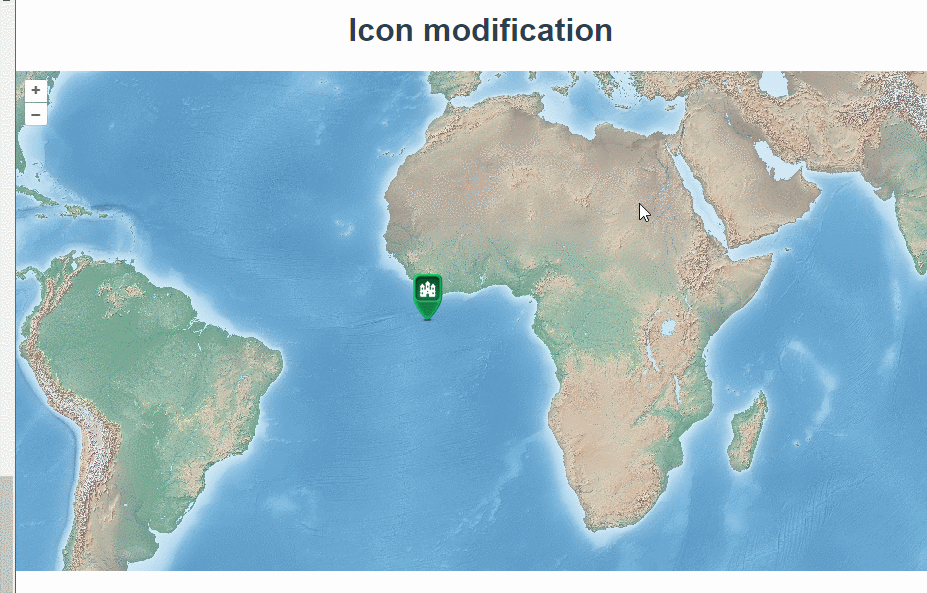
先在地图上添加一个矢量点,其中anchorXUnits 和 anchorYUnits: 指定锚点的单位。'fraction' 表示相对于图标的宽度(0到1之间),'pixels' 表示以像素为单位。
const iconFeature = new Feature({
      geometry: new Point([0, 0]),
      name: "Null Island",
      population: 4000,
      rainfall: 500,
    });

    const iconStyle = new Style({
      image: new Icon({
        anchor: [0.5, 46],
        anchorXUnits: "fraction",
        anchorYUnits: "pixels",
        src: "https://openlayers.org/en/latest/examples/data/icon.png",
      }),
    });
图形能移动的核心代码是Modify类,Modify类可以捕获矢量图形上的点,移动点的位置来改变矢量图形的位置,
 最低0.47元/天 解锁文章


 5167
5167

 被折叠的 条评论
为什么被折叠?
被折叠的 条评论
为什么被折叠?
 到【灌水乐园】发言


