


环境配置参见:http://blog.csdn.net/adrian_rendong/article/details/49910335 点击打开链接
附完整android工程包http://download.csdn.net/detail/adrian_rendong/9287027
使用Node.js创建工程
打开Node.js控制台并进入到准备存放工程文件的文件夹下
1.创建一个phonegap工程
phonegap create adrian
2.进入项目文件中的plugins文件夹下
cd adrian
cd plugins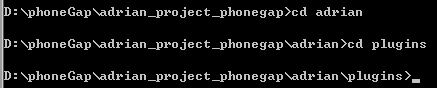
3.下载插件
cordova plugin add org.apache.cordova.dialogs
cordova plugin add org.apache.cordova.vibration
cordova plugin add org.apache.cordova.camera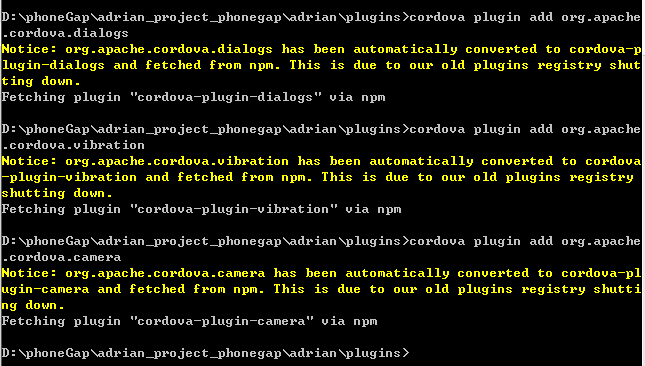
4.添加android平台
cordova platform add android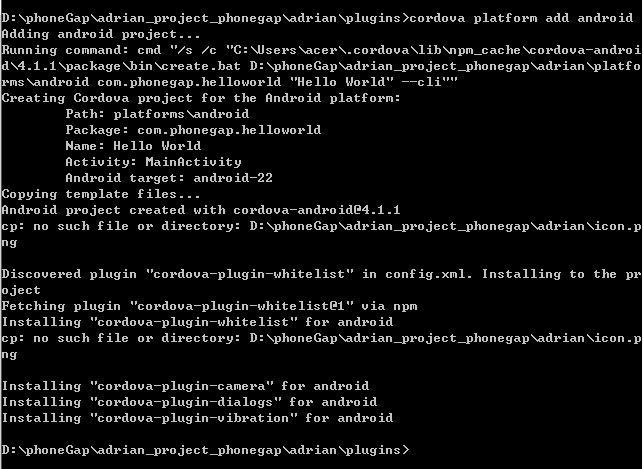
5.编译android工程
cordova build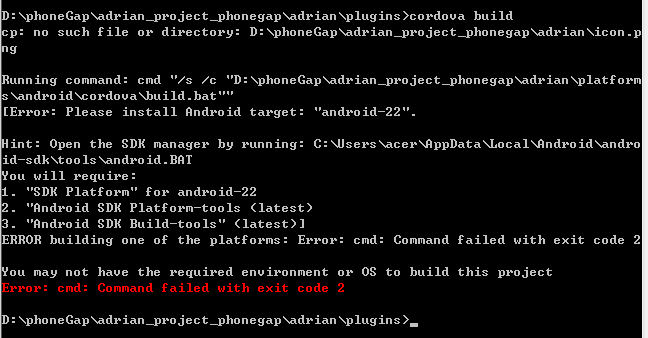
注意:提示错误(如果未提示错误不必进行下一步)
继续输入
phonegap run android
现在android的工程就创建好了
导入工程
参见http://blog.csdn.net/adrian_rendong/article/details/49910335
编写调用照相机程序
1.编辑index.html
打开index.html
将里面的代码全部删除,粘贴如下代码
<!DOCTYPE html>
<html>
<head>
 <title>Capture Photo</title>
 <script type="text/javascript" charset="utf-8" src="cordova.js"></script>
 <script type="text/javascript" charset="utf-8">
    var pictureSource;
    var destinationType;
    document.addEventListener("deviceready",onDeviceReady,false);
        function onDeviceReady() {      //加载后执行
        	pictureSource=navigator.camera.PictureSourceType;
        	destinationType=navigator.camera.DestinationType;
        }
        function onPhotoDataSuccess(imageData) {
	        console.log(imageData);
	        var smallImage = document.getElementById('smallImage');
	        smallImage.style.display = 'block';
	        smallImage.src = "data:image/jpeg;base64," + imageData;
	    }
        function onPhotoURISuccess(imageURI) {
	        console.log(imageURI);
	        var largeImage = document.getElementById('largeImage');
	        largeImage.style.display = 'block';
	        largeImage.src = imageURI;
	    }
        function capturePhoto() {
	        navigator.camera.getPicture(onPhotoDataSuccess, onFail, {
	        	quality: 50,
	        	destinationType: destinationType.DATA_URL });
	    }
        function capturePhotoEdit() {
	        navigator.camera.getPicture(onPhotoDataSuccess, onFail, {
	        	quality: 20, allowEdit: true,
	        	destinationType: destinationType.DATA_URL });
	    }
        function getPhoto(source) {
	        navigator.camera.getPicture(onPhotoURISuccess, onFail, {
	        	quality: 50,
	        	destinationType: destinationType.FILE_URI,
	        	sourceType: source });
	    }
        function onFail(message) {
        	alert('Failed because: ' + message);
        }
    </script>
</head>
<body>
    <button οnclick="capturePhoto();">Capture Photo</button> <br>
    <button οnclick="capturePhotoEdit();">Capture Editable Photo</button> <br>
    <button οnclick="getPhoto(pictureSource.PHOTOLIBRARY);">From Photo Library</button><br>
    <button οnclick="getPhoto(pictureSource.SAVEDPHOTOALBUM);">From Photo Album</button><br>
    <img style="display:none;width:60px;height:60px;" id="smallImage" src="" />
    <img style="display:none;" id="largeImage" src="" />
</body>
</html>
2.在config.xml中添加功能
打开config.xml
在
<widget>
中添加如下代码
<feature name="Notification">
<param name="android-package" value="org.apache.cordova.dialogs.Notification" />
</feature>
<feature name="Vibration">
<param name="android-package" value="org.apache.cordova.vibration.Vibration" />
</feature>
3.为android应用增加权限
打开AndroidManifest.xml
在
<manifest>
下添加如下代码
<uses-permission android:name="android.permission.VIBRATE" /> 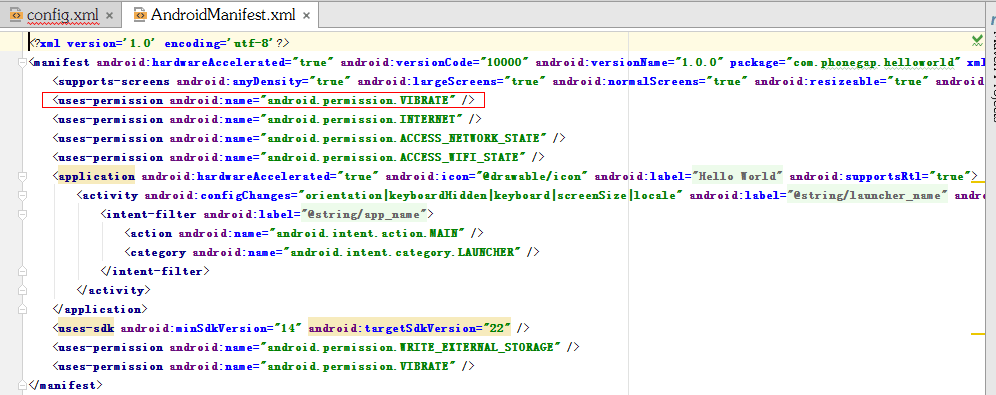
4.打包成android安装文件

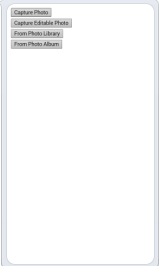
5.界面图


 1171
1171

 被折叠的 条评论
为什么被折叠?
被折叠的 条评论
为什么被折叠?
 到【灌水乐园】发言


