


安装Zookeeper以及Kafka(CentOS7)
一、安装zookeeper
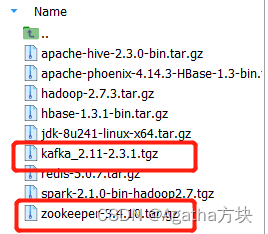
将文件传入虚拟机tools文件夹
1、解压zookeeper至虚拟机
1)进入tools文件夹
cd /tools
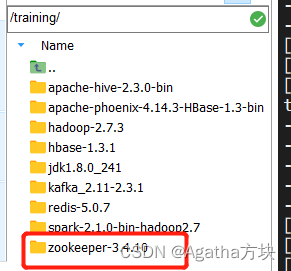
2)解压至training文件夹
tar -zxvf apache-zookeeper-3.4.10-bin.tar.gz -C ~/training
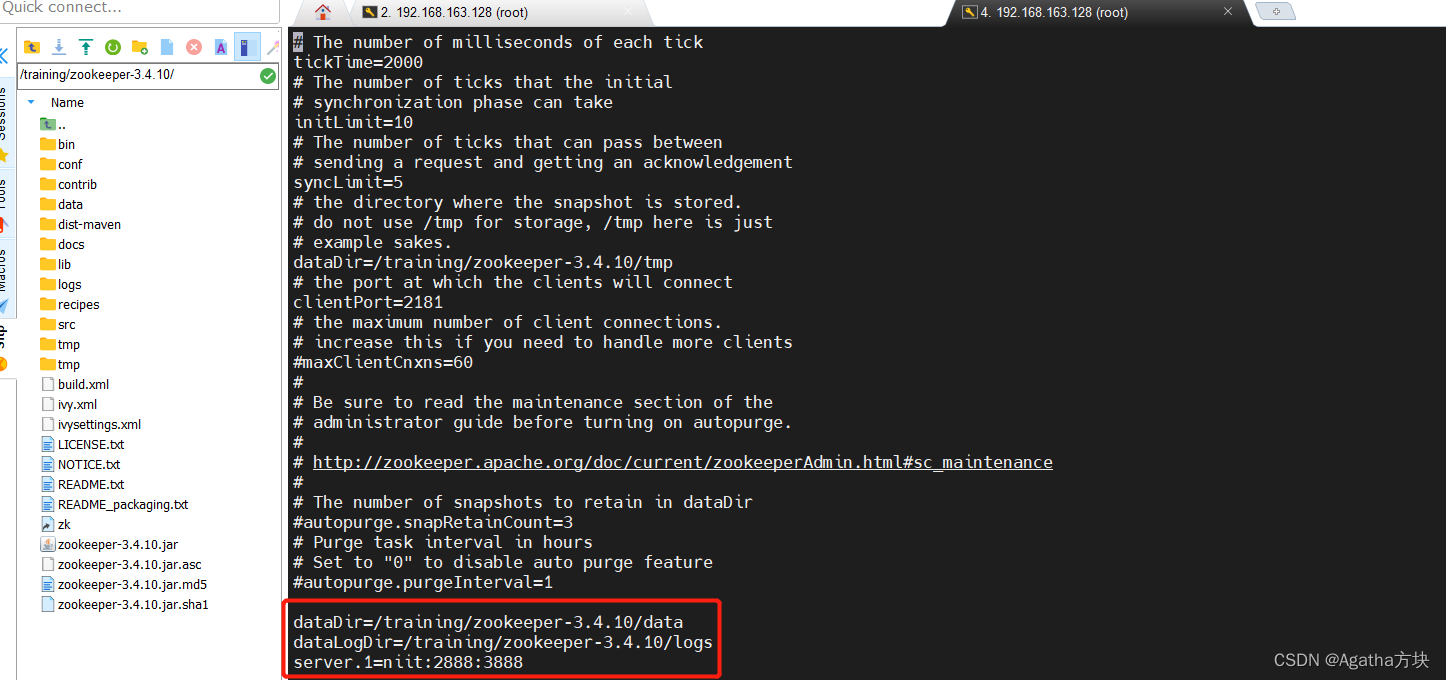
2、配置zookeeper
vi /training/zookeeper-3.4.10/conf/zoo.cfg
配置内容 (niit是我的主机名,自行更改):
# The number of milliseconds of each tick
tickTime=2000
# The number of ticks that the initial
# synchronization phase can take
initLimit=10
# The number of ticks that can pass between
# sending a request and getting an acknowledgement
syncLimit=5
# the directory where the snapshot is stored.
# do not use /tmp for storage, /tmp here is just
# example sakes.
#dataDir=/tmp/zookeeper
# the port at which the clients will connect
clientPort=2181
# the maximum number of client connections.
# increase this if you need to handle more clients
#maxClientCnxns=60
#
# Be sure to read the maintenance section of the
# administrator guide before turning on autopurge.
#
# http://zookeeper.apache.org/doc/current/zookeeperAdmin.html#sc_maintenance
#
# The number of snapshots to retain in dataDir
#autopurge.snapRetainCount=3
# Purge task interval in hours
# Set to "0" to disable auto purge feature
#autopurge.purgeInterval=1

dataDir=/training/zookeeper-3.4.10/data
dataLogDir=/training/zookeeper-3.4.10/logs
server.1=niit:2888:3888
3、创建myid为1
mkdir /training/zookeeper-3.4.10/data
cd /training/zookeeper-3.4.10/data
touch myid
echo "1">>myid
4、开放zookeeper端口
firewall-cmd --zone=public --add-port=2888/tcp --permanent
 #添加2888防火墙例外
firewall-cmd --zone=public --add-port=3888/tcp --permanent
 #添加3888防火墙例外
firewall-cmd --zone=public --add-port=2181/tcp --permanent
 #添加2181防火墙例外
防火墙如下为关闭的话就不用管

5、添加环境变量
1)进入配置文件
vi ~/.bash_profile
2)添加环境
#zookeeper
export ZOOKEEPER_HOME=/training/zookeeper-3.4.10
export PATH=$PATH:$ZOOKEEPER_HOME/bin:$PATH

3)环境生效
source ~/.bash_profile
6、启动zookeeper
1)启动
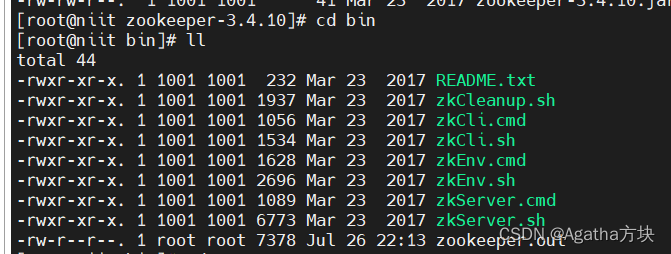
进入zookeeper的bin目录下
cd /training/zookeeper-3.4.10/bin/
启动zookeeper
./zkServer.sh start

2)查看状态
./zkServer.sh status

二、安装kafka
1、解压kafka
进入tools文件夹
cd tools
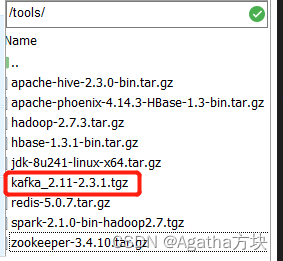
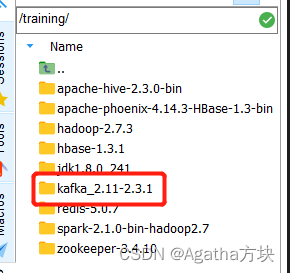
解压到training文件夹
tar -zxvf kafka_2.11-2.3.1.tgz -C ~/training
2、保持zookeeper处于启动状态
3、配置server.properties
1)进入kafka的config文件夹
cd /training/kafka_2.11-2.3.1/config
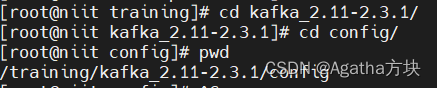
配置这个文件 server.properties
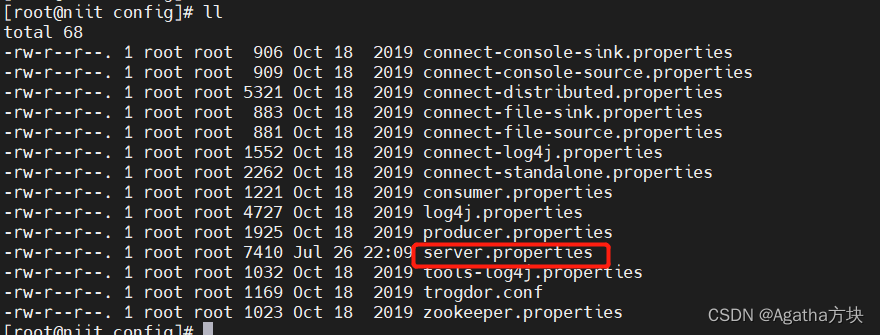
2)进去配置
vi server.properties
3)配置内容(niit是我的主机名字,根据自身情况更改)
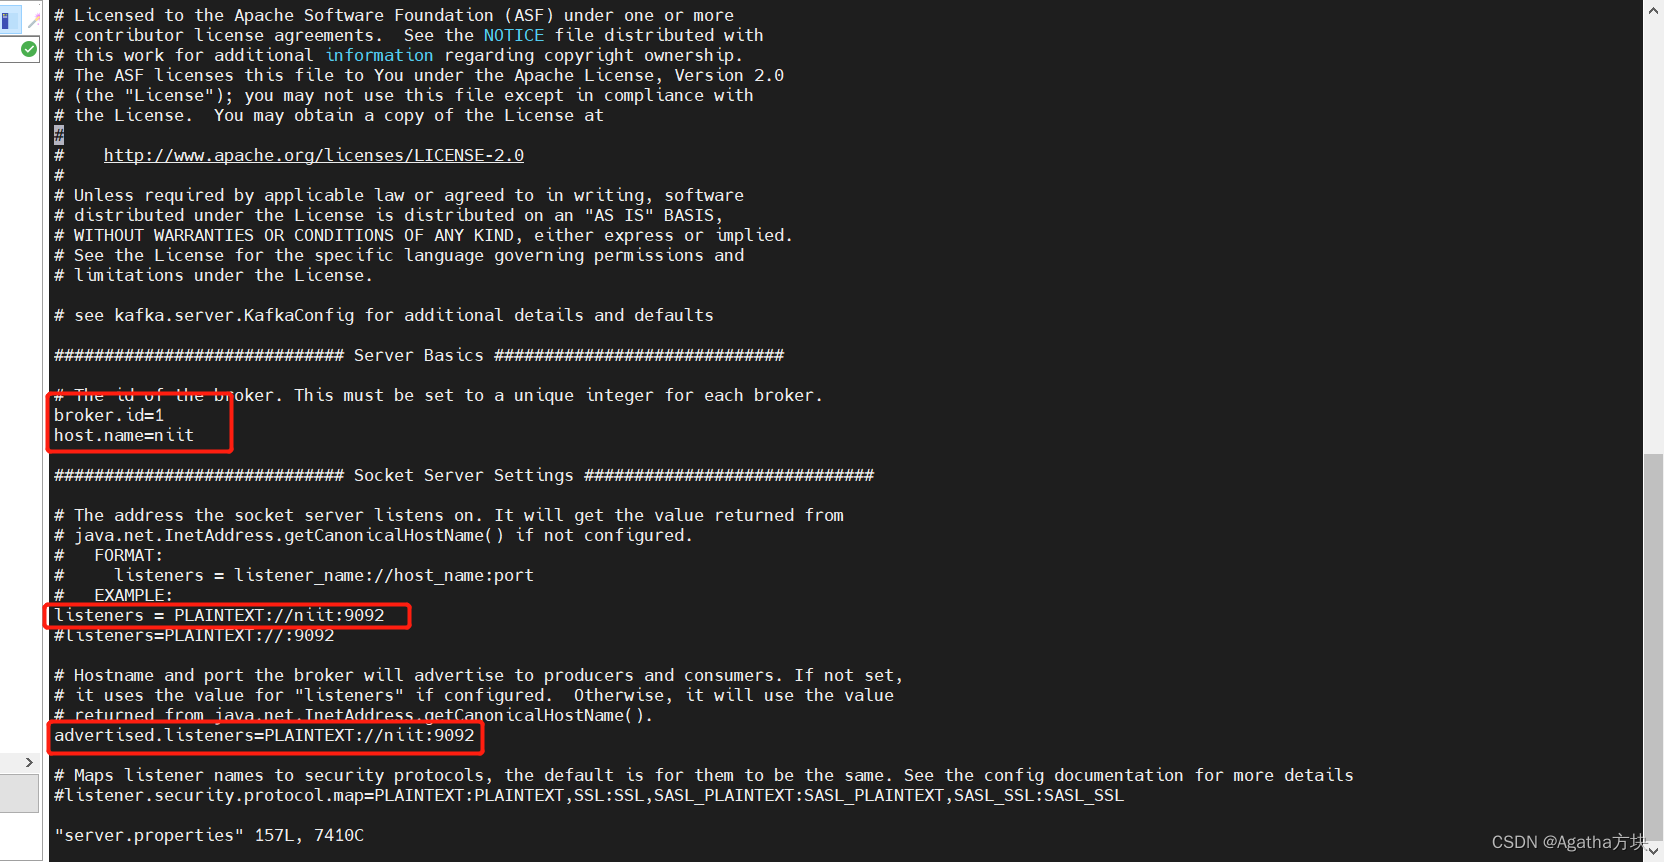

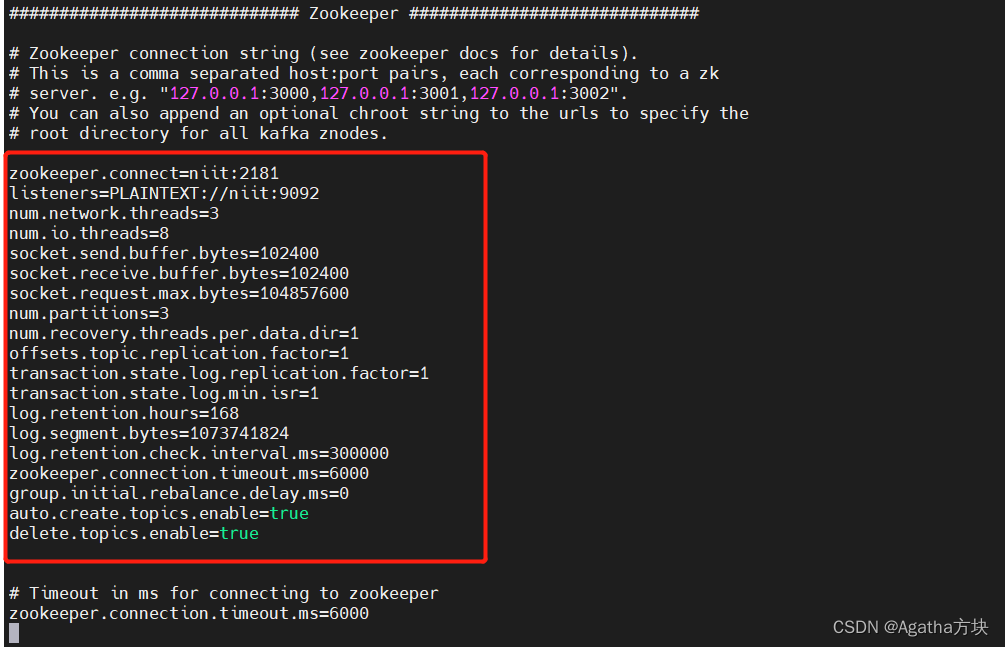
部分需要的文本:
zookeeper.connect=niit:2181
listeners=PLAINTEXT://niit:9092
num.network.threads=3
num.io.threads=8
socket.send.buffer.bytes=102400
socket.receive.buffer.bytes=102400
socket.request.max.bytes=104857600
num.partitions=3
num.recovery.threads.per.data.dir=1
offsets.topic.replication.factor=1
transaction.state.log.replication.factor=1
transaction.state.log.min.isr=1
log.retention.hours=168
log.segment.bytes=1073741824
log.retention.check.interval.ms=300000
zookeeper.connection.timeout.ms=6000
group.initial.rebalance.delay.ms=0
auto.create.topics.enable=true
delete.topics.enable=true
4、启动kafka
bin路径下启动kafka
cd /training/kafka_2.11-2.3.1/bin
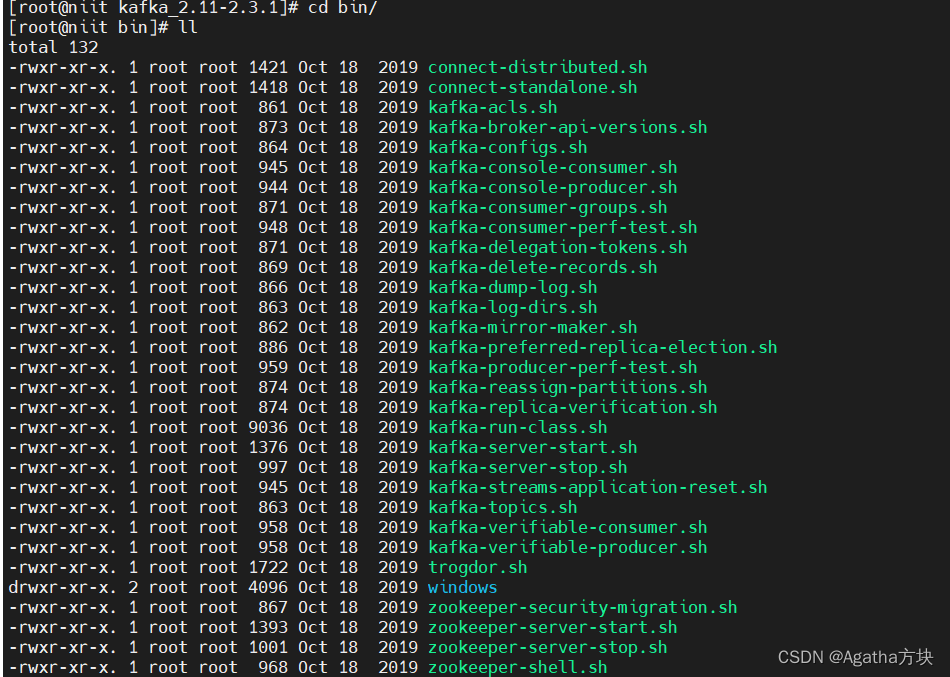
启动zookeeper
./kafka-server-start.sh /config/server.properties
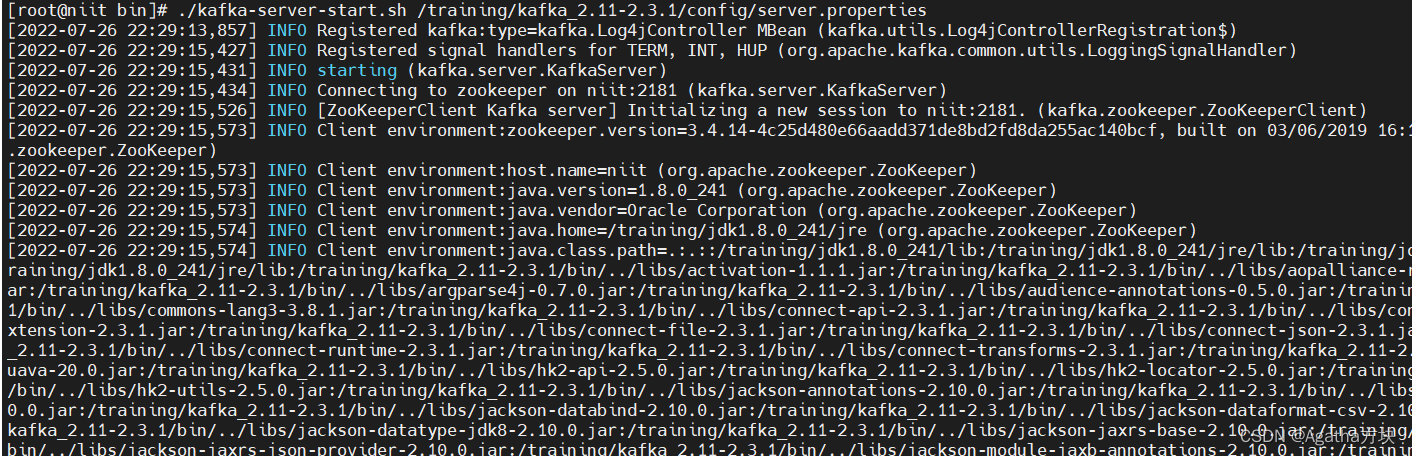
若报错找不到配置文件

则使用绝对路径
./kafka-server-start.sh /training/kafka_2.11-2.3.1/config/server.properties
若报错这个xxx shutdown:

则回到server.properties认真检查
- broke.id=1
- log.dirs 路径
- zookeeper.connect 主机名
- listener 主机名
- 各个配置的主机名设置
- zookeeper是否开启
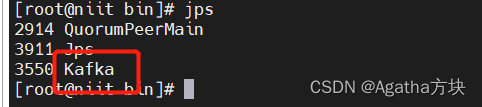
成功启动图:

查看进程,安装完毕
5、可以通过zookeeper查看kafka的元数据信息
zookeeper bin目录下
./zkCli.sh
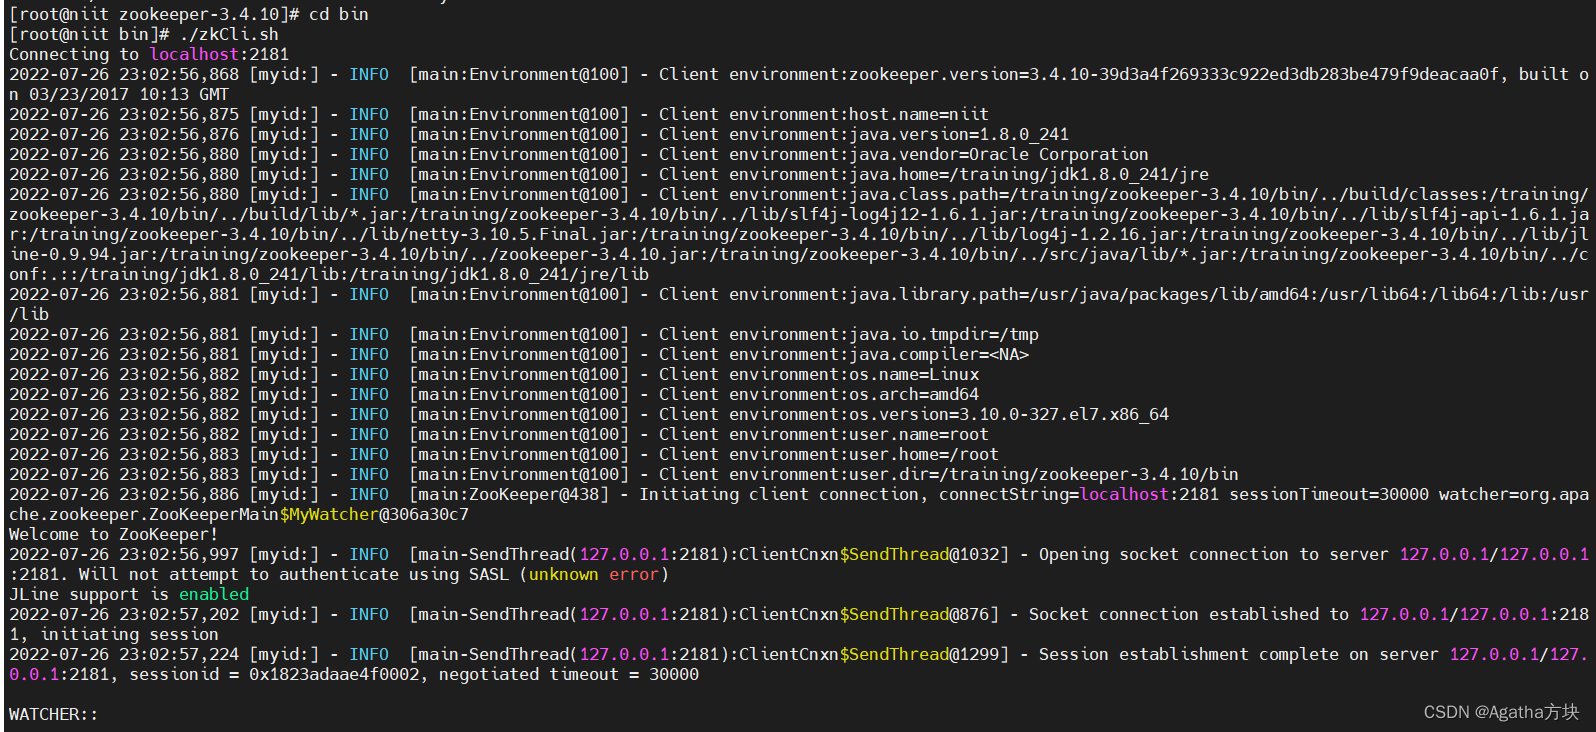
#查看根下多了很多目录
ls /

#查看/brokers/ids,可以看到有broker已经加入
ls /brokers/ids

#查看/brokers/topics,目前为空,说明还没有创建任何的topic
ls /brokers/topics

6、启动消费者,启动生产者
1)启动生产者
./kafka-console-producer.sh --broker-list niit:9092 --topic test

2)启动消费者
./kafka-console-consumer.sh --bootstrap-server niit:9092 --topic test

若遇到这个报错

则去server.properties检查advertised.listeners是否打开以及配置是否正确

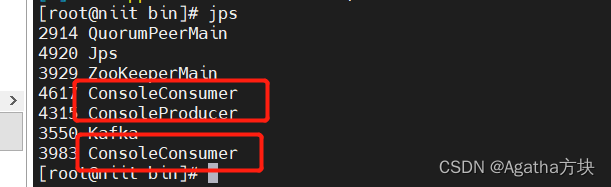
两个都成功的jps进程


 4361
4361

 被折叠的 条评论
为什么被折叠?
被折叠的 条评论
为什么被折叠?
 到【灌水乐园】发言


