


系统相关:
IntelliJ IDEA 2022.3.3
jdk v17+
tomcat v10.1.7
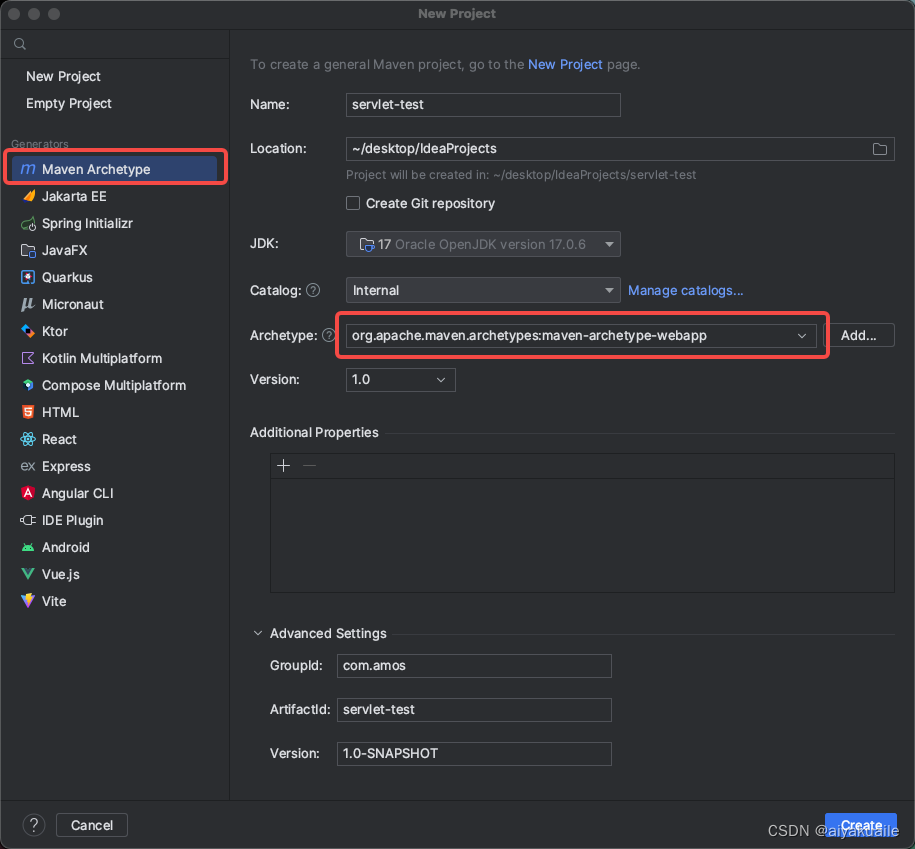
1、新建项目
我的是jdk17,选择电脑对应的jdk版本,后面涉及到这个的最好都保持一致。
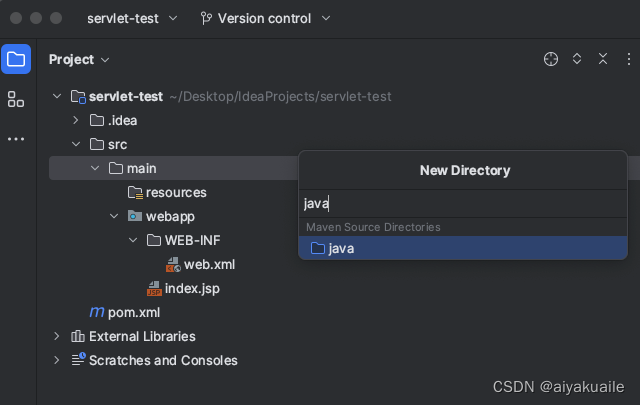
2、创建出来的项目是没有java目录的,右键新建一个。
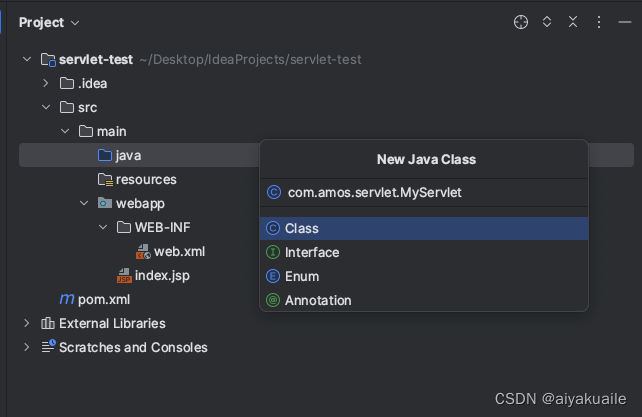
3、创建一个MyServlet.java类
package com.amos.servlet;

import jakarta.servlet.ServletException;
import jakarta.servlet.annotation.WebServlet;
import jakarta.servlet.http.HttpServlet;
import jakarta.servlet.http.HttpServletRequest;
import jakarta.servlet.http.HttpServletResponse;

import java.io.IOException;

/**
 * @author Amos
 * @date 2023/4/13
 */

@WebServlet(name = "MyServlet", urlPatterns = "/myservlet")
public class MyServlet extends HttpServlet {
    @Override
    protected void doGet(HttpServletRequest req, HttpServletResponse resp) throws ServletException, IOException {
        System.out.println("doGet====================");
    }

    @Override
    protected void doPost(HttpServletRequest req, HttpServletResponse resp) throws ServletException, IOException {
        System.out.println("doPost====================");
    }
}
4、添加Servlet的依赖库,这里需要注意下,别弄错了!
Tomcat 10是第一个不再使用javax.servlet和相关包的版本。在Tomcat 10中,Servlet API已经迁移到了Jakarta EE命名空间(jakarta.servlet)。这是因为Java EE已经转移到了Eclipse基金会,并更名为Jakarta EE。因此,Servlet API也需要进行相应的更改。
在Tomcat 10之前的版本中,Servlet API仍然使用javax.servlet和相关包。但是,如果您使用的是Tomcat 10或更高版本,则需要使用jakarta.servlet和相关包。如果您的应用程序使用旧的javax.servlet包,则需要将其迁移到新的jakarta.servlet包。
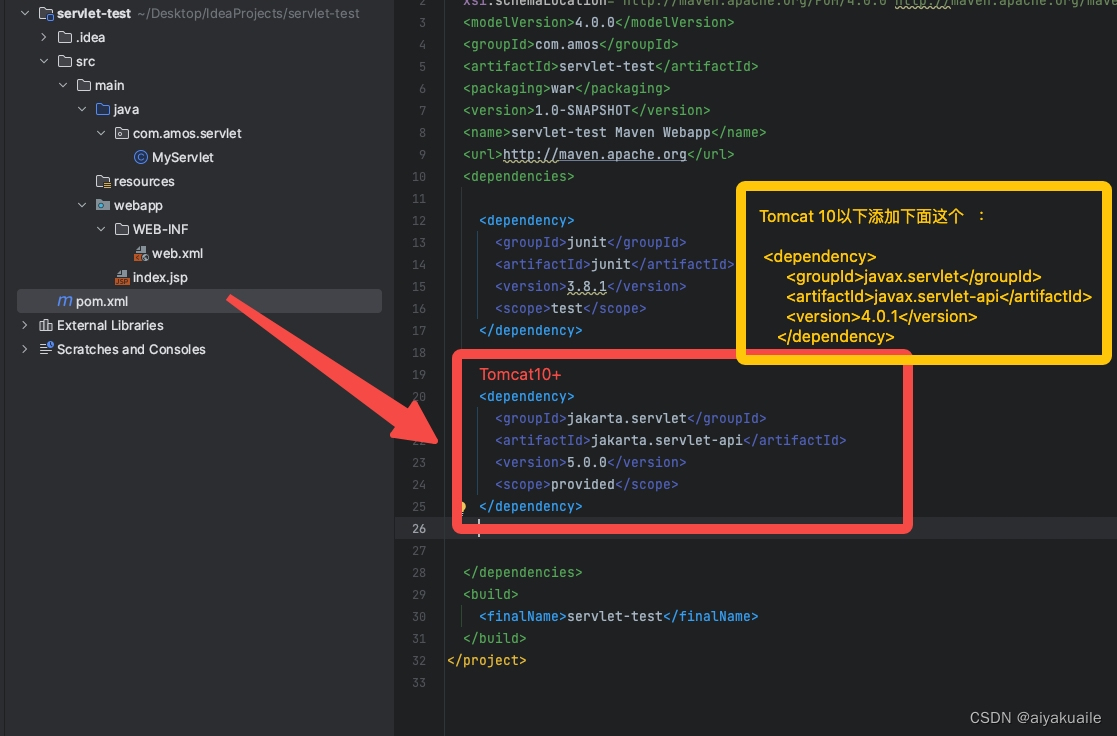
<!--tomcat 10+-->
    <dependency>
        <groupId>jakarta.servlet</groupId>
        <artifactId>jakarta.servlet-api</artifactId>
        <version>5.0.0</version>
        <scope>provided</scope>
    </dependency>

<!--tomcat 10之前版本-->
      <dependency>
        <groupId>javax.servlet</groupId>
        <artifactId>javax.servlet-api</artifactId>
        <version>4.0.1</version>
      </dependency>
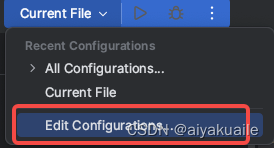
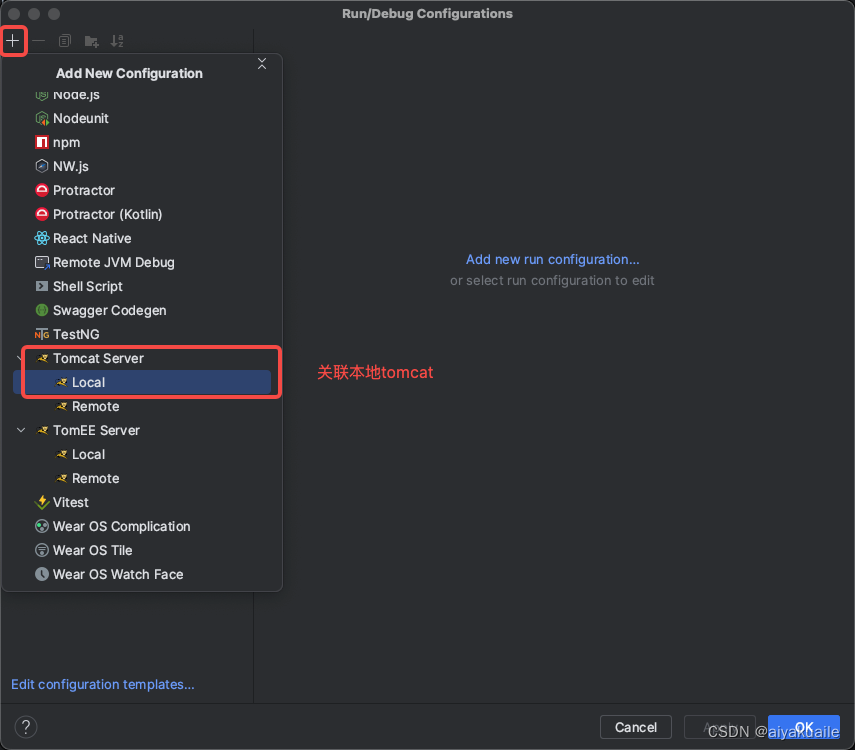
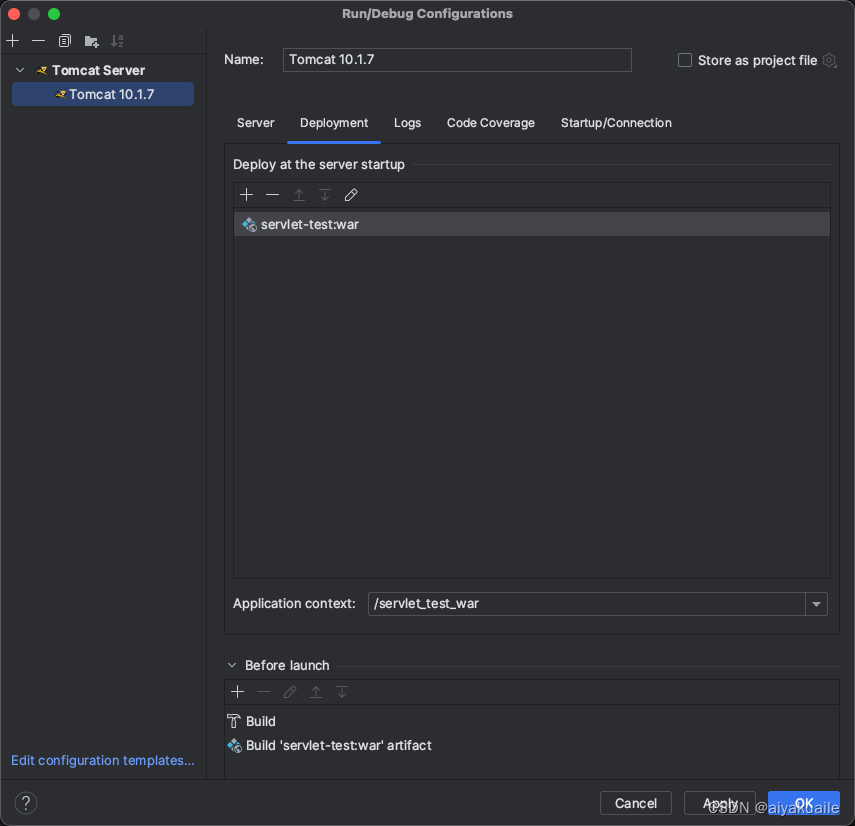
5、编辑configuration文件,关联到本地已安装的tomcat,配置相关内容


6、这样直接运行可能会报如下错误,需要指定一下编译版本
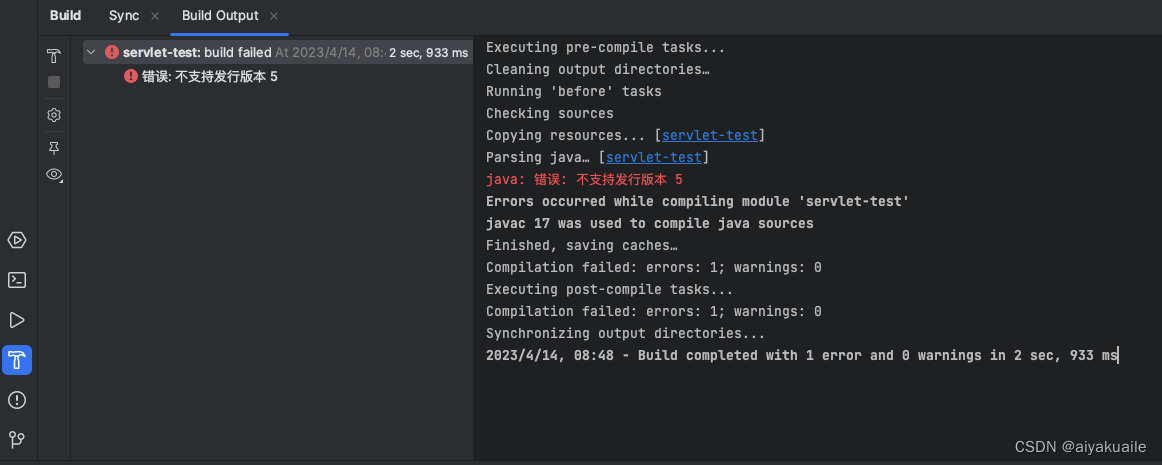
在pom.xml文件中添加下面一段内容
  <properties>
    <project.build.sourceEncoding>UTF-8</project.build.sourceEncoding>
    <maven.compiler.source>17</maven.compiler.source>
    <maven.compiler.target>17</maven.compiler.target>
  </properties>
在Project Struture中选择一下Language level,这里为了保持一致,我选了17版本。

最后,访问http://localhost:8080/servlet_test_war/myservlet,可以在控制台看到doGet方法已经被调用了。
注意:当添加完Artifact后,即servlet-test:war,在编辑configuration的server下的url,会自动给从http://localhost:8080变成http://localhost:8080/servlet_test_war/,所以最终访问路径就变成了http://localhost:8080/servlet_test_war/myservlet。
完结!


 4550
4550


 被折叠的 条评论
为什么被折叠?
被折叠的 条评论
为什么被折叠?
 到【灌水乐园】发言


