


Create a Video and Audio Recorder with JavaScript MediaRecorder API - GeeksforGeeksA Computer Science portal for geeks. It contains well written, well thought and well explained computer science and programming articles, quizzes and practice/competitive programming/company interview Questions. https://www.geeksforgeeks.org/create-a-video-and-audio-recorder-with-javascript-mediarecorder-api/
WebRTC 在访问设备摄像头和设备麦克风以及在浏览器中流式传输视频或音频媒体方面非常流行。但在许多情况下,我们可能需要记录流媒体以供将来使用或供用户使用(例如用户可能想要下载流媒体等)。在这种情况下,我们可以使用 MediaRecorder API 来记录媒体流。
在本文中,我们将使用纯 JavaScript 及其 MediaRecorder API 创建一个基本的 Video and Audio Recorder 网站。
项目描述:我们正在建设的网站将有——
- 一个选择选项,让用户选择要录制的媒体类型(音频或带音频的视频)。
- 如果用户选择录制视频,则浏览器将请求访问设备摄像头和麦克风的权限,如果用户允许,则 -
- 视频元素将显示相机媒体流
- 在“开始录制”按钮开始录制
- 该“停止录制”按钮,将停止录音。
- 录制完成后,将显示一个包含录制媒体的新视频元素。
- 一个让用户下载录制视频的链接。
- 如果用户选择只录制音频,那么浏览器会请求访问麦克风的权限,如果用户允许,那么——
- 在“开始录制”按钮开始录制
- 该“停止录制”按钮,将停止录音
- 录制完成后,将显示一个包含录制音频的新音频元素。
- 提供了一个链接,让用户下载录制的音频。
所以,让我们首先设置我们简单的 HTML 页面——
- index.html
<!DOCTYPE html>
<html lang="en">

<head>
	<meta charset="UTF-8">
	<meta http-equiv="X-UA-Compatible"
		content="IE=edge">
	<meta name="viewport" content=
		"width=device-width, initial-scale=1.0">
	<link rel="stylesheet" href="index.css">
	<title>Video & Audio Recorder</title>
</head>

<body>
	<h1> Video & Audio Recorder </h1>
	<label for="media">
		Select what you want to record:
	</label>

	<select id="media">
		<option value="choose-an-option">
			Choose an option
		</option>
		<option value="vid">Video</option>
		<option value="aud">Audio</option>
	</select>

	<div class="display-none" id="vid-recorder">
		<h3>Record Video </h3>
		<video autoplay id="web-cam-container"
			style="background-color: black;">
			Your browser doesn't support
			the video tag
		</video>

		<div class="recording" id="vid-record-status">
			Click the "Start video Recording"
			button to start recording
		</div>

		<!-- This button will start the video recording -->
		<button type="button" id="start-vid-recording"
			onclick="startRecording(this,
			document.getElementById('stop-vid-recording'))">
			Start video recording
		</button>

		<!-- This button will stop the video recording -->
		<button type="button" id="stop-vid-recording"
			disabled onclick="stopRecording(this,
			document.getElementById('start-vid-recording'))">
			Stop video recording
		</button>

		<!--The video element will be created using
			JavaScript and contains recorded video-->
		<!-- <video id="recorded-video" controls>
			Your browser doesn't support the video tag
		</video> -->

		<!-- The below link will let the
			users download the recorded video -->
		<!-- <a href="" > Download it! </a> -->
	</div>

	<div class="display-none" id="aud-recorder">
		<h3> Record Audio</h3>

		<div class="recording" id="aud-record-status">
			Click the "Start Recording"
			button to start recording
		</div>

		<button type="button" id="start-aud-recording"
			onclick="startRecording(this,
			document.getElementById('stop-aud-recording'))">
			Start recording
		</button>

		<button type="button" id="stop-aud-recording"
			disabled onclick="stopRecording(this,
			document.getElementById('start-aud-recording'))">
			Stop recording
		</button>

		<!-- The audio element will contain the
			recorded audio and will be created
			using Javascript -->
		<!-- <audio id="recorded-audio"
			controls></audio> -->

		<!-- The below link will let the users
			download the recorded audio -->
		<!-- <a href="" > Download it! </a> -->
	</div>

	<script src="index.js"></script>
</body>

</html>
|
|
输出:
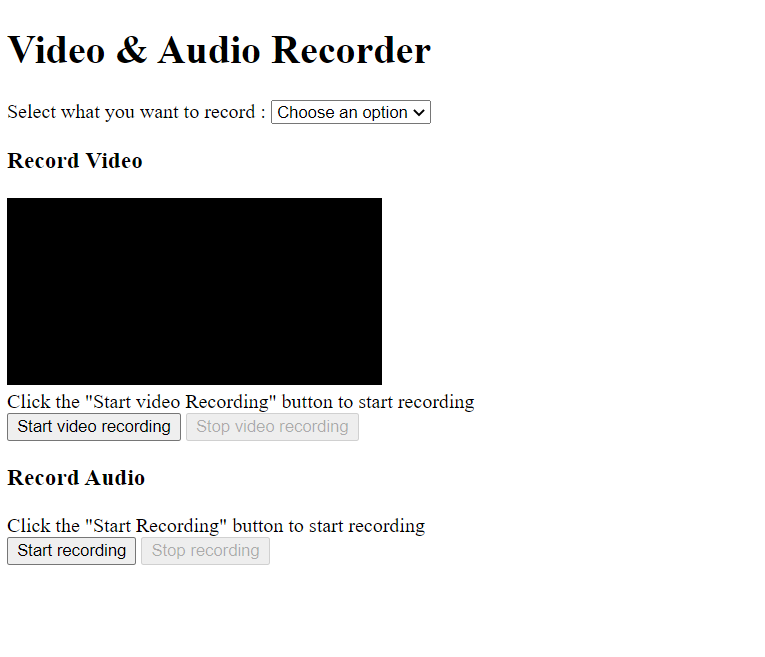
如果你仔细查看index.html,你会发现 video 和 audio 标签没有给出任何来源,我们稍后会使用 JavaScript 添加来源。现在,我们有一个选择选项,让用户可以选择他们想要录制的媒体类型。“vid-recorder” div 元素中的第一个 video 元素将包含网络摄像头流,评论中的 video 元素将包含录制的视频。请注意,只有最后一个视频元素具有“控件”属性,因为第一个视频元素将包含流并且不需要任何控件。
在“aud-recorder” div 中,我们有两个按钮来开始和停止录音,注释的音频元素将包含录制的音频。
现在,让我们向 HTML 页面添加一些 CSS —
- index.css
body {
	text-align: center;
	color: green;
	font-size: 1.2em;
}

.display-none {
	display: none;
}

.recording {
	color: red;
	background-color: rgb(241 211 211);
	padding: 5px;
	margin: 6px auto;
	width: fit-content;
}

video {
	background-color: black;
	display: block;
	margin: 6px auto;
	width: 420px;
	height: 240px;
}

audio {
	display: block;
	margin: 6px auto;
}

a {
	color: green;
}
|
|
输出:
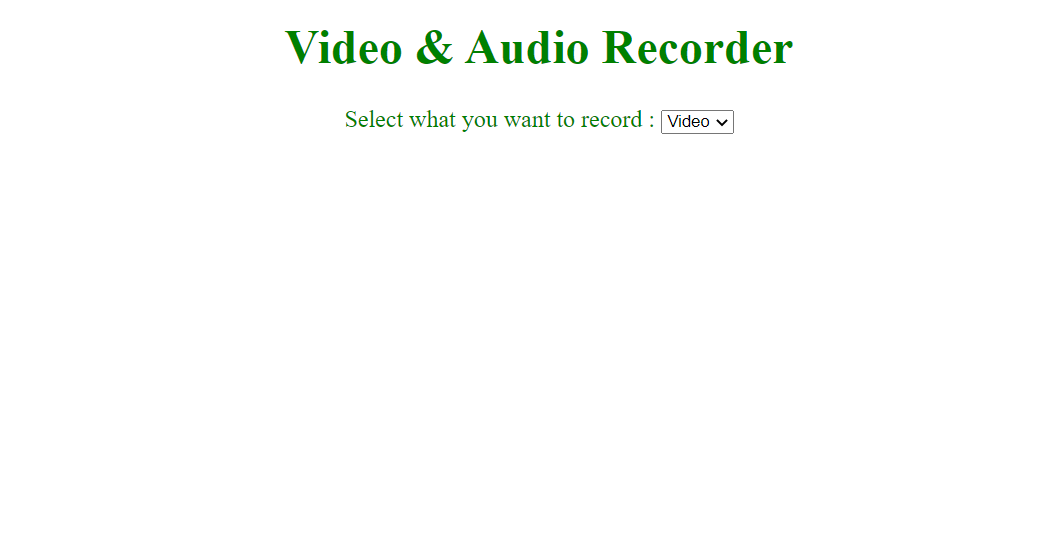
现在,我们已将“display-none”类添加到“vid-recorder”和“aud-recorder” div。因为我们想根据用户的选择显示正确的记录器。
现在,让我们使用 JavaScript 实现仅显示用户选择的记录器的逻辑——
- index.js
const mediaSelector = document.getElementById("media");
let selectedMedia = null;

// Handler function to handle the "change" event
// when the user selects some option
mediaSelector.addEventListener("change", (e) => {
	selectedMedia = e.target.value;
	document.getElementById(
	`${selectedMedia}-recorder`).style.display = "block";
	document.getElementById(
	`${otherRecorder(selectedMedia)}-recorder`)
	.style.display = "none";
});

function otherRecorder(selectedMedia) {
	return selectedMedia === "vid" ? "aud" : "vid";
}
|
|
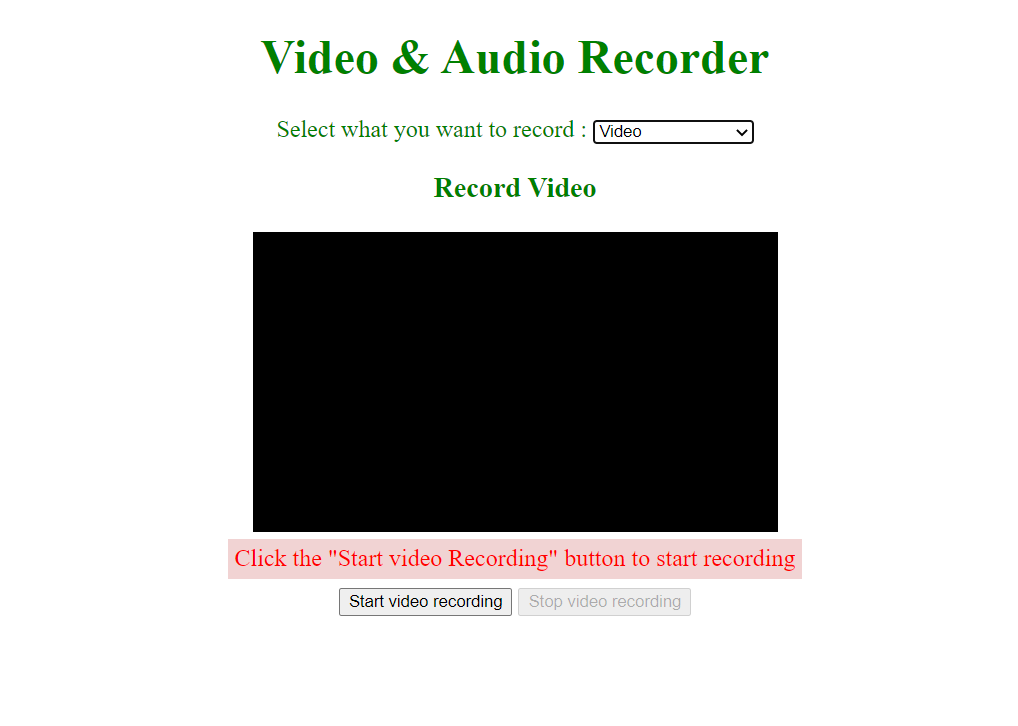
输出:当用户选择“视频”时,会显示以下录像机——
同样,当用户选择“音频”选项时,录音机会显示——
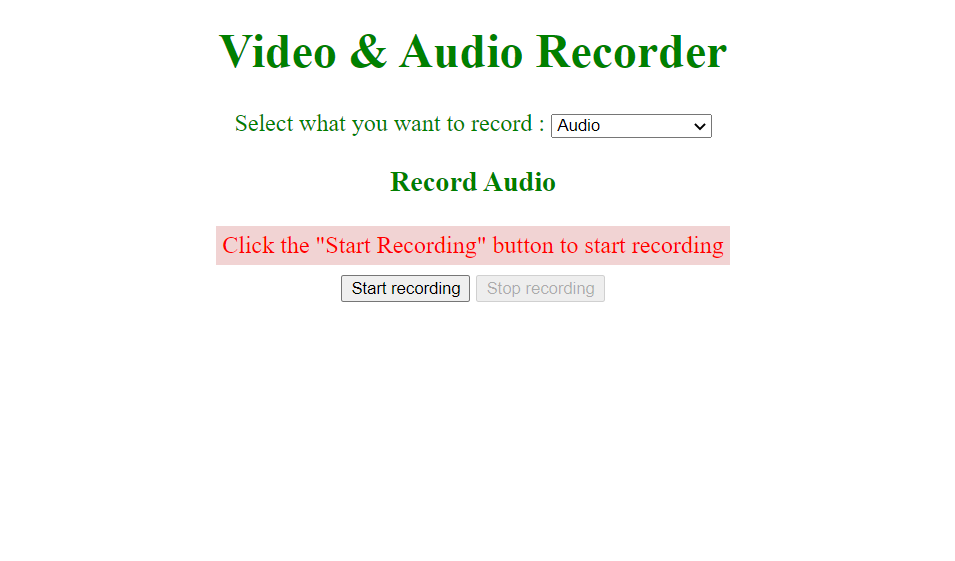
上面的代码只显示用户选择的记录器,即音频或视频。我们为 mediaSelector 元素添加了一个“change”事件监听器,当 select 元素的值发生变化时,它会发出一个“change”事件,该事件由给定的回调函数处理。回调函数将所选媒体记录器的 CSS “display”属性更改为“block”,将其他媒体记录器更改为“none”。
访问网络摄像头和麦克风: WebRTC getUserMedia API 允许您访问设备摄像头和麦克风。getUserMedia() 方法返回一个 Promise,它根据给定的规范解析为包含媒体内容(媒体轨道流)的 MediaStream。getUserMedia() 方法采用 MediaStreamConstraints 对象作为参数,该对象定义结果媒体流应匹配的所有约束。
const mediaStreamConstraints = {
   audio: true,
   video: true
};
// The above MediaStreamConstraints object
// specifies that the resulting media must have
// both the video and audio media content or tracks.

// The mediaStreamConstraints object is passed to
// the getUserMedia method
navigator.mediaDevices.getUserMedia( MediaStreamConstraints )
.then( resultingMediaStream => {
   // Code to use the received media stream
});
当调用 getUserMedia 方法时,浏览器会提示用户请求使用设备摄像头和麦克风的权限。如果用户允许,则 getUserMedia 返回的承诺将解析为结果媒体流,否则将引发NotAllowedError异常。在上面的代码中,接收到的媒体流包含视频和音频媒体数据。
因此,将以下代码行添加到 index.js 文件中:
- index.js
const mediaSelector =
	document.getElementById("media");

// Added code
const webCamContainer = document
	.getElementById('web-cam-container');

let selectedMedia = null;

/* Previous code
...
Added code */

const audioMediaConstraints = {
	audio: true,
	video: false
};

const videoMediaConstraints = {
	// or you can set audio to false
	// to record only video
	audio: true,
	video: true
};

function startRecording(thisButton, otherButton) {

	navigator.mediaDevices.getUserMedia(
			selectedMedia === "vid" ?
			videoMediaConstraints :
			audioMediaConstraints)
		.then(mediaStream => {
			// Use the mediaStream in
			// your application

			// Make the mediaStream global
			window.mediaStream = mediaStream;

			if (selectedMedia === 'vid') {

				// Remember to use the "srcObject"
				// attribute since the "src" attribute
				// doesn't support media stream as a value
				webCamContainer.srcObject = mediaStream;
			}

			document.getElementById(
				`${selectedMedia}-record-status`)
				.innerText = "Recording";
			thisButton.disabled = true;
			otherButton.disabled = false;
		});

}

function stopRecording(thisButton, otherButton) {

	// Stop all the tracks in the received
	// media stream i.e. close the camera
	// and microphone
	window.mediaStream.getTracks().forEach(track => {
		track.stop();
	});

	document.getElementById(
		`${selectedMedia}-record-status`)
		.innerText = "Recording done!";

	thisButton.disabled = true;
	otherButton.disabled = false;
}
|
|
所述的startRecording函数调用navigator.mediaDevices.getUserMedia()方法来访问设备的摄像头和麦克风,禁用“开始记录”键,并使得“停止记录”按钮。而stopRecording函数通过调用媒体流使用的每个媒体轨道的“stop()”方法关闭摄像头和麦克风,禁用“停止录制”按钮,并启用“开始录制”按钮。
实现录音机:到目前为止,我们只访问了网络摄像头和麦克风,但没有做任何事情来录制媒体。
要录制媒体流,我们首先需要使用 MediaRecorder 构造函数创建 MediaRecorder 的实例(用于录制媒体流的接口)。
MediaRecorder 构造函数有两个参数——
- 流:流就像数据流(任何类型的数据)。在本文中,我们将使用 MediaStream,它基本上是媒体(视频或音频或两者)数据或媒体内容的流。
- 选项(可选):包含一些关于录音的规范的对象。您可以设置录制媒体的 MIME-type、音频比特率、视频比特率等。 MIME-type 是代表录制媒体文件格式的标准(例如两种 MIME 类型—— “audio webm”、“video/mp4”分别表示音频 webm 文件和视频 mp4 文件)。
句法:
const mediaRecorder = new MediaRecorder(
    stream, { mimeType: "audio/webm" });
上面的代码行创建了一个新的 MediaRecorder 实例,用于记录给定的流并将其存储为音频 WebM 文件。
所以,修改你的 index.js 文件:
- index.js
/* Previous code
... */

function startRecording(thisButton, otherButton) {

	navigator.mediaDevices.getUserMedia(
		selectedMedia === "vid" ?
		videoMediaConstraints :
		audioMediaConstraints)

	.then(mediaStream => {

		/* New code */
		// Create a new MediaRecorder
		// instance that records the
		// received mediaStream
		const mediaRecorder =
			new MediaRecorder(mediaStream);

		// Make the mediaStream global
		window.mediaStream = mediaStream;

		// Make the mediaRecorder global
		// New line of code
		window.mediaRecorder = mediaRecorder;

		if (selectedMedia === 'vid') {

			// Remember to use the srcObject
			// attribute since the src attribute
			// doesn't support media stream as a value
			webCamContainer.srcObject = mediaStream;
		}

		document.getElementById(
			`${selectedMedia}-record-status`)
			.innerText = "Recording";

		thisButton.disabled = true;
		otherButton.disabled = false;
	});
}

/* Remaining code
...*/
|
|
当startRecording() 函数被调用时,它会创建一个 MediaRecorder 实例来记录接收到的 mediaStream。现在,我们需要使用创建的 MediaRecorder 实例。MediaRecorder 提供了一些我们可以在这里使用的有用方法——
- start():调用此方法时,MediaRecorder 实例开始记录给定的媒体流。可选地将“时间片”作为参数,指定将导致在该时间片持续时间的小的单独块中记录给定的媒体。
- pause():调用时,暂停录音
- resume():在调用pause() 方法后调用时,恢复录音。
- stop():调用时,停止记录并触发包含已保存数据的最终 Blob 的“dataavailable”事件。
- requestData() :调用时,请求一个包含迄今为止保存的数据的 Blob。
同样,MediaRecorder 也提供了一些有用的 Event Handlers ——
- ondataavailable:“dataavailable”事件的事件处理程序。每当记录媒体数据的时间片(如果指定)毫秒或记录完成时(如果未指定时间片),MediaRecorder 会使用记录的 Blob 数据发出“dataavailable”事件。这个数据可以从“事件”的“数据”属性中获得——
mediaRecorder.ondataavailable = ( event ) => {
  const recordedData = event.data;
}
- onstop: MediaRecorder 发出的“停止”事件的事件处理程序。当调用 MediaRecorder.stop() 方法或相应的 MediaStream 停止时,会发出此事件。
- onerror:“错误”事件的处理程序,在使用 MediaRecorder 时发生错误时会发出该事件。事件的“error”属性包含错误的详细信息——
mediaRecorder.onerror = ( event ) => {
  console.log(event.error);
}
- onstart : MediaRecorder 开始录制时发出的“start”事件的处理程序。
- onpause: “暂停”事件的处理程序。暂停录制时会发出此事件。
- onresume : “恢复”事件的处理程序。暂停后再次恢复录制时会发出此事件。
现在,我们需要使用其中一些方法和事件处理程序来使我们的项目工作。
- index.js
const mediaSelector = document.getElementById("media");

const webCamContainer =
	document.getElementById("web-cam-container");

let selectedMedia = null;

// This array stores the recorded media data
let chunks = [];

// Handler function to handle the "change" event
// when the user selects some option
mediaSelector.addEventListener("change", (e) => {

	// Takes the current value of the mediaSeletor
	selectedMedia = e.target.value;

	document.getElementById(
		`${selectedMedia}-recorder`)
			.style.display = "block";

	document.getElementById(
			`${otherRecorderContainer(
			selectedMedia)}-recorder`)
		.style.display = "none";
});

function otherRecorderContainer(
	selectedMedia) {

	return selectedMedia === "vid" ?
		"aud" : "vid";
}

// This constraints object tells
// the browser to include only
// the audio Media Track
const audioMediaConstraints = {
	audio: true,
	video: false,
};

// This constraints object tells
// the browser to include
// both the audio and video
// Media Tracks
const videoMediaConstraints = {

	// or you can set audio to
	// false to record
	// only video
	audio: true,
	video: true,
};

// When the user clicks the "Start
// Recording" button this function
// gets invoked
function startRecording(
	thisButton, otherButton) {

	// Access the camera and microphone
	navigator.mediaDevices.getUserMedia(
		selectedMedia === "vid" ?
		videoMediaConstraints :
		audioMediaConstraints)
		.then((mediaStream) => {

		// Create a new MediaRecorder instance
		const mediaRecorder =
			new MediaRecorder(mediaStream);

		//Make the mediaStream global
		window.mediaStream = mediaStream;
		//Make the mediaRecorder global
		window.mediaRecorder = mediaRecorder;

		mediaRecorder.start();

		// Whenever (here when the recorder
		// stops recording) data is available
		// the MediaRecorder emits a "dataavailable"
		// event with the recorded media data.
		mediaRecorder.ondataavailable = (e) => {

			// Push the recorded media data to
			// the chunks array
			chunks.push(e.data);
		};

		// When the MediaRecorder stops
		// recording, it emits "stop"
		// event
		mediaRecorder.onstop = () => {

			/* A Blob is a File like object.
			In fact, the File interface is
			based on Blob. File inherits the
			Blob interface and expands it to
			support the files on the user's
			systemThe Blob constructor takes
			the chunk of media data as the
			first parameter and constructs
			a Blob of the type given as the
			second parameter*/
			const blob = new Blob(
				chunks, {
					type: selectedMedia === "vid" ?
						"video/mp4" : "audio/mpeg"
				});
			chunks = [];

			// Create a video or audio element
			// that stores the recorded media
			const recordedMedia = document.createElement(
				selectedMedia === "vid" ? "video" : "audio");
			recordedMedia.controls = true;

			// You can not directly set the blob as
			// the source of the video or audio element
			// Instead, you need to create a URL for blob
			// using URL.createObjectURL() method.
			const recordedMediaURL = URL.createObjectURL(blob);

			// Now you can use the created URL as the
			// source of the video or audio element
			recordedMedia.src = recordedMediaURL;

			// Create a download button that lets the
			// user download the recorded media
			const downloadButton = document.createElement("a");

			// Set the download attribute to true so that
			// when the user clicks the link the recorded
			// media is automatically gets downloaded.
			downloadButton.download = "Recorded-Media";

			downloadButton.href = recordedMediaURL;
			downloadButton.innerText = "Download it!";

			downloadButton.onclick = () => {

				/* After download revoke the created URL
				using URL.revokeObjectURL() method to
				avoid possible memory leak. Though,
				the browser automatically revokes the
				created URL when the document is unloaded,
				but still it is good to revoke the created
				URLs */
				URL.revokeObjectURL(recordedMedia);
			};

			document.getElementById(
				`${selectedMedia}-recorder`).append(
				recordedMedia, downloadButton);
		};

		if (selectedMedia === "vid") {

			// Remember to use the srcObject
			// attribute since the src attribute
			// doesn't support media stream as a value
			webCamContainer.srcObject = mediaStream;
		}

		document.getElementById(
				`${selectedMedia}-record-status`)
				.innerText = "Recording";

		thisButton.disabled = true;
		otherButton.disabled = false;
	});
}

function stopRecording(thisButton, otherButton) {

	// Stop the recording
	window.mediaRecorder.stop();

	// Stop all the tracks in the
	// received media stream
	window.mediaStream.getTracks()
	.forEach((track) => {
		track.stop();
	});

	document.getElementById(
			`${selectedMedia}-record-status`)
			.innerText = "Recording done!";
	thisButton.disabled = true;
	otherButton.disabled = false;
}
|
|
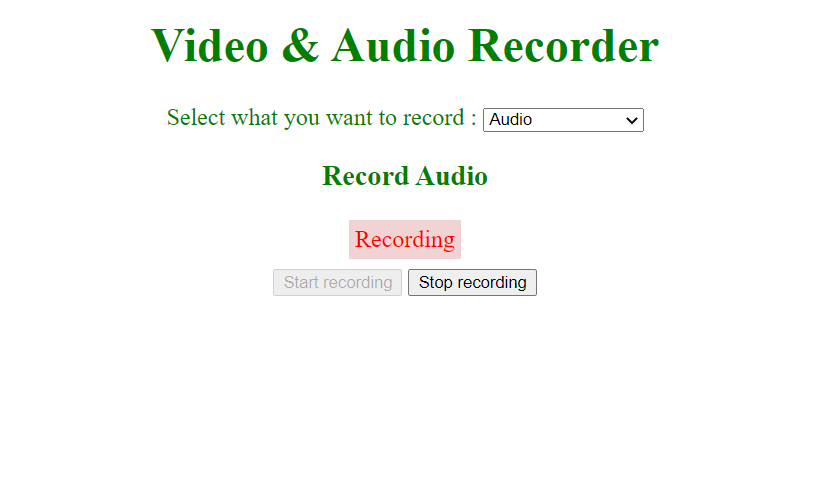
输出:
假设,用户选择录音机——
现在,如果用户点击开始录制按钮,那么——
当点击“停止录制”按钮时——
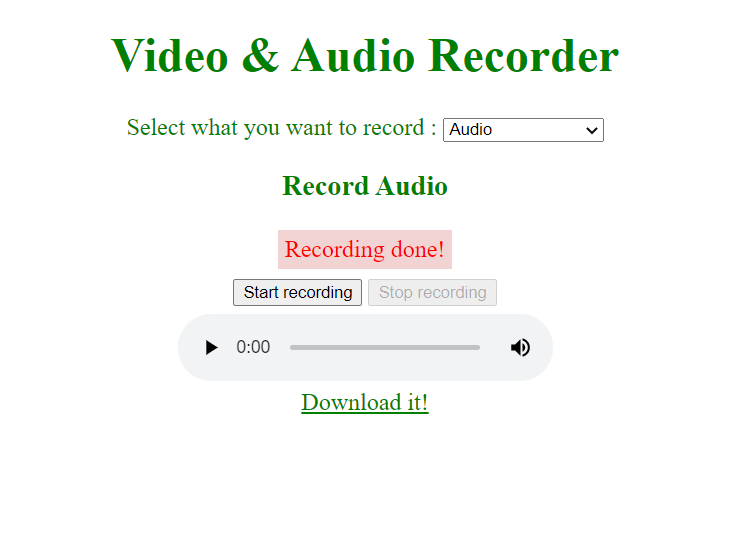
它显示录制的音频并提供下载录制音频的链接。
那么,startRecording() 函数有什么作用呢?
- 它调用navigator.mediaDevices.getUserMedia()方法并访问设备摄像头或麦克风或两者。此方法返回一个解析为 MediaStream 的 Promise。
- 收到 MediaStream 后,它会创建一个 MediaRecorder 实例,可以记录给定的 MediaStream,使 MediaStream 和 MediaRecorder 成为全局对象,以便我们可以在 startRecording 函数之外使用它们——
window.mediaStream = mediaStream;
window.mediaRecorder = mediaRecorder;
- 通过调用 MediaRecorder.start() 方法开始记录给定的 MediaStream。
mediaRecorder.start();
- 为创建的 MediaRecorder 定义事件处理程序。所述“dataavailable”事件处理函数推动记录的数据给组块阵列(阵列记录的媒体数据的BLOB)。该“停”事件处理函数。
- 使用 Blob() 构造函数从 chunks 数组创建一个新的 Blob。
- 重新初始化块数组
- 使用 URL.createObjectURL() 方法为创建的 Blob 创建 URL。
- 将新创建的“视频” / “音频”元素的源设置为创建的 URL。
- 创建一个链接以下载录制的媒体,并在使用 URL.revokeObjectURL() 方法单击该链接后撤销创建的 URL。
- 禁用“开始录制”按钮并启用“停止录制”按钮。
stopRecording() 函数有什么作用?
- 通过调用MediaRecorder.stop() 方法停止录制。
- 停止 MediaStream 的所有媒体轨道,即关闭相机和麦克风
- 禁用“停止录制”按钮并启用“开始录制”按钮。


 395
395


 被折叠的 条评论
为什么被折叠?
被折叠的 条评论
为什么被折叠?
 到【灌水乐园】发言


