


为了学这个小教程,还买了个摄像头,花了好几十大洋呢,效果吗,马马虎虎,迷迷糊糊……

py文件代码:
from flask import Flask, render_template, Response
import cv2

app = Flask(__name__)

camera = cv2.VideoCapture(0)


def cctv_live():
    while True:
        success, frame = camera.read()
        if not success:
            break
        else:
            ret, buffer = cv2.imencode('.jpg', frame)
            frame = buffer.tobytes()
        yield (b'--frame\r\n'
               b'Content-Type:image/jpeg\r\n\r\n' + frame + b'\r\n')


@app.route('/')
def index():
    return render_template('cctv.html')


@app.route('/video')
def video():
    return Response(cctv_live(), mimetype='multipart/x-mixed-replace;boundary=frame')


if __name__ == "__main__":
    app.run(debug=True)
html文件代码:
<!doctype html>
<html lang="en">
<head>
    <meta charset="UTF-8">
    <meta name="viewport"
          content="width=device-width, user-scalable=no, initial-scale=1.0, maximum-scale=1.0, minimum-scale=1.0">
    <meta http-equiv="X-UA-Compatible" content="ie=edge">
    <title>摄像头</title>
</head>
<body>
    <h3>摄像头捕获</h3>
    <div>
        <img src="{{url_for('video')}}" width="50%" alt="">
    </div>
</body>
</html>
其中url_for()这个函数很奇妙啊,有点像其他框架的route路由函数一样。
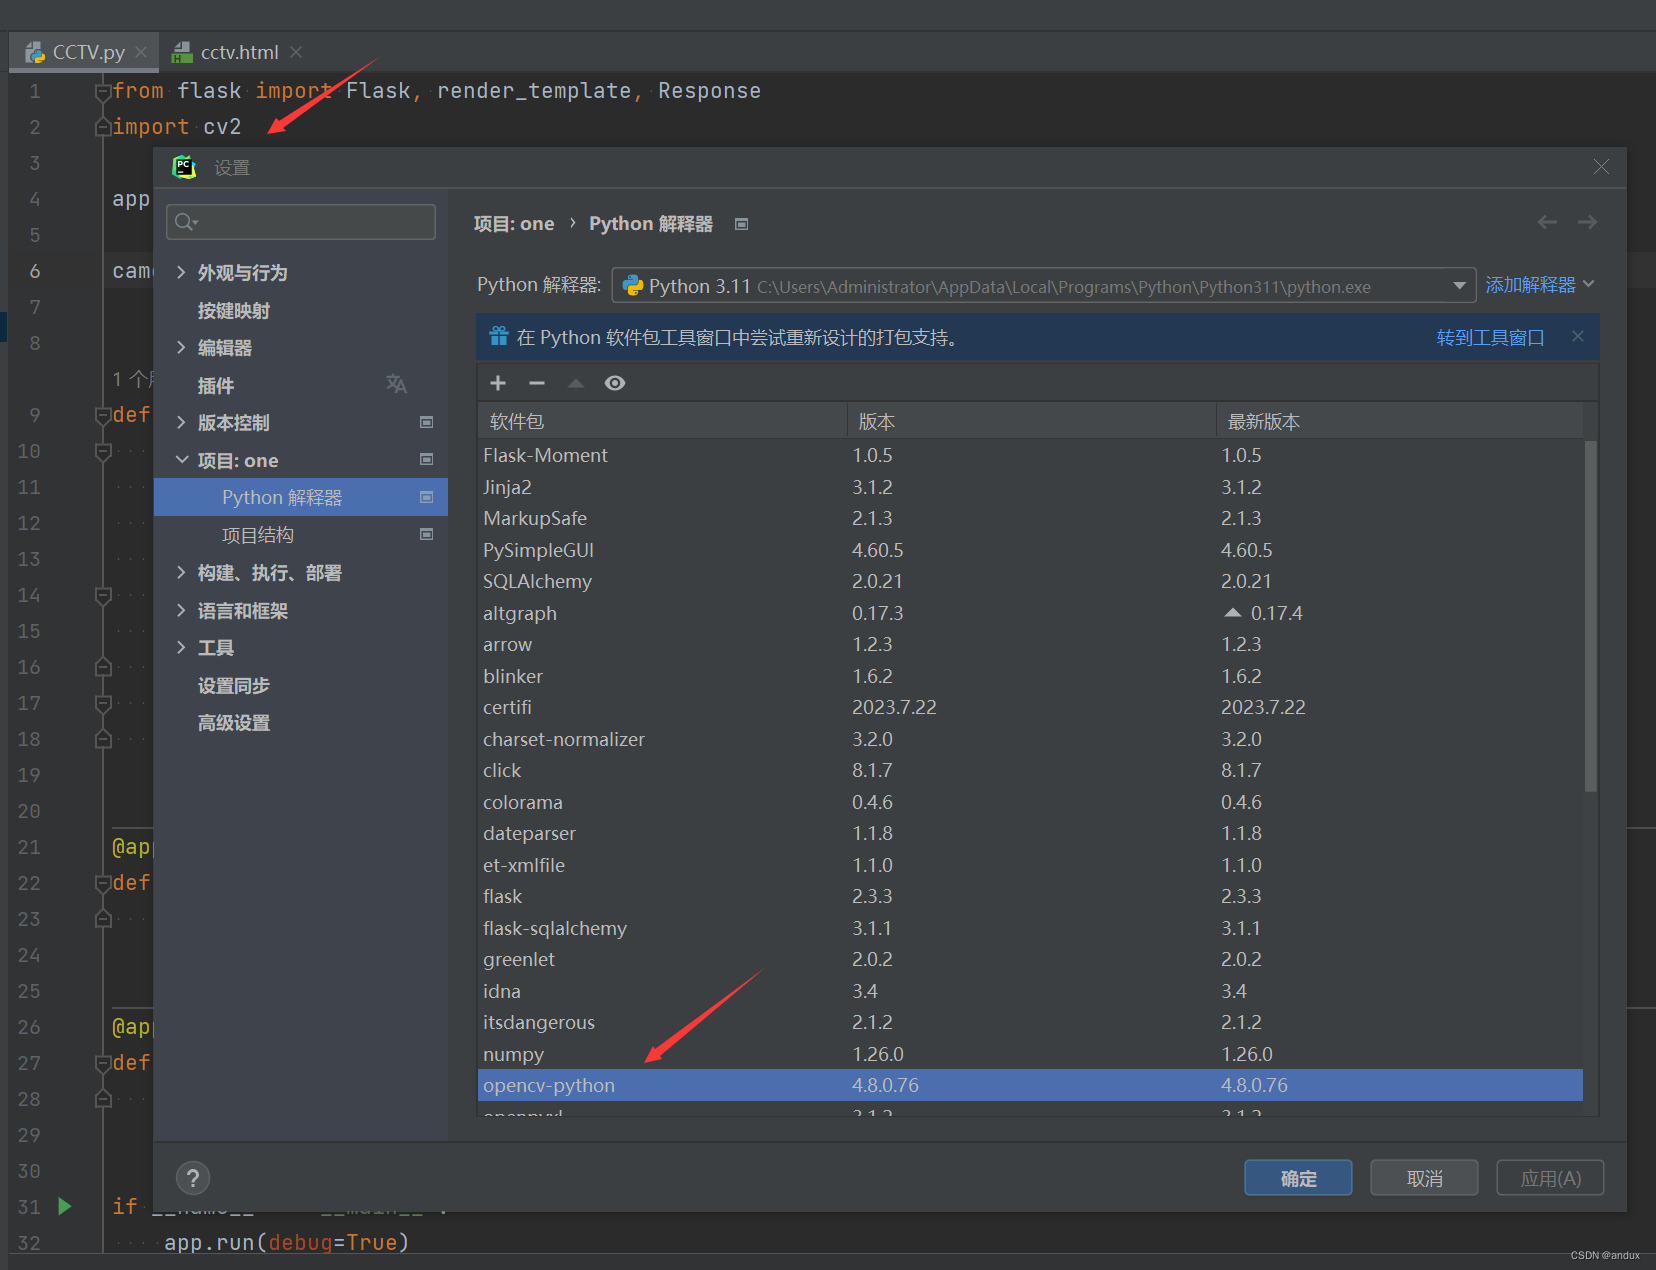
还有opencv-python这个包,引用的时候竟然是import cv2,不按套路出牌啊!


 417
417


 被折叠的 条评论
为什么被折叠?
被折叠的 条评论
为什么被折叠?
 到【灌水乐园】发言


