


欢迎光临我的博客查看最新文章: https://river106.cn
1、简介
Spring Boot Admin是一个开源社区项目,用于管理和监控SpringBoot应用程序。Spring Boot Admin 分为服务端(spring-boot-admin-server)和客户端(spring-boot-admin-client),服务端和客户端之间采用http进行数据交互;单体项目中需要整合spring-boot-admin-client才能让应用被监控。被监控应用的每个实例(Client)在启动时注册到Server,每个实例在Server就有一个单点。
常见的功能如下:
显示健康状况
JVM和内存指标
数据源指标
缓存指标
查看jvm系统和环境属性
查看Spring Boot配置属性
轻松的日志级别管理
与JMX-beans交互
查看http跟踪
查看http-endpoints
查看计划任务
下载heapdump......
github: https://github.com/codecentric/spring-boot-admin
2、快速入门
2.1、创建SpringBoot Admin Server
需添加依赖:
        <dependency>
            <groupId>de.codecentric</groupId>
            <artifactId>spring-boot-admin-starter-server</artifactId>
            <version>2.1.0</version>
        </dependency>
完整依赖如下:
<parent>
        <groupId>org.springframework.boot</groupId>
        <artifactId>spring-boot-starter-parent</artifactId>
        <version>2.1.0.RELEASE</version>
        <relativePath/>
    </parent>

<dependencies>
        <dependency>
            <groupId>de.codecentric</groupId>
            <artifactId>spring-boot-admin-starter-server</artifactId>
            <version>2.1.0</version>
        </dependency>
        <dependency>
            <groupId>org.springframework.boot</groupId>
            <artifactId>spring-boot-starter-web</artifactId>
        </dependency>

        <dependency>
            <groupId>org.springframework.boot</groupId>
            <artifactId>spring-boot-starter-actuator</artifactId>
        </dependency>

    </dependencies>
创建启动类,需添加@EnableAdminServer注解:
import de.codecentric.boot.admin.server.config.EnableAdminServer;
import org.springframework.boot.SpringApplication;
import org.springframework.boot.autoconfigure.SpringBootApplication;

@EnableAdminServer
@SpringBootApplication
public class AdminServerApplication {

    public static void main(String[] args) {
        SpringApplication.run(AdminServerApplication.class, args);
    }
}
新建application.yml配置文件:
server:
port: 8080
spring:
application:
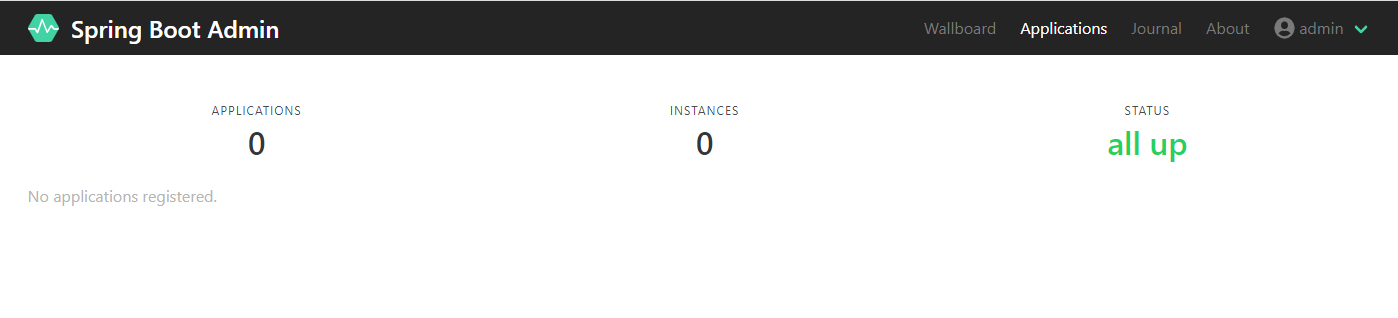
name: admin-server运行AdminServerApplication ,服务启动成功后,浏览器访问http://127.0.0.1:8080, 进入首页,没有Client接入的时候,页面如下:
2.2、创建SpringBoot Admin Client
需添加依赖:
<dependency>
            <groupId>de.codecentric</groupId>
            <artifactId>spring-boot-admin-starter-client</artifactId>
            <version>2.1.0</version>
        </dependency>
完整依赖如下:
<parent>
        <groupId>org.springframework.boot</groupId>
        <artifactId>spring-boot-starter-parent</artifactId>
        <version>2.1.0.RELEASE</version>
    </parent>

    <dependencies>
        <dependency>
            <groupId>org.springframework.boot</groupId>
            <artifactId>spring-boot-starter-web</artifactId>
        </dependency>

        <dependency>
            <groupId>de.codecentric</groupId>
            <artifactId>spring-boot-admin-starter-client</artifactId>
            <version>2.1.0</version>
        </dependency>

        <dependency>
            <groupId>org.springframework.boot</groupId>
            <artifactId>spring-boot-starter-actuator</artifactId>
        </dependency>

    </dependencies>
新建启动类:
import org.springframework.boot.SpringApplication;
import org.springframework.boot.autoconfigure.SpringBootApplication;

@SpringBootApplication
public class AdminClientApplication {

    public static void main(String[] args) {
        SpringApplication.run(AdminClientApplication.class, args);
    }
}
新建application.yml配置文件,内容如下:
server:
  port: 8081

spring:
  application:
    name: admin-client
  boot:
    admin:
      client:
        url: http://127.0.0.1:8080 # admin-server地址

management:
  endpoints:
    web:
      exposure:
        include: '*'
  endpoint:
    health:
      show-details: ALWAYS
先启动运行启动AdminServerApplication ,再启动AdminClientApplication,浏览器输入http://127.0.0.1:8080,查看Applications,结果如下:

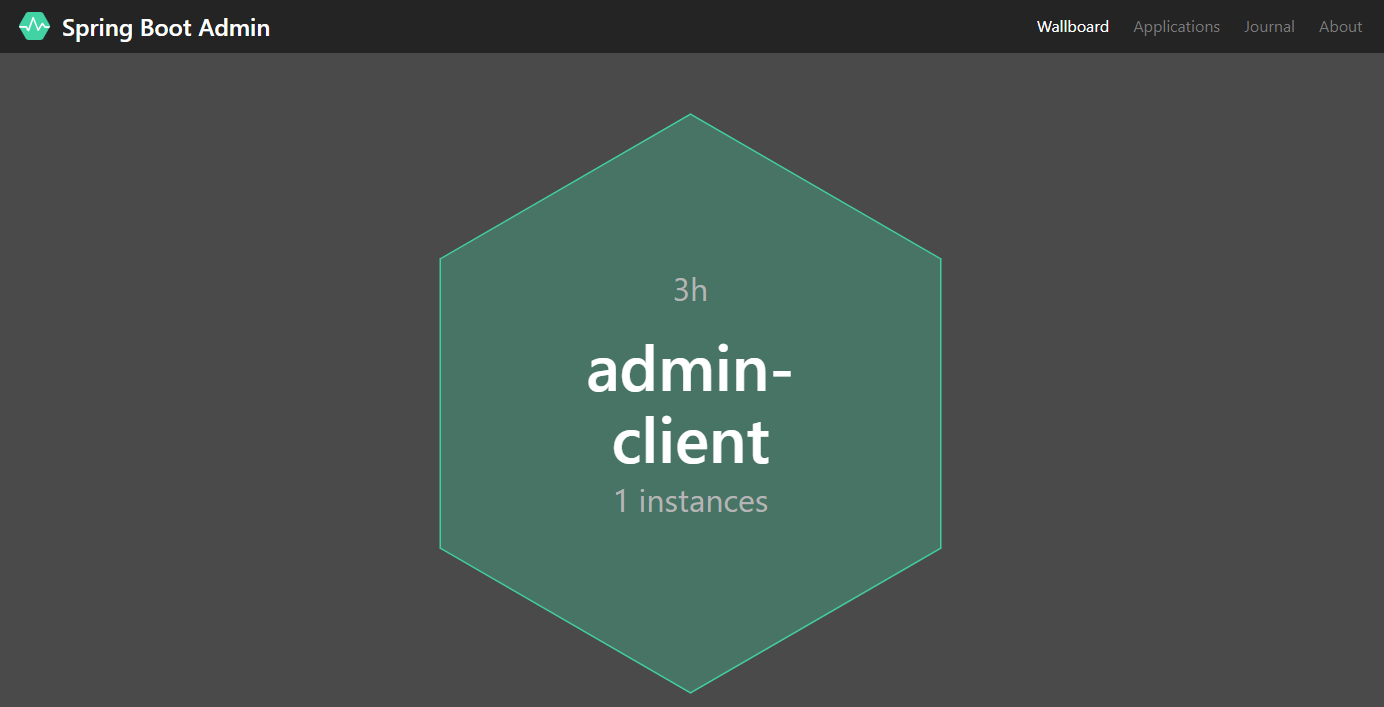
查看Wallboard:
点击admin-client,可以查看client的详情:
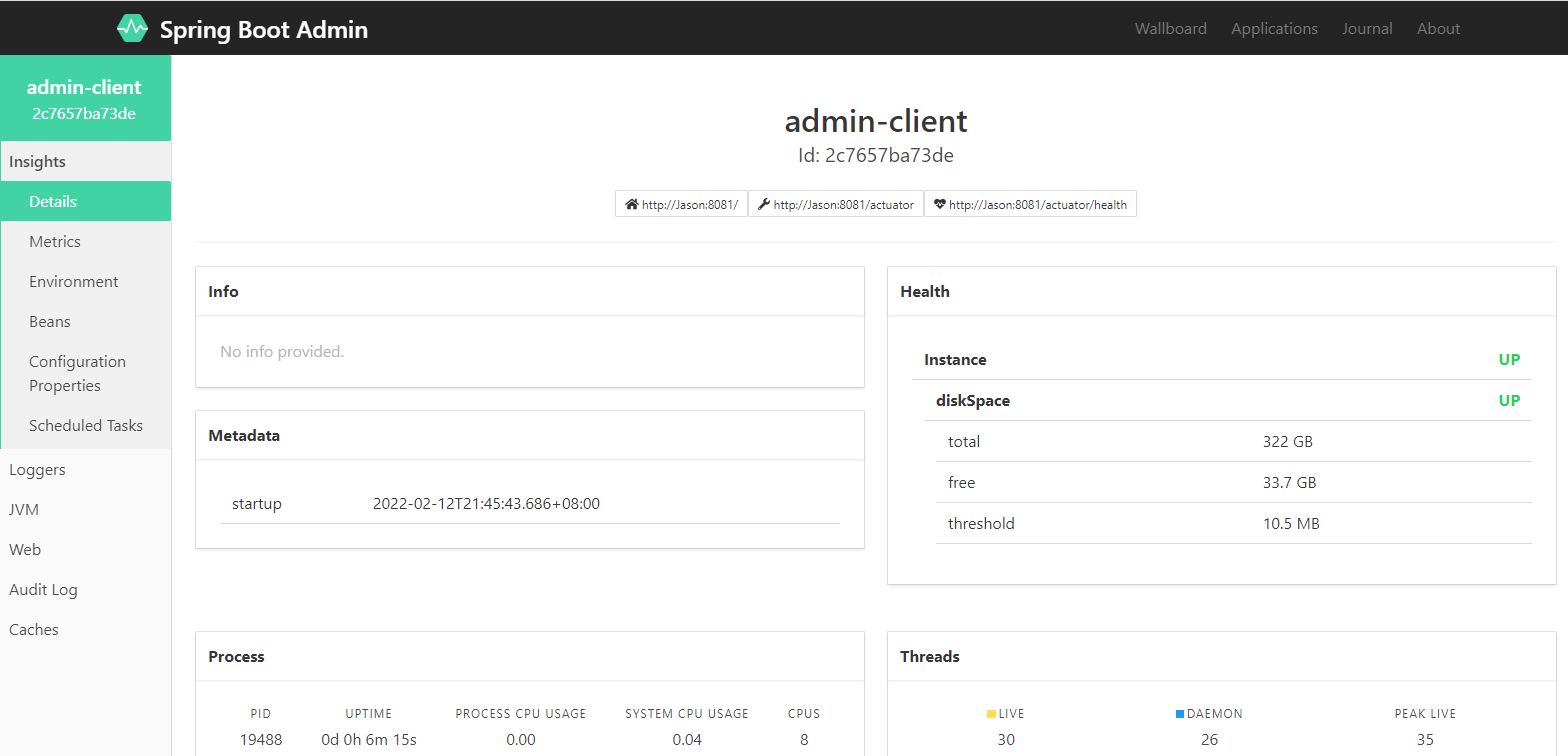
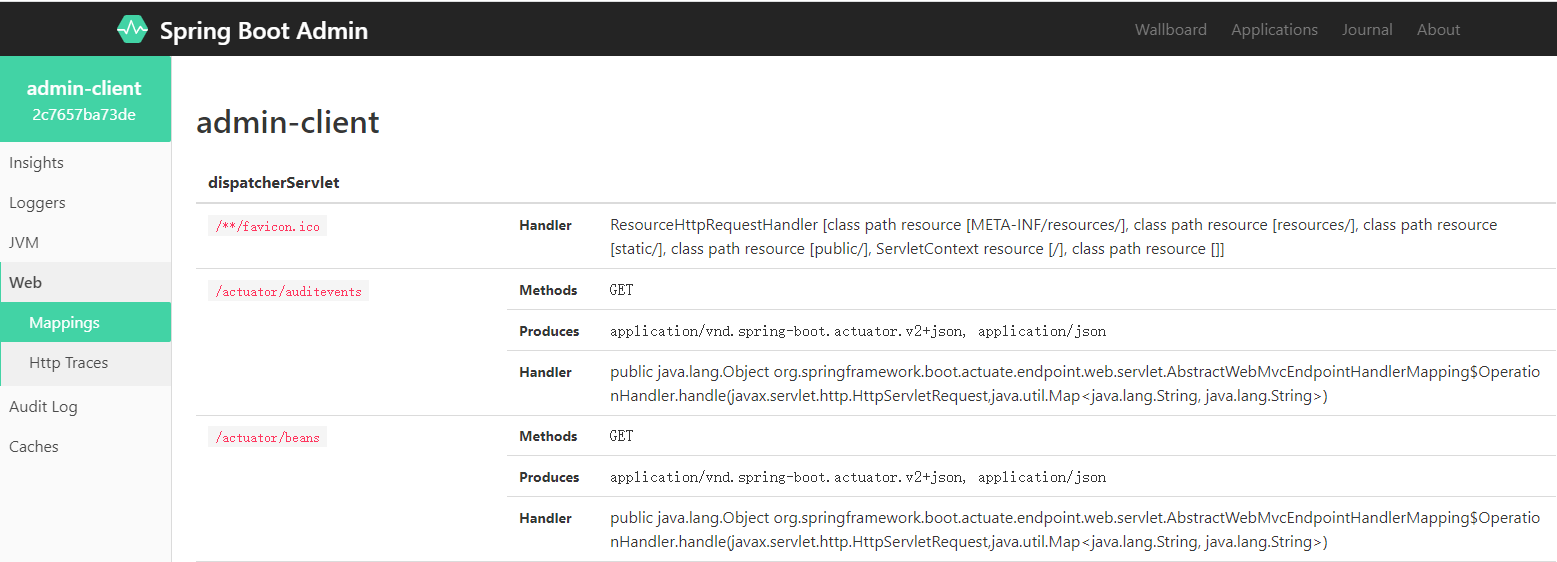
可以查看Beans、Configuration Properties、Scheduled Tasks、Loggers、JVM、Web Mapping等信息。

其他监控信息,大家可以自己尝试下,里面有个Loggers功能:
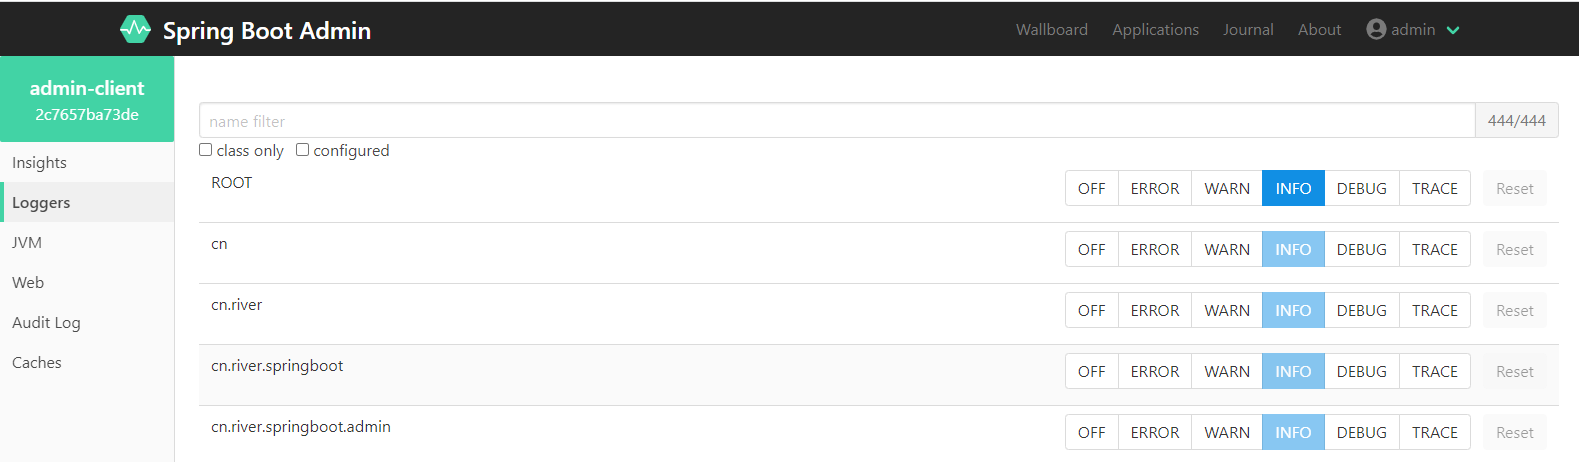
这个可以动态调整logger级别,挺Nice!
3、安全配置
上面的配置,AdminServer可直接访问,不是很安全,AdminServer可结合spring security进行登录配置。
3.1、SpringBoot Admin Server项目调整
添加如下依赖:
<dependency>
            <groupId>org.springframework.boot</groupId>
            <artifactId>spring-boot-starter-security</artifactId>
        </dependency>
application.yml改为如下:
server:
  port: 8080
spring:
  application:
    name: admin-server
  security:
    user:
      name: admin
      password: admin
添加配置类SecurityConfig:
import de.codecentric.boot.admin.server.config.AdminServerProperties;
import org.springframework.context.annotation.Configuration;
import org.springframework.security.config.annotation.web.builders.HttpSecurity;
import org.springframework.security.config.annotation.web.configuration.WebSecurityConfigurerAdapter;
import org.springframework.security.web.authentication.SavedRequestAwareAuthenticationSuccessHandler;

/**
 * SpringBoot Admin Server 安全配置
 */
@Configuration
public class SecurityConfig extends WebSecurityConfigurerAdapter {

    private final String adminContextPath;

    public SecurityConfig(AdminServerProperties adminServerProperties) {
        this.adminContextPath = adminServerProperties.getContextPath();
    }

    @Override
    protected void configure(HttpSecurity http) throws Exception {
        SavedRequestAwareAuthenticationSuccessHandler successHandler = new SavedRequestAwareAuthenticationSuccessHandler();
        successHandler.setTargetUrlParameter("redirectTo");

        http.authorizeRequests()
                .antMatchers(adminContextPath + "/assets/**").permitAll()
                .antMatchers(adminContextPath + "/login").permitAll()
                .anyRequest().authenticated()
                .and()
                .formLogin().loginPage(adminContextPath + "/login").successHandler(successHandler).and()
                .logout().logoutUrl(adminContextPath + "/logout").and()
                .httpBasic().and()
                .csrf().disable();
    }
}
重新启动AdminServer,浏览器访问http://127.0.0.1:8080,出现如下登录页:
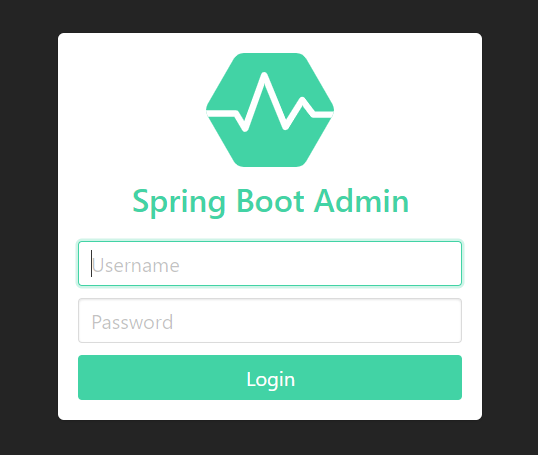
输入配置的用户名和密码即可(admin/admin)。
3.2、SpringBoot Admin Client项目调整
client端修改下配置文件:
server:
  port: 8081

spring:
  application:
    name: admin-client
  boot:
    admin:
      client:
        url: http://127.0.0.1:8080 # admin-server地址
        username: admin
        password: admin

management:
  endpoints:
    web:
      exposure:
        include: '*'
  endpoint:
    health:
      show-details: ALWAYS
重启client服务即可。
4、添加邮箱告警功能
Admin Server中加入依赖:
<dependency>
            <groupId>org.springframework.boot</groupId>
            <artifactId>spring-boot-starter-mail</artifactId>
        </dependency>
application.yml加入如下配置:
spring:
  mail:
    host: smtp.qq.com
    username: 123456@qq.com
    password: xxxxxx
    properties:
      mail:
        smtp:
          auth: true
          starttls:
            enable: true
            required: true
  boot:
    admin:
      notify:
        mail:
          from: 123456@qq.com
          to: xxxxx@163.com
关闭client服务, xxxxx@163.com邮箱会收到服务下线告警通知邮件:

当再次启动client服务时,会收到服务上线邮件通知:


 230
230


 被折叠的 条评论
为什么被折叠?
被折叠的 条评论
为什么被折叠?
 到【灌水乐园】发言


