


 本文介绍如何在IntelliJ IDEA中使用Junit进行单元测试。通过图文教程,指导安装JunitGenerator插件,自动生成测试代码,并演示运行单元测试的过程。
intelliJ IDEA 是大部分人公认最好用的 IDE,但是myeclipse毕竟做霸主做了那么多年了,网上能找到的比较系统的教程基本都是myeclipse的,所以这里写一篇intelliJ IDEA进行单元测试的详细图文教程。
intelliJ IDEA 内部已经集成了 Junit 包,所以不需要自己另外下载。
1 为什么使用Junit
这里不说过于晦涩难懂的原因,只从我们使用感受的角度来讲。
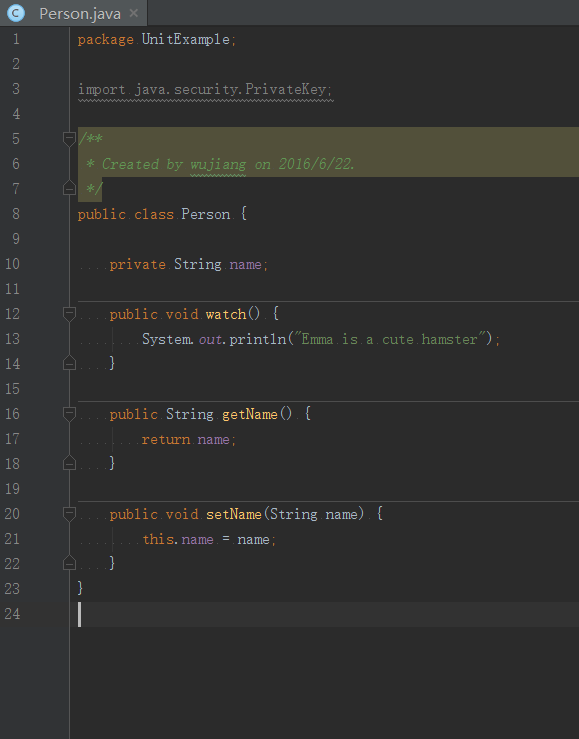
我们都知道,main 方法是一个程序的入口,通常来说,没有main方法,程序就无法运行。我们经常会写一些class文件(如下图所示),他们并没有自己的main方法。那么我们如何检测这些class写的对不对?难道每次测试一个class都要自己写一个main方法?这样显然代价太大。Junit单元测试给我们提供了这样的便捷,可以直接对没有main方法的class进行测试。
2 Junit在 intelliJ IDEA 中的使用
每次都自己写Junit的测试代码太过繁琐,intelliJ IDEA 中提供了一个非常便捷的插件: Junit Generator,可以自动生成Junit测试代码。具体安装方法是:
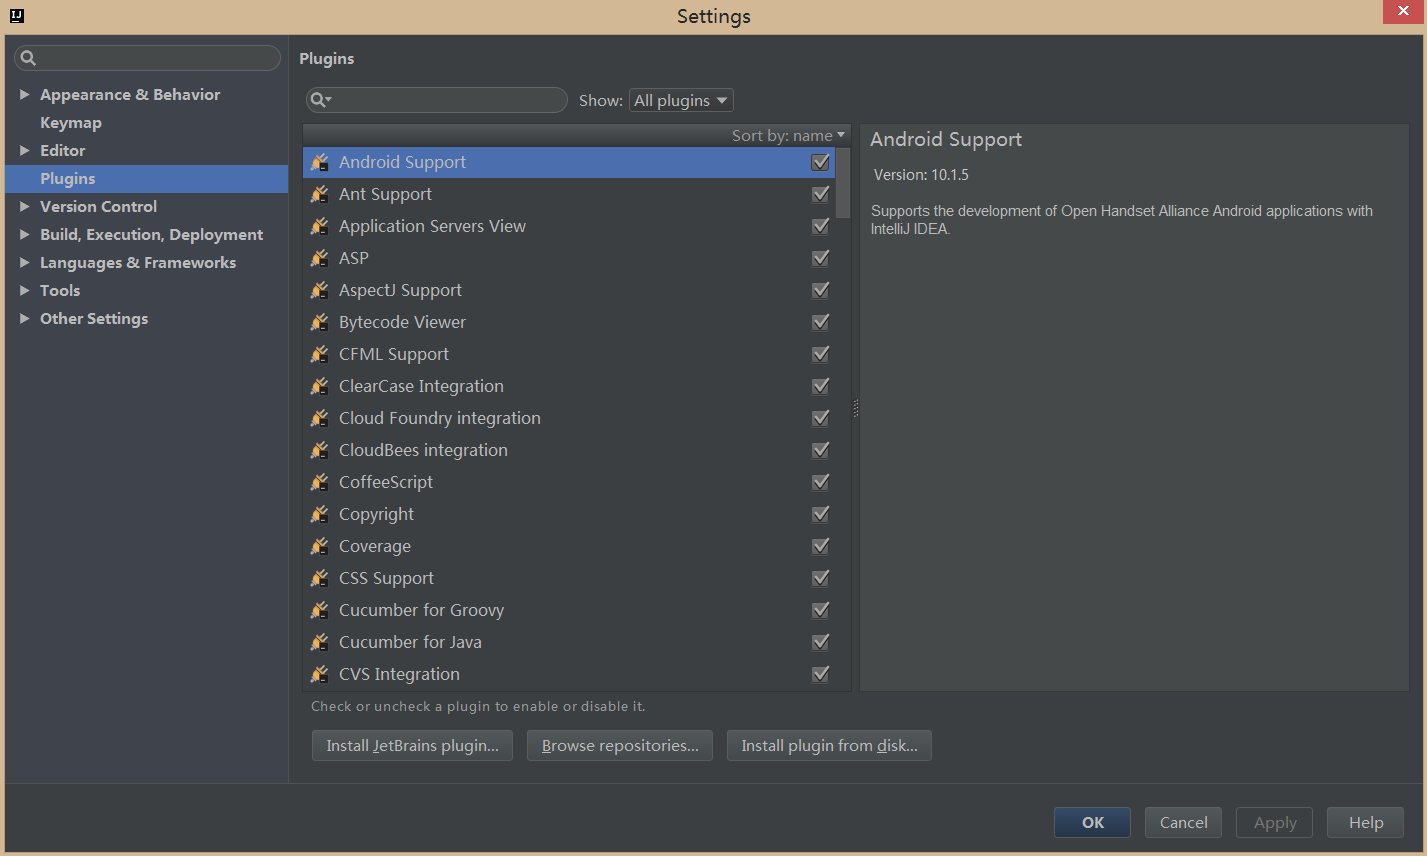
打开设置(ctrl+alt+s),找到plugins
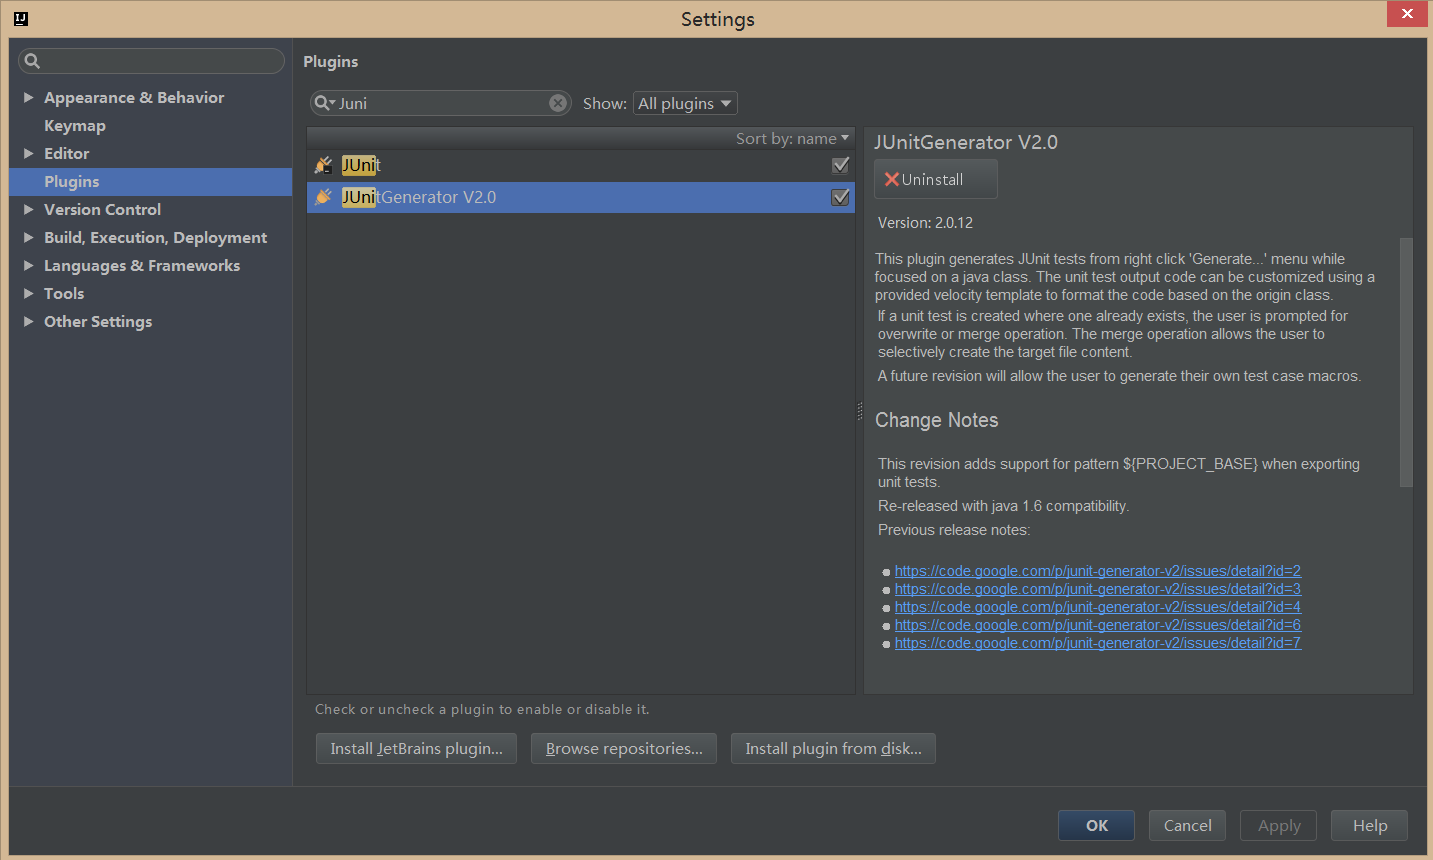
在plugins的搜索框中输入 Junit Generator V2.0, 点击安装
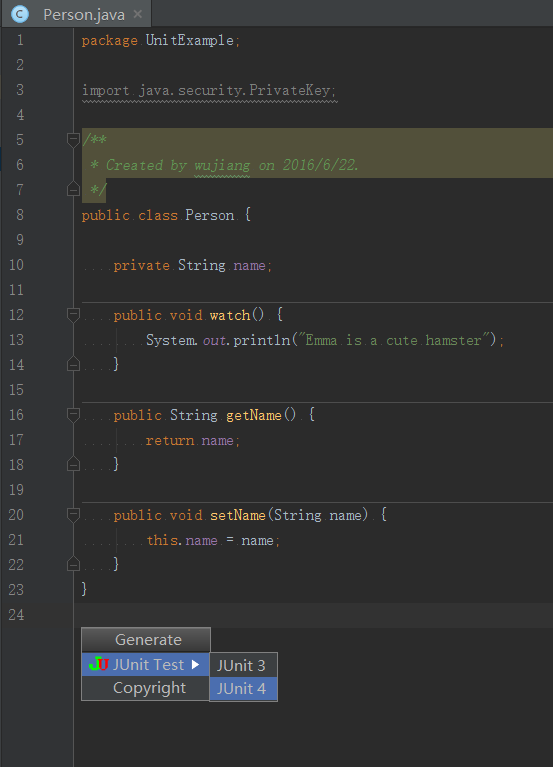
回到我们之前写的那个class文件,alt+insert,选择Junit 4
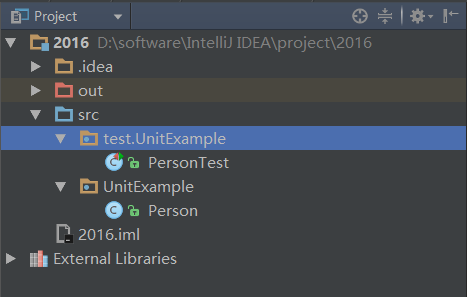
此时就会在src文件中自动产生一个测试类package(下图中的test.UnitExample),并自动生成测试class文件(下图中的PersonTest)
对于测试class中@Test是红色,无法编译的现象,很可能是没有把Junit4导入到工作路径中。不要紧,就一直alt+enter,按照提示的解决就行了,真的是神器。在每个待测试方法中写入相应的代码。最后,测试class可以编译
package test.UnitExample;

import UnitExample.Person;
import org.junit.Test;
import org.junit.Before;
import org.junit.After;

/**
* Person Tester.
*
* @author <Authors name>
* @since <pre>���� 22, 2016</pre>
* @version 1.0
*/
public class PersonTest {

@Before
public void before() throws Exception {
    System.out.println("before");
}

@After
public void after() throws Exception {
    System.out.println("after");
}

/**
*
* Method: watch()
*
*/
@Test
public void testWatch() throws Exception {
    Person person = new Person();
    person.watch();
}


/**
*
* Method: setName(String name)
*
*/
@Test
public void testSetName() throws Exception {
    Person person = new Person();
    person.setName("emma");
}
    /**
     *
     * Method: getName()
     *
     */
    @Test
    public void testGetName() throws Exception {
        Person person = new Person();
        person.setName("emma");
        System.out.println(person.getName());
    }

}
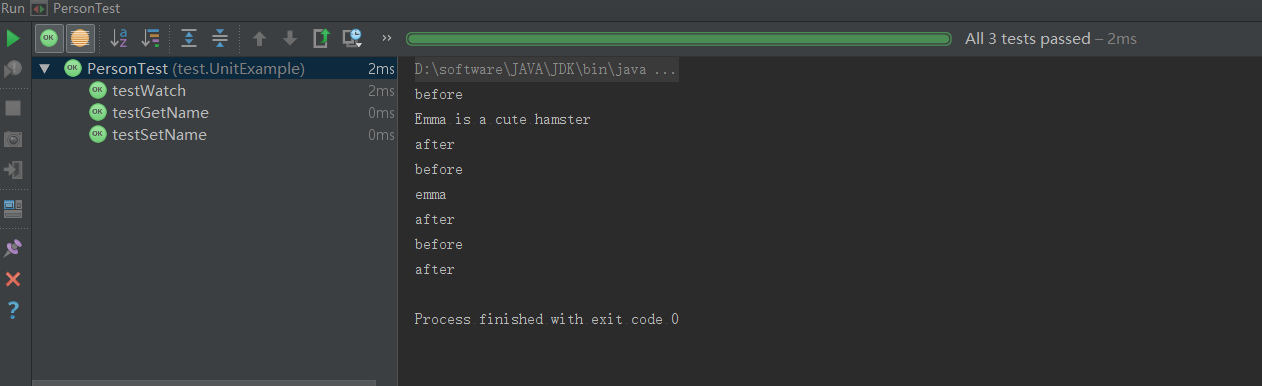
5 ctrl+shift+F10运行,出现绿条以及符合预期的结果,表明单元测试成功,原class符合要求。另外,在下图的左下方,也可以选择测试class里面某个具体的测试方法,然后同样ctrl+shift+F10运行,道理和前面一样


 2039
2039

 被折叠的 条评论
为什么被折叠?
被折叠的 条评论
为什么被折叠?
 到【灌水乐园】发言


