


title: Eureka入门介绍
date: 2021-08-31 10:36:48
1.Eureka服务注册
Spring Cloud Eureka是Spring Cloud Netflix微服务套件中的一部分,它基于Netflix Eureka做了二次封装。主要负责完成微服务架构中的服务治理功能。
在微服务规范中,通常都会构建一个(或多个)注册中心,每个微服务都会在服务中心注册自己,并且每隔一段时间都会向服务中心发送心跳以证明自己还活着。如果超过一段时间没有发送心跳那么服务中心会干掉这个服务,以达到排除故障的效果。
- Eureka服务端:
Eureka服务端,即服务注册中心。它同其他服务注册中心一样,支持高可用配置。依托于强一致性提供良好的服务实例可用性,可以应对多种不同的故障场景。
Eureka服务端支持集群模式部署,当集群中有分片发生故障的时候,Eureka会自动转入自我保护模式。它允许在分片发生故障的时候继续提供服务的发现和注册,当故障分配恢复时,集群中的其他分片会把他们的状态再次同步回来。集群中的的不同服务注册中心通过异步模式互相复制各自的状态,这也意味着在给定的时间点每个实例关于所有服务的状态可能存在不一致的现象。
- Eureka客户端
Eureka客户端,主要处理服务的注册和发现。客户端服务通过注册和参数配置的方式,嵌入在客户端应用程序的代码中。在应用程序启动时,Eureka客户端向服务注册中心注册自身提供的服务,并周期性的发送心跳来更新它的服务租约。同时,他也能从服务端查询当前注册的服务信息并把它们缓存到本地并周期行的刷新服务状态。
Eureka服务发现机制包含三个角色:注册中心、服务提供者(生产者)、消费者,三者的关系如图所示:

通过这种发现机制,消费者在调用服务时后台不用再通过传统的网页url来访问对应的服务,而是按照服务在注册中心所注册的服务名来调用。服务调用方通过服务名从服务注册中心的服务清单中获取服务实例的列表清单,通过指定的负载均衡策略取出一个服务实例位置来进行服务调用。
2.启动单机Eureka服务
- 创建Eureka Server服务需要先导入以下依赖
<!--我的父工程pom中设置了版本号,所以这里导入依赖时我没有设置版本-->
<dependency>
    <groupId>org.springframework.cloud</groupId>
    <artifactId>spring-cloud-starter-netflix-eureka-server</artifactId>
</dependency>
<dependency>
    <groupId>org.springframework.boot</groupId>
    <artifactId>spring-boot-starter-actuator</artifactId>
</dependency>
<dependency>
    <groupId>org.springframework.boot</groupId>
    <artifactId>spring-boot-starter-web</artifactId>
</dependency>
- 在application.yml中添加如下配置
server:
  port: 7002#设置Eureka端口

eureka:
  instance:
    hostname: localhost #eureka服务端的实例名称
  client:
    register-with-eureka: false   #false表示不向注册中心注册自己
    fetch-registry: false #false表示自己端就是注册中心,我的职责就是维护实例,并不需要去检索服务
    service-url:
      #设置与Eureka Server交互的地址查询服务和注册服务都需要依赖这个地址
      defaultZone: http://${eureka.instance.hostname}:${server.port}/eureka/
- 最后在springboot主启动类添加注解 @EnableEurekaServer
import org.springframework.boot.SpringApplication;
import org.springframework.boot.autoconfigure.SpringBootApplication;
import org.springframework.cloud.netflix.eureka.server.EnableEurekaServer;

@SpringBootApplication
@EnableEurekaServer
public class EurekaServerApplication {
    public static void main(String[] args) {
        SpringApplication.run(EurekaServerApplication.class, args);
    }
}
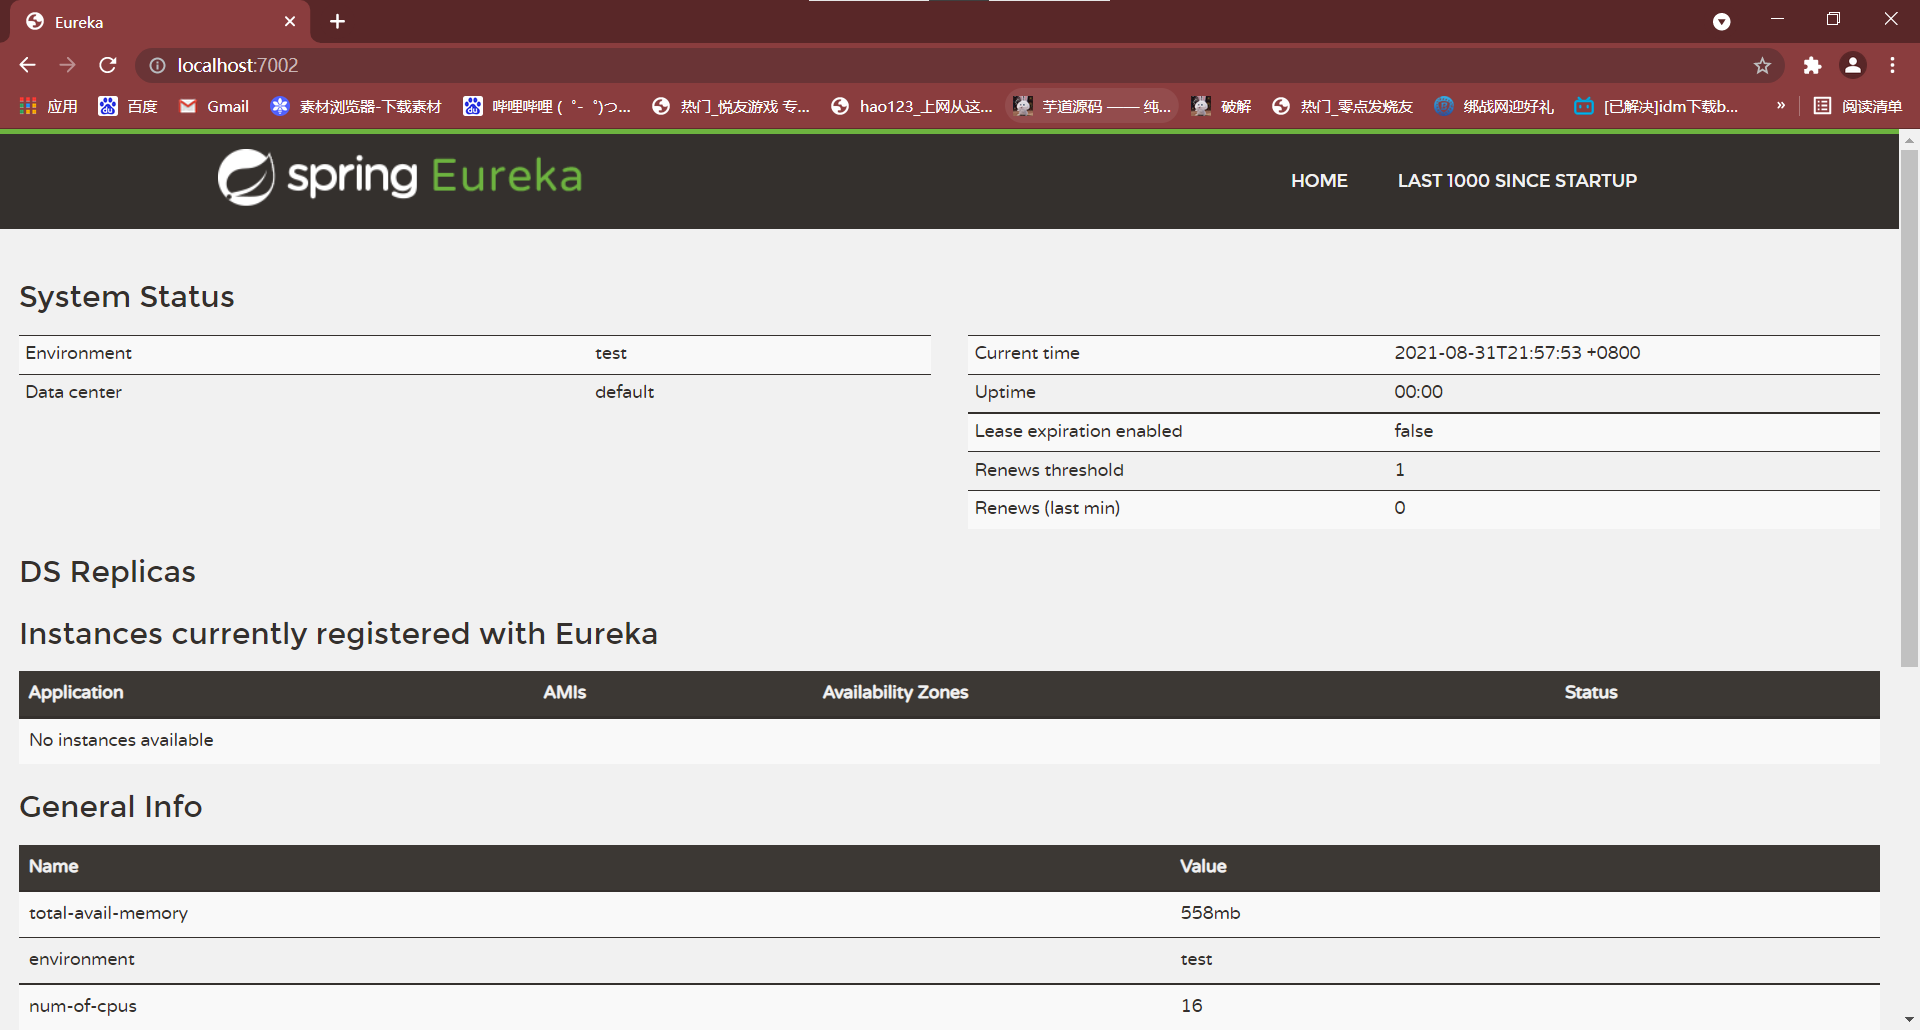
- 最后启动这个微服务,在浏览器输入对应的实例地址进行测试,如果在浏览器输入地址出现以下界面则表示成功搭建起Eureka服务注册中心
3.将微服务注册进注册中心
- 依赖准备
<dependency>
    <groupId>org.springframework.cloud</groupId>
    <artifactId>spring-cloud-starter-netflix-eureka-client</artifactId>
</dependency>
<dependency>
    <groupId>org.springframework.boot</groupId>
    <artifactId>spring-boot-starter-web</artifactId>
</dependency>
<dependency>
    <groupId>org.springframework.boot</groupId>
    <artifactId>spring-boot-starter-actuator</artifactId>
</dependency>
- 在application.yml中添加如下配置
spring:
  application:
    name: cloud-payment-service

eureka:
  client:
    register-with-eureka: true #表示是否将自己注册进Eureka,默认为true
    fetchRegistry: true #是否从EurekaServer抓取已有的注册信息,默认为true
    service-url:
      defaultZone: http://localhost:7002/eureka/ #向服务注册中心注册自己
  instance:
    instance-id: ${spring.application.name}:${server.port} #更改主机实例ID名
    prefer-ip-address: true #鼠标悬停时显示主机ip地址
- 在springboot主启动类上添加注解 @EnableEurekaClient
import org.springframework.boot.SpringApplication;
import org.springframework.boot.autoconfigure.SpringBootApplication;
import org.springframework.cloud.netflix.eureka.EnableEurekaClient;

@SpringBootApplication
@EnableEurekaClient
public class OrderApplication {
    public static void main(String[] args) {
        SpringApplication.run(OrderApplication.class, args);
    }
}
- 先启动Eureka Server,再启动这个实例,输入Eureka server的实例地址,出现如下界面:

在instance界面看到如下实例,证明该服务成功在Eureka注册
3.搭建Eureka Server集群
- 首先在本地host文件添加如下域名解析:
127.0.0.1	eureka7001.com
127.0.0.1	eureka7002.com
- 再修改之前的Eureka Server的yml文件
eureka:
  instance:
    hostname: eureka7002.com #eureka服务端的实例名称
  client:
    register-with-eureka: false   #false表示不向注册中心注册自己
    fetch-registry: false #false表示自己端就是注册中心,我的职责就是维护实例,并不需要去检索服务
    service-url:
      #设置与Eureka Server交互的地址查询服务和注册服务都需要依赖这个地址
      defaultZone: http://eureka7001.com:7001/eureka/ #向另外的服务注册中心互相注册
- 然后参照之前的Eureka Server在idea中新建一个Server模块,application.yml文件修改如下:
server:
  port: 7001

eureka:
  instance:
    hostname: eureka7001.com #eureka服务端的实例名称
  client:
    register-with-eureka: false   #false表示不向注册中心注册自己
    fetch-registry: false #false表示自己端就是注册中心,我的职责就是维护实例,并不需要去检索服务
    service-url:
      #设置与Eureka Server交互的地址查询服务和注册服务都需要依赖这个地址
      defaultZone: http://eureka7002.com:7002/eureka/
- 启动两个Eureka服务
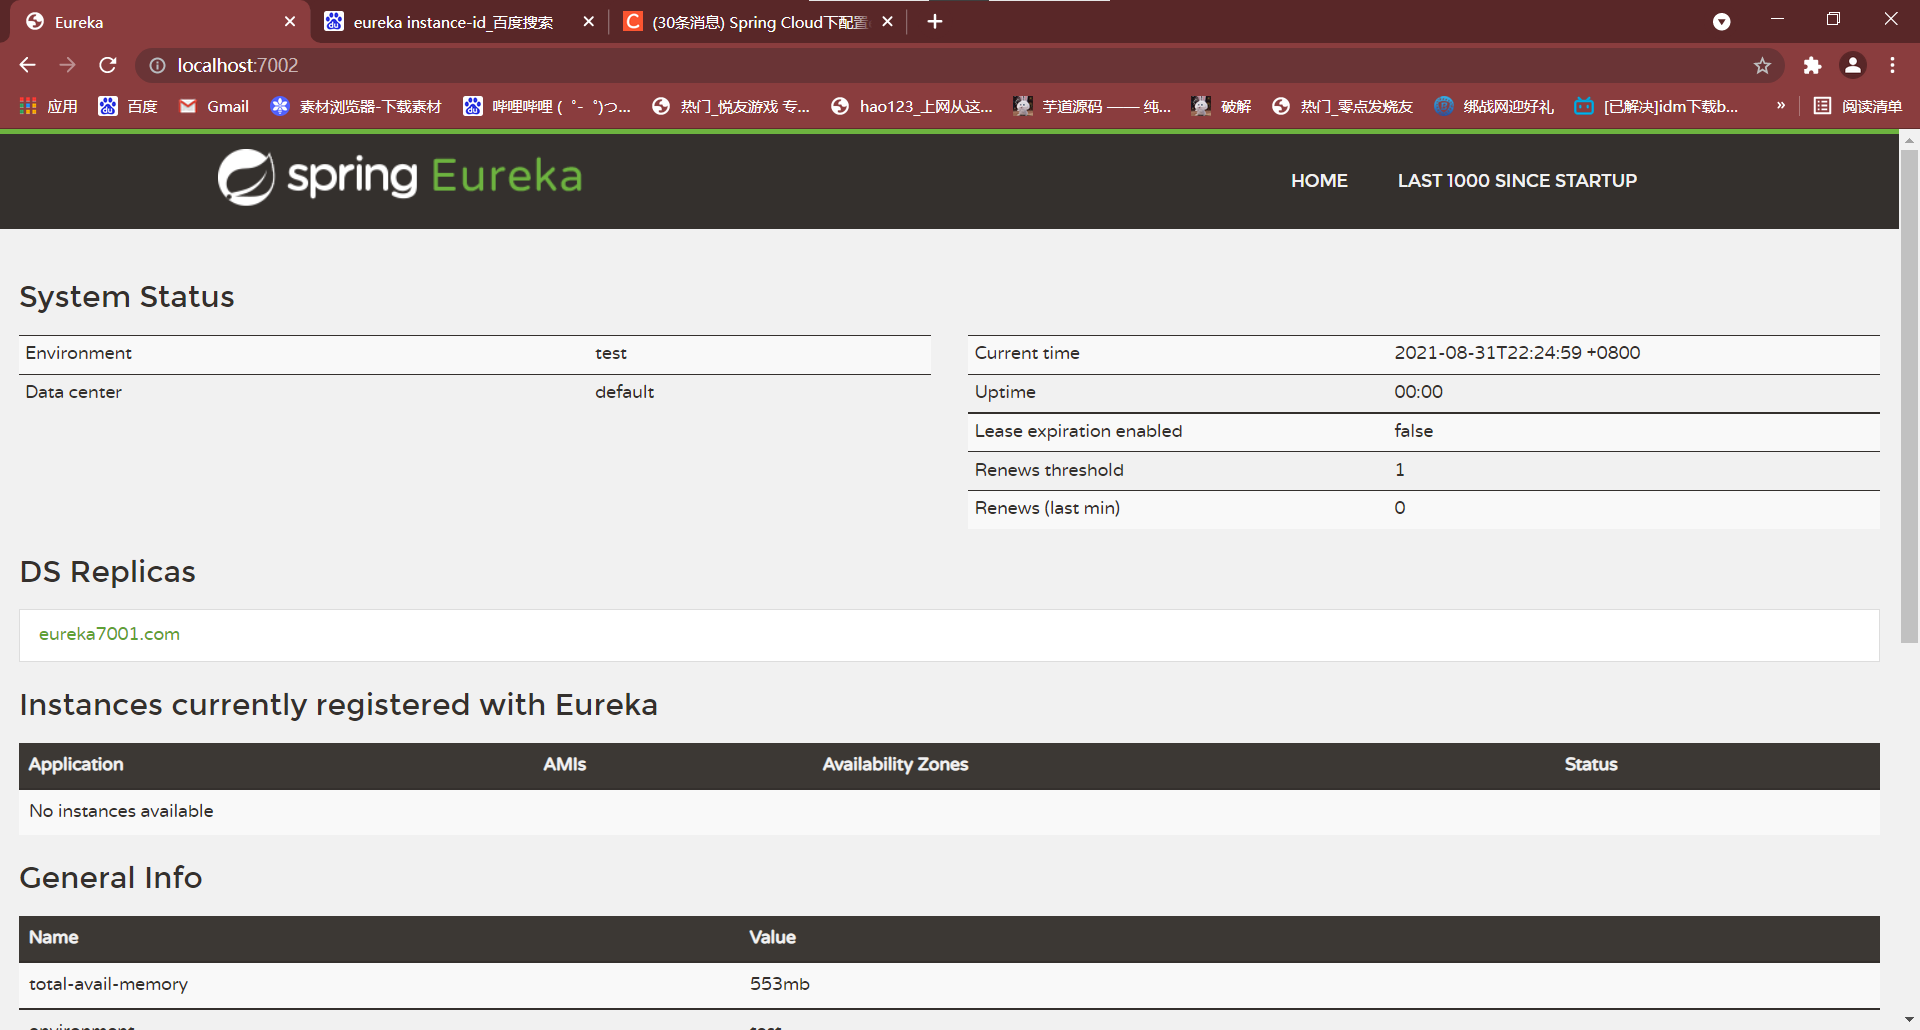
如图,在DS Replicas中出现另一个服务注册中心,这样做的好处是即便某一个服务注册中心挂掉了也不用担心其他服务挂掉。
4.搭建服务集群
注册中心有集群,那么为了避免某一个服务挂掉,通常也会对服务设置集群
- 将之前的服务模块重新再复制一份,修改application.yml文件
eureka:
  client:
    register-with-eureka: true #表示是否将自己注册进Eureka,默认为true
    fetchRegistry: true #是否从EurekaServer抓取已有的注册信息,默认为true
    service-url:
      defaultZone: http://eureka7001.com:7001/eureka,http://eureka7002.com:7002/eureka
  instance:
    instance-id: ${spring.application.name}:${server.port}
    prefer-ip-address: true
- 先启动Eureka Server,再启动微服务,可观察到如下结果

5.配置默认轮询策略
- 微服务在注册中心注册后,消费者调用微服务时就不再是传统的通过URL来调用,而是通过服务名称来调用。
import com.cloud.common.entities.CommonResult;
import com.cloud.common.entities.Payment;
import lombok.extern.slf4j.Slf4j;
import org.springframework.web.bind.annotation.GetMapping;
import org.springframework.web.bind.annotation.PathVariable;
import org.springframework.web.bind.annotation.RequestBody;
import org.springframework.web.bind.annotation.RestController;
import org.springframework.web.client.RestTemplate;

import javax.annotation.Resource;

@RestController
@Slf4j
public class OrderController {

    public static final String PAYMENT_URL = "http://CLOUD-PAYMENT-SERVICE";

    @Resource
    private RestTemplate restTemplate;

    @GetMapping("/consumer/payment/create")
    public CommonResult<Payment> create(@RequestBody Payment payment) {
        return restTemplate.postForObject(PAYMENT_URL + "/payment/create", payment, CommonResult.class);
    }

    @GetMapping("/consumer/payment/get/{id}")
    public CommonResult<Payment> getPayment(@PathVariable("id") Long id) {
        return restTemplate.getForObject(PAYMENT_URL + "/payment/get/" + id, CommonResult.class);
    }
}
- 当服务是集群的时候,消费者调用微服务时会通过一定的规则调用各个不同的服务(负载均衡),如下是配置默认轮询策略.在注入RestTemplate时添加上 @LoadBalanced注解
import org.springframework.cloud.client.loadbalancer.LoadBalanced;
import org.springframework.context.annotation.Bean;
import org.springframework.context.annotation.Configuration;
import org.springframework.web.client.RestTemplate;

@Configuration
public class ApplicationContextConfig {

    @LoadBalanced
    @Bean
    public RestTemplate getRestTemplate() {
        return new RestTemplate();
    }

}


 1352
1352


 被折叠的 条评论
为什么被折叠?
被折叠的 条评论
为什么被折叠?
 到【灌水乐园】发言


