


黑名单配置
- 黑名单就是那些被禁止访问的URL
- 创建自定义过滤器 BlackListUrlFilter,并配置黑名单地址列表blacklistUrl
- 如果有其他需求,还可以实现自定义规则的过滤器来满足特定的过滤要求
/**
 * 黑名单过滤器
 *
 * @author canghe
 */
@Component
public class BlackListUrlFilter extends AbstractGatewayFilterFactory<BlackListUrlFilter.Config>
{
    @Override
    public GatewayFilter apply(Config config)
    {
        return (exchange, chain) -> {

            String url = exchange.getRequest().getURI().getPath();
            if (config.matchBlacklist(url))
            {
                return ServletUtils.webFluxResponseWriter(exchange.getResponse(), "请求地址不允许访问");
            }

            return chain.filter(exchange);
        };
    }

    public BlackListUrlFilter()
    {
        super(Config.class);
    }

    public static class Config
    {
        private List<String> blacklistUrl;

        private List<Pattern> blacklistUrlPattern = new ArrayList<>();

        public boolean matchBlacklist(String url)
        {
            return !blacklistUrlPattern.isEmpty() && blacklistUrlPattern.stream().anyMatch(p -> p.matcher(url).find());
        }

        public List<String> getBlacklistUrl()
        {
            return blacklistUrl;
        }

        public void setBlacklistUrl(List<String> blacklistUrl)
        {
            this.blacklistUrl = blacklistUrl;
            this.blacklistUrlPattern.clear();
            this.blacklistUrl.forEach(url -> {
                this.blacklistUrlPattern.add(Pattern.compile(url.replaceAll("\\*\\*", "(.*?)"), Pattern.CASE_INSENSITIVE));
            });
        }
    }

}
- 在Nacos的
pmhub-gateway-dev.yml中配置需要拉黑的请求路径

- **拦截之后结果如下 : **

白名单配置
- 白名单就是允许访问的地址。且无需登录就能访问
- 比如登录、注册接口,以及其他的不需要网关做鉴权的接口
- 在全局过滤器
**AuthFilter**第一步就校验是否为白名单
```java // 跳过不需要验证的路径 if (StringUtils.matches(url, ignoreWhite.getWhites())) { return chain.filter(exchange); } ``` 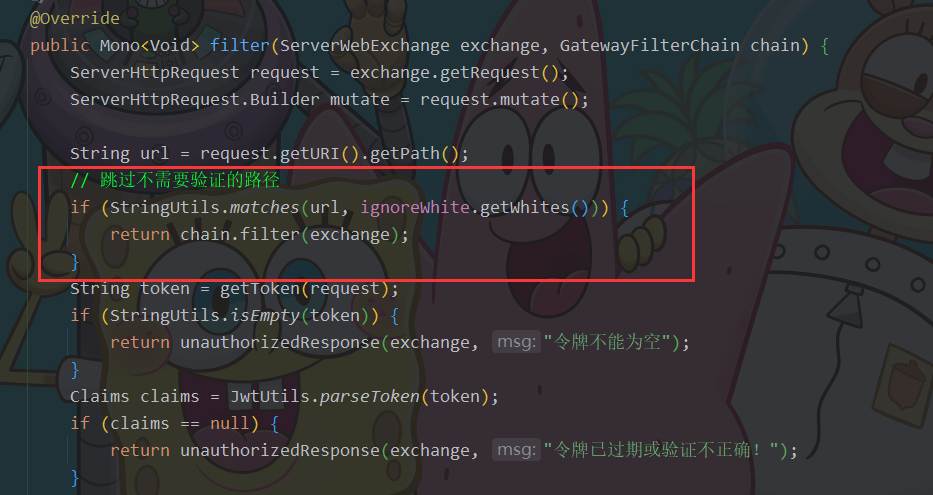
- **在 **
**ignore**中设置**whites**,表示允许匿名访问

统计接口调用耗时
- 在全局过滤器处理完其他操作之后再记录时间
- 全局过滤器: 1.白名单过滤 2.Token鉴权 3.设置用户信息到请求 4. 接口调用耗时

- 计算接口调用总耗时
return chain.filter(exchange).then(Mono.fromRunnable(()->{
    Long beginVisitTime = exchange.getAttribute(BEGIN_VISIT_TIME);
    if (beginVisitTime != null){
        log.info("访问接口主机: " + exchange.getRequest().getURI().getHost());
        log.info("访问接口端口: " + exchange.getRequest().getURI().getPort());
        log.info("访问接口URL: " + exchange.getRequest().getURI().getPath());
        log.info("访问接口URL参数: " + exchange.getRequest().getURI().getRawQuery());
        log.info("访问接口时长: " + (System.currentTimeMillis() - beginVisitTime) + "ms");
        log.info("我是美丽分割线: ###################################################");
        System.out.println();
    }
}));
- 感觉还是自带的计时工具好用一些, 不过不支持异步
/**
 * 统计耗时工具类, 这个只支持同步的耗时打印,不支持异步的场景
 *
 * @author YiHui
 * @date 2023/11/10
 */
public class StopWatchUtil {
    private StopWatch stopWatch;

    private StopWatchUtil(String task) {
        stopWatch = task == null ? new StopWatch() : new StopWatch(task);
    }

    /**
     * 初始化
     *
     * @param task
     * @return
     */
    public static StopWatchUtil init(String... task) {
        return new StopWatchUtil(task.length > 0 ? task[0] : null);
    }

    /**
     * 同步耗时计时
     *
     * @param task 任务名
     * @param call 执行业务逻辑
     * @param <T>  返回类型
     * @return 返回结果
     */
    public <T> T record(String task, Callable<T> call) {
        stopWatch.start(task);
        try {
            return call.call();
        } catch (Exception e) {
            throw new RuntimeException(e);
        } finally {
            stopWatch.stop();
        }
    }

    /**
     * 同步耗时计时
     *
     * @param task 任务名
     * @param run  执行业务逻辑
     */
    public void record(String task, Runnable run) {
        stopWatch.start(task);
        try {
            run.run();
        } finally {
            stopWatch.stop();
        }
    }


    /**
     * 计时信息输出
     *
     * @return
     */
    public String prettyPrint() {
        return stopWatch.prettyPrint();
    }
}
- 下面是一个使用
**StopWatchUtil**的例子 - 先初始化
**StopWatchUtil stopWatchUtil = StopWatchUtil.init("图片上传");** - 再stopWatchUtil.record(“流转字节”, () -> StreamUtils.copyToByteArray(finalInput));
- 最后
**log.info("图片上传耗时: {}", stopWatchUtil.prettyPrint());**
@Override
    public String upload(InputStream input, String fileType) {
        // 记录耗时分布
        StopWatchUtil stopWatchUtil = StopWatchUtil.init("图片上传");
        try {
            if (fileType == null) {
                // 根据魔数判断文件类型
                InputStream finalInput = input;
                byte[] bytes = stopWatchUtil.record("流转字节", () -> StreamUtils.copyToByteArray(finalInput));
                input = new ByteArrayInputStream(bytes);
                fileType = getFileType((ByteArrayInputStream) input, fileType);
            }

            String path = imageProperties.getAbsTmpPath() + imageProperties.getWebImgPath();
            String fileName = genTmpFileName();

            InputStream finalInput = input;
            String finalFileType = fileType;
            FileWriteUtil.FileInfo file = stopWatchUtil.record("存储", () -> FileWriteUtil.saveFileByStream(finalInput, path, fileName, finalFileType));
            return imageProperties.buildImgUrl(imageProperties.getWebImgPath() + file.getFilename() + "." + file.getFileType());
        } catch (Exception e) {
            log.error("Parse img from httpRequest to BufferedImage error! e:", e);
            throw ExceptionUtil.of(StatusEnum.UPLOAD_PIC_FAILED);
        } finally {
            log.info("图片上传耗时: {}", stopWatchUtil.prettyPrint());
        }
    }


 235
235

 被折叠的 条评论
为什么被折叠?
被折叠的 条评论
为什么被折叠?
 到【灌水乐园】发言


