


版权声明:原创作品,请勿转载!
1.实验环境准备
准备3台linux服务器(ubuntu和centos均可,本文使用centos7.9),两台web和一台负载均衡服务器,均安装nginx服务
| 主机名 | IP | 软件 |
| lb01 | 10.0.0.5/24 | nginx |
| web01 | 172.16.1.7/24(内网) | nginx |
| web02 | 172.16.1.8/24(内网) | nginx |
2.配置web01
修改nginx主配置文件,并创建一个简单的访问页面
[root@web01 nginx]# vim nginx.conf
user nginx;
worker_processes auto;
error_log /var/log/nginx/error.log;
pid /run/nginx.pid;
include /usr/share/nginx/modules/*.conf;
events {
worker_connections 1024;
}
http {
log_format main '$remote_addr - $remote_user [$time_local] "$request" '
'$status $body_bytes_sent "$http_referer" '
'"$http_user_agent" "$http_x_forwarded_for"';
access_log /var/log/nginx/access.log main;
sendfile on;
tcp_nopush on;
tcp_nodelay on;
keepalive_timeout 65;
types_hash_max_size 4096;
include /etc/nginx/mime.types;
default_type application/octet-stream;
include /etc/nginx/conf.d/*.conf;
server {
listen 80;
server_name _;
root /usr/share/nginx/html;
# Load configuration files for the default server block.
include /etc/nginx/default.d/*.conf;
error_page 404 /404.html;
location = /404.html {
}
error_page 500 502 503 504 /50x.html;
location = /50x.html {
}
}
}
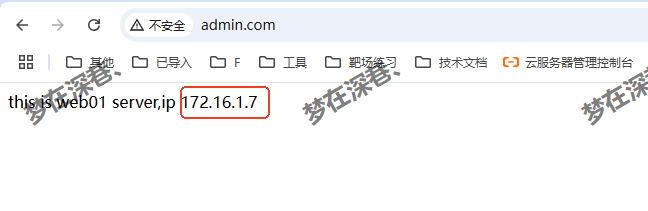
[root@web01 nginx]# echo "this is web01 server,ip 172.16.1.7" > /usr/share/nginx/html/index.html
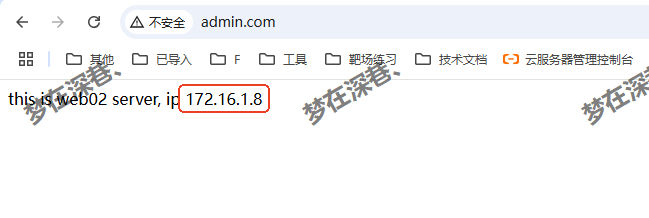
web02的配置与web01类似,不再重复写出来
3.配置lb01
nginx主配置文件不用动,只需修改子配置文件
[root@lb01 conf.d]# cat admin.conf
upstream admin {
    server 172.16.1.7;
    server 172.16.1.8;
}

server {
    listen       80;
    server_name  www.admin.com;


    location / {
        proxy_pass http://admin;
        include proxy_params;
    }
}

[root@lb01 conf.d]# cat ../proxy_params
proxy_set_header Host $http_host;
proxy_http_version 1.1;
proxy_set_header X-Forwarded-For $proxy_add_x_forwarded_for;
proxy_connect_timeout 30;
proxy_send_timeout 60;
proxy_read_timeout 60;
proxy_buffering on;
proxy_buffer_size 32k;
proxy_buffers 4 128k;
4.检测配置文件正确性并重启nginx服务
[root@web01 nginx]# nginx -t
nginx: the configuration file /etc/nginx/nginx.conf syntax is ok
nginx: configuration file /etc/nginx/nginx.conf test is successful
[root@web01 nginx]# systemctl restart nginx

[root@web02 nginx]# nginx -t
nginx: the configuration file /etc/nginx/nginx.conf syntax is ok
nginx: configuration file /etc/nginx/nginx.conf test is successful
[root@web02 nginx]# systemctl restart nginx

[root@lb01 nginx]# nginx -t
nginx: the configuration file /etc/nginx/nginx.conf syntax is ok
nginx: configuration file /etc/nginx/nginx.conf test is successful
[root@lb01 nginx]# systemctl restart nginx
5.访问测试
Windows主机修改hosts文件,添加10.0.0.5 www.admin.com
浏览器刷新访问www.admin.com
6.补充
upstream模块里面写对应的后端主机的时候根据需要可以做如下的设置
upstream webs {
server 172.16.1.7 down; web01 不参与调度 和# 注释相同
server 172.16.1.8;
}
upstream webs {
server 172.16.1.7;
server 172.16.1.8 backup;  # 其他所有服务器挂掉后 web02参数调度 类似备胎
server 172.16.1.9;
}
nginx配置负载均衡的简单演示就到这里啦~


 1886
1886

 被折叠的 条评论
为什么被折叠?
被折叠的 条评论
为什么被折叠?
 到【灌水乐园】发言


