


上传自己的lib项目到jcenter
@Author GQ 2016年07月3日

自从使用了android Stuido以后,感觉最腻害的就是gradle构建了。
虽然第一次build上相比Eclipse慢点,尤其喜欢compile 一句话导入依赖包。
比如:compile 'com.android.support:appcompat-v7:23.4.0'
让你compile自己的lib包那该多拉风呢!
我自己测试上传一个仿IOS的AlertDialog包:

compile 'com.guoqi.widget:iosdialog:0.2'原文:http://blog.csdn.net/baidu_25797177/article/details/51814035
1. 工具
1. 首先得有AndroidStuido,毕竟是谷歌的亲儿子。
2. 自己写的好一个lib项目
3. 你上传仓库还是新建个jcenter账号吧。
jcenter官网
2. 在jcenter官网拿到自己的API Key
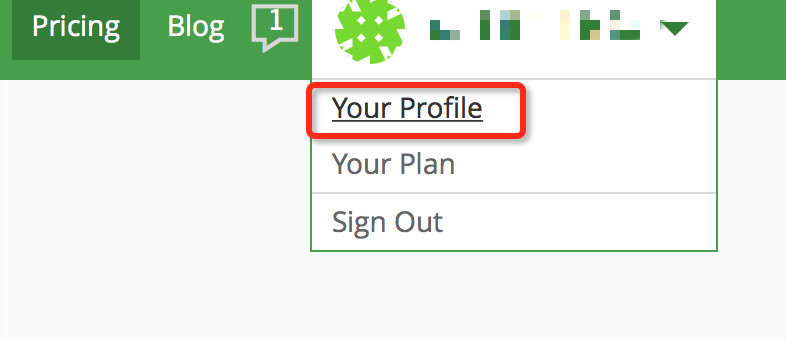
- 注册成功后,点击Your Profile进入个人页面
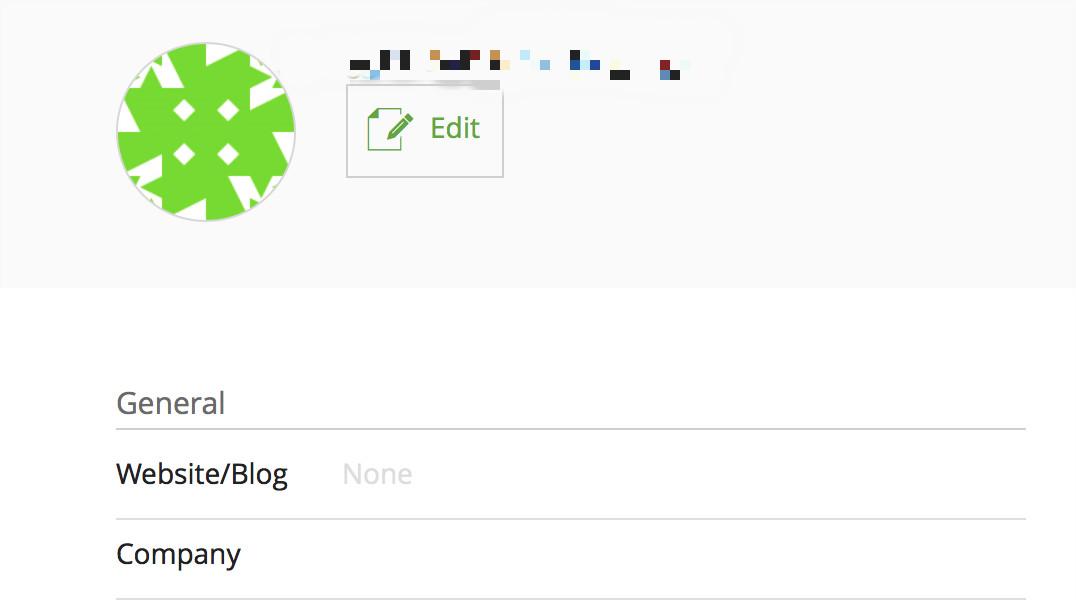
点击 Edit 进入编辑页
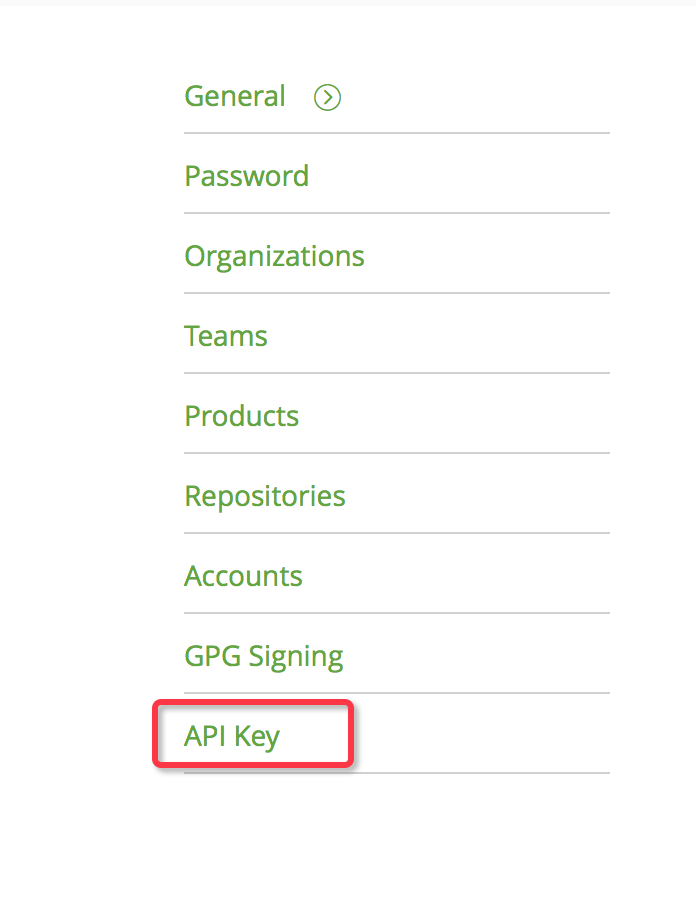
最后一项APIKey复制出来,上传项目用到
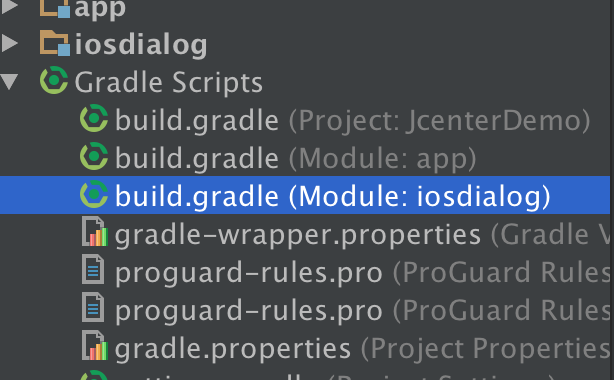
3. 回到lib项目中project:build.gralde
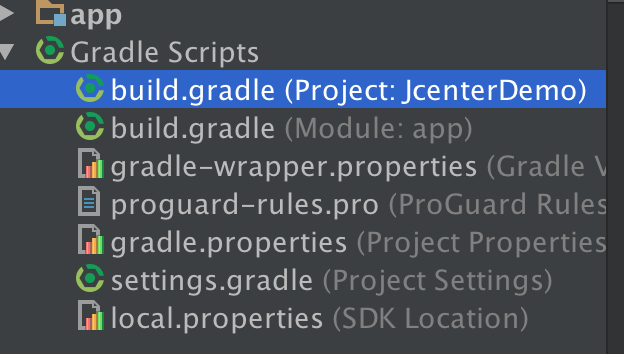
- 添加上传插件
dependencies {
        classpath 'com.android.tools.build:gradle:2.1.2'

        //添加上传插件
        classpath 'com.jfrog.bintray.gradle:gradle-bintray-plugin:1.0'
        classpath 'com.github.dcendents:android-maven-gradle-plugin:1.3'

        // NOTE: Do not place your application dependencies here; they belong
        // in the individual module build.gradle files
    }
4. 重点:lib包的build.gradle
apply plugin: 'com.android.library'

apply plugin: 'com.github.dcendents.android-maven'
apply plugin: 'com.jfrog.bintray'

//最后上传完成后的效果:
//    compile 'com.guoqi.widget:iosdialog:0.2'

group = "com.guoqi.widget"
version = "0.2"

def projectName = 'IOSDialog'                                // project name in jcenter
def projectDesc = 'IOSDialog For Android'                    // project description in jcenter
def siteUrl = 'https://github.com/openproject/IOSDialog'     // project homepage
def gitUrl = 'https://github.com/openproject/IOSDialog.git'  // project git

android {
    compileSdkVersion 23
    buildToolsVersion "23.0.3"

    defaultConfig {
        minSdkVersion 19
        targetSdkVersion 23
        versionCode 1
        versionName "1.0"
    }
    buildTypes {
        release {
            minifyEnabled false
            proguardFiles getDefaultProguardFile('proguard-android.txt'), 'proguard-rules.pro'
        }
    }
}

dependencies {
    compile fileTree(dir: 'libs', include: ['*.jar'])
    testCompile 'junit:junit:4.12'
    compile 'com.android.support:appcompat-v7:23.4.0'
}

install {
    repositories.mavenInstaller {
        // This generates POM.xml with proper parameters
        pom {
            project {
                packaging 'aar'
                name projectDesc
                url siteUrl
                licenses {
                    license {
                        name 'The Apache Software License, Version 2.0'
                        url 'http://www.apache.org/licenses/LICENSE-2.0.txt'
                    }
                }
                developers {
                    developer {        //开发者信息随便写
                        id 'guoqi'
                        name 'bagdog'
                        email 'xxx@xx.com'
                    }
                }
                scm {
                    connection gitUrl
                    developerConnection gitUrl
                    url siteUrl
                }
            }
        }
    }
}

// 这里需要把上传的账号密码存在local.properties以免泄露个人信息
Properties properties = new Properties()
properties.load(project.rootProject.file('local.properties').newDataInputStream())
bintray {
    user = properties.getProperty("bintray.user")
    key = properties.getProperty("bintray.apikey")
    configurations = ['archives']
    pkg {
        repo = "maven"
        name = projectName
        websiteUrl = siteUrl
        vcsUrl = gitUrl
        licenses = ["Apache-2.0"]
        publish = true
    }
}

task sourcesJar(type: Jar) {
    from android.sourceSets.main.java.srcDirs
    classifier = 'sources'
}

task javadoc(type: Javadoc) {
    source = android.sourceSets.main.java.srcDirs
    classpath += project.files(android.getBootClasspath().join(File.pathSeparator))
}


task javadocJar(type: Jar, dependsOn: javadoc) {
    classifier = 'javadoc'
    from javadoc.destinationDir
}

javadoc {
    options {
        encoding "UTF-8"
        charSet 'UTF-8'
        author true
        version true
        links "http://docs.oracle.com/javase/7/docs/api"
    }
}

artifacts {
    archives javadocJar
    archives sourcesJar
}
5. 重点:local.properties
在下面添加自己的账号密码
 # your bintray user name
bintray.user = xxxx

 # your bintray api key
bintray.apikey = axxxxxxxxxxxxx
6. 最后一步
- 打开android Stuido右侧的cradle
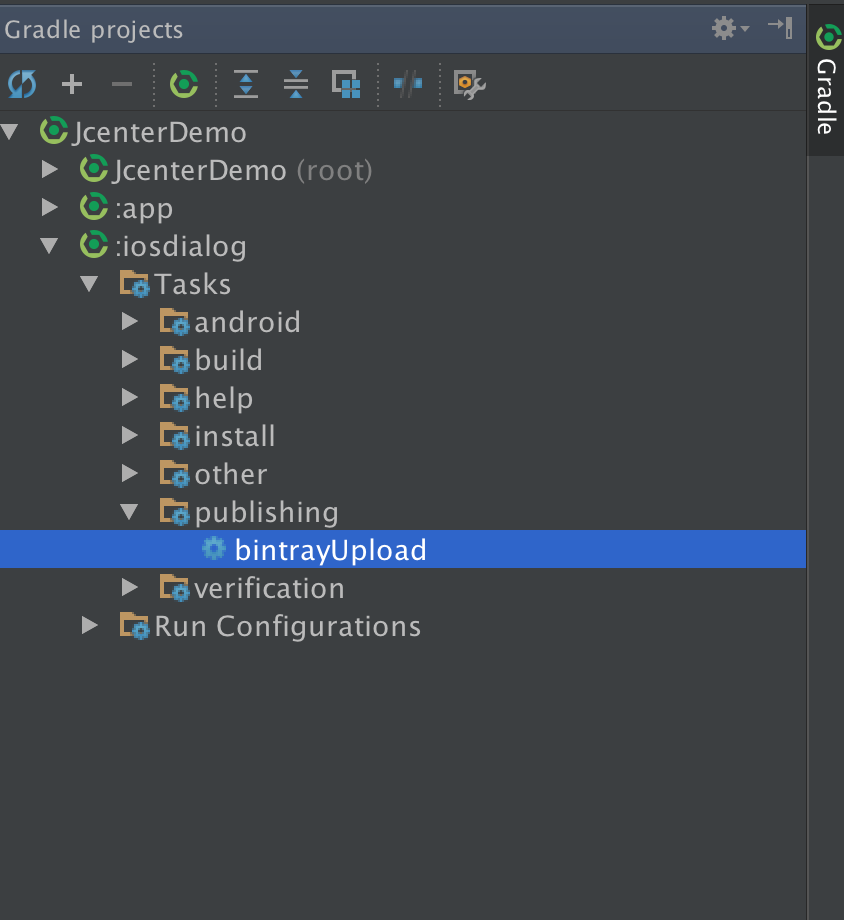
点击bintrayUpload - 执行上传
- 如果这里上传报错,请面向百度编程~
7. 在run中查看信息,success后
- 到jcenter官网首页查看maven仓库
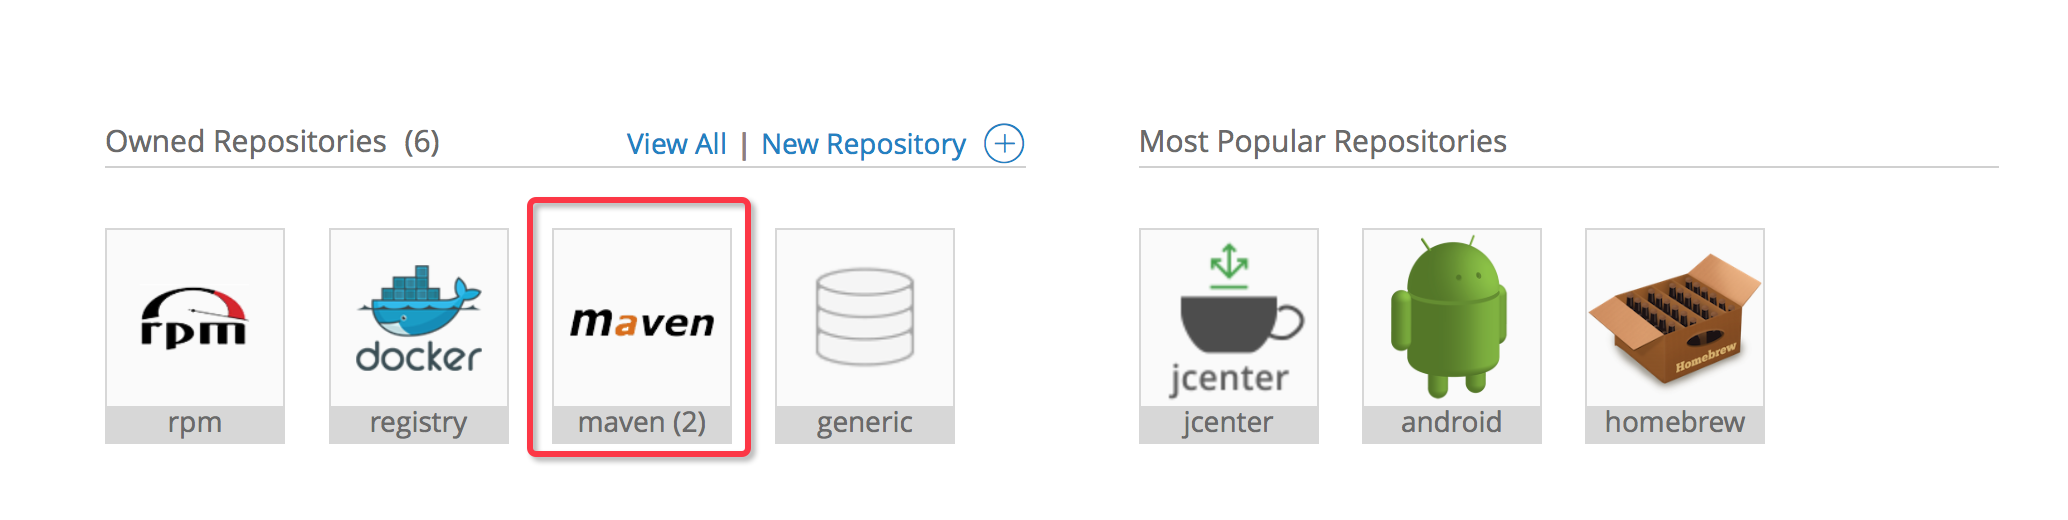
审核通过后记得点击Add to Jcenter 添加到远程
睡一觉起来发现Linked to(1)
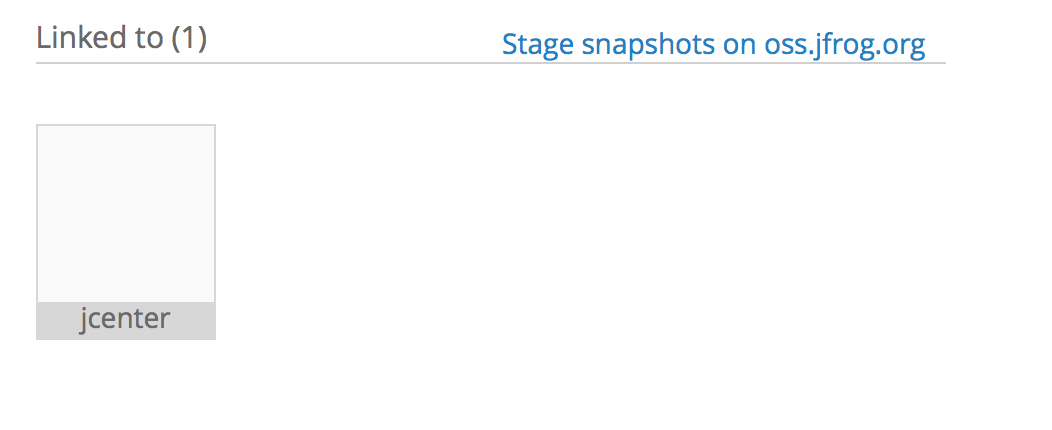
- 最后新建一个项目compile自己的那行,OK!


 177
177


 被折叠的 条评论
为什么被折叠?
被折叠的 条评论
为什么被折叠?
 到【灌水乐园】发言


