


storyboard截图:

ViewController代码:
//
//  ViewController.swift
//  TestAddChildViewController
//
//  Created by Fran on 16/2/18.
//  Copyright © 2016年 kimree. All rights reserved.
//

import UIKit

class ViewController: UIViewController {

    @IBOutlet weak var scrollMenu: UIScrollView!


    let colorArray = [UIColor.whiteColor(), UIColor.redColor(), UIColor.grayColor(), UIColor.yellowColor(), UIColor.blueColor()]
    var buttonVCMapping: [UIButton: UIViewController] = [:]
    var currentVC: UIViewController!

    override func viewDidLoad() {
        super.viewDidLoad()
        // Do any additional setup after loading the view, typically from a nib.

        // 如果不加这个 有navigationController的时候 scrollView的contentOffset会自动去变化适应
        self.automaticallyAdjustsScrollViewInsets = false

        scrollMenu.backgroundColor = UIColor.redColor()

        self.navigationController?.navigationBar.backgroundColor = UIColor.redColor()

        addScrollMenuButtons()
    }

    override func didReceiveMemoryWarning() {
        super.didReceiveMemoryWarning()
        // Dispose of any resources that can be recreated.
    }

    override func viewDidAppear(animated: Bool) {
        super.viewDidAppear(animated)
    }

    // 添加scrollView上面的button
    func addScrollMenuButtons(){
        // scrollMenu height = 50 已知

        for var i = 0; i < 5; i++ {
            let button = UIButton(type: UIButtonType.Custom)
            button.setTitle("button\(i)", forState: UIControlState.Normal)
            button.frame = CGRectMake(CGFloat(i * 100) + 10, 5, 90, 40)
            scrollMenu.addSubview(button)

            // 记录button与对应要显示的viewcontroller之间的映射
            addButtonVCMapping(button, index: i)

            // button点击事件
            button.addTarget(self, action: "menuButtonClick:", forControlEvents: UIControlEvents.TouchUpInside)
        }

        scrollMenu.contentSize = CGSizeMake(CGFloat(5 * 100) + 10, 49)
    }

    // button and viewcontroller mapping
    func addButtonVCMapping(button: UIButton, index: Int){
        let vc = UIViewController()
        vc.view.frame = CGRectMake(0, 64 + 50, UIScreen.mainScreen().bounds.width, UIScreen.mainScreen().bounds.height - 64 - 50)
        vc.view.backgroundColor = colorArray[index]

        buttonVCMapping[button] = vc
        self.addChildViewController(vc)

        // 设置初始时显示哪一个childViewController
        if index == 0{
            self.view.addSubview(vc.view)
            currentVC = vc
        }
    }

    // 点击scrollView上的button, 切换对应的childViewController
    func menuButtonClick(button: UIButton){
        let toVC = buttonVCMapping[button]
        if toVC != nil && toVC != currentVC{

            // 切换界面显示的childViewController
            self.transitionFromViewController(currentVC, toViewController: toVC!, duration: 0.5, options: UIViewAnimationOptions.TransitionCrossDissolve, animations: nil, completion: { (finished: Bool) -> Void in
                if finished{
                    toVC!.didMoveToParentViewController(self)
                    self.currentVC.willMoveToParentViewController(nil)

                    self.currentVC = toVC
                }
            })
        }
    }
}
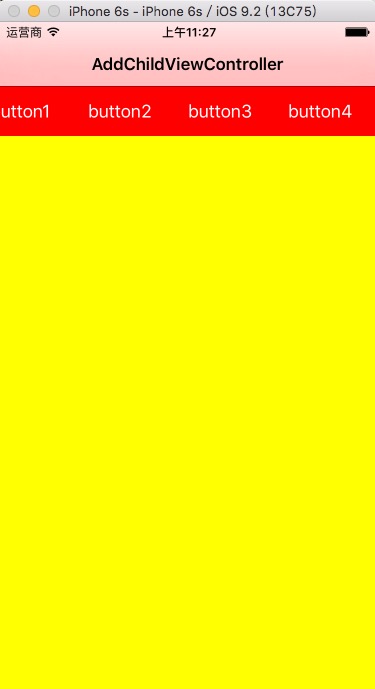
运行效果如下:
初始,默认使用button0的childViewController
button0

button1

button2

button3
button4


 523
523


 被折叠的 条评论
为什么被折叠?
被折叠的 条评论
为什么被折叠?
 到【灌水乐园】发言


