


 本文介绍了如何解决openssl版本导致的IIS导入pfx文件时密码错误的问题,以及在certbot认证失败时检查防火墙设置。步骤包括安装certbot,处理acme-challenge验证,调整WindowsDefender防火墙,以及合并和导入证书到IIS。
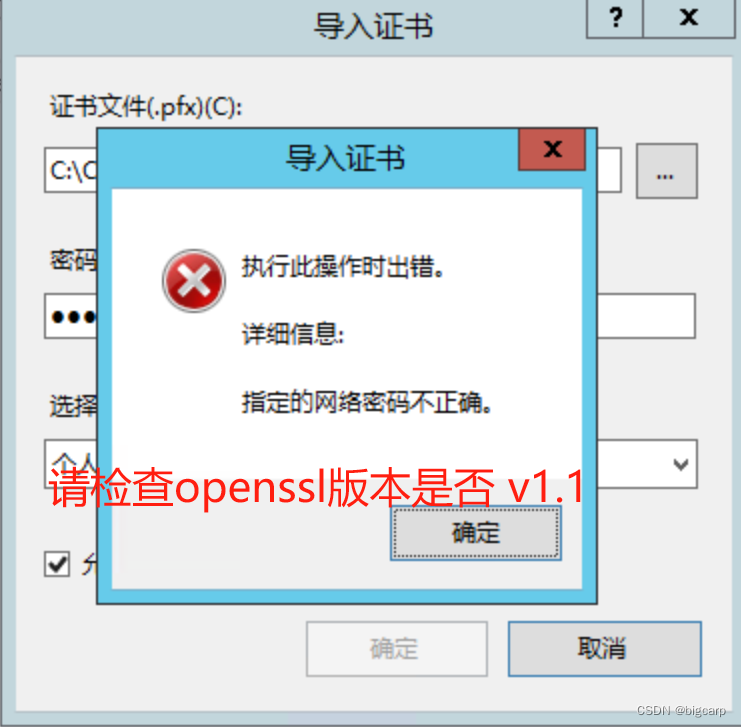
备注-->1、有一个大坑:用openssl软件把.pem文件合并转换成.pfx后,在IIS中导入会提示“密码不正确”,这是openssl版本造成的,换成低版本openssl v1.1 来转换即可。(据说是因为高版本默认的加密是AES256,而IIS不支持这种加密)
备注-->2、acme-challenge (验证)环节失败,请检查防火墙。关闭/打开防火墙的命令:netsh advfirewall set allprofiles state off 或者 on
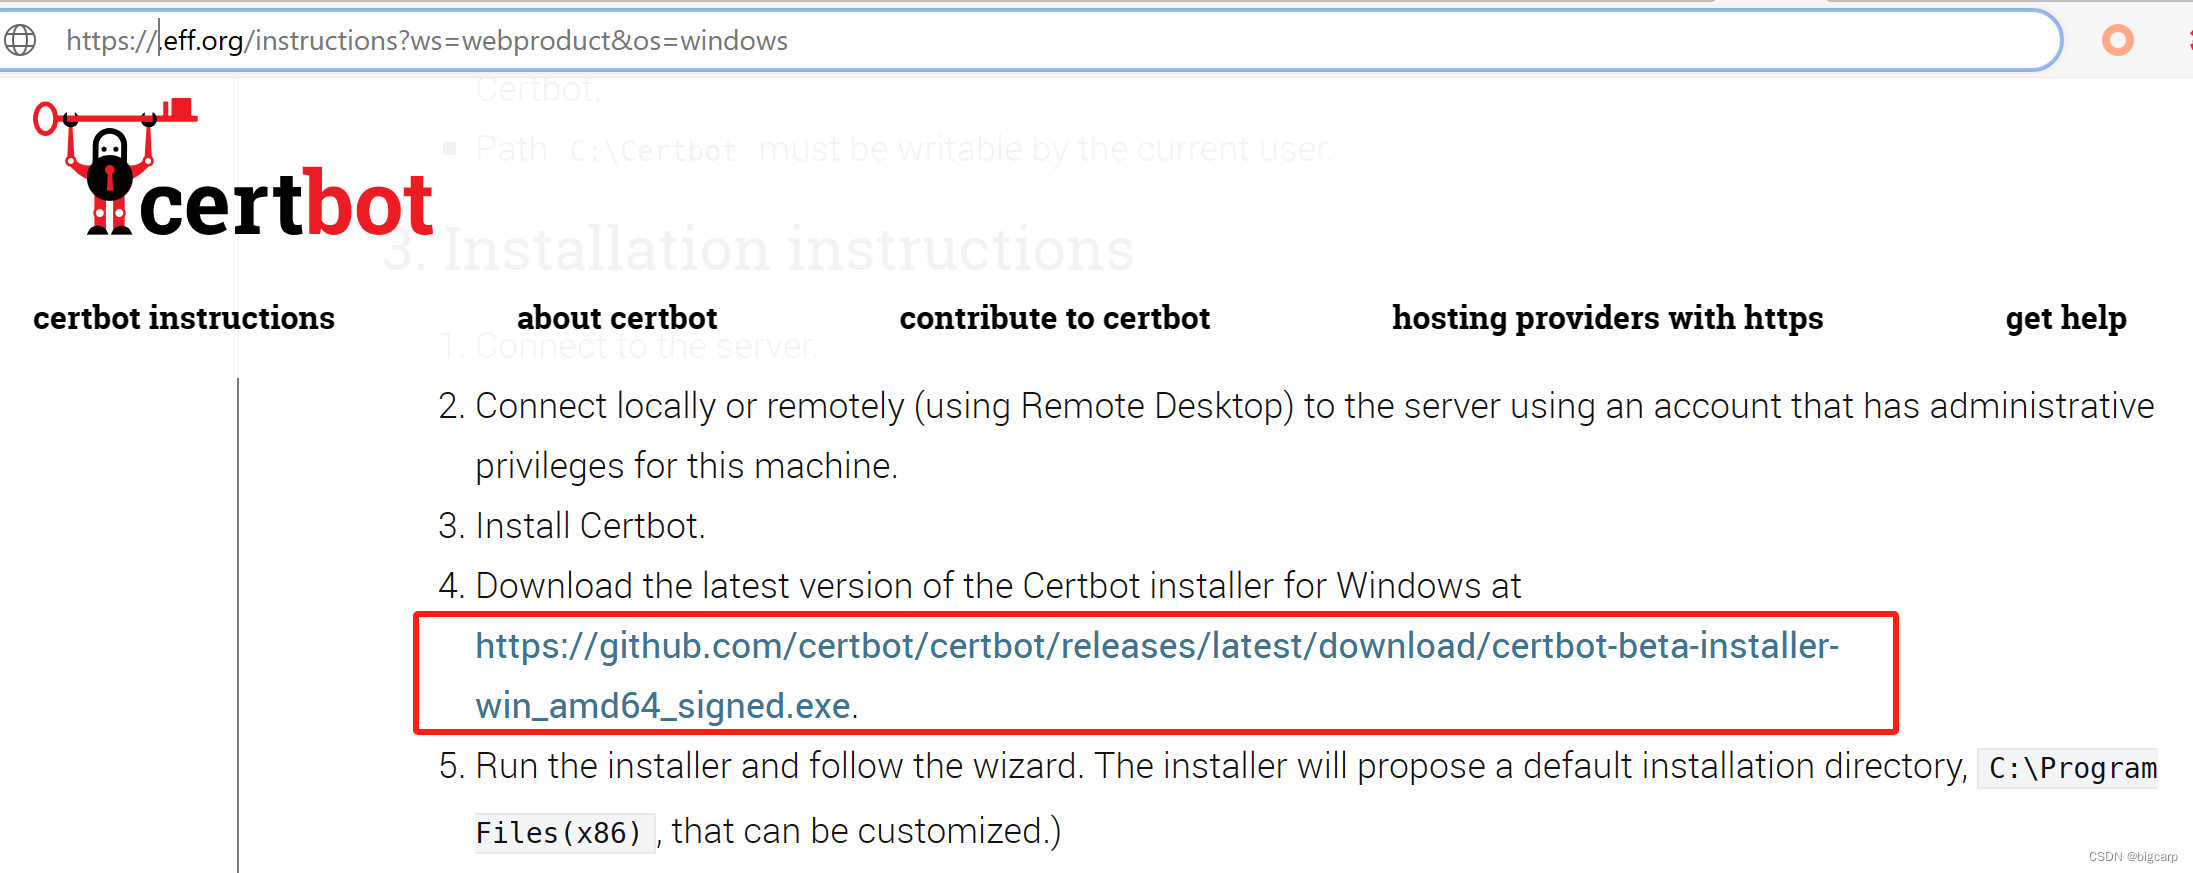
1、到官网(https://certbot.eff.org/instructions?ws=webproduct&os=windows)下载 certbot客户端。
2、安装客户端(全部默认安装即可)
3、暂停IIS中的网站

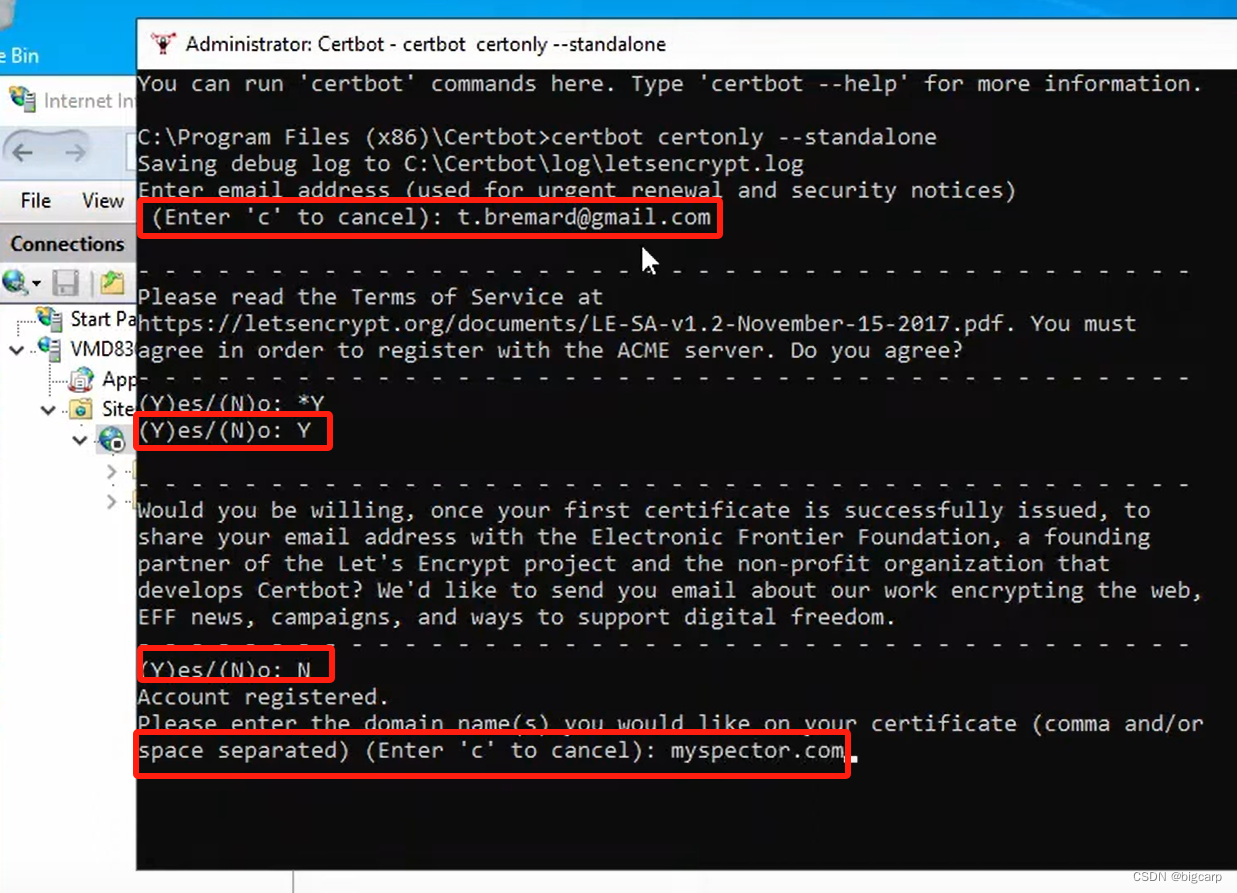
开始菜单中找到并运行“Certbot”,输入指令:
certbot certonly --standalone然后根据提示1输入邮箱、2同意协议、3拒绝推广邮件、4输入域名
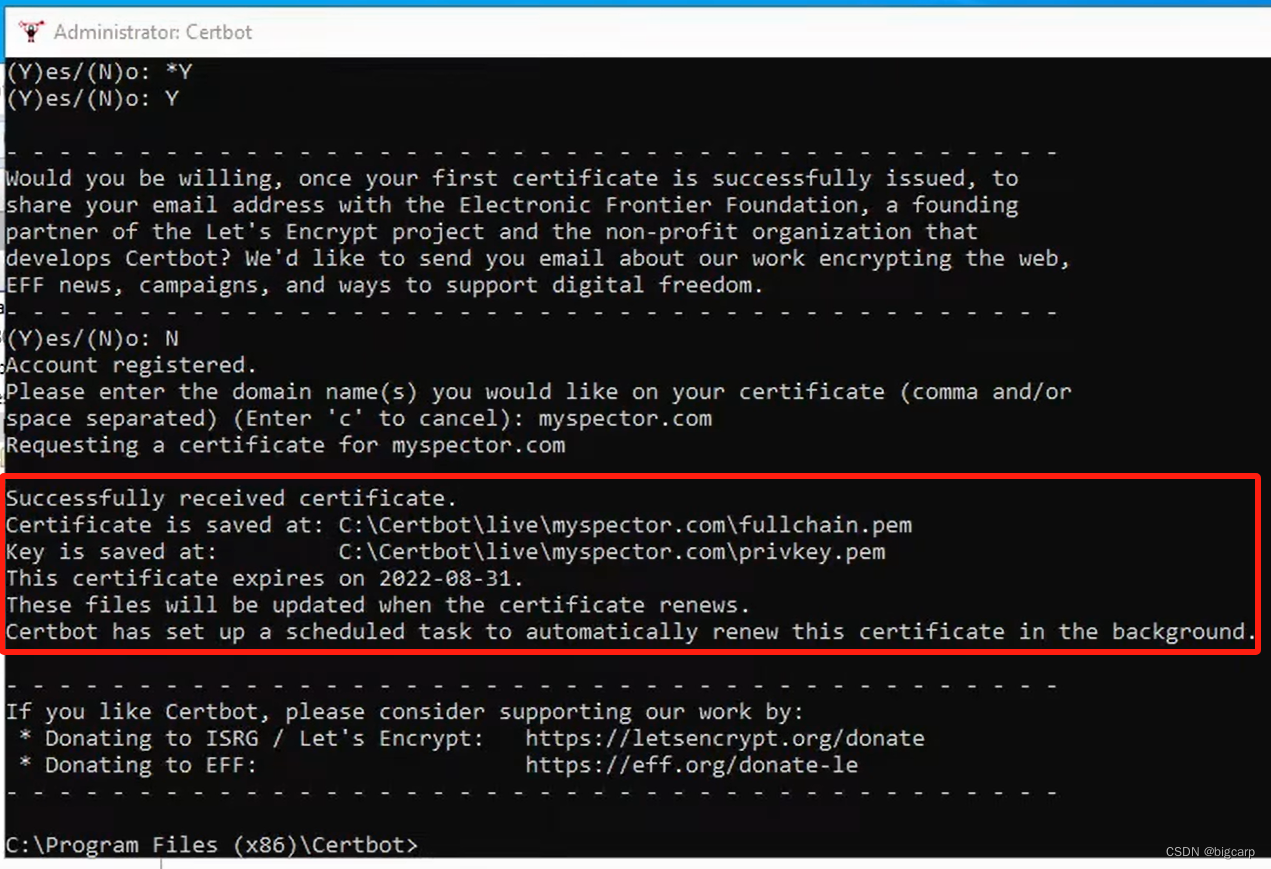
正常的话,会提示接收成功,已经保存到xx目录
 如果失败:
如果失败:
Certbot failed to authenticate some domains (authenticator: standalone). The Certificate Authority reported these problems:
  Domain: xxxxx.com
  Type:   connection
  Detail: 12.34.56.78: Fetching http://xxxxx.com/.well-known/acme-challenge/xxxxxx: Timeout during connect (likely firewall problem)

Hint: The Certificate Authority failed to download the challenge files from the temporary standalone webserver started by Certbot on port 80. Ensure that the listed domains point to this machine and that it can accept inbound connections from the internet.

Some challenges have failed.
Ask for help or search for solutions at https://community.letsencrypt.org. See the logfile C:\Certbot\log\letsencrypt.log or re-run Certbot with -v for more details.如果提示失败,通常是防火墙问题。暂时关闭防火墙,方法:请注意,在进行调试后请记得重新启用防火墙以确保服务器的安全性。
打开 PowerShell 窗口(以管理员身份运行)。你可以在开始菜单中找到 PowerShell,右键点击并选择“以管理员身份运行”。输入以下命令来停用 Windows Defender 防火墙:
netsh advfirewall set allprofiles state off
如果需要启用防火墙,可以使用以下命令:
netsh advfirewall set allprofiles state on

下载openssl软件(IIS请下载v1.1 light 版本)下载地址:
https://slproweb.com/products/Win32OpenSSL.html
用openssl软件 把Certbot获取的4个文件中的3个(私钥文件(privkey.pem)证书文件(cert.pem)链文件(fullchain.pem))合并转换成pfx文件 (记住转换时设置的导出密码)
openssl pkcs12 -export -out server.pfx -inkey privkey.pem -in fullchain.pemopenssl pkcs12 -export -out F:\pem\mysite.pfx -inkey F:\pem\privkey.pem -in F:\pem\fullchain.pem


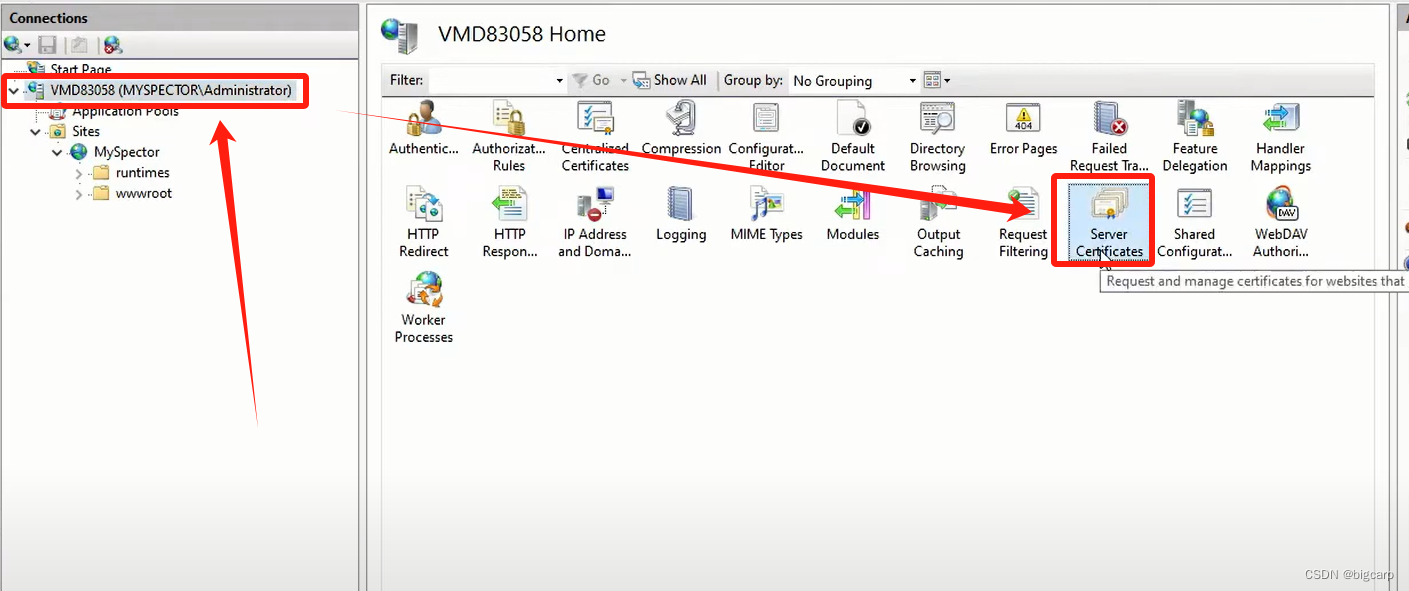
双击pfx文件导入到IIS。(需输入创建pfx文件时设置的密码)
IIS中添加并绑定证书:
添加:
绑定
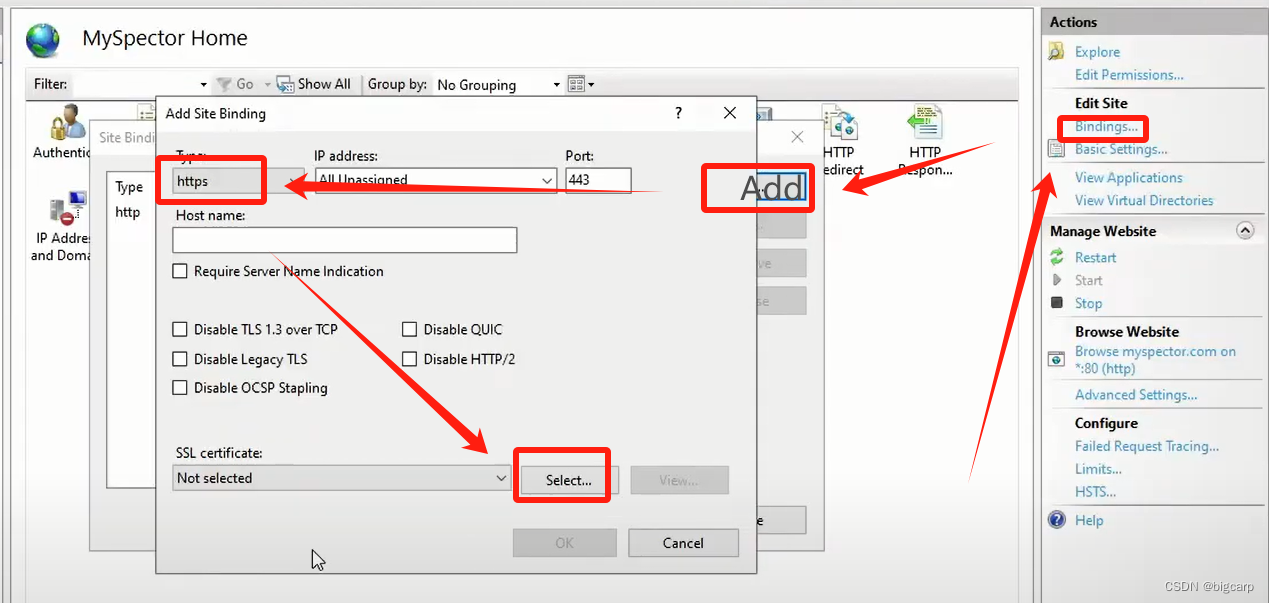
最后,要记得开通服务器的433端口


 6029
6029

 被折叠的 条评论
为什么被折叠?
被折叠的 条评论
为什么被折叠?
 到【灌水乐园】发言


