


1.Thread 继承与实现
实现了
class Thread implements Runnable
Runnable
Runnable 就一个抽象接口run()
@FunctionalInterface
public interface Runnable {
    public abstract void run();
}
2.多线程创建
1.继承Thread类
自定义一个类MyThread类,用来继承与Thread类,在MyThread类中重写run()方法,在测试类中创建MyThread类的对象,启动线程
public class test1 {

	public static void main(String[] args) {
		MyThread t0 = new MyThread("123");
		MyThread t1 = new MyThread("456");
		MyThread t2 = new MyThread("789");
		//t0.run();
		//t1.run();
		//t2.run();
		// 不会启动线程,不会分配新的分支栈。(这种方式就是单线程。)
        // start()方法的作用是:启动一个分支线程,在JVM中开辟一个新的栈空间,这段代码任务完成之后,瞬间就结束了。
        // 这段代码的任务只是为了开启一个新的栈空间,只要新的栈空间开出来,start()方法就结束了。线程就启动成功了。
        // 启动成功的线程会自动调用run方法,并且run方法在分支栈的栈底部(压栈)。
        // run方法在分支栈的栈底部,main方法在主栈的栈底部。run和main是平级的。
		t0.start();
		t1.start();
		t2.start();

		Thread.currentThread().setName("主线程");
		while(true) {
			try {
				Thread.sleep(1000);
			} catch (InterruptedException e) {
				e.printStackTrace();
			}
			System.out.println(Thread.currentThread().getName()+":"+new Date());
		}
	}
}
public class MyThread extends Thread{

	public MyThread() {
    }

    public MyThread(String name) {
        super(name);
    }
	@Override
	public void run() {
		while(true) {
			try {
				Thread.sleep(1000);
			} catch (InterruptedException e) {
				e.printStackTrace();
			}
			System.out.println(this.getName()+":"+new Date());
		}

	}

}
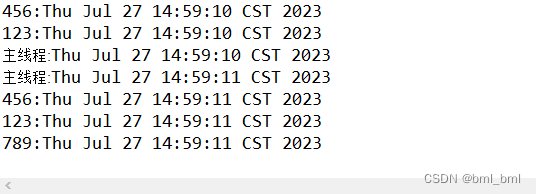
输出结果
2.实现Runnable接口
自定义一个MyRunnable类来实现Runnable接口,在MyRunnable类中重写run()方法,创建Thread对象,并把MyRunnable对象作为Tread类构造方法的参数传递进去,然后启动线程
public class ThreadTest2 {
	public static void main(String[] args) {
		MyRunnable myRun = new MyRunnable();
		Thread t0 = new Thread(myRun,"123");
		Thread t1 = new Thread(myRun,"456");
		Thread t2 = new Thread(myRun,"789");
		t0.start();
		t1.start();
		t2.start();

		Thread.currentThread().setName("主线程");
		while(true) {
			try {
				Thread.sleep(1000);
			} catch (InterruptedException e) {
				e.printStackTrace();
			}
			System.out.println(Thread.currentThread().getName()+":"+new Date());
		}
	}
}
public class MyRunnable implements Runnable{
	@Override
	public void run() {
		while(true) {
			try {
				Thread.sleep(1000);
			} catch (InterruptedException e) {
				e.printStackTrace();
			}
			System.out.println(Thread.currentThread().getName()+":"+new Date());
		}
	}
}
3.实现Callable接口
( java.util.concurrent.FutureTask; /JUC包下的,属于java的并发包,老JDK中没有这个包。新特性。)
自定义一个MyCallable类来实现Callable接口,在MyCallable类中重写call()方法,创建FutureTask,Thread对象,并把MyCallable对象作为FutureTask类构造方法的参数传递进去,把FutureTask对象传递给Thread对象。启动线程
- 这种方式的优点:可以获取到线程的执行结果。
- 这种方式的缺点:效率比较低,在获取t线程执行结果的时候,当前线程受阻塞,效率较低。
public class ThreadTest3 {

	public static void main(String[] args) {

		FutureTask<InnerClass> task = new FutureTask<InnerClass>(new Callable<InnerClass>() {
			InnerClass innerClass = new InnerClass(0,0);
			@Override
			public InnerClass call() throws Exception {
				for (int i = 0; i < 20; i++) {
					Thread.sleep(1000);
					innerClass.a++;
					System.err.println(innerClass.a);
					innerClass.b+=innerClass.a;
				}
				return innerClass;
			}
		});

		Thread t = new Thread(task);
		t.start();

		InnerClass inc;
		try {
			inc = task.get();
			System.err.println(inc.toString());
		} catch (InterruptedException | ExecutionException e) {
			e.printStackTrace();
		}

		Thread.currentThread().setName("主线程");
		while(true) {
			try {
				Thread.sleep(1000);
			} catch (InterruptedException e) {
				e.printStackTrace();
			}
			System.out.println(Thread.currentThread().getName()+":"+new Date());
		}
	}
}
public class InnerClass{
	int a = 0;
	int b = 0;

	public InnerClass() {
		super();
	}

	public InnerClass(int a, int b) {
		super();
		this.a = a;
		this.b = b;
	}

	@Override
	public String toString() {
		return "InnerClass [a=" + a + ", b=" + b + "]";
	}

}
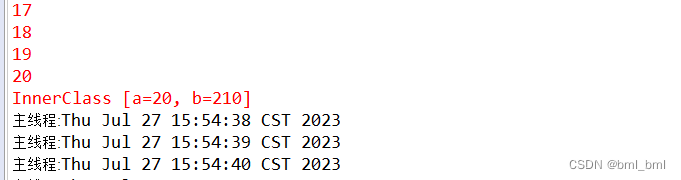
进入线程阻塞,执行完后才执行主线程


 220
220


 被折叠的 条评论
为什么被折叠?
被折叠的 条评论
为什么被折叠?
 到【灌水乐园】发言


