


1,配置yum源
cd /etc/yum.repos.d/
vim gitlab-ce.repo
-- 将以下参数写进去
[gitlab-ce]
name=Gitlab CE Repository
baseurl=https://mirrors.tuna.tsinghua.edu.cn/gitlab-ce/yum/el$releasever
gpgcheck=0
enabled=1
2, 安装邮箱和相关依赖
yum install -y postfix curl policycoreutils-python openssh-server
systemctl enable sshd
systemctl start sshd
systemctl enable postfix
systemctl start postfix
yum install -y gitlab-ce  #将会安装gitlab最新版本
3, 配置gitlab登录的链接
[root@git-server ~]# vim /etc/gitlab/gitlab.rb
修改:
external_url 'http://服务器ip/或者外网ip' # 这个参数,将会是你的仓库访问地址
修改时区:
gitlab_rails['time_zone'] = 'Asia/Shanghai'
#这一段默认时注释的,找出来,将注释去掉  这一段是数据路径
git_data_dirs({
  "default" => {
    "path" => "/mnt/nfs-01/git-data"
   }
})
#这一段默认时注释的,找出来,将注释去掉  这一段是开启ssh服务
gitlab_rails['gitlab_shell_ssh_port'] = 22
4, 初始化gitlab
gitlab-ctl reconfigure
5, 启动gitlab,停止,重启
gitlab-ctl startgitlab-ctl stopgitlab-ctl restart
访问你配置的地址和端口,登录 注意,第一次登录会让你创建管理员root密码
创建项目即可
5, 为了安全性考虑,需要创建public key
ssh-keygen   #一路回车

Generating public/private rsa key pair.
Enter file in which to save the key (/root/.ssh/id_rsa):
Created directory '/root/.ssh'.
Enter passphrase (empty for no passphrase):
Enter same passphrase again:
Your identification has been saved in /root/.ssh/id_rsa.
Your public key has been saved in /root/.ssh/id_rsa.pub.
The key fingerprint is:
48:94:9a:65:cd:0f:f3:17:c6:dc:3c:28:0a:bb:47:98 root@git-node1
The key's randomart image is:
+--[ RSA 2048]----+
|      .+   o +   |
|     .= = . * +  |
|     =.= * o . . |
|    o.E.o o .    |
|      .oS  .     |
|      . .        |
|       .         |
| |复制id_rsa.pub公钥cat ~/.ssh/id_rsa.pub
将输出结果复制出来 添加到github的ssh-key中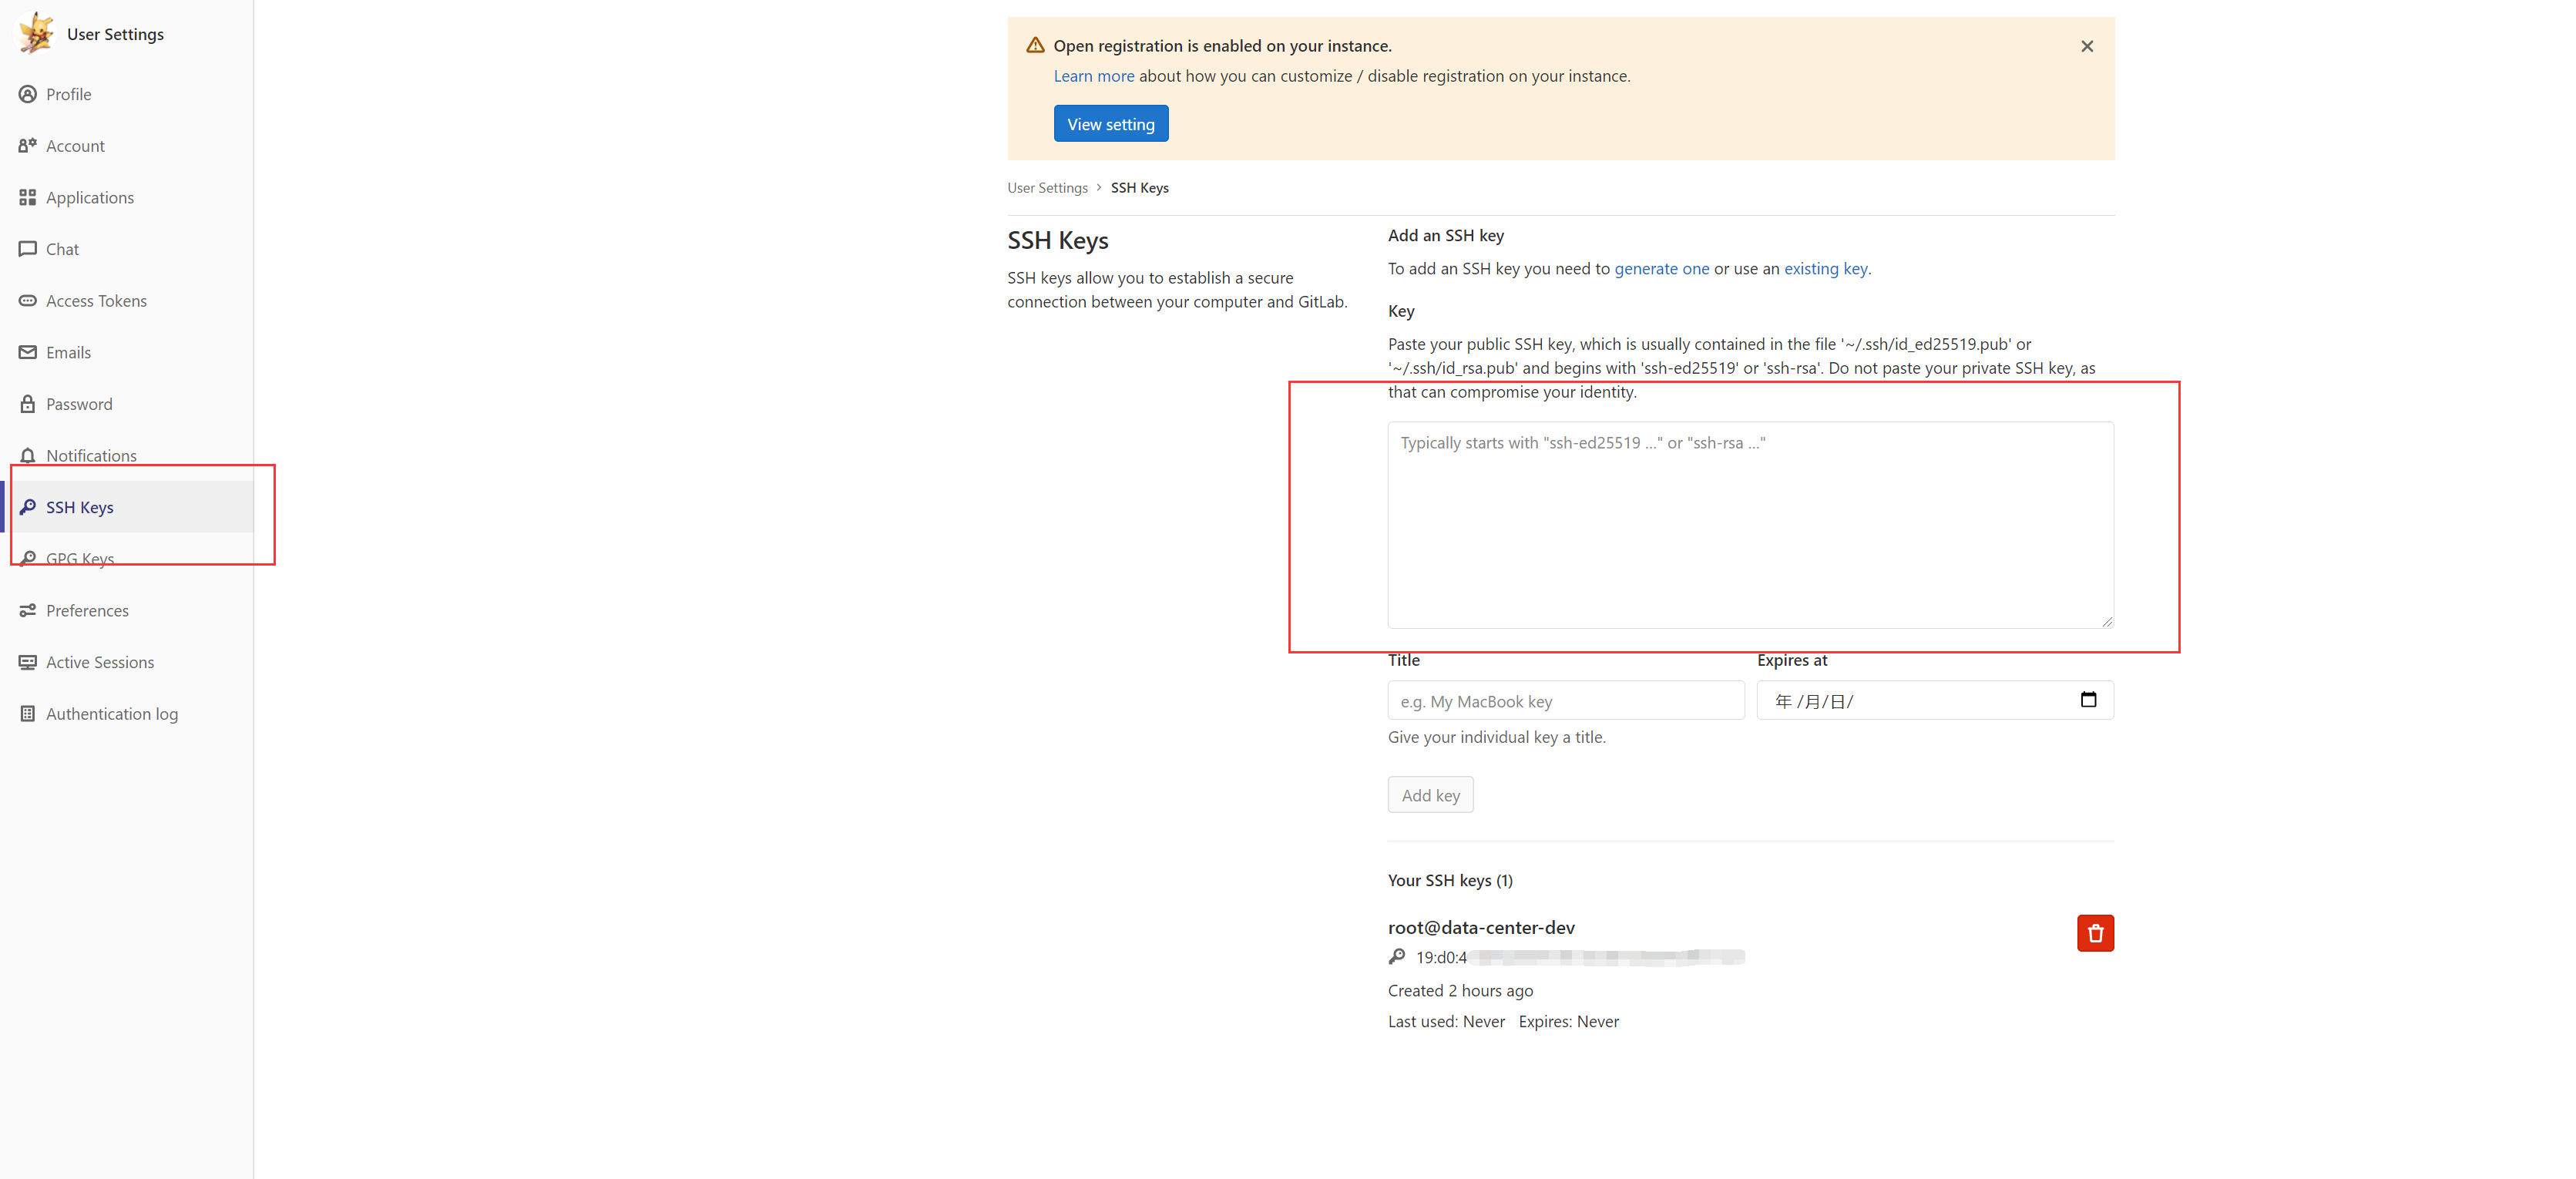
剩下的就可以自己创建仓库,下载代码了,
关于git的使用,可以参看我的这篇博客 https://www.cnblogs.com/brightgreat/p/13681000.html
关于ubuntu系统下搭建gitlab,可以参看我的这篇博客 https://www.cnblogs.com/brightgreat/p/14567026.html


 429
429


 被折叠的 条评论
为什么被折叠?
被折叠的 条评论
为什么被折叠?
 到【灌水乐园】发言


