


本节内容
怎样将图片绘制在Canvas画布中?
怎样旋转图片?
JavaScript动画我们该用什么? rAF或是setTimeout
一、怎样将图片绘制在Canvas画布中?
先创建一个页面模板,让canvas画布的宽度和高度和window的innerWidth和innerHeight一致, 整个画布的背景色设置为 background-color: aqua; 方便后续观察绘图结果
<!DOCTYPE html>
<html lang="en">
<head>
    <meta charset="UTF-8">
    <meta http-equiv="X-UA-Compatible" content="IE=edge">
    <meta name="viewport" content="width=device-width, initial-scale=1.0">
    <title>旋转的图片</title>
    <style>
        canvas {
            position: absolute;
            background: black;
            width: 100%;
            height: 100%;
            top: 0;
            left: 0;
            background-color: aqua;
        }
    </style>
</head>
<body>
    <canvas id="canvas"></canvas>
    <script>
        /** @type {HTMLCanvasElement} */
        const canvas = document.getElementById('canvas')
        const ctx = canvas.getContext('2d')
        canvas.width = window.innerWidth
        canvas.height = window.innerHeight

    </script>
</body>
</html>
使用 Image 创建一个图片对象,设置对象的src属性,src表示图片的路径,此处将图片和页面放置在同一目录下,所以只需图片名称, 图片如下:
/** @type {HTMLCanvasElement} */
const canvas = document.getElementById('canvas')
const ctx = canvas.getContext('2d')
canvas.width = window.innerWidth
canvas.height = window.innerHeight

//创建图片对象
const cherry = new Image()
cherry.src = 'cherry.png'
在canvas画布上画图片
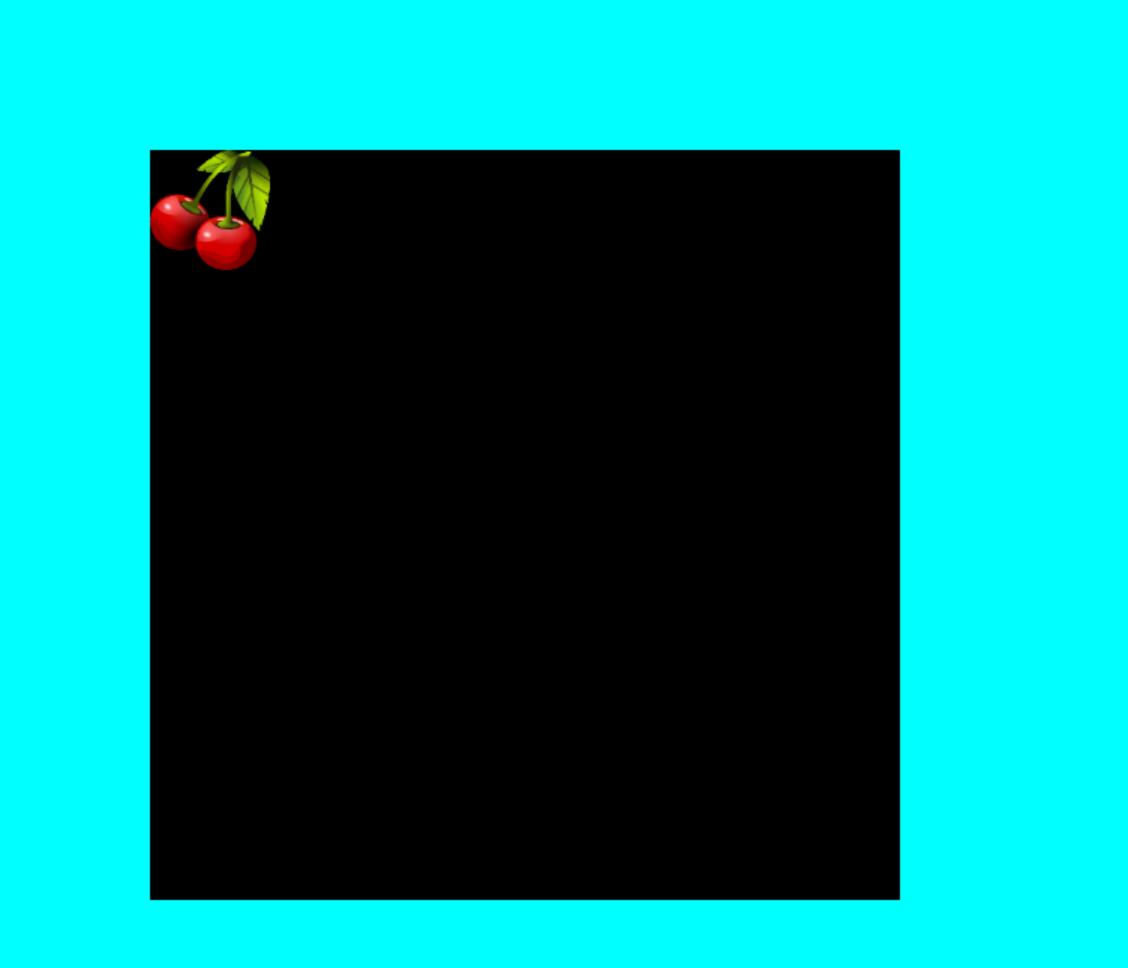
图片是异步加载,所以要监听图片加载完成事件load,加载完成后才能将图片画在canvas上
使用translate方法平移当前绘图的原点到(100,100),也就是画图时以(100,100)作为新的原点(0,0)
使用rotate方法旋转
使用fillStyle设置之后的填充颜色
再增加一个填充矩形,清楚图片位置,无其它作用
drawImage 画图,第1个参数为图片对象,第2,3个参数表示图片的坐标,第4,5个参数表示图片宽和高
//创建图片对象
const cherry = new Image()
cherry.src = 'cherry.png'

cherry.addEventListener('load', function(){
    ctx.translate(100,100)
    ctx.rotate(0 * Math.PI/360)
    ctx.fillStyle= 'black'
    ctx.fillRect(0,0,300,300)
    ctx.drawImage(cherry, 0, 0, 80, 80)
}) 
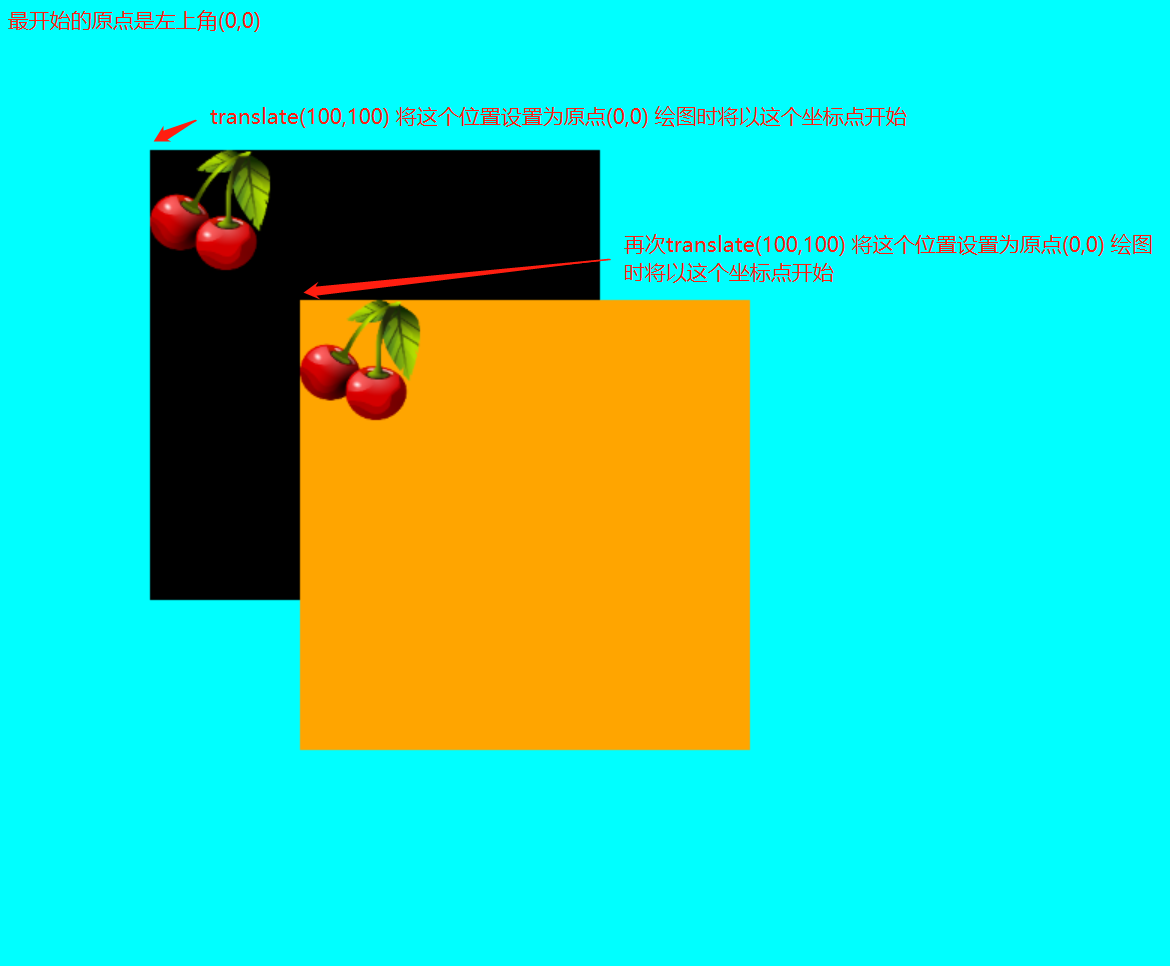
在不同位置再画同一个图片
同样是平移到(100,100) ,但此时会发现,平移是相对于上次绘图的位置
//创建图片对象
const cherry = new Image()
cherry.src = 'cherry.png'

cherry.addEventListener('load', function(){
    //第一次画图
    ctx.translate(100,100)
    ctx.rotate(0 * Math.PI/360)
    ctx.fillStyle= 'black'
    ctx.fillRect(0,0,300,300)
    ctx.drawImage(cherry, 0, 0, 80, 80)

    //再画图
    ctx.translate(100,100)
    ctx.rotate(0 * Math.PI/360)
    ctx.fillStyle= 'orange'
    ctx.fillRect(0,0,300,300)
    ctx.drawImage(cherry, 0, 0, 80, 80)
}) 
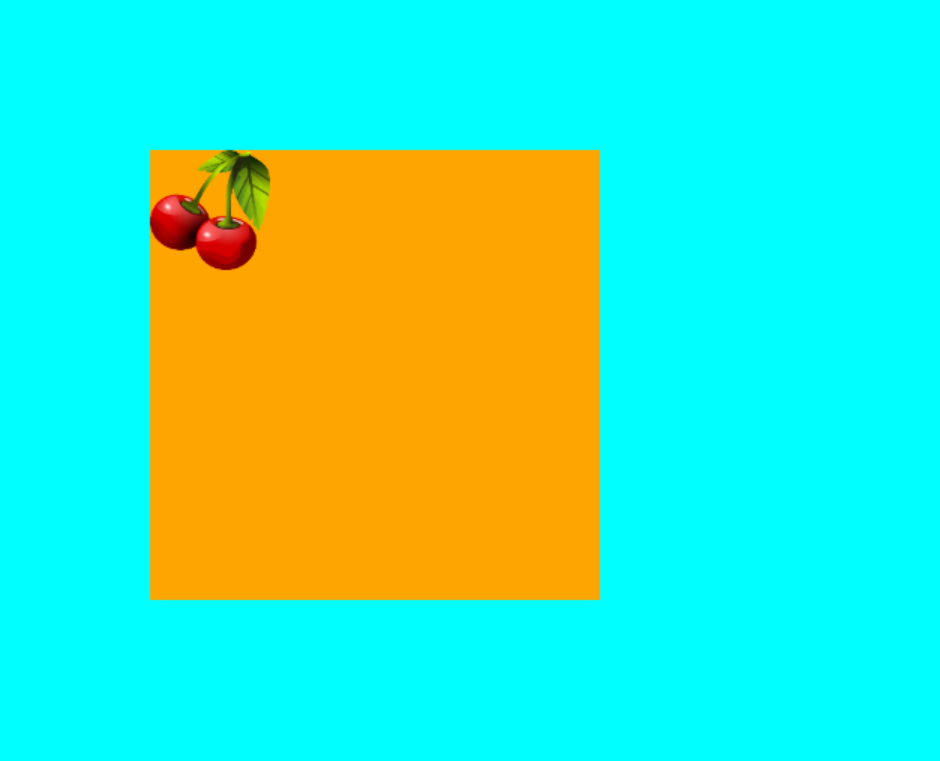
怎样让第二张图画在第一张图的相同位置? 使用save()和restore()方法
使用这两个方法后,恢复之前的状态,其实就是将save()之后的绘图操作入栈,调用restore()后出栈,也就是恢复到当前绘图之前的状态,后续画图会使用save()之前的状态
使用save() restore() 后第二张图片画的位置将会是第一张的位置,第二张图片 认为 第一张图片不存在一样
再旋转一下,看看上次绘图是不是还在
桔色背景的绘图旋转了30度,平移的位置相对于最开始时的状态; 如果桔色背景下方还要画图,也可以加上save和restore,使得桔色图形的属性设置不会影响后续图形
//省略其它代码
//再画图
ctx.translate(100,100)
ctx.rotate(30 * Math.PI/360)
ctx.fillStyle= 'orange'
ctx.fillRect(0,0,300,300)
ctx.drawImage(cherry, 0, 0, 80, 80)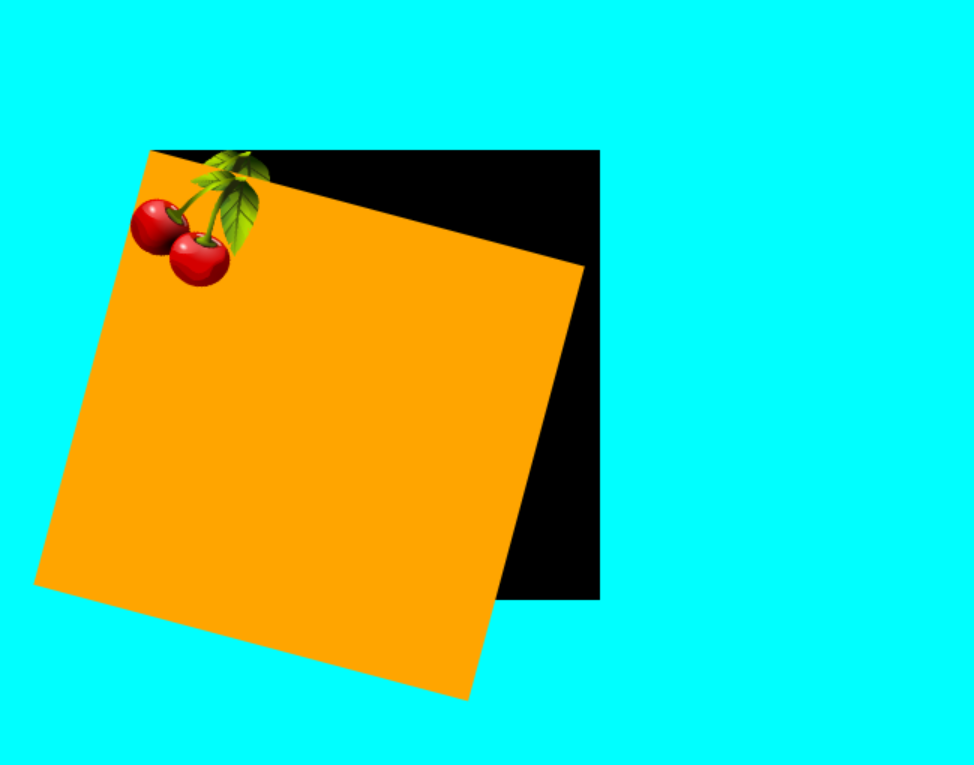
二、使用window.requestAnimationFrame函数 让图片旋转起来
将绘图的代码封装到draw()函数中, 图片加载完成后调用draw()方法
/** @type {HTMLCanvasElement} */
const canvas = document.getElementById('canvas')
const ctx = canvas.getContext('2d')
canvas.width = window.innerWidth
canvas.height = window.innerHeight

//创建图片对象
const cherry = new Image()
cherry.src = 'imgs/cherry.png'

function draw() {
    ctx.save()
    ctx.translate(100,100)
    ctx.rotate(0 * Math.PI/360)
    ctx.fillStyle= 'black'
    ctx.fillRect(0,0,300,300)
    ctx.drawImage(cherry, 0, 0, 80, 80)
    ctx.restore()

    ctx.translate(100,100)
    ctx.rotate(30 * Math.PI/360)
    ctx.fillStyle= 'orange'
    ctx.fillRect(0,0,300,300)
    ctx.drawImage(cherry, 0, 0, 80, 80)
}

cherry.addEventListener('load', function(){
    draw()
})
使用window.requestAnimationFrame让绘制的图片动起来
定义了两个角度,黑底图角度增量为1,橙底图角度增量为10, 旋转速度一个慢一个快
也可以去掉绘图时填充的颜色
//创建图片对象
const cherry = new Image()
cherry.src = 'imgs/cherry.png'

let angle1 = 1 //第一张图片的旋转角度 初始值
let angle2 = 10 //第二张图片折旋转角度 初始值

function draw() {

    //使用save和restore包裹绘图过程,让其作旋转操作时不影响其它绘图
    ctx.save()
    ctx.translate(300,300)
    ctx.rotate(angle1 * Math.PI/360) //旋转
    ctx.fillStyle= 'black'
    ctx.fillRect(0,0,200,200)//可注释填充背景
    ctx.drawImage(cherry, 0, 0, 80, 80)
    ctx.restore()

    //使用save和restore包裹绘图过程,让其作旋转操作时不影响其它绘图
    ctx.save()
    ctx.translate(300,300)
    ctx.rotate(angle2 * Math.PI/360)
    ctx.fillStyle= 'orange'
    ctx.fillRect(0,0,200,200) //可注释填充背景
    ctx.drawImage(cherry, 0, 0, 80, 80)
    ctx.restore()
}

cherry.addEventListener('load', function(){
    draw()
})

//动画函数 animate, 不断地调用画图函数,同时更改两个角度值
function animate() {
    //每次调用animate函数时清空画布内容
    ctx.clearRect(0,0,canvas.width, canvas.height)
    //重新绘图
    draw()
    //更改角度
    angle1 += 1
    angle2 += 10
    //rAF不断调用animate
    window.requestAnimationFrame(animate)
}
animate() 
三、旋转的中心点改成以图片为中心
仅需要根据图片的宽高除以2,并将x,y坐标向负方向移动,下面代码仅修改第一次绘图
ctx.drawImage(cherry, 0-80/2, 0-80/2, 80, 80)
四、小结
主要介绍在canvas中如何绘图,实战了save()和restore()方法的具体用法,在后续的游戏设计中也会要使用到它们,理解它们的原理至关重要
使用rAF制作动画,让图形旋转起来,后续将详细说明为什么要用rAF而不使用setTimeout


 被折叠的 条评论
为什么被折叠?
被折叠的 条评论
为什么被折叠?
 到【灌水乐园】发言


