


Tensorflow框架安装
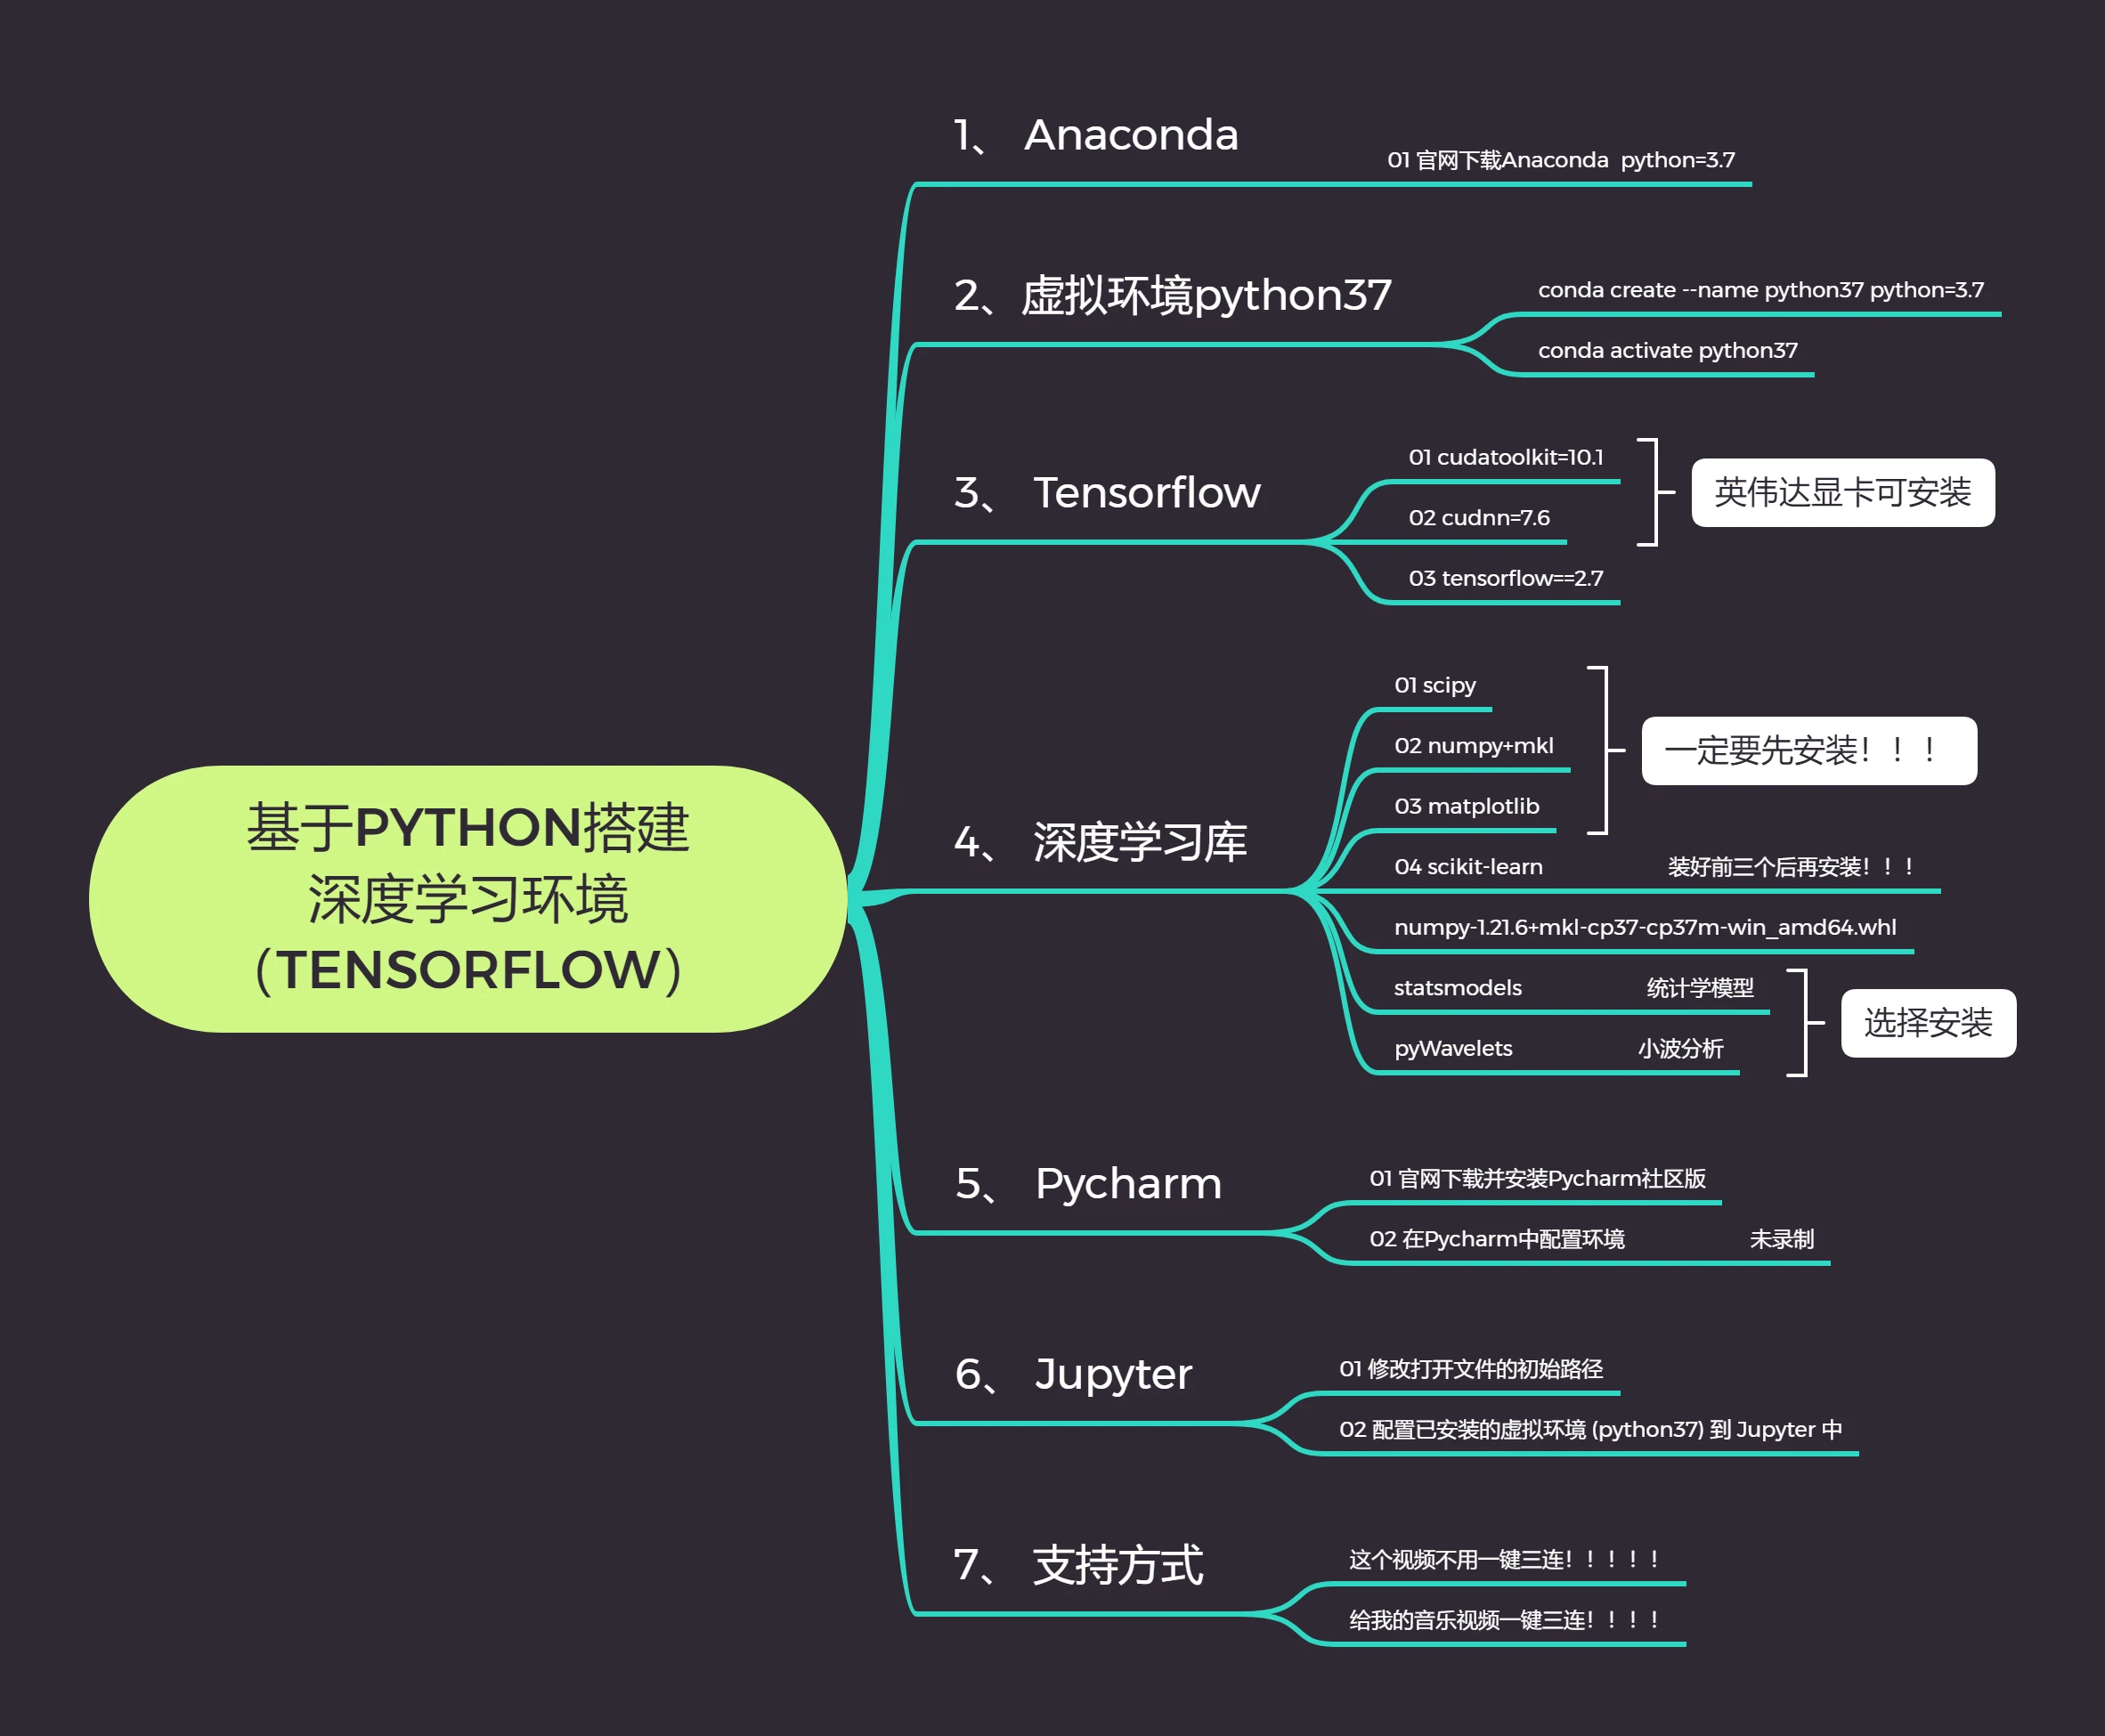
第一步,创建激活环境
conda create -n tf python=3.7之后激活环境
conda activate tf第二步,安装 cuda
第三步,安装 cudatoolkit
conda install cudatoolkit=10.1第四步,安装 cudnn
conda install cudnn=7.6第五步,安装 tensorflow
conda install tensorflow-gpu==2.1第六步,安装完成后,查看是否安装完成
conda activate tf #重新激活环境
import tensorflow as tf #调用tensorflow
tf.__version__ #查看版本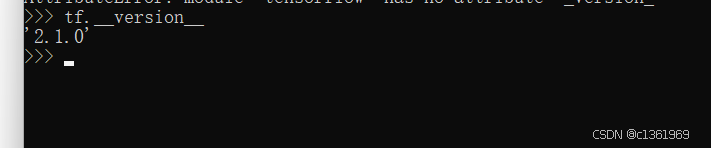
安装完成
第七步,安装 scipy
pip install scipy -i https://pypi.tuna.tsinghua.edu.cn/simple/第八步,安装 numpy
numpy-1.21.6+mkl-cp37-cp37m-win_amd64.whl 提前下载好,指定路径安装
pip install numpy-1.21.6+mkl-cp37-cp37m-win_amd64.whl第九步,安装 matplotlib
pip install matplotlib -i https://pypi.tuna.tsinghua.edu.cn/simple/第十步,安装 sk-learn
pip install scikit-learn -i https://pypi.tuna.tsinghua.edu.cn/simple/至此,深度学习框架完成,之后安装自己用的库即可。
第十一步,安装自己库
# Tensorflow库
pip install utils -i https://pypi.tuna.tsinghua.edu.cn/simple/
pip install keras==2.3.1 -i https://pypi.tuna.tsinghua.edu.cn/simple/

# 两个框架都需要安装的
pip install opencv-python -i https://pypi.tuna.tsinghua.edu.cn/simple/
pip install tqdm -i https://pypi.tuna.tsinghua.edu.cn/simple/
pip install Pillow -i https://pypi.tuna.tsinghua.edu.cn/simple/
pip install labelme -i https://pypi.tuna.tsinghua.edu.cn/simple/
pip install h5py -i https://pypi.tuna.tsinghua.edu.cn/simple/
pip install tensorboard -i https://pypi.tuna.tsinghua.edu.cn/simple/

# torch附加库
pip install onnx -i https://pypi.tuna.tsinghua.edu.cn/simple/
pip install onnxsim -i https://pypi.tuna.tsinghua.edu.cn/simple/
pip install thop -i https://pypi.tuna.tsinghua.edu.cn/simple/
pip install torchsummary -i https://pypi.tuna.tsinghua.edu.cn/simple/
(一)Lableme 安装报错
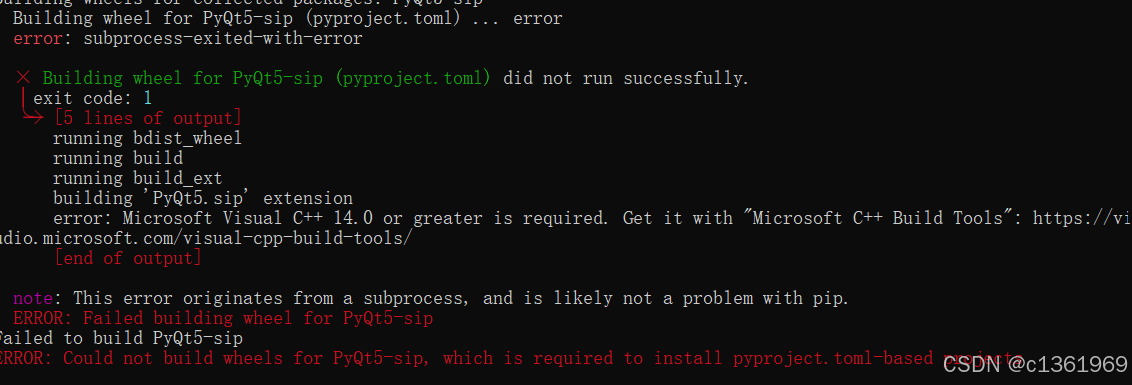
具体为其中 PyQt5-sip 安装出错
方法一:我们直接去下载对应版本PyQt5-sip · PyPI,下载好后,指定路径安装即可
pip install PyQt5_sip-12.9.0-cp37-cp37m-win_amd64.whl方法二:电脑中搜索Windows PowerShell打开,输入
wget https://aka.ms/vs/17/release/vs_BuildTools.exe -o vs_BuildTools.exe ; cmd /c vs_BuildTools.exe
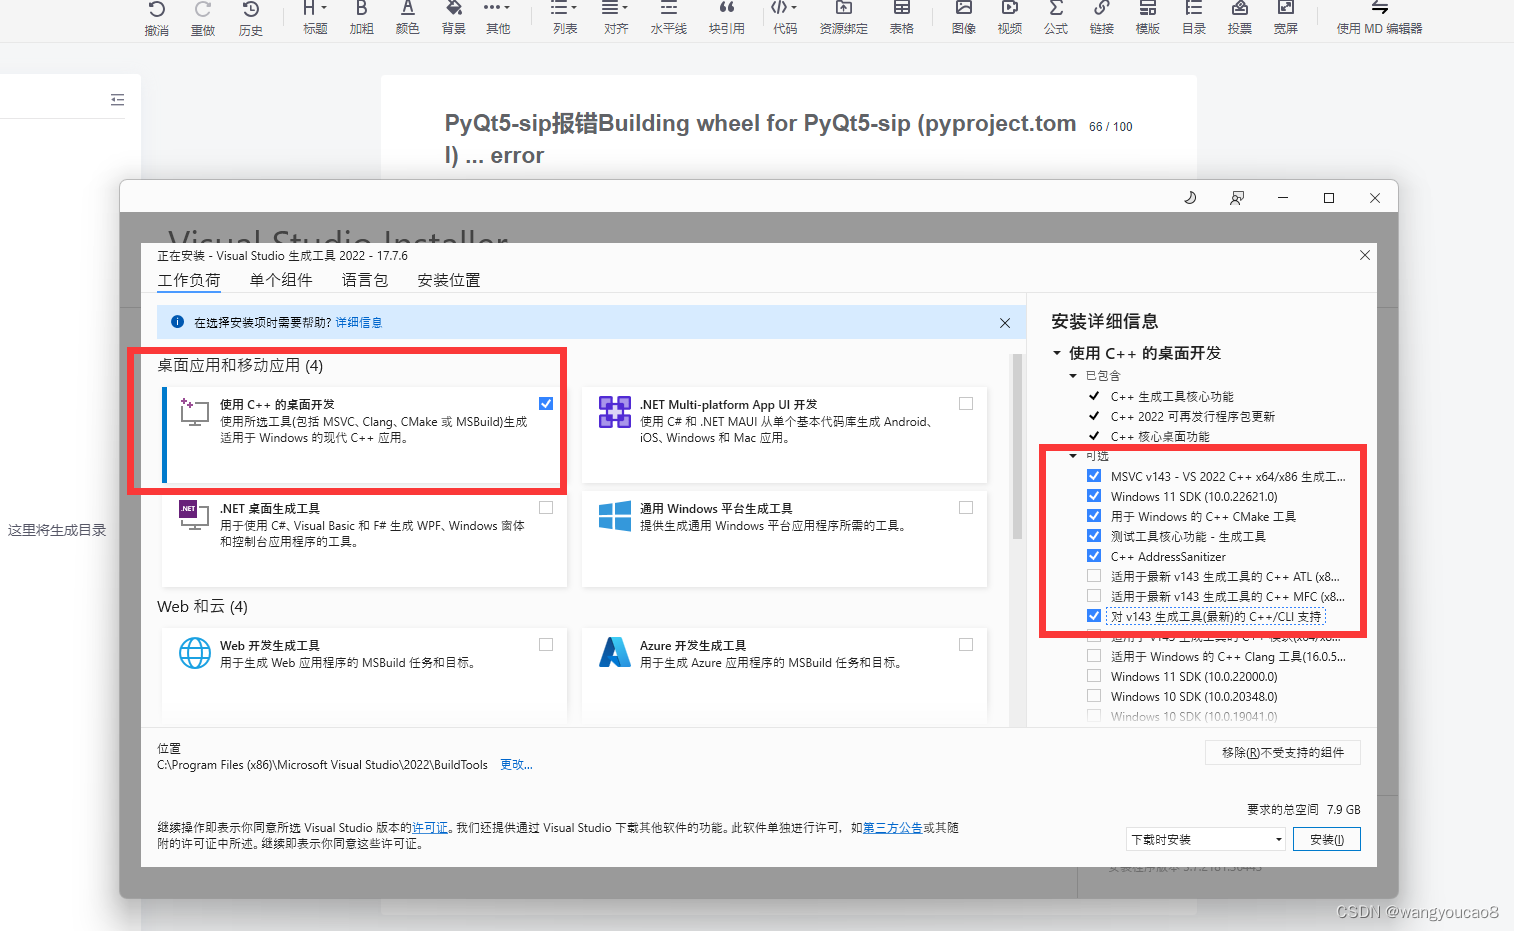
安装默认C盘,不保留下载缓存。安装完毕后,再运行一遍命令

成功
(二)Scipy 安装出错
方法:我们直接去下载对应版本 Scipy,下载好后,指定路径安装即可
pip install scipy-1.10.1-cp38-cp38-win_amd64.whl如果之后还报错 ERROR: Could not install packages due to an OSError: [WinError 32] 另一个程序正在使用此文件,进程无法访问。: 'D:\\Anaconda3\\envs\\pytorch\\Lib\\site-packages\\scipy-1.10.1-cp38-cp38-win_amd64.whl' Consider using the `--user` option or check the permissions.
一般为权限问题,更改代码
pip install scipy-1.10.1-cp38-cp38-win_amd64.whl --user成功


 4099
4099

 被折叠的 条评论
为什么被折叠?
被折叠的 条评论
为什么被折叠?
 到【灌水乐园】发言


