


最近开发了一个小程序摄像头拍摄实时替换颜色的功能,要求是将肉眼可见红色替换成带logo的图片,原理是摄像头获取每一帧的图片数据,含有rgba 4个数值,判断rgb三个值是否属于红色范围,如果是,则替换成 0000,实现画布透明,将背景图显示出来
原图

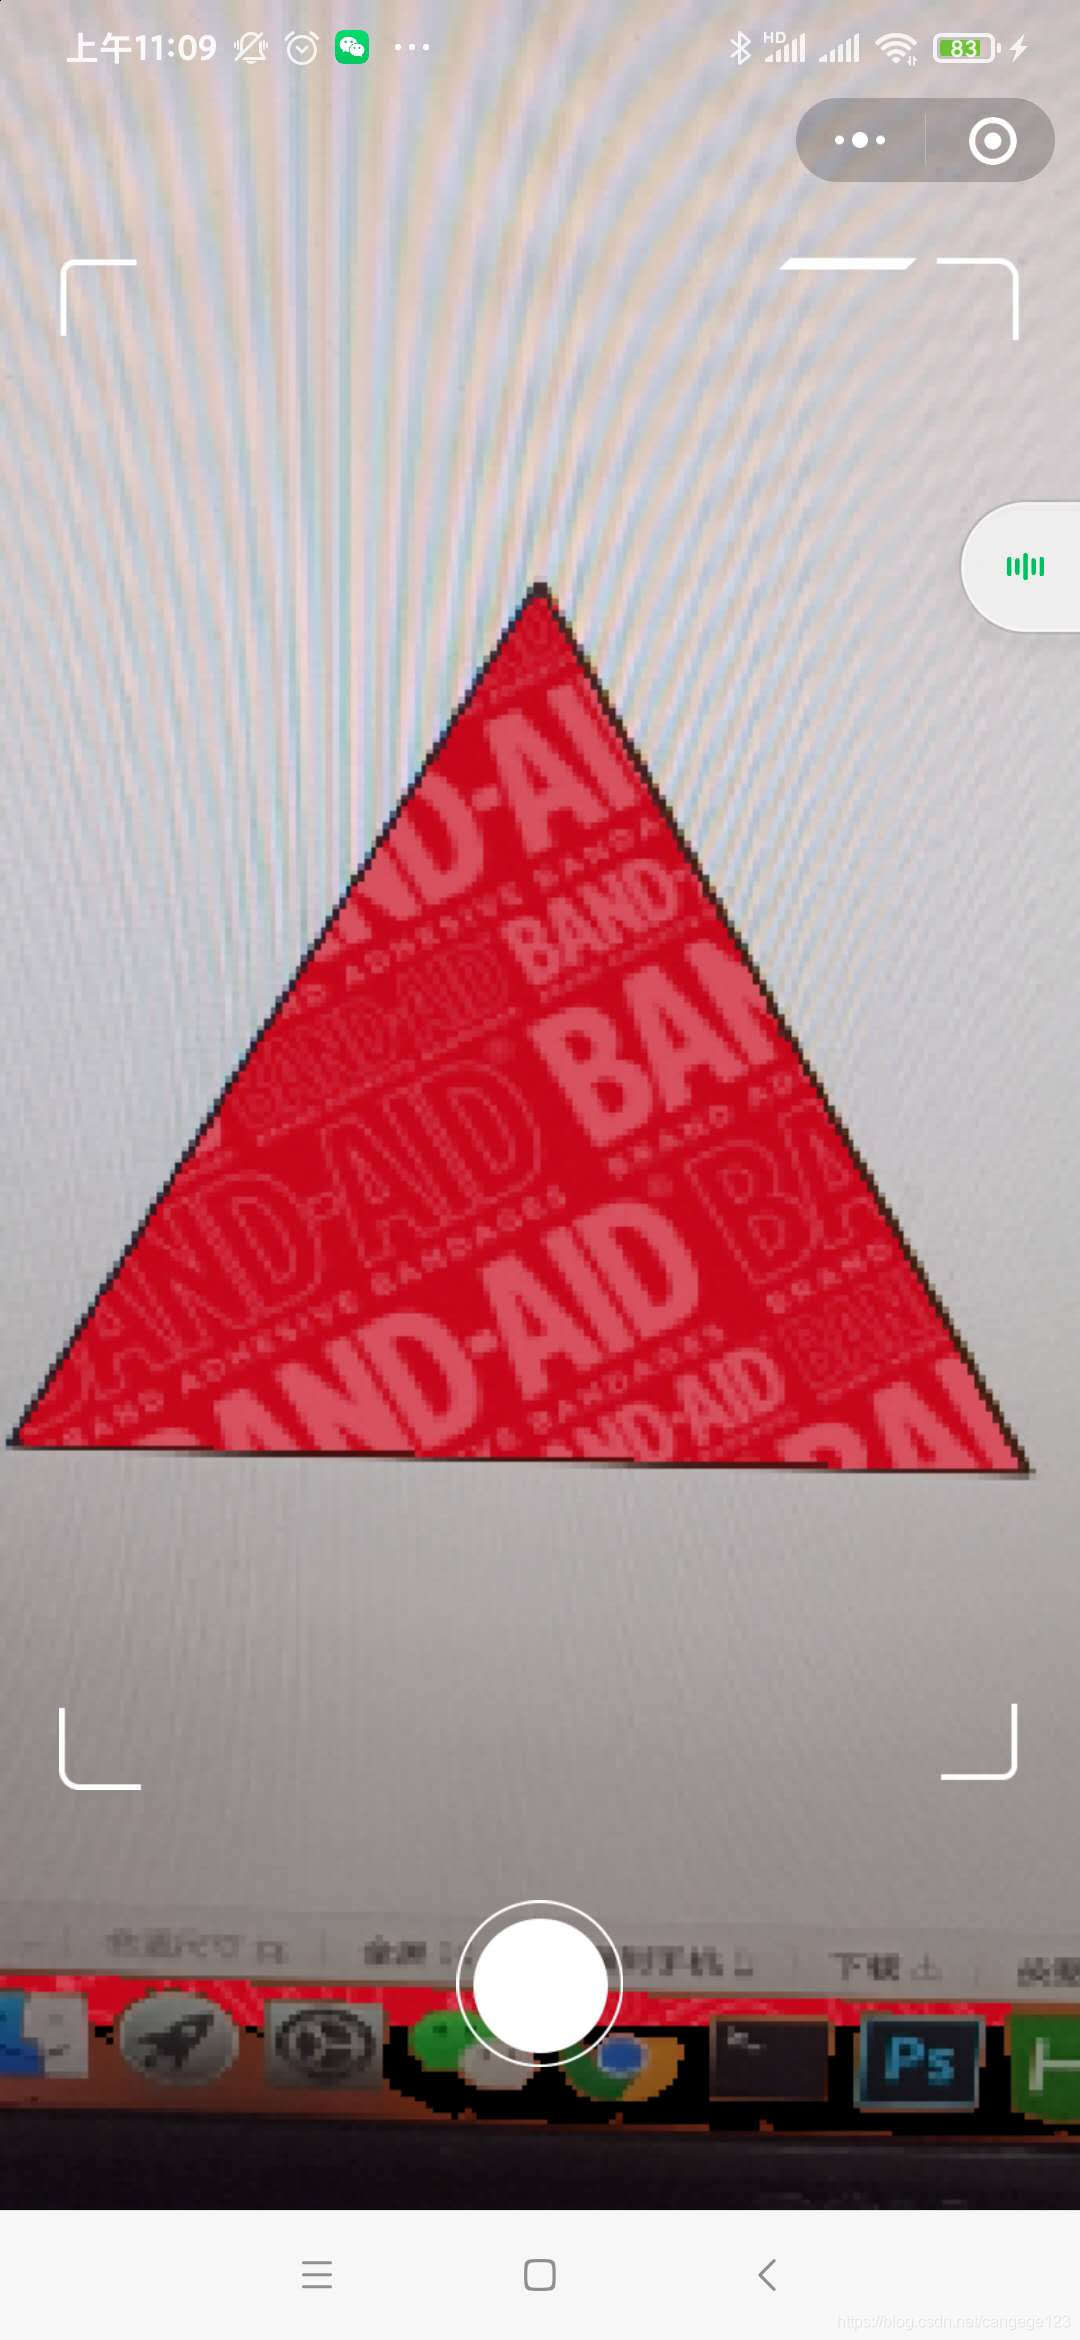
目标效果
小程序页面 ar
以下是ar.wxml
<canvas wx:if="{{cvsWith}}" id="webgl" type="webgl" canvas-id="canvas" style=" width: {{cvsWith}}px; left: -{{left}}px; height:100vh; ">
	<cover-view wx:if="{{showCover}}" class="covermask">
		<cover-image class="ani-border" style="width: 708rpx;height: 1145rpx; top:{{sysInfo.isIPX ? 100: 30}}rpx; position: absolute;left: 40rpx;right: 0;margin: 0 auto"
		 src="{{assetsUrl}}img/radio-border.png"></cover-image>
		<cover-image bindtap="takePhoto" style="width: 118rpx;height: 118rpx; bottom: 100rpx; position: absolute;left: 0;right: 0;margin: 0 auto"
		 src="{{assetsUrl}}img/radio-btn.png"></cover-image>
	</cover-view>
</canvas>
<!-- webgl的canvas,用来实时显示摄像头内容 -->
<camera device-position="back" flash="off" frame-size="small" binderror="error" style="width: 100vw; height:100vh;"></camera>
<!-- 开启摄像头,获取帧数据,必须使用 frame-size="small" 否则计算量太大导致卡顿-->
<canvas id="myCanvas" canvas-id="myCanvas" style="width: {{width}}px; height:{{height}}px;"></canvas>
<!-- 用来拍照获取大图 -->
样式代码 ar.wxss
page {
	height: 100vh;
	overflow: hidden;
	background-image: url(https://mediabook.oss-cn-shanghai.aliyuncs.com/bangdivr/img/pzbg.jpg);
	background-size: cover;
}
.photo-btn {
	width: 100%;
	height: 200rpx;
	position: absolute;
	top: 1150rpx;
}

.ani-border {
	animation: opacityborder .8s linear infinite;
}

@keyframes opacityborder {
	0% {
		opacity: 1;
	}

	50% {
		opacity: 0;
	}

	100% {
		opacity: 1
	}
}

.covermask {

	width: 750rpx;
	height: 100%;
	top: 0;
	margin: 0 auto;
	z-index: 99;
}
以下是ar.js
const vs =
	`
  attribute vec3 aPos;
  attribute vec2 aVertexTextureCoord;
  varying highp vec2 vTextureCoord;

  void main(void){
    gl_Position = vec4(aPos, 1);
    vTextureCoord = aVertexTextureCoord;
  }
`

const fs =
	`
  varying highp vec2 vTextureCoord;
  uniform sampler2D uSampler;

  void main(void) {
    gl_FragColor = texture2D(uSampler, vTextureCoord);
  }
`

const vertex = [
	-1, -1, 0.0,
	1, -1, 0.0,
	1, 1, 0.0,
	-1, 1, 0.0
]

const vertexIndice = [
	0, 1, 2,
	0, 2, 3
]

const texCoords = [
	0.0, 0.0,
	1.0, 0.0,
	1.0, 1.0,
	0.0, 1.0
]

function createShader(gl, src, type) {
	const shader = gl.createShader(type)
	gl.shaderSource(shader, src)
	gl.compileShader(shader)

	if (!gl.getShaderParameter(shader, gl.COMPILE_STATUS)) {
		console.error('Error compiling shader: ' + gl.getShaderInfoLog(shader))
	}
	return shader
}

const buffers = {}

function createRenderer(canvas, width, height) {
	const gl = canvas.getContext("webgl", {

		alpha: true,//开启canvas画布透明
		depth: true,
		stencil: true,
		antialias: true,
		premultipliedAlpha: true,
		preserveDrawingBuffer: false,
		powerPreference: 'default',
		failIfMajorPerformanceCaveat: false,
		xrCompatible: true

	})
	if (!gl) {
		console.error('Unable to get webgl context.')
		return
	}
	const info = wx.getSystemInfoSync()
	gl.canvas.width = info.pixelRatio * width
	gl.canvas.height = info.pixelRatio * height
	gl.viewport(0, 0, gl.drawingBufferWidth, gl.drawingBufferHeight)
	const vertexShader = createShader(gl, vs, gl.VERTEX_SHADER)
	const fragmentShader = createShader(gl, fs, gl.FRAGMENT_SHADER)
	const program = gl.createProgram()
	gl.attachShader(program, vertexShader)
	gl.attachShader(program, fragmentShader)
	gl.linkProgram(program)
	if (!gl.getProgramParameter(program, gl.LINK_STATUS)) {
		console.error('Unable to initialize the shader program.')
		return
	}
	gl.useProgram(program)

	const texture = gl.createTexture()
	gl.activeTexture(gl.TEXTURE0)
	gl.bindTexture(gl.TEXTURE_2D, texture)
	gl.pixelStorei(gl.UNPACK_FLIP_Y_WEBGL, true)
	gl.texParameteri(gl.TEXTURE_2D, gl.TEXTURE_MAG_FILTER, gl.NEAREST)
	gl.texParameteri(gl.TEXTURE_2D, gl.TEXTURE_MIN_FILTER, gl.NEAREST)
	gl.texParameteri(gl.TEXTURE_2D, gl.TEXTURE_WRAP_S, gl.CLAMP_TO_EDGE)
	gl.texParameteri(gl.TEXTURE_2D, gl.TEXTURE_WRAP_T, gl.CLAMP_TO_EDGE)
	gl.bindTexture(gl.TEXTURE_2D, null)

	buffers.vertexBuffer = gl.createBuffer()
	gl.bindBuffer(gl.ARRAY_BUFFER, buffers.vertexBuffer)
	gl.bufferData(gl.ARRAY_BUFFER, new Float32Array(vertex), gl.STATIC_DRAW)

	buffers.vertexIndiceBuffer = gl.createBuffer()
	gl.bindBuffer(gl.ELEMENT_ARRAY_BUFFER, buffers.vertexIndiceBuffer)
	gl.bufferData(gl.ELEMENT_ARRAY_BUFFER, new Uint16Array(vertexIndice), gl.STATIC_DRAW)

	const aVertexPosition = gl.getAttribLocation(program, 'aPos')
	gl.vertexAttribPointer(aVertexPosition, 3, gl.FLOAT, false, 0, 0)
	gl.enableVertexAttribArray(aVertexPosition)

	buffers.trianglesTexCoordBuffer = gl.createBuffer()
	gl.bindBuffer(gl.ARRAY_BUFFER, buffers.trianglesTexCoordBuffer)
	gl.bufferData(gl.ARRAY_BUFFER, new Float32Array(texCoords), gl.STATIC_DRAW)

	const vertexTexCoordAttribute = gl.getAttribLocation(program, "aVertexTextureCoord")
	gl.enableVertexAttribArray(vertexTexCoordAttribute)
	gl.vertexAttribPointer(vertexTexCoordAttribute, 2, gl.FLOAT, false, 0, 0)

	const samplerUniform = gl.getUniformLocation(program, 'uSampler')
	gl.uniform1i(samplerUniform, 0)

	return (arrayBuffer, width, height) => {
		gl.bindTexture(gl.TEXTURE_2D, texture)
		gl.texImage2D(gl.TEXTURE_2D, 0, gl.RGBA, width, height, 0, gl.RGBA, gl.UNSIGNED_BYTE, arrayBuffer)
		gl.drawElements(gl.TRIANGLES, 6, gl.UNSIGNED_SHORT, 0)
	}
}
let bgData = null;//背景图的imagedata,暂时没用
let zhen = 0;//帧数,控制绘制画布的频率
let taped = false; //点击了拍照
import {
	assetsUrl
} from "../../utils/config"
//assetsUrl="https://mediabook.oss-cn-shanghai.aliyuncs.com/bangdivr/"
const app = getApp()
Page({

	/**
	 * 页面的初始数据
	 */
	data: {
		width: 288,//跟camera的frame。size尺寸保存一直
		height: 352,
		win: {},
		scale: 1,
		cvsWith: 0,
		left: 0,
		assetsUrl: assetsUrl,
		sysInfo: app.globalData.sysInfo,
		showCover: false,

	},

	/**
	 * 生命周期函数--监听页面加载
	 */
	onLoad: function(options) {

		let that = this;
		wx.getSystemInfo({
			success: (res) => {
				this.setData({
					win: {
						width: res.windowWidth,
						height: res.windowHeight
					},
					cvsWith: (res.windowHeight / this.data.height * this.data.width),
					left: (res.windowHeight / this.data.height * this.data.width - res.windowWidth) / 2
				})
				this.startCamera()


			}
		})

	},
	onShow() {
		taped = false;
	},
	startCamera() {
		const selector = wx.createSelectorQuery()
		selector.select('#webgl')
			.node(this.init.bind(this))
			.exec()

		setTimeout(() => {
			this.setData({
				showCover: true
			})
		}, 500)
	},

	init(res) {
		const canvas = res.node
		const context = wx.createCameraContext()
		const render = createRenderer(canvas, this.data.width, this.data.height)

		if (!render || typeof render !== 'function') return

		const listener = context.onCameraFrame((frame) => {
			zhen++;
			if (zhen % 2 != 0) {
				return
			}
			if (taped) {
				return
			}
			let imgData = (new Uint8Array(frame.data))//获取帧数据
			let nImgData = new Uint8Array(imgData.length)//获取到的帧数据不能直接使用,要重新创建一个长度一致的数据,否则ios会出现闪烁

			for (var i = 0; i < imgData.length; i += 4) {

				let pixel = {
					r: imgData[i],
					g: imgData[i + 1],
					b: imgData[i + 2],
					a: imgData[i + 3]
				}
				if (pixel.r >= 100 && pixel.r >= pixel.g * 2 && pixel.r >= pixel.b * 2) { //判断是否红色,这里粗略判断

					nImgData[i] = 0;
					nImgData[i + 1] = 0;
					nImgData[i + 2] = 0;
					nImgData[i + 3] = 0;
					//红色替换成透明色
				} else {
					nImgData[i] = imgData[i];
					nImgData[i + 1] = imgData[i + 1];
					nImgData[i + 2] = imgData[i + 2];
					nImgData[i + 3] = imgData[i + 3];
					//非红色不变
				}

			}

			//重新渲染
			render((nImgData), frame.width, frame.height)

		})

		listener.start()
	},
	takePhoto() {
		//拍照用
		taped = true;
		let that = this
		wx.showLoading({
			title: "生成中..."
		})
		let camera = wx.createCameraContext();
		camera.takePhoto({
			quality: 'high',
			success: (res) => {
				wx.hideLoading()
				wx.navigateTo({
					url: "../takephoto/takephoto?url=" + encodeURIComponent(res.tempImagePath)
				})
			}
		})
	},


})
实测iphone8有点卡顿
如果解决了你的问题或者提供了思路,请给我点个赞,😜


 1万+
1万+


 被折叠的 条评论
为什么被折叠?
被折叠的 条评论
为什么被折叠?
 到【灌水乐园】发言


