


Ubuntu20.10中安装boost 1.75库
一、下载Boost 1.75源代码
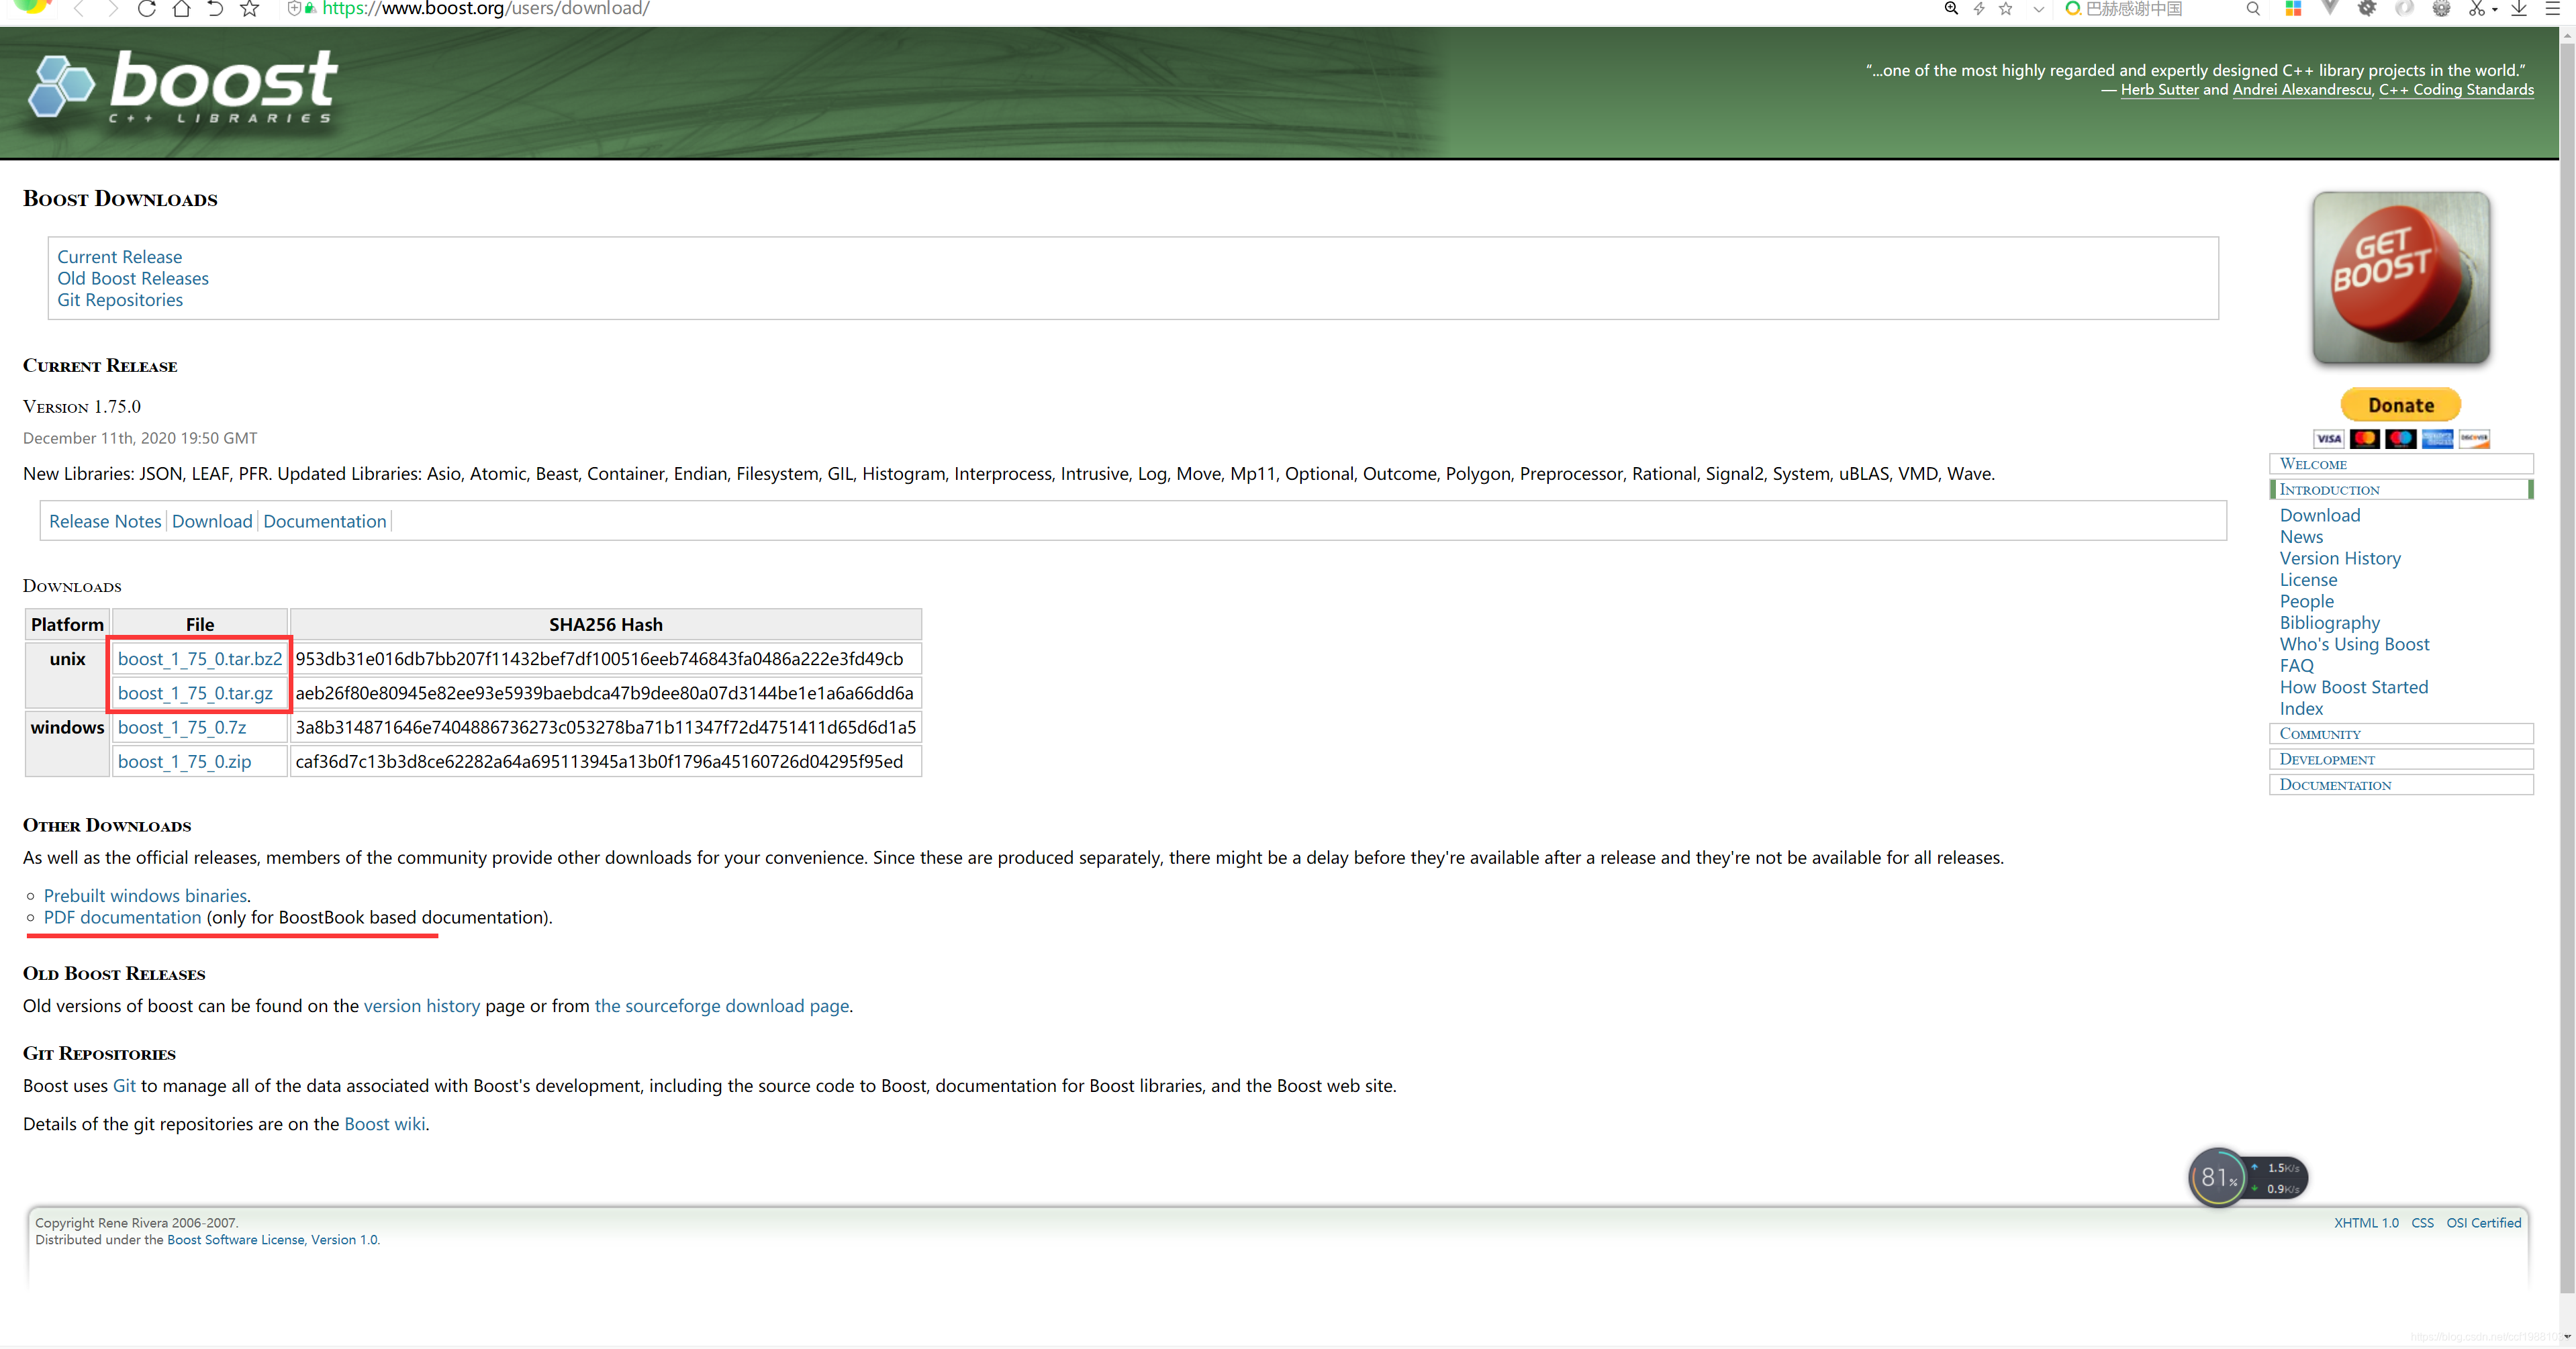
首先上Boost官网下载Boost 1.75的源代码boost_1_75_0.tar.gz,如下图所示:
二、编译安装boost 1.75源代码
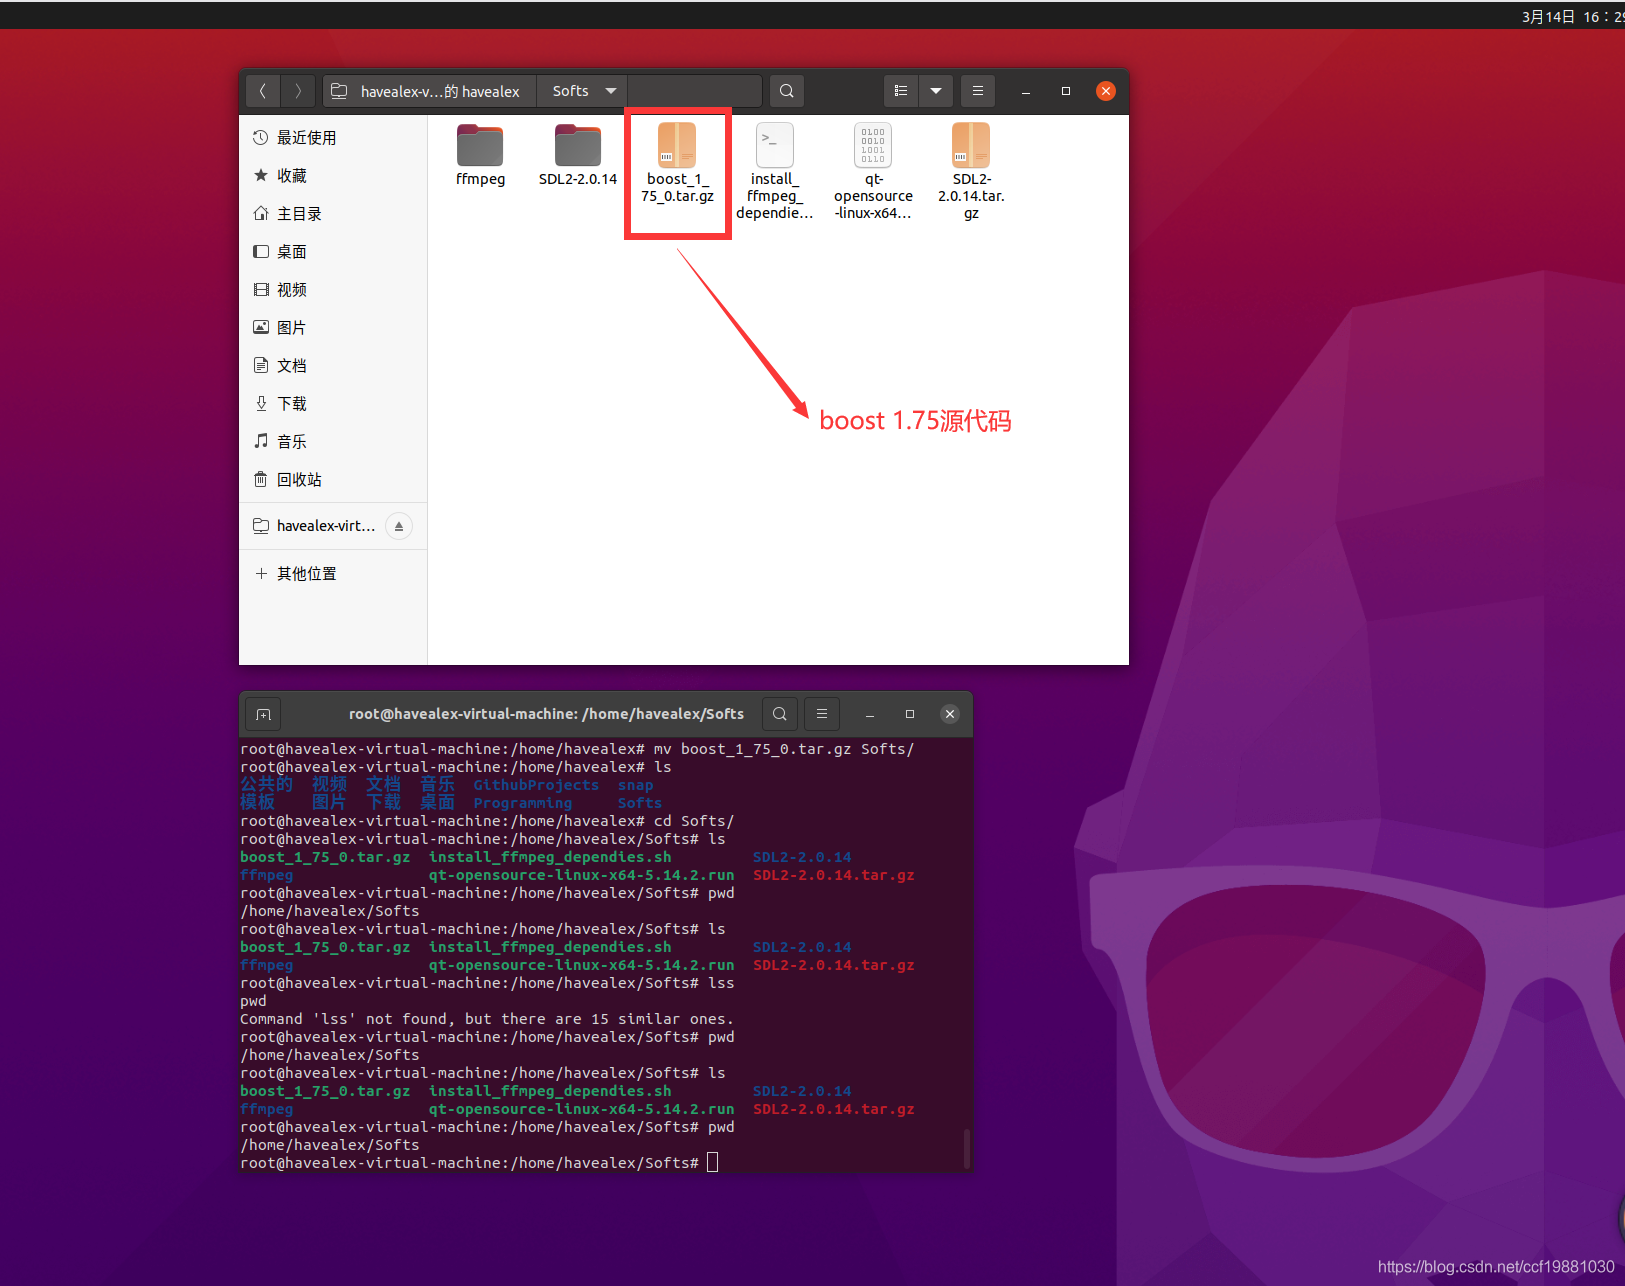
将从boost_1_75_0.tar.gz下载后的boost 1.75源代码,如下图所示:
1、解压boost_1_75_0.tar.gz源代码
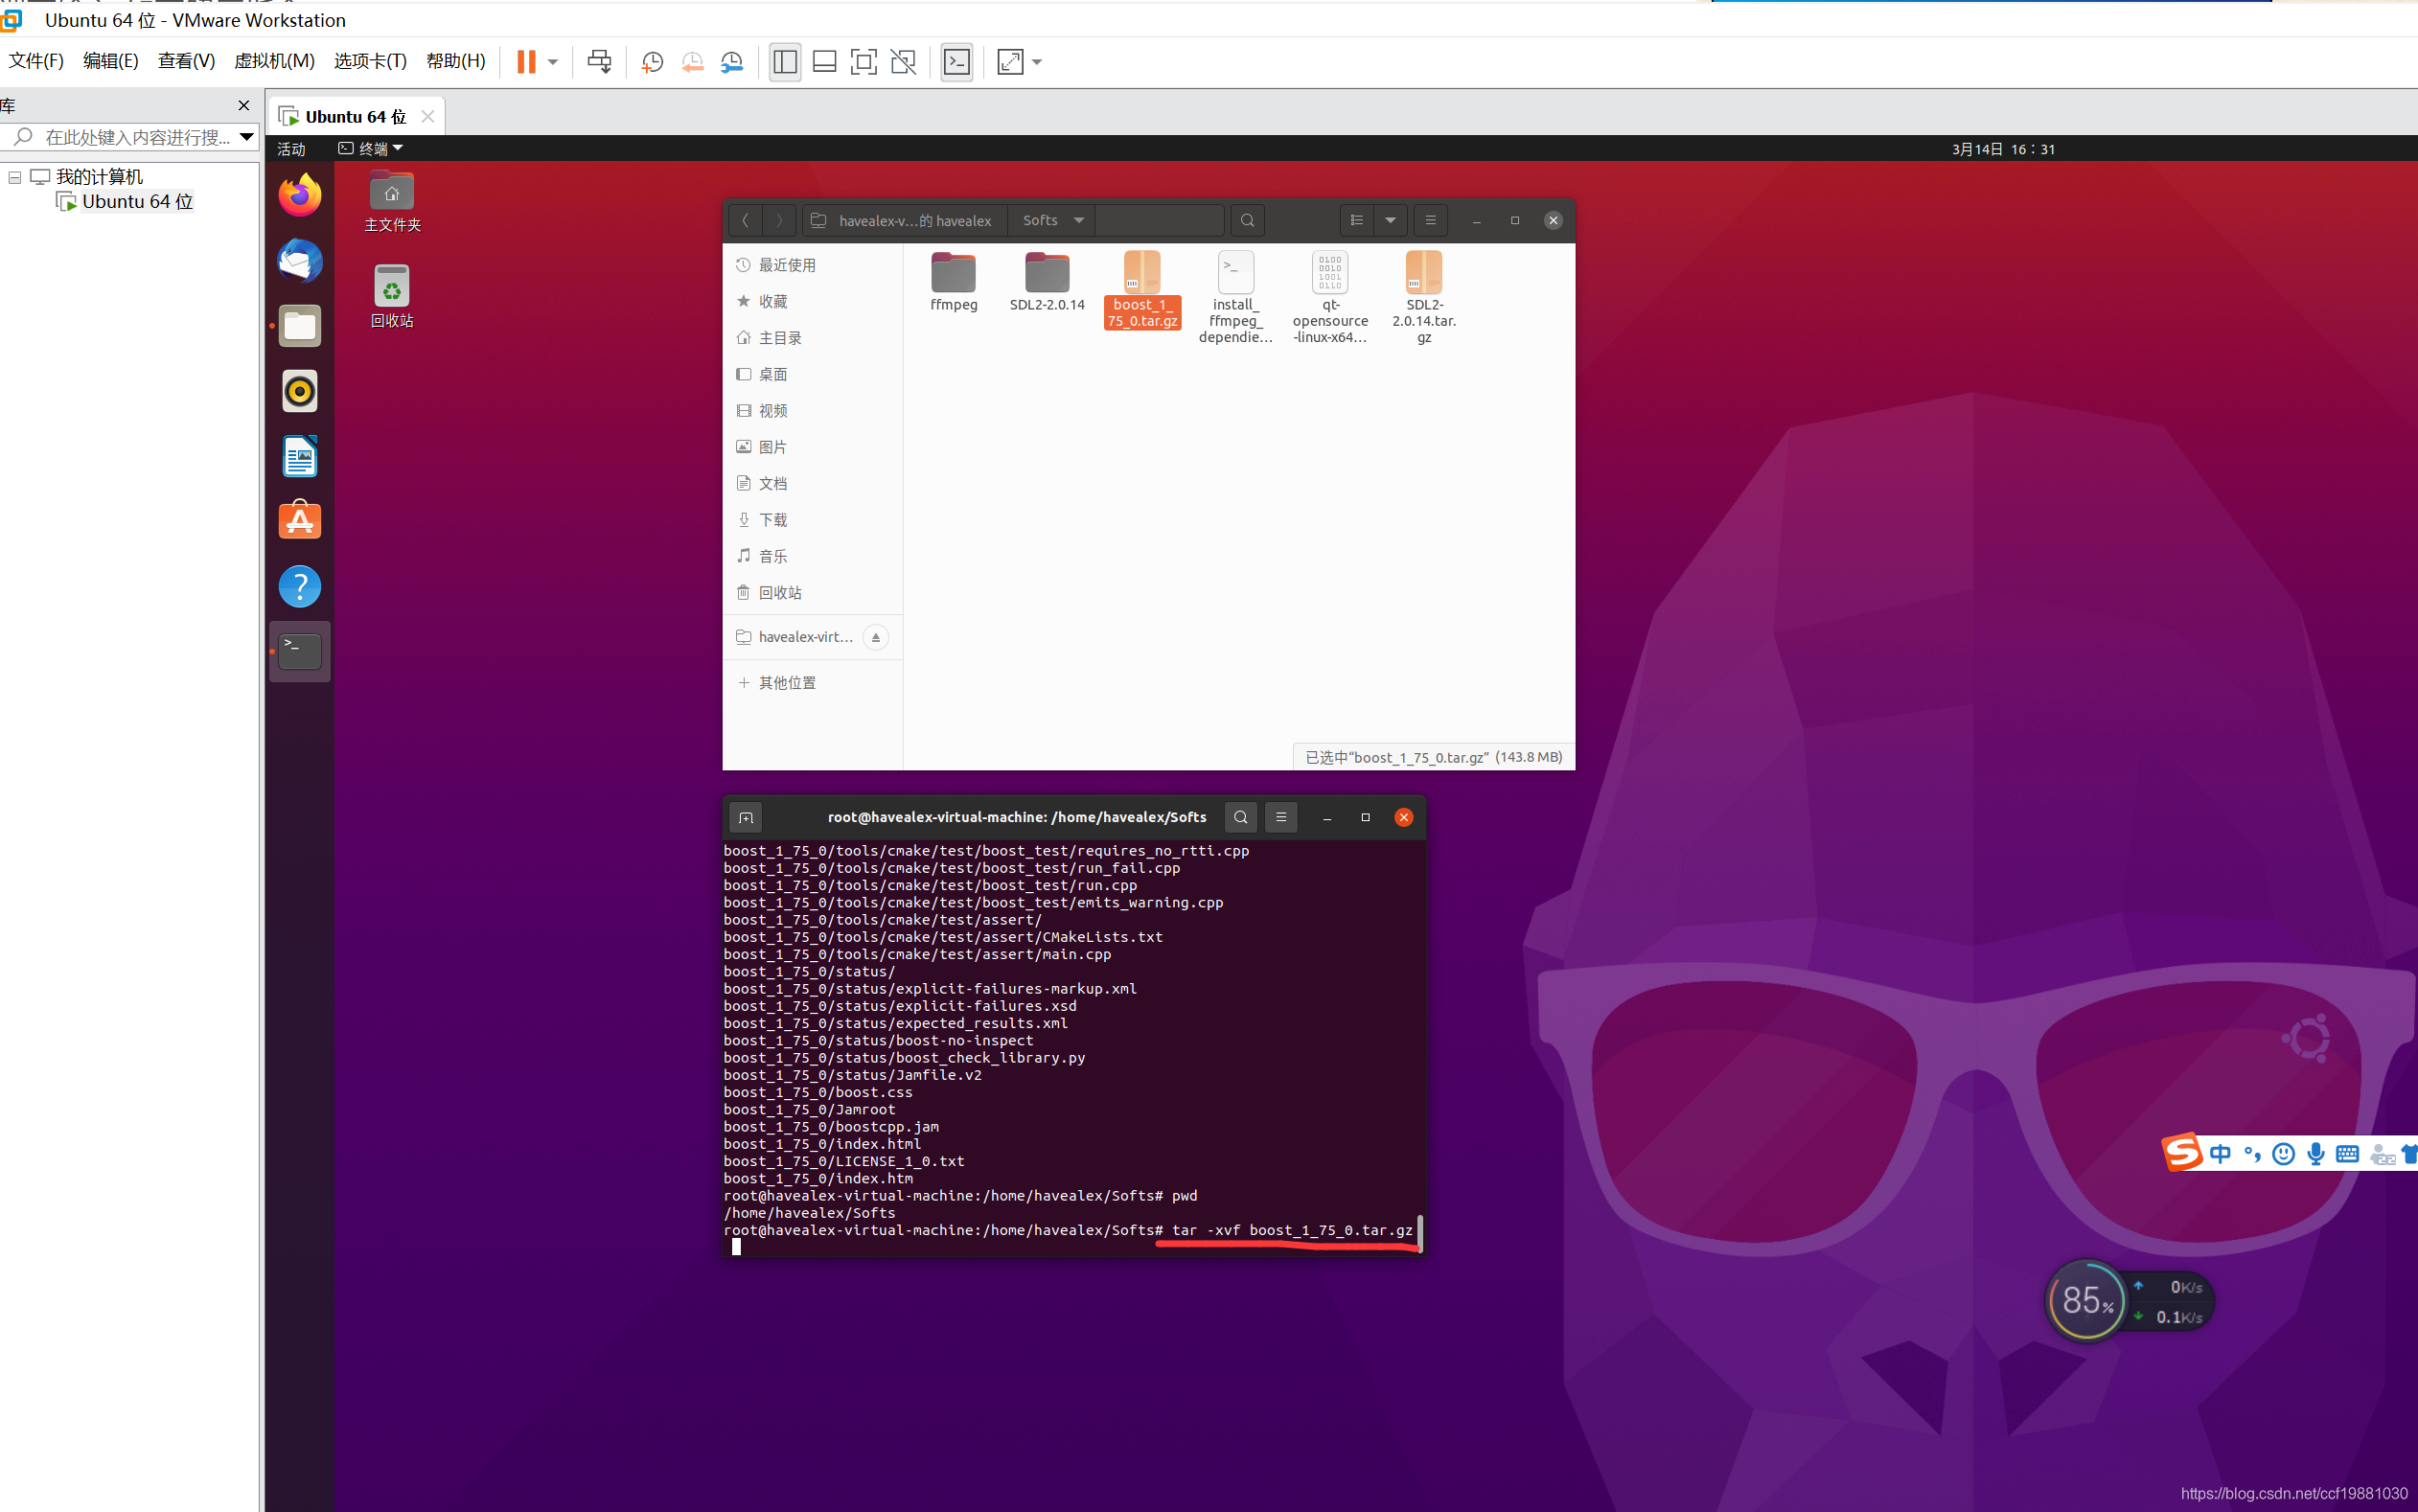
cd
tar -xvf boost_1_75_0.tar.gz
2、运行bootstrap.sh脚本:
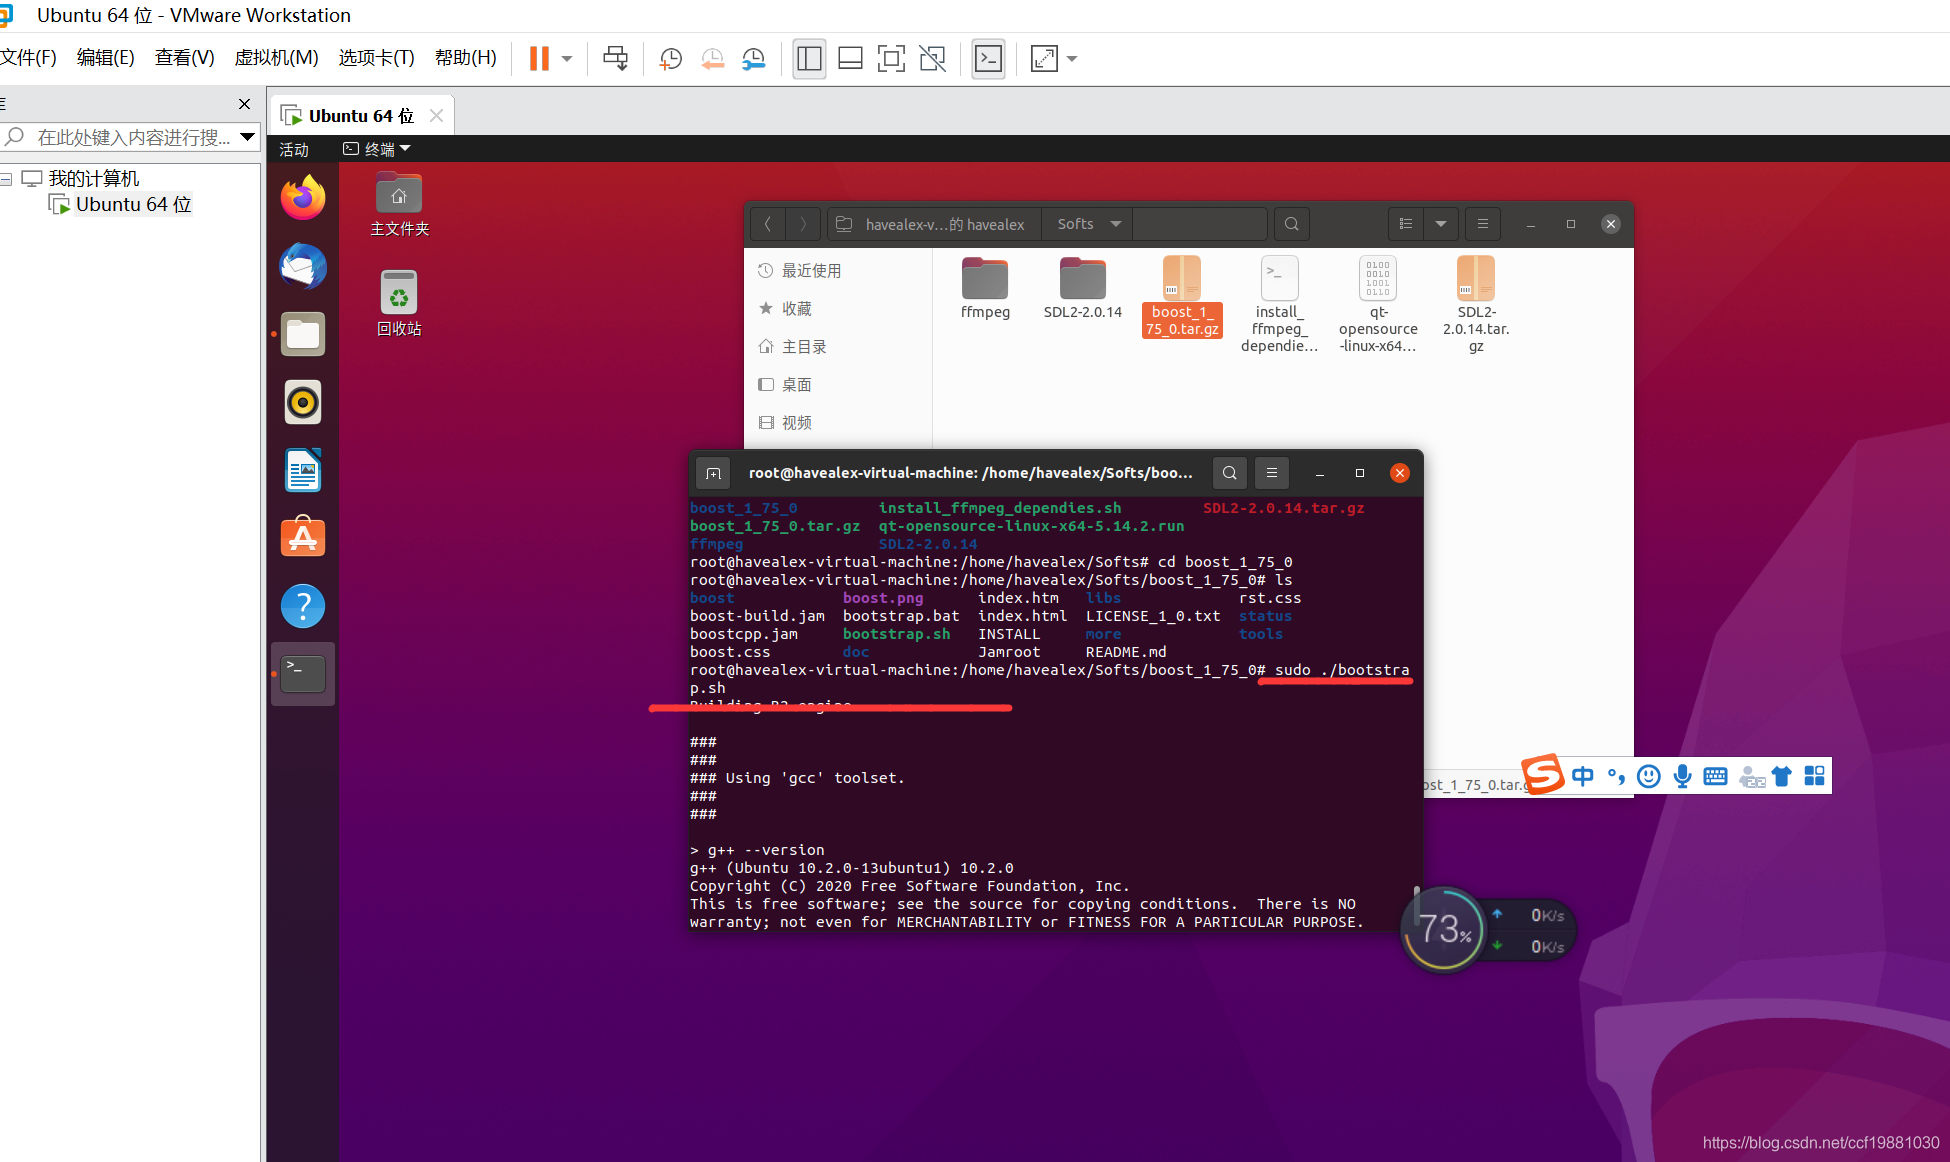
./bootstrap.sh
也可以添加prefix参数:
./bootstrap.sh --with-libraries=all --with-toolset=gcc
·–with-libraries·指定编译哪些·boost·库,all的话就是全部编译,只想编译部分库的话就把库的名称写上,之间用 , 号分隔即可.
也可以添加prefix参数, 自定义生成的头文件和二进制库文件目录:
./booststrap.sh --prefix /usr
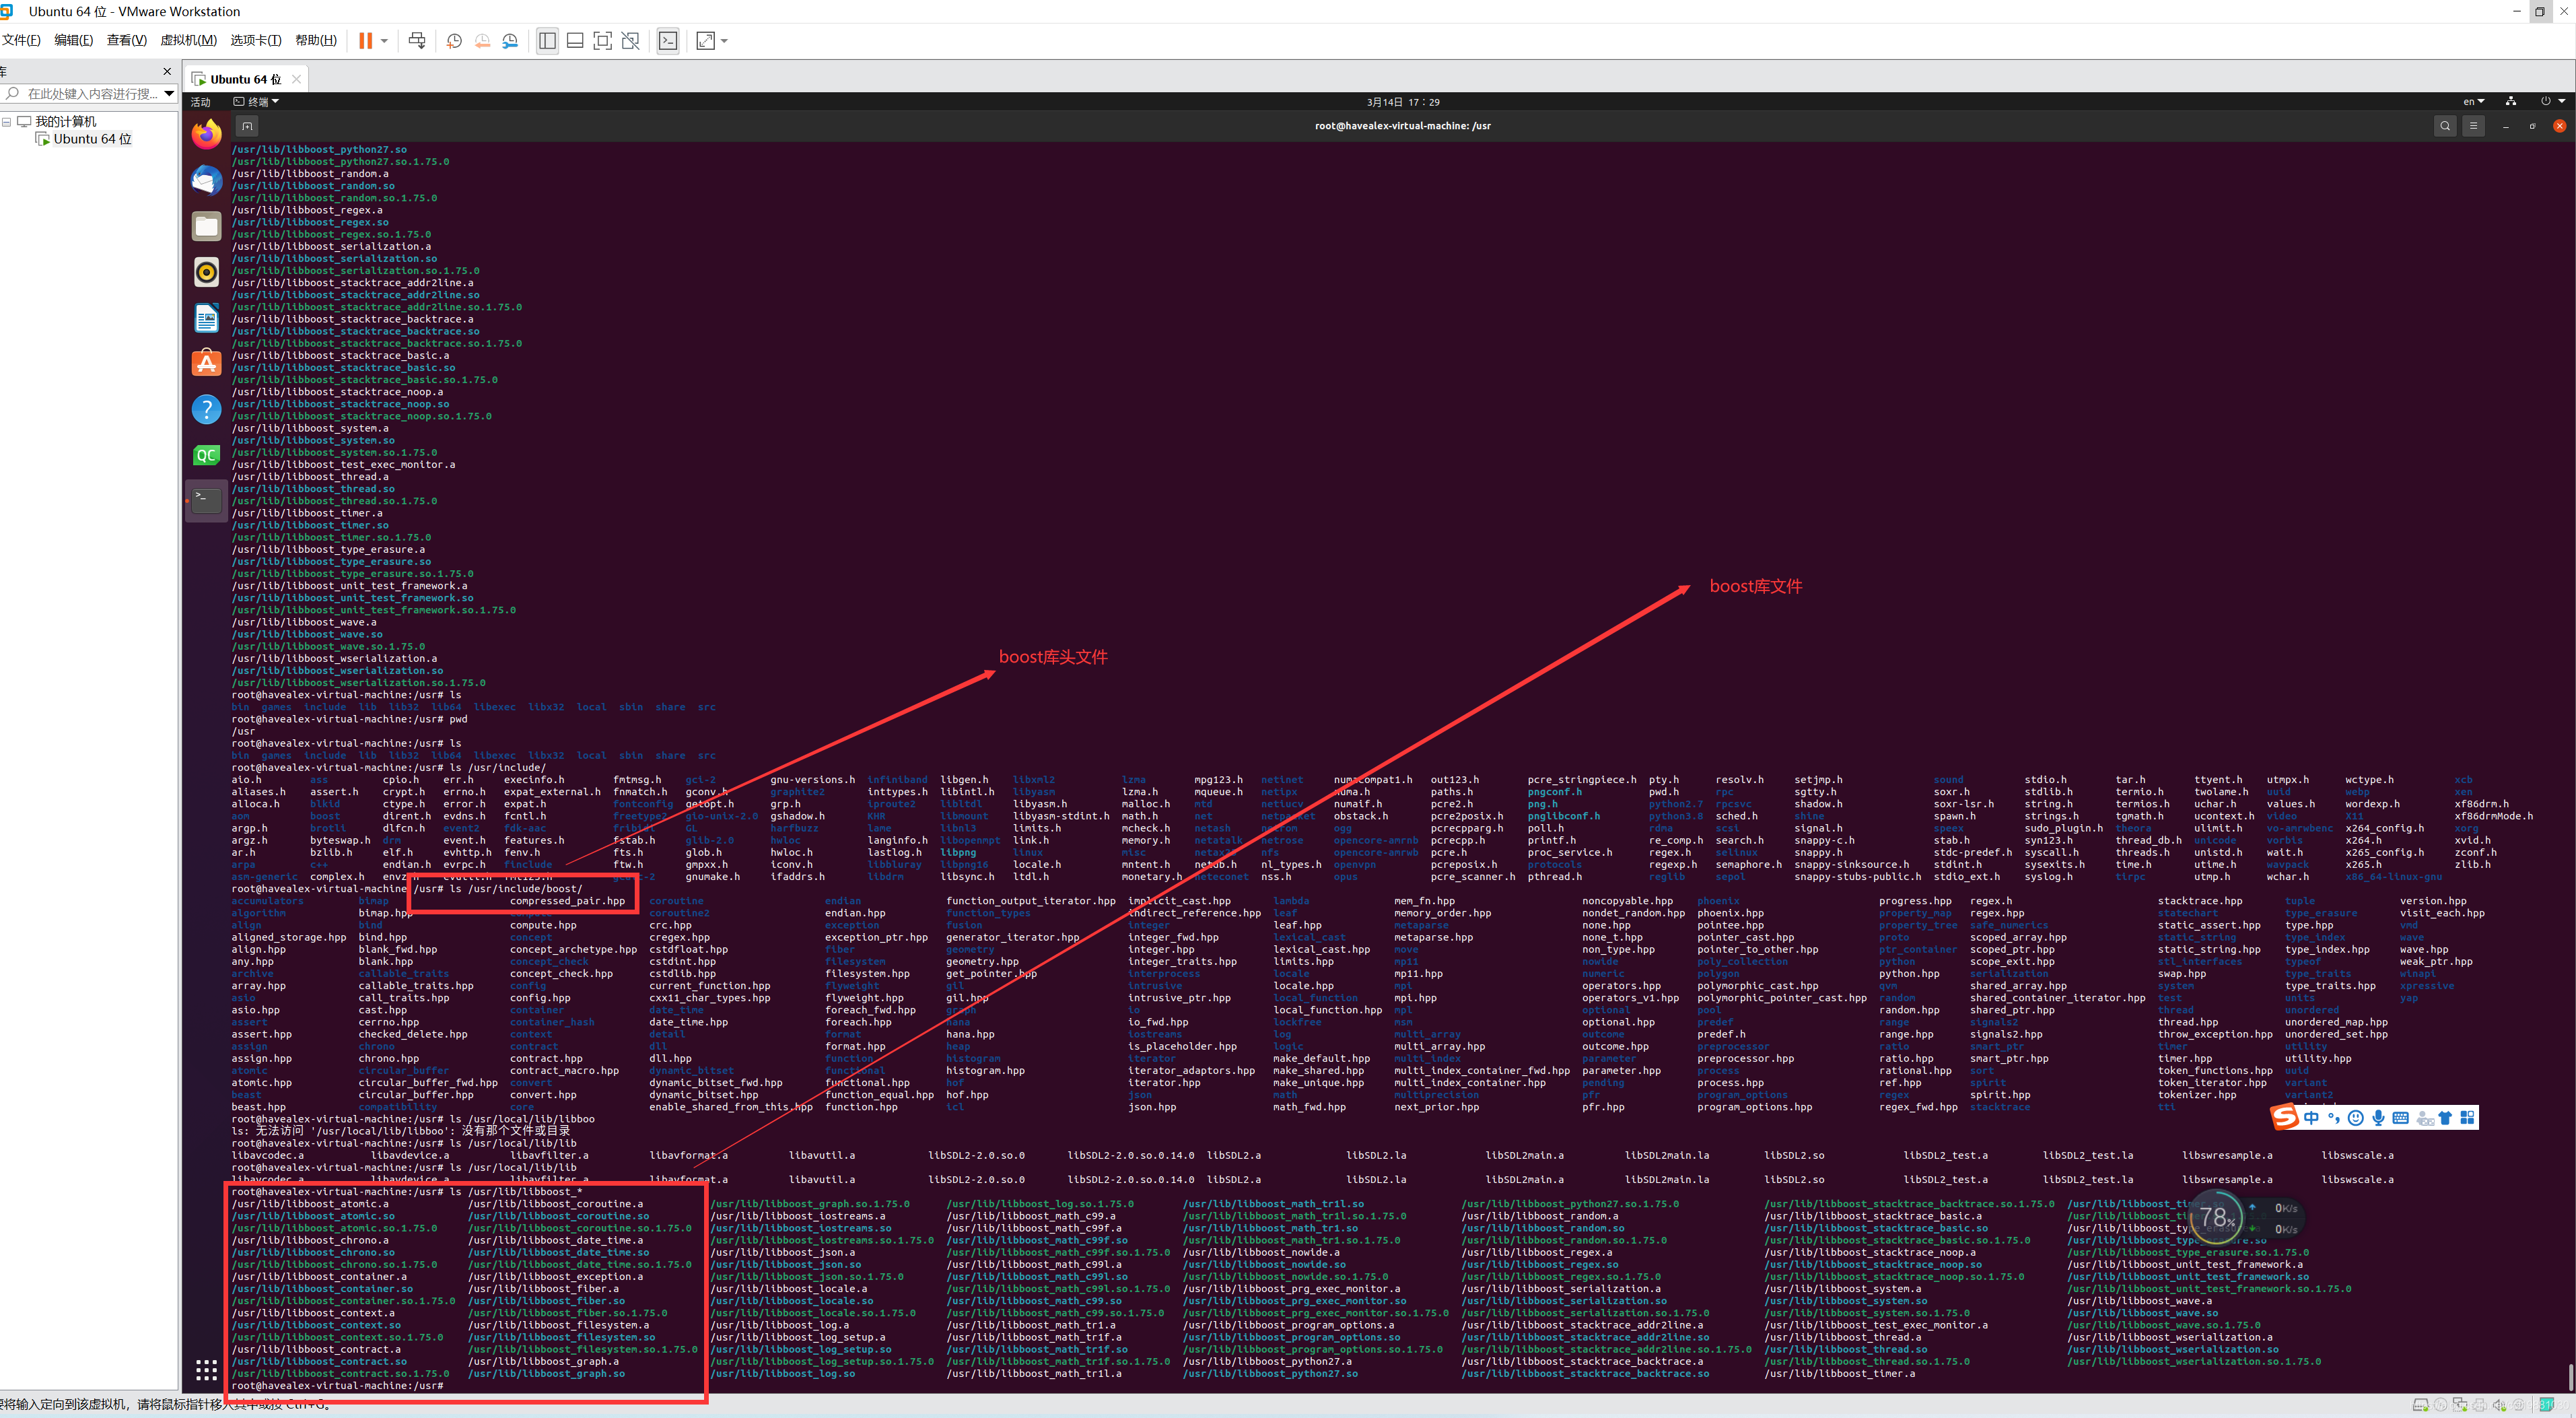
则生成的头文件在/usr/lib/include/boost中, 二进制库文件在/usr/lib目录中。
3、接下来,根据提示,执行以下命令开始进行boost的编译:
./b2 toolset=gcc
之后,进行安装指令:
./b2 install
三、测试使用boost库
测试boost线程库的源代码如下:
#include <boost/thread/thread.hpp> //包含boost头文件
#include <iostream>
#include <cstdlib>
using namespace std;

volatile bool isRuning = true;

void func1()
{
    static int cnt1 = 0;
    while(isRuning)
    {
        cout << "func1:" << cnt1++ << endl;
        sleep(1);
    }
}

void func2()
{
    static int cnt2 = 0;
    while(isRuning)
    {
        cout << "\tfunc2:" << cnt2++ << endl;
        sleep(2);
    }
}

int main()
{
    boost::thread thread1(&func1);
    boost::thread thread2(&func2);

    system("read");
    isRuning = false;

    thread2.join();
    thread1.join();
    cout << "exit" << endl;
    return 0;
}
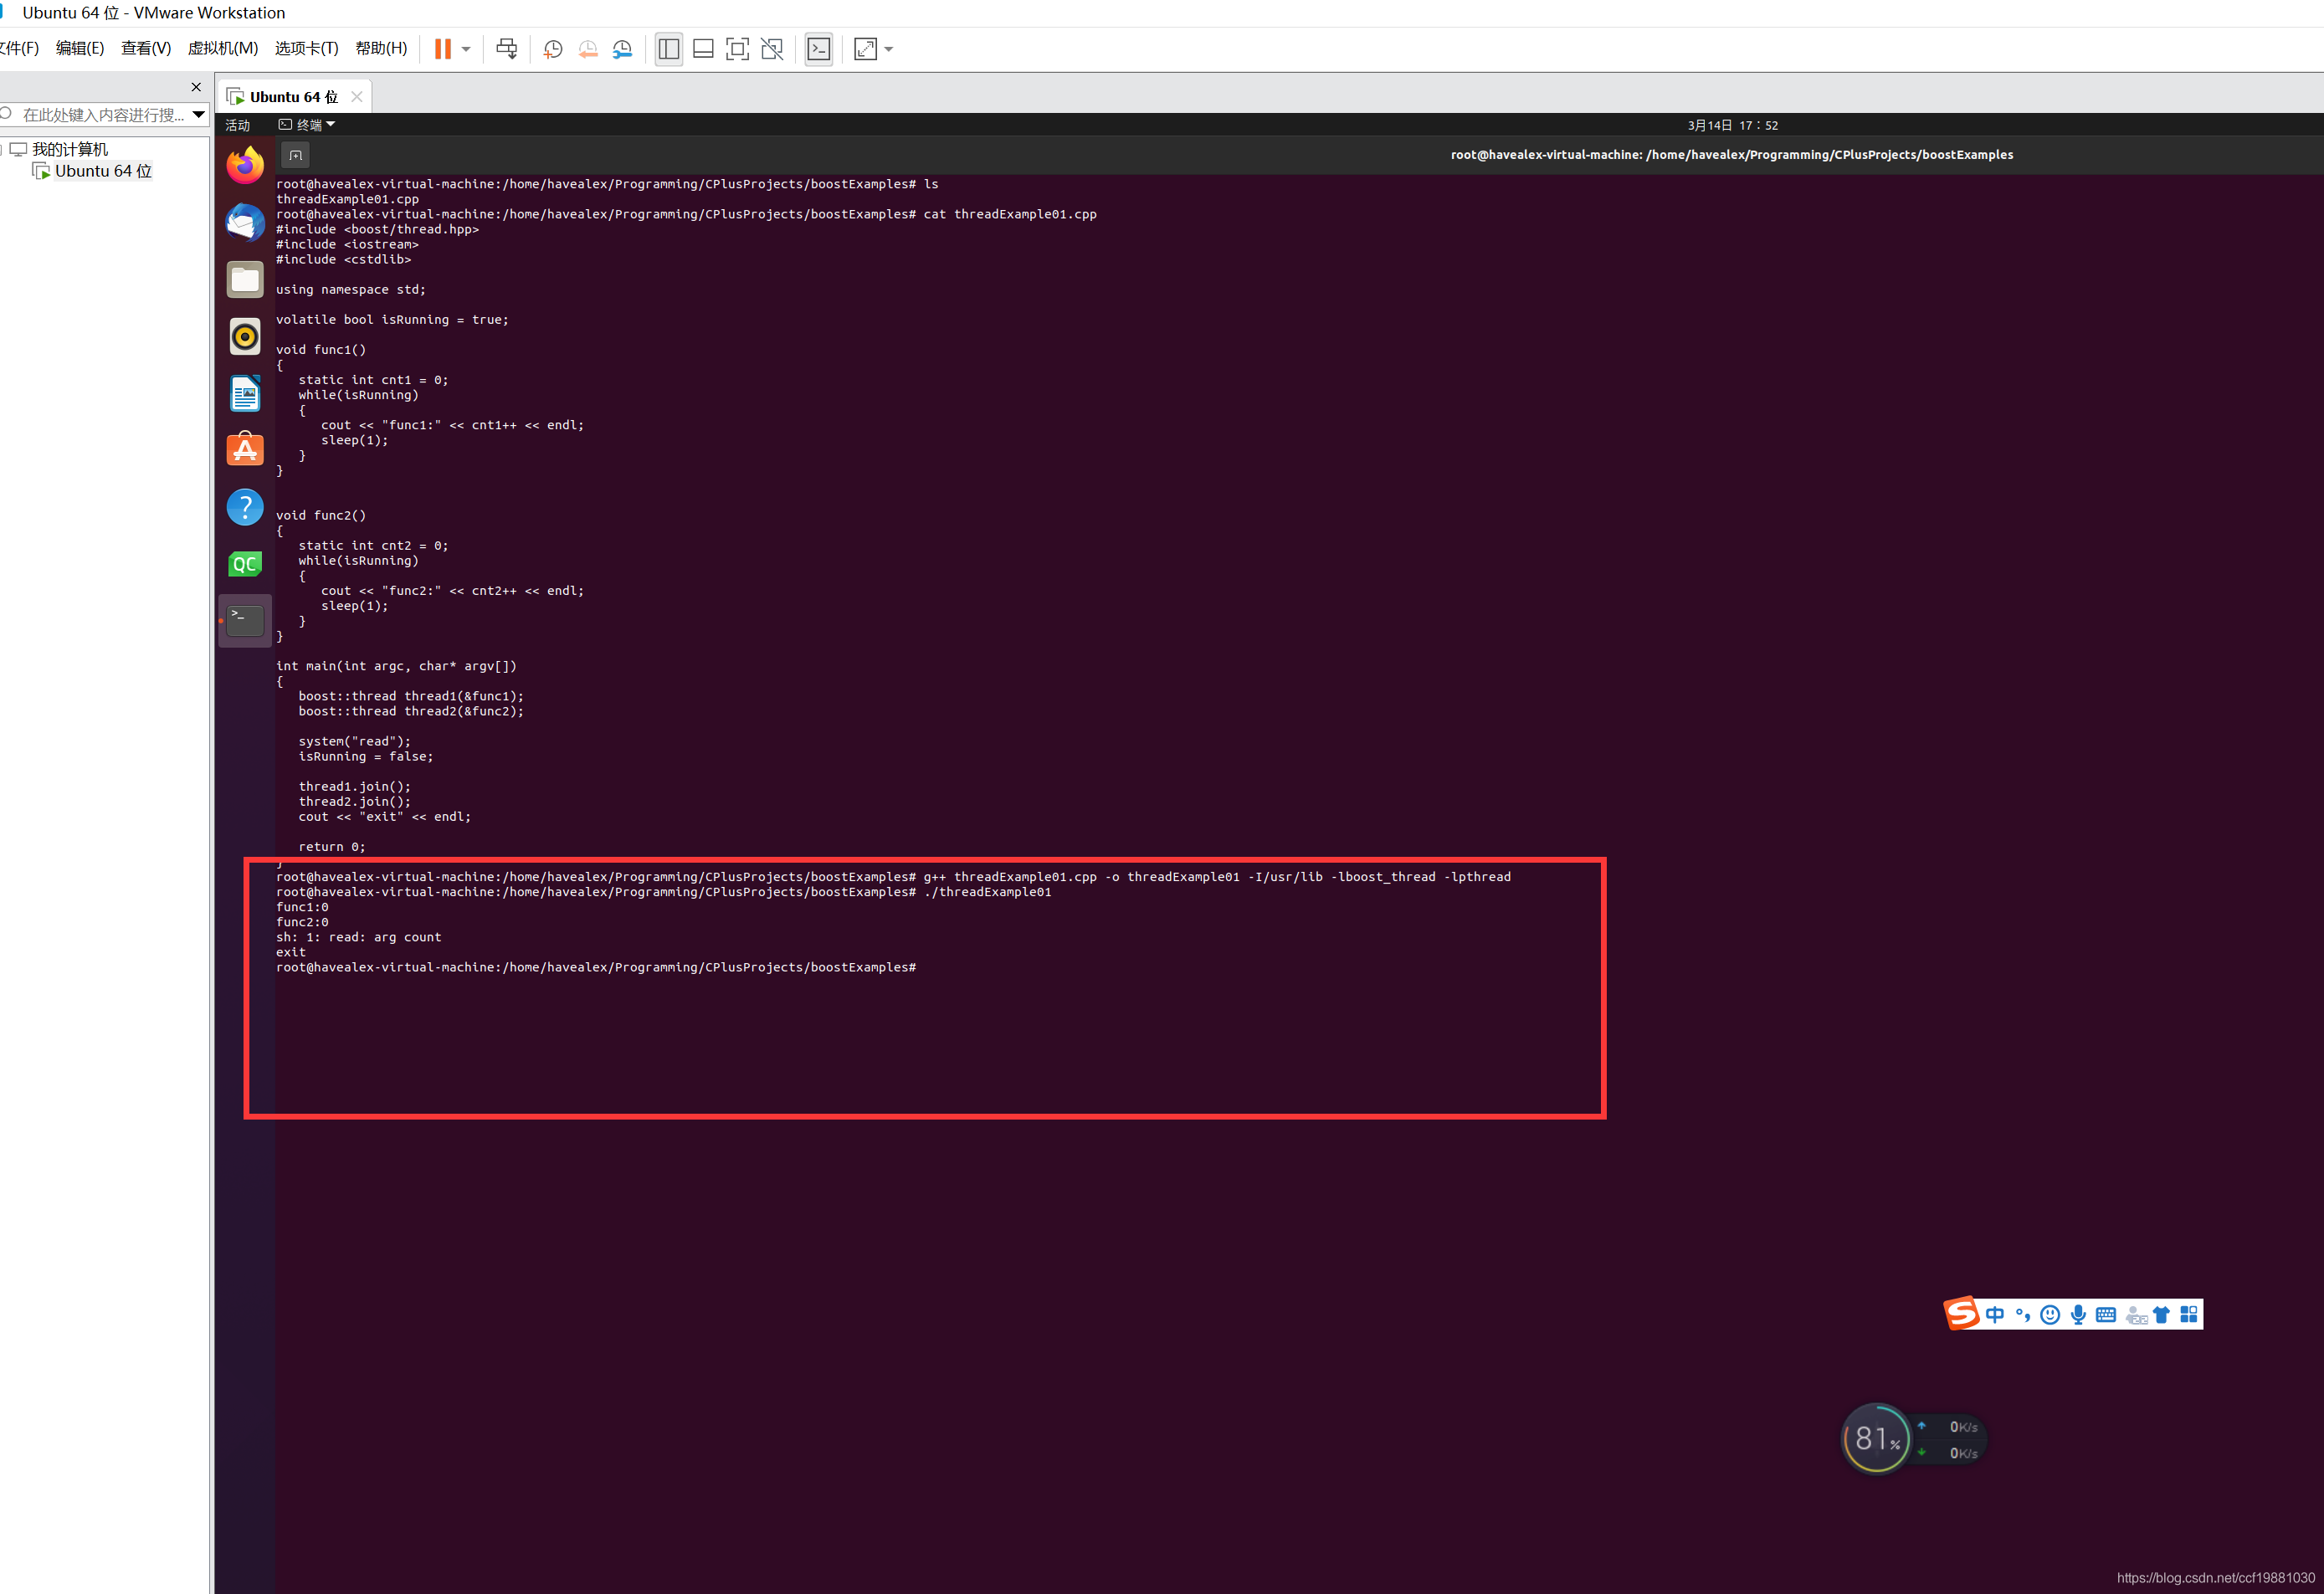
为了方便,我把boost 1.75库安装到了/usr目录下,执行命令g++ threadExample01.cpp -o threadExample01 -I/usr/lib -lboost_thread -lpthread运行程序,生成了threadExample01可执行程序,然后执行./threadExample01运行程序,结果如下图所示:


 461
461


 被折叠的 条评论
为什么被折叠?
被折叠的 条评论
为什么被折叠?
 到【灌水乐园】发言


