


接着第二话的tableview来说,设计tableview的cell。tableview的datasource是UItableViewDataSource,代理方法是不是UItableView,而是用tableView,方法很多,我们选取我们需要的。
使用第二话的代码,下面来试一下改变行的高度。使用代理方法如下:
func tableView(tableView: UITableView, heightForRowAtIndexPath indexPath: NSIndexPath) -> CGFloat {
        return 80
    }
行高被设定成了80,然后在每一行的左侧添加图片
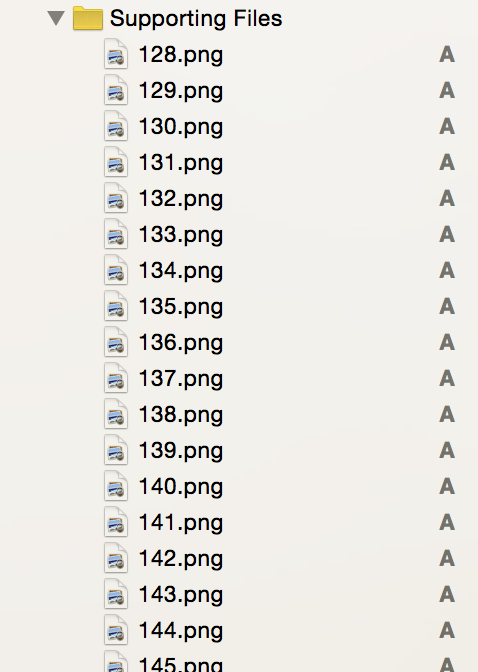
首先导入一批图片
 var restaurantNames = ["cg1","cg2","cg3","cg4","cg5","cg6","cg7","cg8","cg9","cg10","cg11"]
    var restaurantImages =
    ["128.png","129.png","130.png","131.png","132.png","133.png","134.png","135.png","136.png","137.png","138.png","139.png","140.png"]
创建一个集合,将图片与cell显示的文字对应起来。然后回到关于cell的代理方法中,也就是那个返回值类型是“UItableViewCell”的tableview,增加代码如下:
func tableView(tableView: UITableView, cellForRowAtIndexPath indexPath: NSIndexPath) -> UITableViewCell {
        let identiString = "Cell"
        var cell = UITableViewCell(style: UITableViewCellStyle.Default, reuseIdentifier: identiString)
        cell.textLabel?.text = restaurantNames[indexPath.row]
        var imageName = restaurantImages[indexPath.row]
        cell.imageView?.image = UIImage(named: imageName)

        return cell
    }
运行,效果如图:
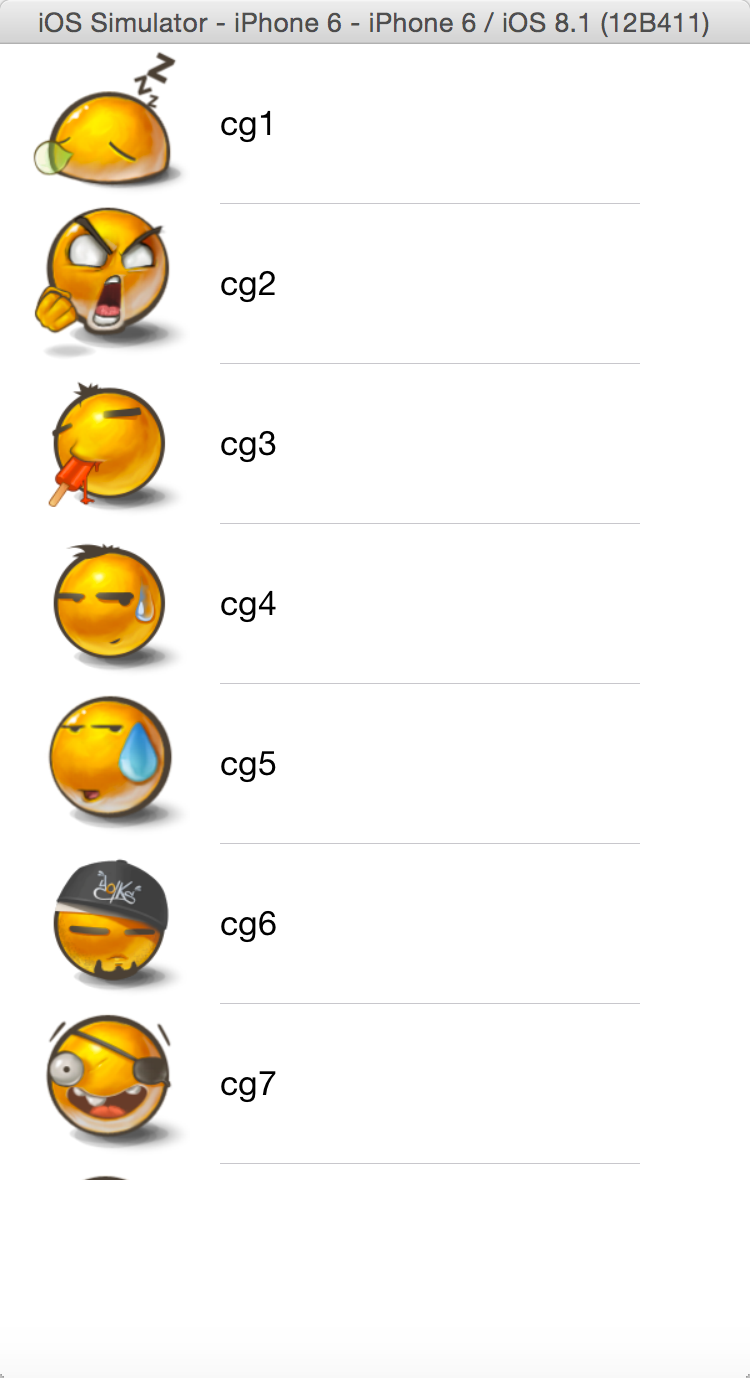
怎么样,是不是很炫酷呢?
imageView还有很多属性可以设置,大家可以自己去尝试,如果你用的是方形的图片但是你想改成圆角的,可以用imageView.layer.cornerRadius来设置,并且要把imageView.layer.masksToBounds设置为true。
即便你没有定义过imageView的textLabel或者imageView,它们本身就已经存在于tableview中的。如果我们每个Cell的大标题下面还需要小标题的话,可以进行如下操作,将cell初始化时的Style选项由Default改成Subtitle。在代码中增加一行detailTextLabel的设置,修改后的代码如下:
func tableView(tableView: UITableView, cellForRowAtIndexPath indexPath: NSIndexPath) -> UITableViewCell {
        let identiString = "Cell"
        var cell = UITableViewCell(style: UITableViewCellStyle.Subtitle, reuseIdentifier: identiString)
        cell.textLabel?.text = restaurantNames[indexPath.row]
        var imageName = restaurantImages[indexPath.row]
        cell.imageView?.image = UIImage(named: imageName)
       cell.detailTextLabel?.text = "hello"
        return cell
    }
运行试试效果

还有一些好玩的东西,我们可以设置accessoryType的属性,比如当设置为如下代码时
cell.accessoryType = UITableViewCellAccessoryType.Checkmark效果如图:

当设置为如下代码时
cell.accessoryType = UITableViewCellAccessoryType.DetailButton显示效果为

不一一列举了,感兴趣的小伙伴们请自己尝试,常用Iphone的同学是不是特别熟悉?
有时候我们不想用原生的设置,就是任性没办法,那我们下一话来讲解cell的自定义


 被折叠的 条评论
为什么被折叠?
被折叠的 条评论
为什么被折叠?
 到【灌水乐园】发言


