上一话中我们设置了地图定位,最后把地图定位界面改成了导航栏呈现,导航栏的返回按钮我们想要改成没有字体的形式,修改导航栏的按钮样式要回到上一个页面中,所以我们在DetailViewController的viewDidLoad方法中加上如下代码:
self.navigationItem.backBarButtonItem = UIBarButtonItem(title: "", style: .Plain, target: nil, action: nil)这样返回按钮就成了如下的样子:
现在如果我们想要往列表中增加新的内容,需要给导航栏增加一个添加新餐馆的按钮。要在主页面上添加按钮,所以要回到ViewController中添加按钮,在viewDidLoad中添加以下代码:
self.navigationItem.rightBarButtonItem = UIBarButtonItem(barButtonSystemItem: .Add, target: nil, action: "addRest")顾名思义是在导航栏的右侧添加一个按钮,按钮样式是系统自带的Add样式,效果如红圈中所示:
然后我们新建一个控制器NewViewController用来展示跳转到的增加新餐馆的页面,实现新增按钮的跳转方法,跳到新页面
 func addRest(){
        let newVC = NewViewController()
        self.navigationController?.pushViewController(newVC, animated: true)
    }
我们来编辑NewViewController,首先在其中设定它的cell的格式,依旧让它做自己的datasource和delegate,代码如下:
import UIKit

class NewViewController: UIViewController,UITableViewDataSource,UITableViewDelegate {
let identifier = "newCell"
    override func viewDidLoad() {
        super.viewDidLoad()
self.view.backgroundColor = UIColor.orangeColor()

        //增加一个tableview
        var tableView = UITableView(frame: self.view.bounds, style: .Plain)
        tableView.dataSource = self
        tableView.delegate = self
        tableView.registerClass(UITableViewCell.self, forCellReuseIdentifier: "newCell")
        self.view.addSubview(tableView)

    }
    func numberOfSectionsInTableView(tableView: UITableView) -> Int {
        return 1
    }
    func tableView(tableView: UITableView, numberOfRowsInSection section: Int) -> Int {
        return 5
    }
    func tableView(tableView: UITableView, cellForRowAtIndexPath indexPath: NSIndexPath) -> UITableViewCell {

        let cell = UITableViewCell(style: .Default, reuseIdentifier: "newCell")
        cell.textLabel?.text = "hello"
        return cell
    }
    func tableView(tableView: UITableView, heightForRowAtIndexPath indexPath: NSIndexPath) -> CGFloat {
        var row:NSInteger = indexPath.row
        var rowHeight:CGFloat = 72
        if row == 0
        {
        rowHeight = 250
        }
        return rowHeight
    }
}
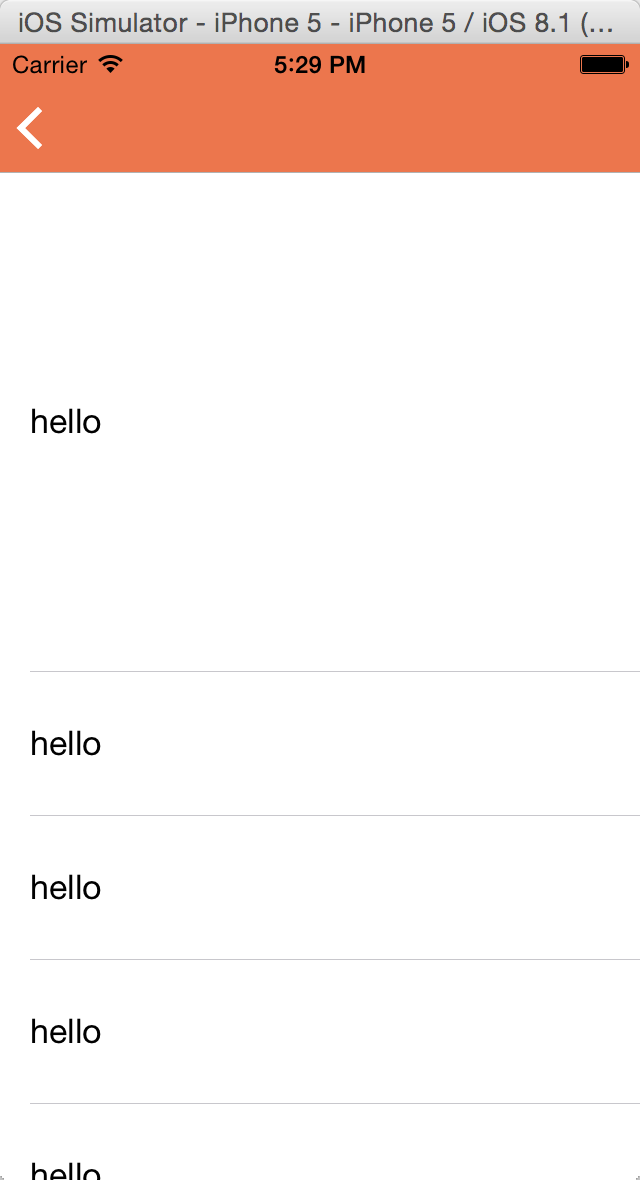
我们需要定义datasource和delegate的一些方法,tableView中有5行,先让每一行显示一个hello,以验证复用。另外第一行要高一点,用来显示图片,其他行显示文字,运行后的效果如下:
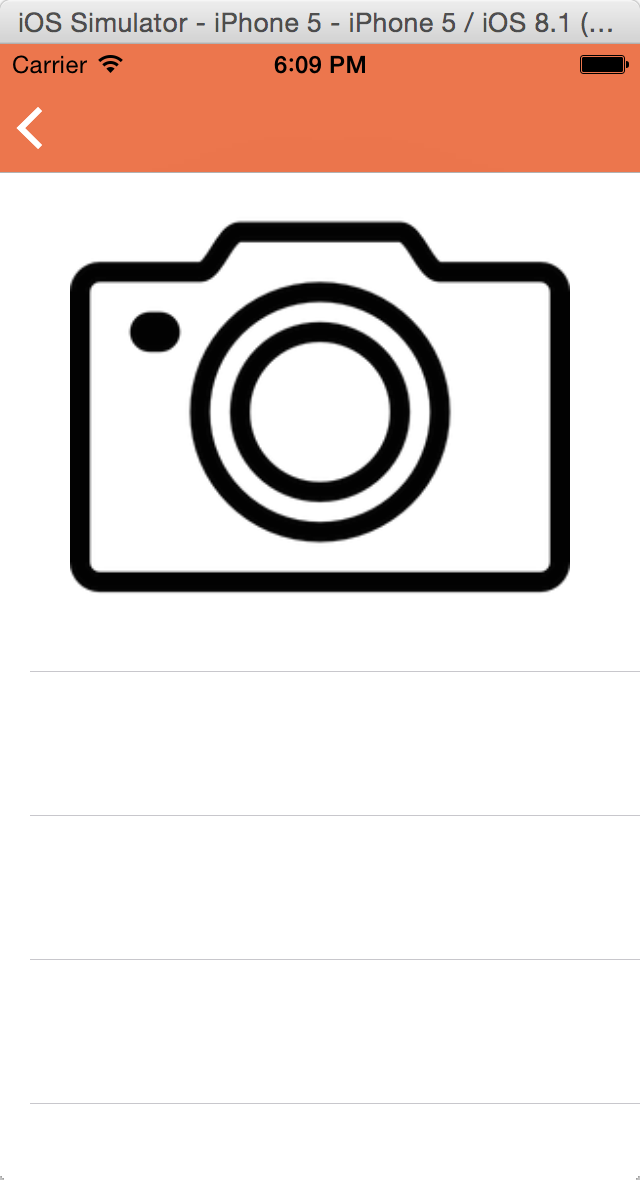
每一行的信息比较复杂,我们需要专门编写一个方法来实现cell的初始化,方法congigureCell的代码如下,我们先初始化第一行,让它显示一张图片:
    func configureCell(cell:UITableViewCell, indexPath: NSIndexPath){
        let row:NSInteger = indexPath.row
        if row == 0{
        let imageView = UIImageView(frame: CGRectMake(0, 0, 320, 250))
            imageView.image = UIImage(named: "camera")
            imageView.contentMode = UIViewContentMode.ScaleAspectFit//适应尺寸
            cell.addSubview(imageView)
        }
在cell的代理方法中需要用这个方法来初始化cell,代码如下:
func tableView(tableView: UITableView, cellForRowAtIndexPath indexPath: NSIndexPath) -> UITableViewCell {

        let cell = UITableViewCell(style: .Default, reuseIdentifier: "newCell")
        self.configureCell(cell, indexPath: indexPath)
        return cell
    }
效果如图:
之后的效果我们下一话再来继续。


 1万+
1万+

 被折叠的 条评论
为什么被折叠?


