


两张识别图:

实验前环境配布:
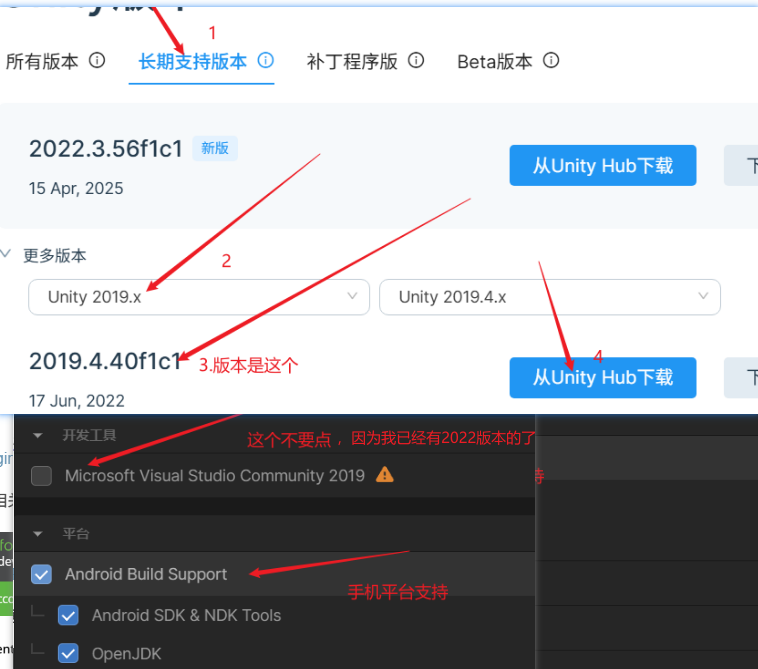
1.Unity对应版本下载
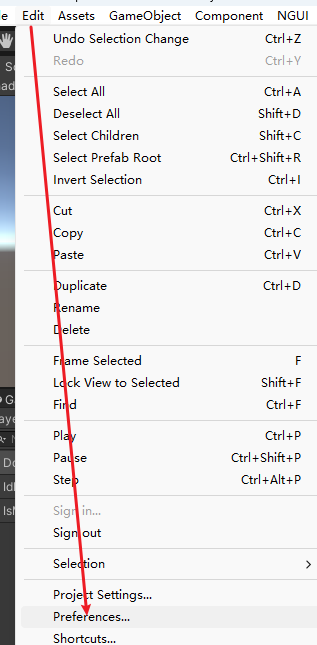
2.在Edit中点击Preferences后出现安卓相关环境
 出现窗口后点击ExternalTools之后配置刚刚安卓环境支持
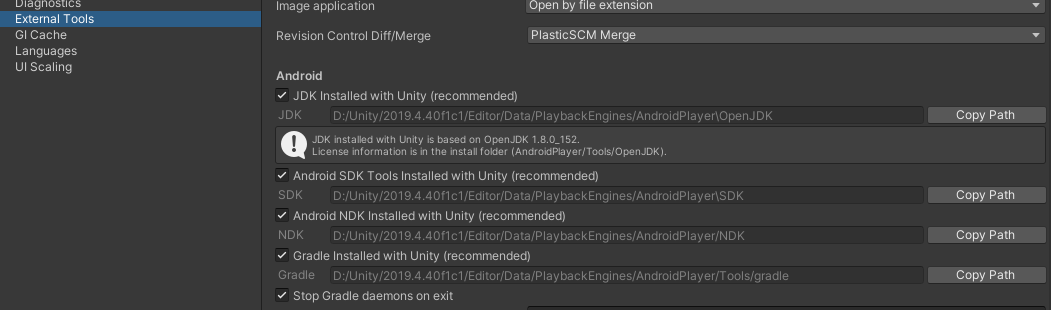
上面两个勾可能帮你添加,但是下面三个的勾是没有的,自己要会配置,参考可以看我的图片
3.到Engine Developer Portal官网中注册账号
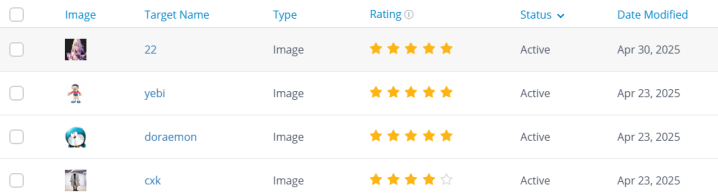
4.建立相关的key和数据库

保存好自己的key
 这是我随便用的图片,建议截图后保存上传,大概不会报什么color问题
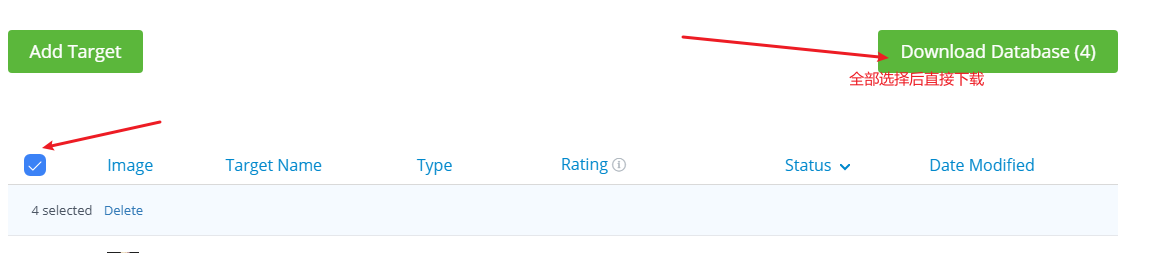
下载后的相关Unity包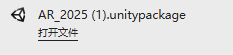
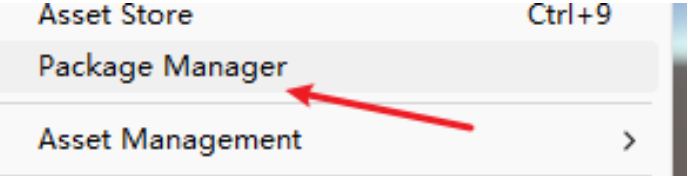
5.我用的是2019长期支持版本的Unity已经装了相关Ar支持所以直接在PackageManager中直接找到Vuforia即可
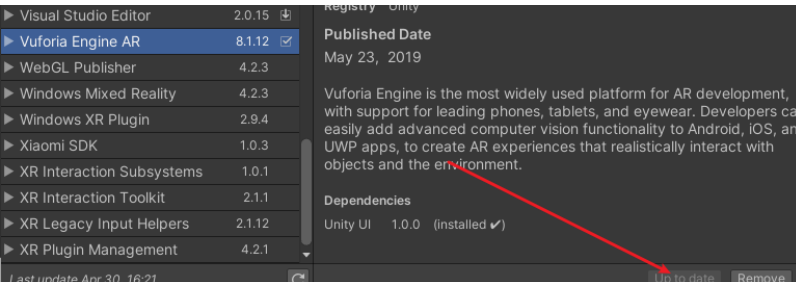
安装后即可在Hierarachy相关内容中看到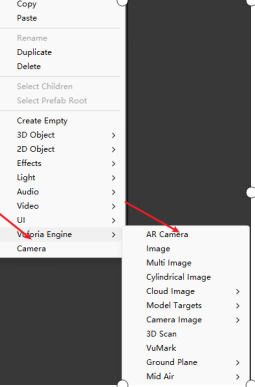
6.把原先项目的主摄像机删掉后直接按照上面视图添加AR Camera即可,配置Key
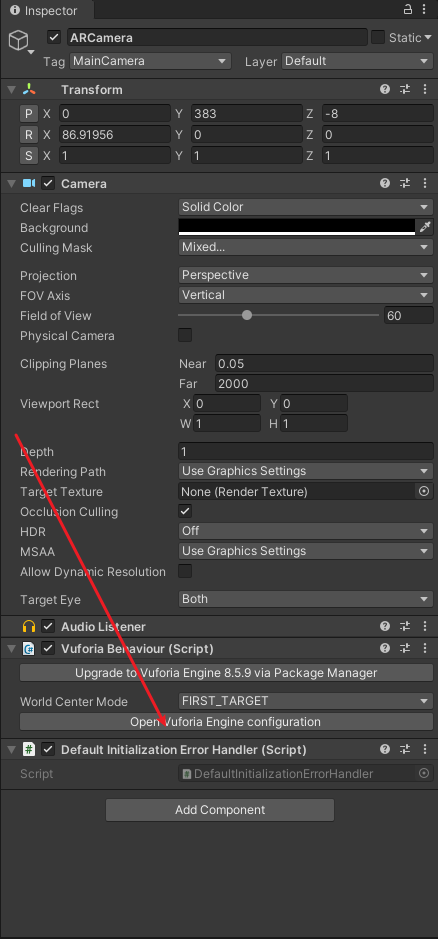 打开点击的配置,把Key复制进去

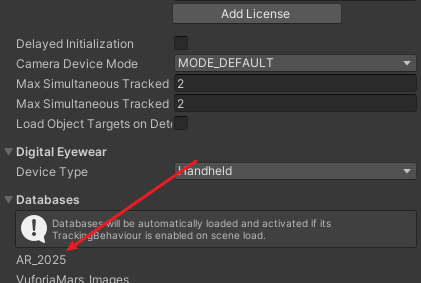
之后直接导入数据![]() 的包即可,如下图所示,看看有没有导入进来
的包即可,如下图所示,看看有没有导入进来
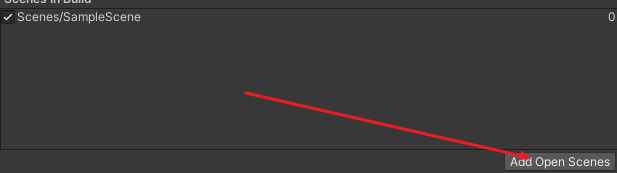 记得添加·场景后切换平台
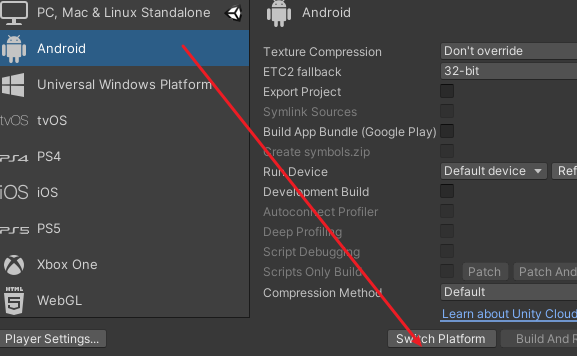
![]() 出现这个标识即为成功
出现这个标识即为成功
7.AR图像识别
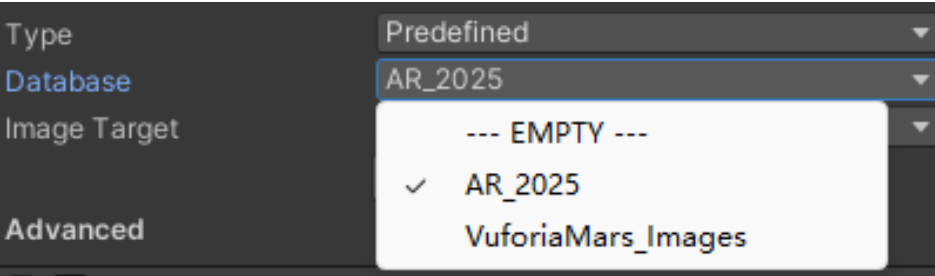
A.创建ImageTarget并且选择刚刚导入的数据库,随便选择一张哆啦猫即可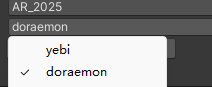
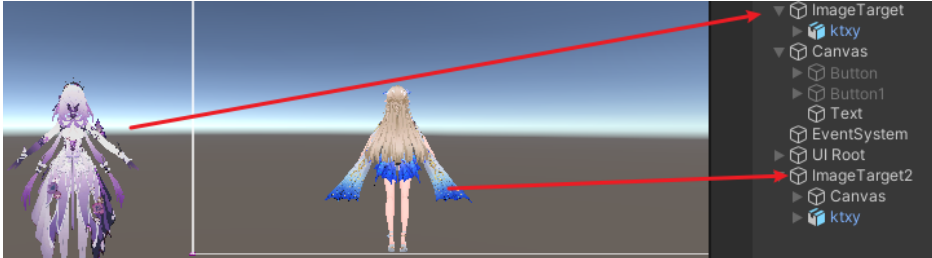
之后导入我自己以前自己从Blender转换的模型,直接拖入到ImageTarget中,作为子类
为两个模型都创建相关脚本进行动画逻辑控制,并且创建两个动画控制器
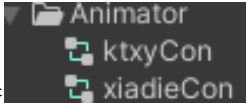 ,拖入到模型身上添加的Animator组件
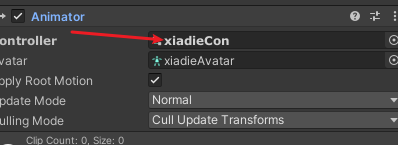
xiadieController: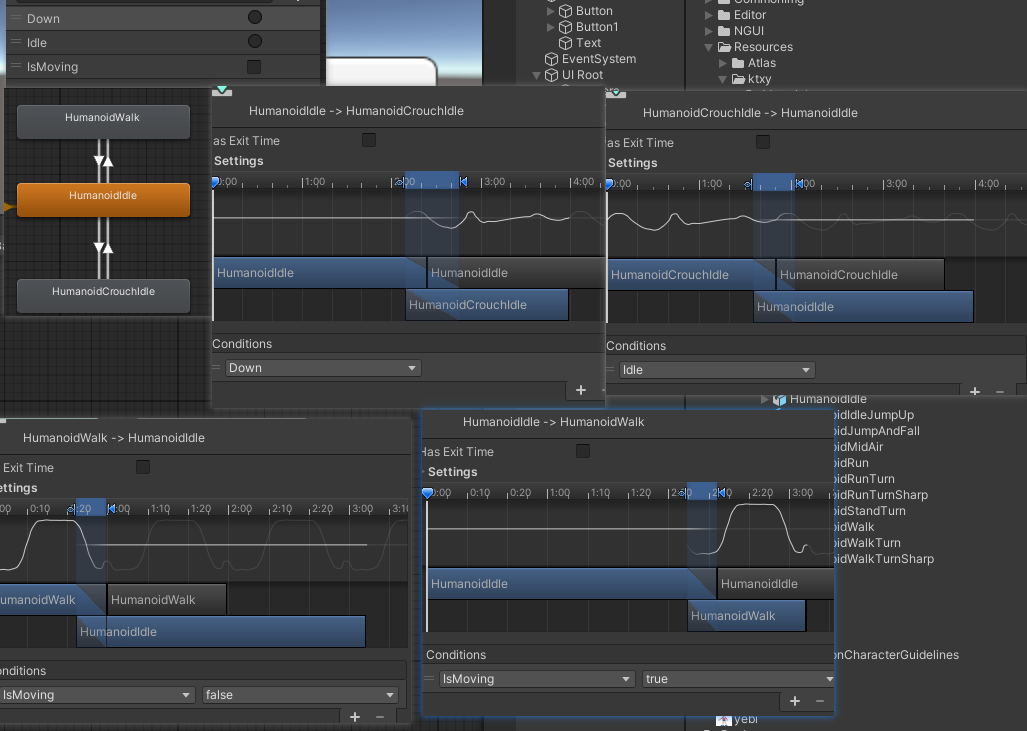
导入标准化的资源,里面有人物动画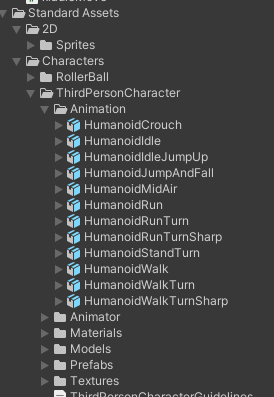
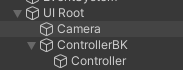
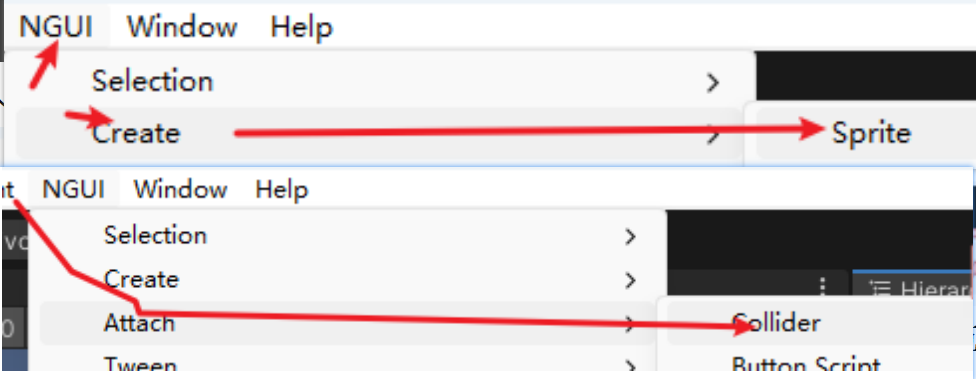
导入2019支持的NGUI组件后,在NGUI上添加Spite,在它的子类中再次添加Sprite(用默认的UGUI也可以的)
之后为了模拟虚拟摇杆效果则需要在子类添加碰撞器,并且测试摇杆bar极限边界范围(按照自己喜好即可,差不多跟圆的半径差不多,不想要出边界的话,可以缩小一点点改为70也行)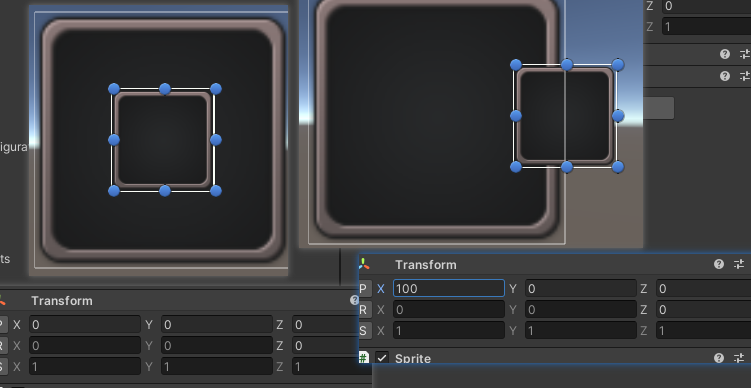
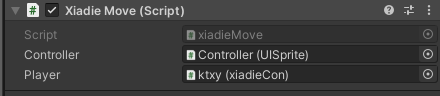
之后添加相关代码拖动到虚拟摇杆的Sprite上即可,进行相关的绑定就行了
代码相关(另外一个逻辑也差不多就不写了):
using System.Collections;
using System.Collections.Generic;
using UnityEngine;

public class xiadieMove : MonoBehaviour
{
    public UISprite controller;

    public xiadieCon player;
    // Start is called before the first frame update
    void Start()
    {
        UIEventListener listener = UIEventListener.Get(controller.gameObject);
        //监听 拖曳 让图片跟着我动
        listener.onDrag = (obj, vector) => {
            //拖曳的时候 对象不停的去改变位置 加上位置的变量
            controller.transform.localPosition += new Vector3(vector.x, vector.y, 0);
            //判断极限位置 不能随便拖
            print("执行了");
            //边界范围测试
            if (controller.transform.localPosition.magnitude > 100)
            {
                controller.transform.localPosition = controller.transform.localPosition.normalized * 100;
            }
            //拖曳时,让玩家移动
            //我们传入摇杆的方向向量 在内部 转换成世界坐标 xz平面的向量
            player.Move(controller.transform.localPosition.normalized);//传入当前摇杆的方向向量的单位向量
        };
        //监听 拖曳结束 让图片回到原点
        listener.onDragEnd = (end) =>
        {
            controller.transform.localPosition = Vector3.zero;
            //结束拖曳时,让玩家停止移动
            player.StopMove();
        };
    }

    // Update is called once per frame
    void Update()
    {

    }
}
using System.Collections;
using System.Collections.Generic;
using UnityEngine;
using UnityEngine.UI;

public class xiadieCon : MonoBehaviour
{
    private Animator anim;
    public Button btn;
    private Vector3 moveDir;
    private bool isMoving = false;
    //移动速度
    public float moveSpeed = 10;
    //旋转速度
    public float roundSpeed = 20;

    private const string IsMovingParam = "IsMoving";

    // Start is called before the first frame update
    void Start()
    {
        anim = this.GetComponent<Animator>();
        btn.onClick.AddListener(OnButtonClick);
    }

    void OnButtonClick()
    {
        anim.SetTrigger("Down");
        // 两秒后调用 StandUp 方法
        Invoke("StandUp", 2f);
    }

    void StandUp()
    {
        // 假设默认待机状态的动画参数名为 "Idle",你可根据实际情况修改
        anim.SetTrigger("Idle");
    }

    // Update is called once per frame
    void Update()
    {
        //判断当前是否移动 处理逻辑
        if (isMoving)
        {
            //位移
            this.transform.Translate(Vector3.forward * moveSpeed * Time.deltaTime);
            //旋转  Quaternion.LookRotation(moveDir)方向向量得到四元数的角度  让物体朝着虚拟摇杆方向进行插值变换 直到重合
            this.transform.rotation = Quaternion.Lerp(this.transform.rotation, Quaternion.LookRotation(moveDir), roundSpeed * Time.deltaTime);
        }
        anim.SetBool(IsMovingParam,isMoving);
    }

    public void Move(Vector3 dir)
    {
        moveDir.x = dir.x;
        moveDir.z = dir.y;
        isMoving = true;
    }

    public void StopMove()
    {
        isMoving = false;
    }
}
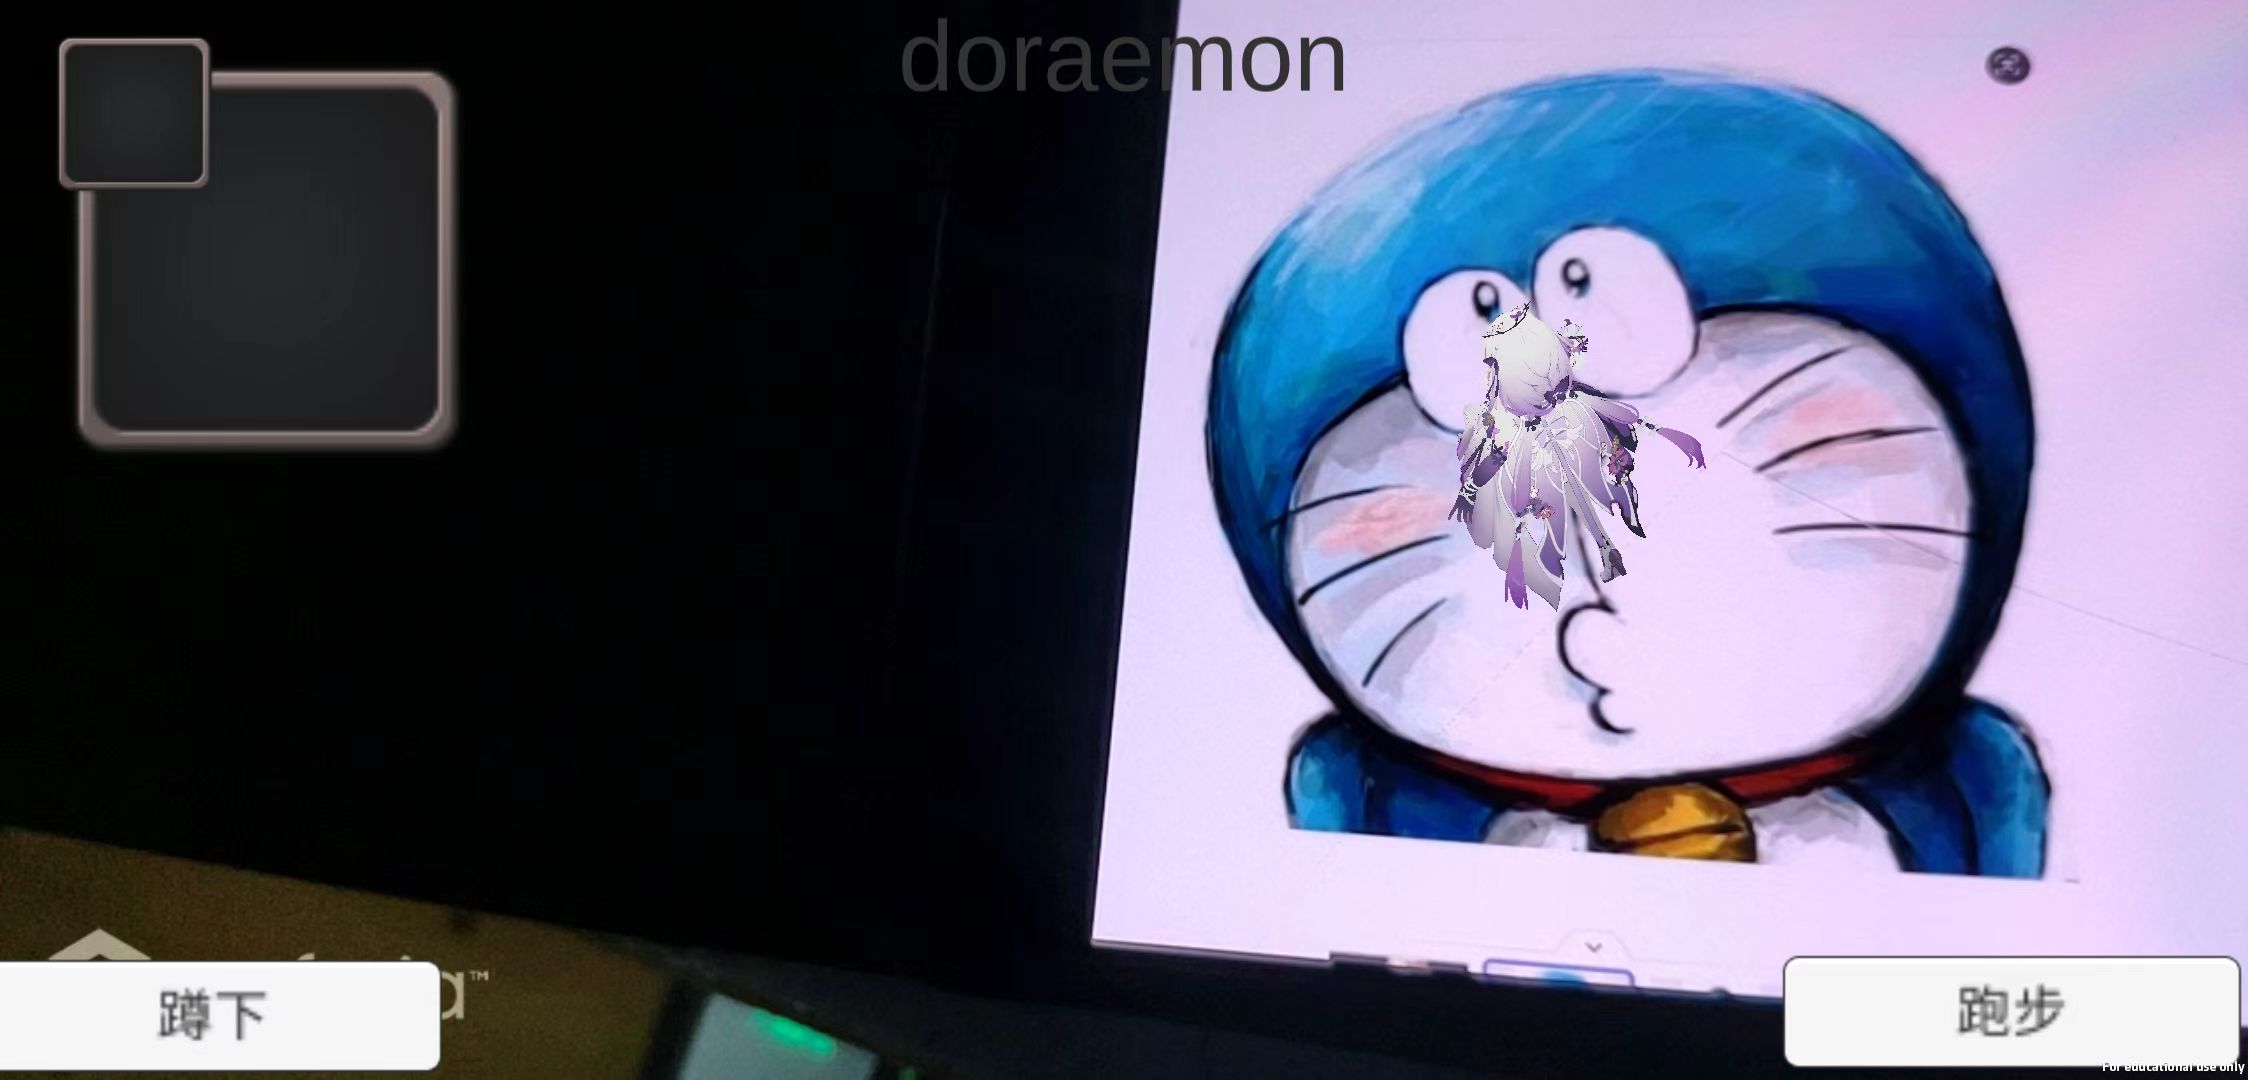
实现效果:
8.AR平面图识别
左上方的虚拟摇杆可以随意控制人物走动
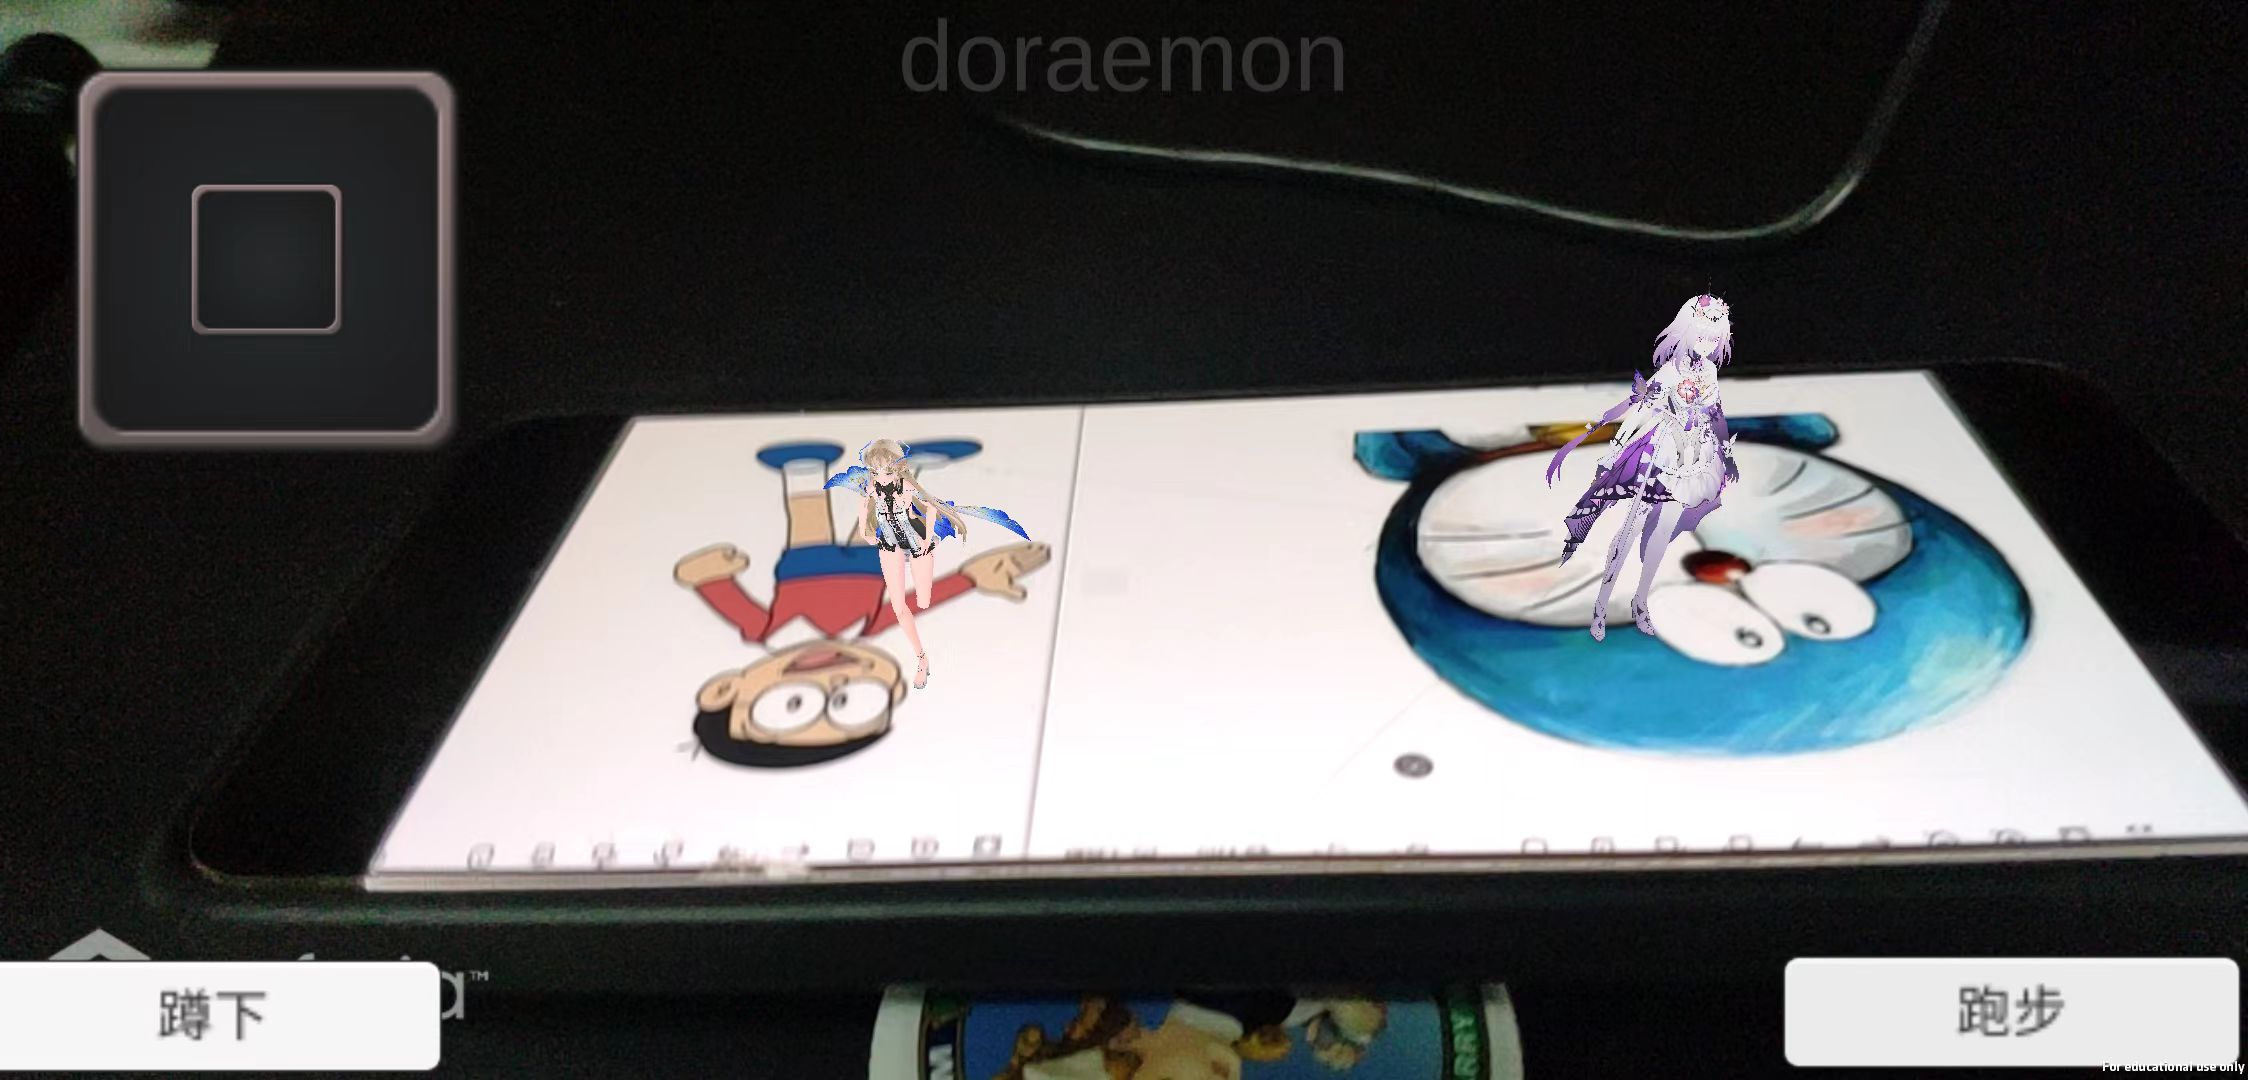
AR多平面图识别
创建新的ImgTarget后,把AR摄像机往上方多移Y轴直到能看到两张目标,,直接同理实验一即可,换了一张大雄的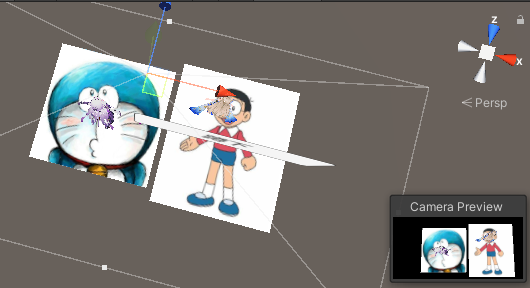
8.最后打包:
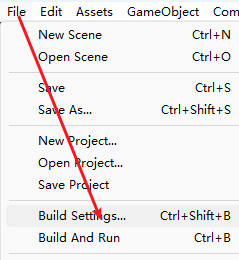
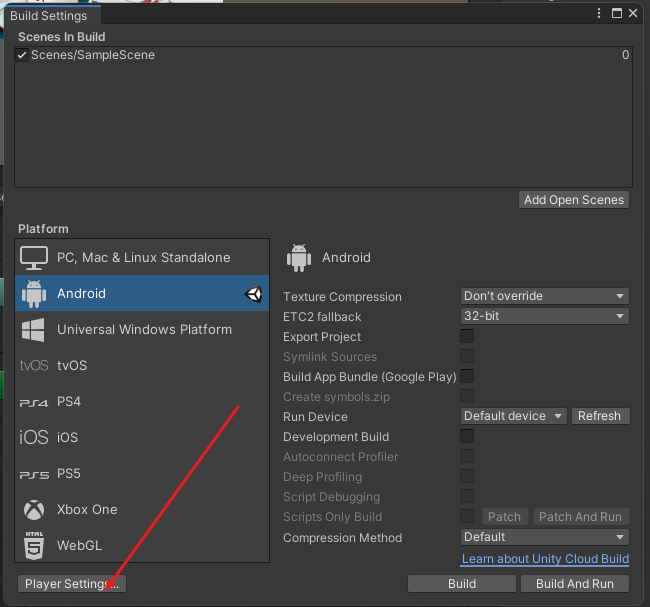
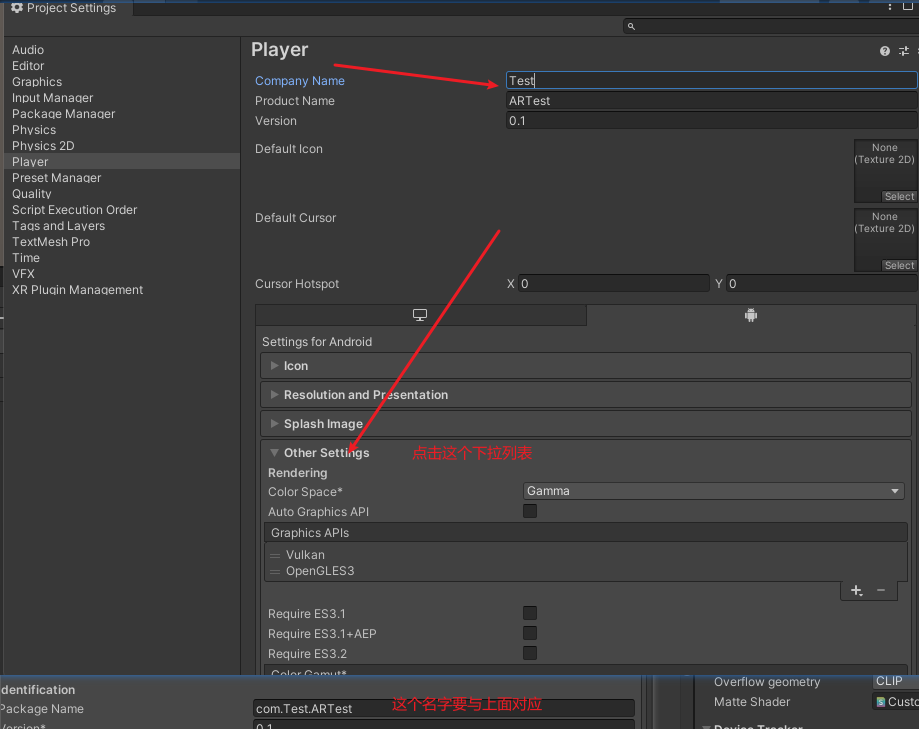
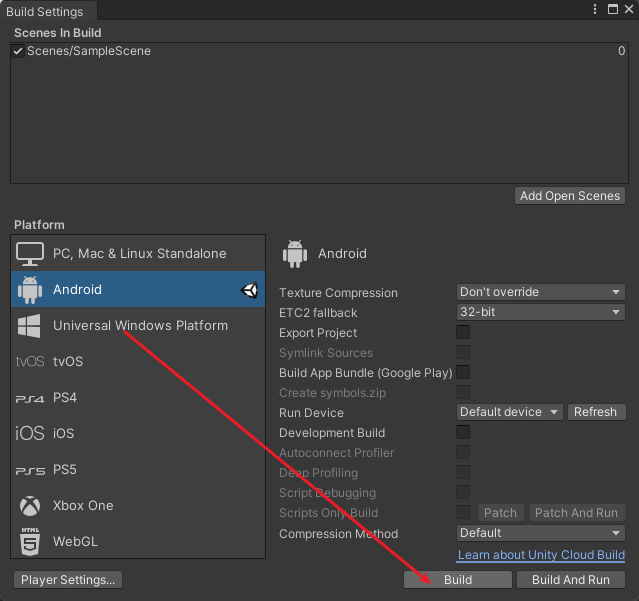
回来直接点击Build即可,打包完成即可看到app![]()


 8764
8764

 被折叠的 条评论
为什么被折叠?
被折叠的 条评论
为什么被折叠?
 到【灌水乐园】发言


