


项目中经常用到开发webservice接口,及调用webService接口。这里讲解如何使用cxf开发webService接口。
一、webservice介绍及理解
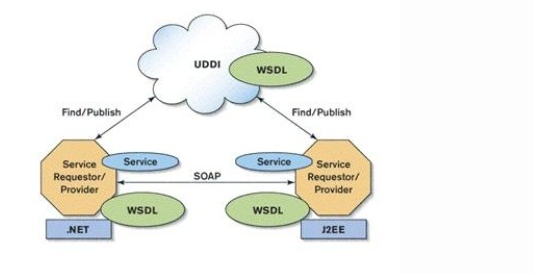
webservice是一种跨平台,跨语言的规范,用于不同平台,不同语言开发的应用之间的交互。
比如,平台平台淘宝、京东想获取其他快递公司数据接口,需快递公司开放数据接口。
那么 webservice就是出于以上类似需求而定义出来的规范;无需关心对方什么平台上开发以及使用何种语言开发。
只关心调用对方发布webservice接口的一些对我们获取有用数据的方法。
开发人员一般就是在具体平台开发webservice接口,以及调用webservice接口;每种开发语言都有自己的webservice实现框架。
比如Java 就有 Apache Axis1、Apache Axis2、Codehaus XFire、Apache CXF、Apache Wink、Jboss RESTEasyd等等...
二、cxf
cxf是java开发webService的一种实现框架技术。目前,cxf是主流的webService实现框架。
使用cxf开发需引入cxf开发相关jar包,maven项目中pom.xml配置如下:

 1 <!--添加cxf支持  -->
 2     <dependency>
 3         <groupId>org.apache.cxf</groupId>
 4         <artifactId>cxf-rt-frontend-jaxws</artifactId>
 5         <version>3.1.9</version>
 6     </dependency>
 7     <dependency>
 8         <groupId>org.apache.cxf</groupId>
 9         <artifactId>cxf-rt-transports-http-jetty</artifactId>
10         <version>3.1.9</version>
11     </dependency>
12     <dependency>
13         <groupId>org.apache.cxf</groupId>
14         <artifactId>cxf-core</artifactId>
15         <version>3.1.9</version>
16     </dependency>
备注:这里要额外加入jetty,作为webservice发布的服务器。jetty是一个内嵌的web服务器;
使用JaxWsServerFactoryBean类创建工厂设置暴露地址、接口类、接口实现类,创建即可发布。
三、下面演示其实现过程
发布webService接口,需一个发布服务的url地址,及对应的接口。Jdk自身有实现WebService。
具体实现代码如下:
根据规范,我们先建一个接口类:HelloWorld
 1 /**
 2  *
 3  */
 4 package com.hik.webservice;
 5
 6 import javax.jws.WebService;
 7
 8 /**
 9  * @ClassName: HelloWorld
10  * @Description: TODO
11  * @author jed
12  * @date 2017年7月30日上午10:20:35
13  *
14  */
15 @WebService
16 public interface HelloWorld {
17
18     public String say(String str);
19 }
再建一个具体的实现类:HelloWorldImpl
 1 /**
 2  *
 3  */
 4 package com.hik.webservice.impl;
 5
 6 import javax.jws.WebService;
 7
 8 import com.hik.webservice.HelloWorld;
 9
10 /**
11  * @ClassName: HelloWorldImpl
12  * @Description: TODO
13  * @author jed
14  * @date 2017年7月30日上午10:24:46
15  *
16  */
17 @WebService
18 public class HelloWorldImpl implements HelloWorld{
19
20     public String say(String str) {
21         return "hello"+str;
22     }
23
24 }
最后建一个发布服务的主类:Server
 1 /**
 2  *
 3  */
 4 package com.hik.webservice;
 5
 6 import javax.xml.ws.Endpoint;
 7
 8
 9 import com.hik.webservice.impl.HelloWorldImpl;
10
11 /**
12  * @ClassName: Server
13  * @Description: TODO
14  * @author jed
15  * @date 2017年7月30日上午10:26:16
16  *
17  */
18 public class Server {
19
20     public static void main(String[] args) {
21         System.out.println("web Service start");
22         HelloWorldImpl implementor = new HelloWorldImpl();
23         String address="http://192.168.0.102/helloWorld";
24         Endpoint.publish(address, implementor);//JDK实现
25         System.out.println("web Service started");
26
27     }
28 }
这里的Endpoint是Jdk自身实现的WebService。这里的address,写上自己的本机IP
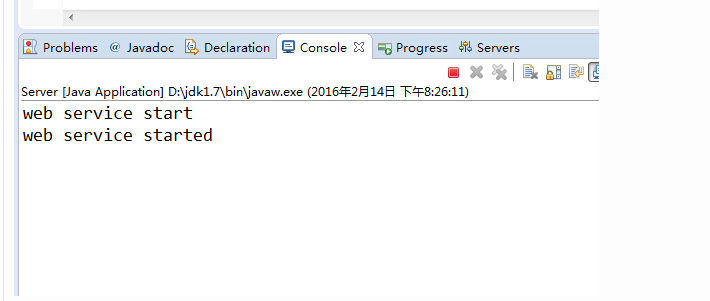
我们运行下Server类:
运行效果如下:
我们在浏览器里访问:http://192.168.1.102/helloWorld?wsdl
效果:
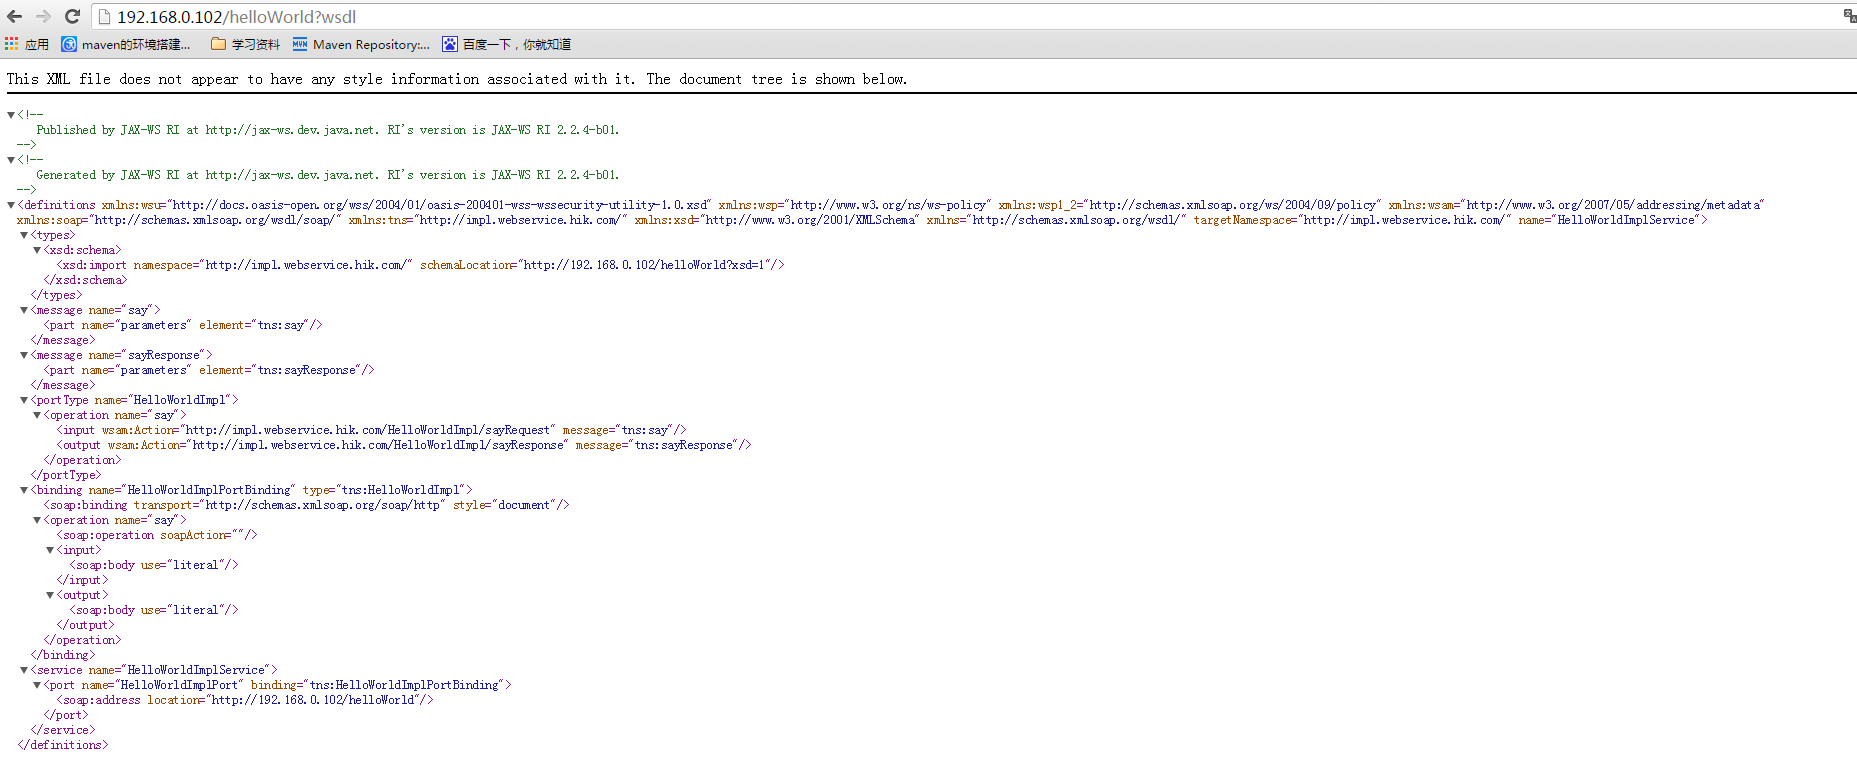
说明已经成功调用了webservice接口;
这里的wsdl 是 Web Services Description Language的缩写,是一个用来描述Web服务和说明如何与Web服务通信的XML语言。WSDL是Web Service的描述语言,用于描述Web Service的服务,接口绑定等,为用户提供详细的接口说明书。
请求后得到的是一个xml规范文档。是一套规范,任何语言平台技术都可以解析。
CXF来实现webservice接口
我们把Server改下。换成CXF实现:
 1 /**
 2  *
 3  */
 4 package com.hik.webservice;
 5
 6 import javax.xml.ws.Endpoint;
 7
 8 import org.apache.cxf.jaxws.JaxWsServerFactoryBean;
 9
10 import com.hik.webservice.impl.HelloWorldImpl;
11
12 /**
13  * @ClassName: Server
14  * @Description: TODO
15  * @author jed
16  * @date 2017年7月30日上午10:26:16
17  *
18  */
19 public class Server {
20
21     public static void main(String[] args) {
22         System.out.println("web Service start");
23         HelloWorldImpl implementor = new HelloWorldImpl();
24         String address="http://192.168.0.102/helloWorld";
25         //Endpoint.publish(address, implementor);//JDK实现
26         JaxWsServerFactoryBean factoryBean = new JaxWsServerFactoryBean();
27         factoryBean.setAddress(address); //设置暴露地址
28         factoryBean.setServiceClass(HelloWorld.class); //接口类
29         factoryBean.setServiceBean(implementor); //设置实现类
30         factoryBean.create();
31         System.out.println("web Service started");
32
33     }
34 }
效果和jdk实现的一样

cxf开发webService客户端及调用服务端的理解
cxf服务端发布webService接口,那么我们通过开发客户端即可调用服务端发布的webService服务接口。
其实,调用原理类似于RPC(远程过程调用)和JMI(远程对象调用)。只不过调用通过soap协议(简单对象访问协议)实现。
具体实现例子如下:
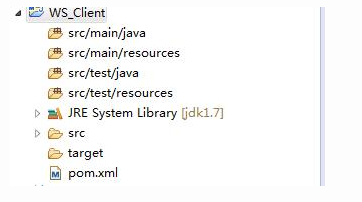
首先建一个Maven项目,项目名字,WS_Client;
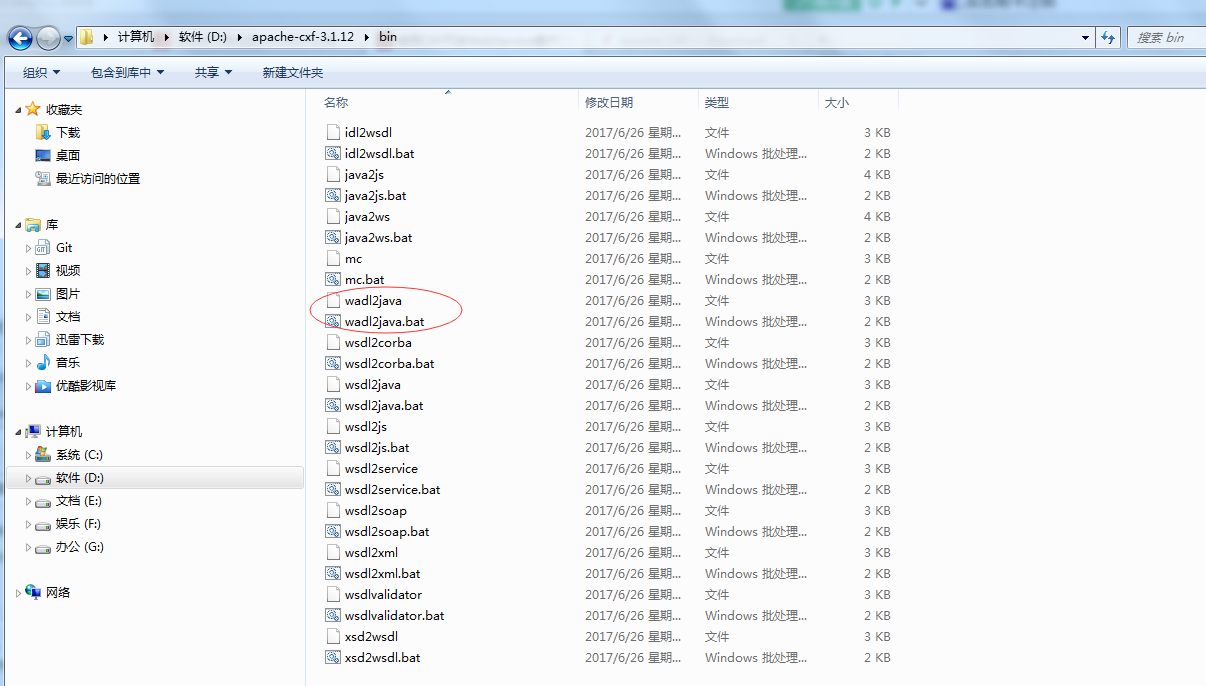
然后我们要用CXF给我们提供的工具wsdl2java 来根据请求的url生成客户端代码;
wsdl2java工具在CXF开发包里;
开发下载地址:http://cxf.apache.org/download.html

下载二进制包,然后解压到D盘
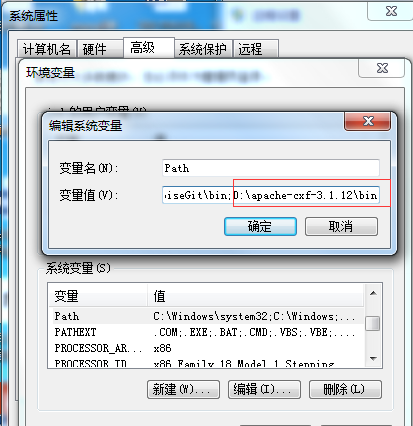
使用wsdl2java命令;还得配置Path。我们打开环境变量配置,加入路径 D:\apache-cxf-3.1.12\bin 可能你的和我不一样;
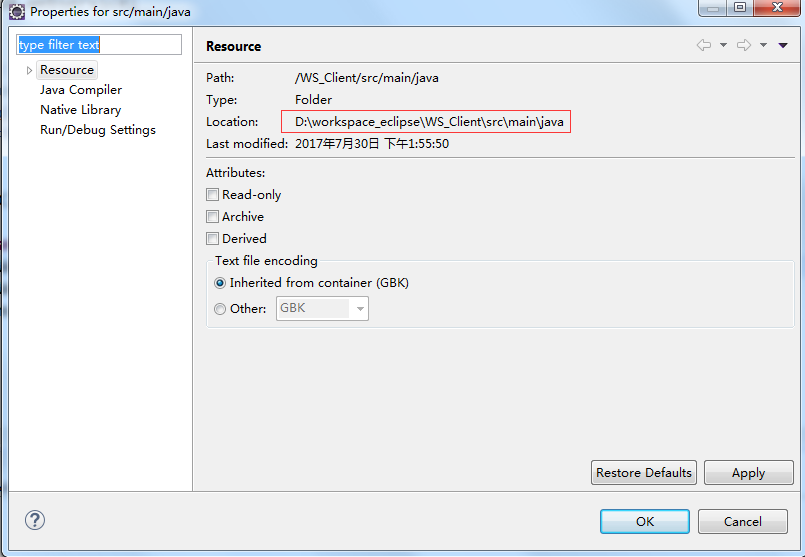
现在我们要干的事是在我们项目里生成我们需要的webservice客户端代码,
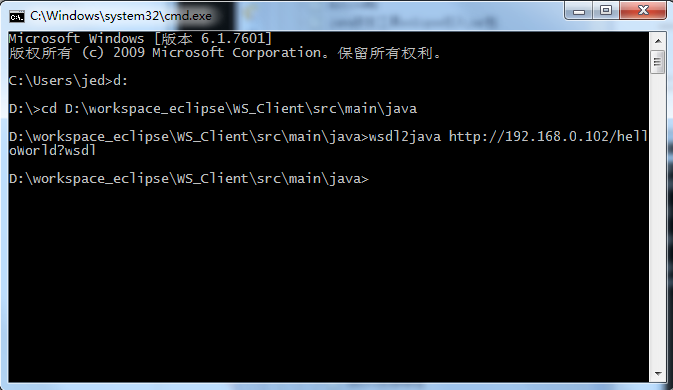
我们找到项目的本地路径
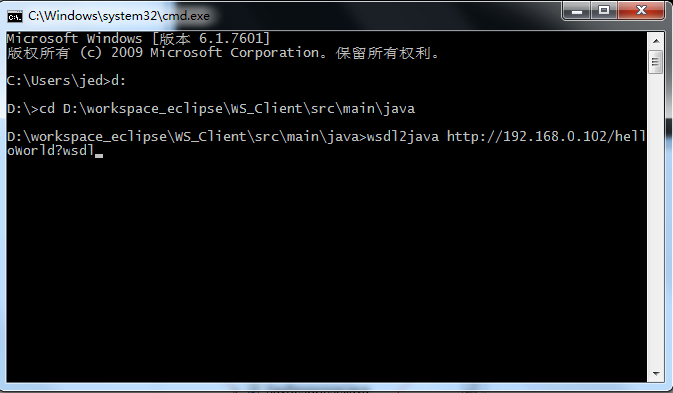
然后我们进入dos,进入上面的本地硬盘地址,然后执行命令:wsdl2java http://192.168.0.102/helloWorld?wsdl
代码已生成:
刷新下工程:

最关键的代码是HelloWorldService.java 我们下面写请求主类要用到;
我们下面写下主类 Client ,自己建下:
 1 package com.hik.webservice;
 2
 3 /**
 4  * @ClassName: Client
 5  * @Description: TODO
 6  * @author jed
 7  * @date 2017年7月30日下午1:58:36
 8  *
 9  */
10 public class Client {
11
12     public static void main(String[] args) {
13         HelloWorldService service = new HelloWorldService();
14         HelloWorld helloWorld = service.getHelloWorldPort();//获取代理
15         System.out.println(helloWorld.say("你好!"));
16     }
17 }
运行如下:

说明我们成功调用了webservice服务器端的接口。


 1712
1712


 被折叠的 条评论
为什么被折叠?
被折叠的 条评论
为什么被折叠?
 到【灌水乐园】发言


