


Python操作Mysql有很多方法
Pymysql
Pymysql是Python3的一个MySQL数据库驱动程序,它遵循Python DB API v2.0规范,并支持事务、存储过程、多线程操作等。
Python DB API v2.0是Python官方定义的数据库API规范,它为Python程序提供了统一的数据库访问接口,使得Python程序可以使用不同的数据库后端,而不需要修改程序代码。Python DB API v2.0规范定义了一系列的标准API,包括连接数据库、执行SQL语句、获取结果集、事务处理、异常处理等。
游标
在Python中,游标是一种用于在数据库中移动和管理数据的对象。游标可以在结果集中移动,从而允许程序员对数据进行逐行处理。游标还可以用于执行事务和管理数据库连接。
在Python中,游标的概念对应于在 Java 中 JDBC 中的 ResultSet 对象。ResultSet 对象是一个包含查询结果的表格,可以使用游标来遍历其中的行和列。与 Python 中的游标类似,ResultSet 对象也可以用于执行查询和更新操作,以及管理数据库连接和事务。但是,需要注意的是,Java 和 Python 中的游标实现方式略有不同,因此在使用时需要根据具体的语言和框架进行调整。
不开游标,就是将查询结果直接打印出来,没有其他操作。
开了游标,先存放所有结果,让后提供一个游标接口,逐行读取数据直到结束,类似于sed,awk的逻辑。
Pymysql查
远程连接的时候要执行以下操作
在配置文件加入bind-address=0.0.0.0
关闭防火墙就不用说了
在MySQL进行赋权,默认安装的mysql的root用户只支持本地连接。Host为localhsot,要改为%
mysql> use mysql;
Reading table information for completion of table and column names
You can turn off this feature to get a quicker startup with -A

Database changed
mysql> update user set host='%' where user='root';
Query OK, 1 row affected (0.00 sec)
Rows matched: 1  Changed: 1  Warnings: 0

mysql> flush privileges;
Query OK, 0 rows affected (0.00 sec)

mysql> GRANT ALL ON *.* TO 'root'@'%';
Query OK, 0 rows affected (0.00 sec)
在python端进行cryptography更新
cryptography是一个用于处理加密和解密的Python包
在终端进行下面命令
pip install cryptography --upgrade
pip show cryptography
最后执行程序如下
import pymysql
def connect_mysql_read():
# 数据库连接
con1 = pymysql.connect(host='192.168.126.143', port=3306,
user='root', password='Ch#123456',
database='test')
# 获取游标
con1.cursor = con1.cursor()
# 执行语句
read_query = "SELECT * FROM student;"
con1.cursor.execute(read_query)
print(con1.cursor.fetchall())
# 关闭连接游标
con1.close()
con1.cursor.close()
return 0
if __name__ == "__main__":
connect_mysql_read()
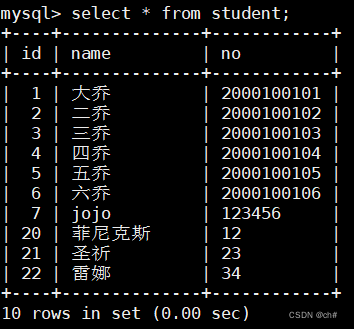
# ((1, '大乔', '2000100101'), (2, '二乔', '2000100102'), (3, '三乔', '2000100103'), (4, '四
# 乔', '2000100104'), (5, '五乔', '2000100105'), (6, '六乔', '2000100106'))Pymysql增删改
逻辑上是一样的,区别在此类操作通常是批量的,用executemany()更多一点
写操作可能会出现异常,要使用捕获异常方法,且还要中断并回滚。
PyMysql 会将 SQL 语句中的所有字段当做字符串进行处理,所以这 里的no字段在 SQL 中被当做字符串处理
def connect_mysql_write():
    # 数据库连接
    con2 = pymysql.connect(host='192.168.126.143', port=3306,
                           user='root', password='Ch#123456',
                           database='test')
    # 获取游标
    con2.cursor = con2.cursor()
    # 执行语句
    insert_query = "INSERT INTO student VALUES( null,% s, %s)"
    # 待插入的数据
    datas = [("菲尼克斯", 12), ("圣祈", 23), ("雷娜", 34)]
    try:
        con2.cursor.executemany(insert_query, datas)
        # 提交事务
        con2.commit()
    except Exception as e:
        print('输入异常')
        print(e)
        con2.cursor.db.rollback()
    # 关闭连接游标
    con2.close()
    con2.cursor.close()


if __name__ == "__main__":
    # connect_mysql_read()
connect_mysql_write()结果如下,因为之前几次执行程序忘记了写commit()提交事务,所以执行了好几次对游标的操作,id是自增主键,游标从20开始插入数据(好像无意间更参透了游标的工作逻辑)
删和改就不写了,其实就是改一改sql语句
Flask
Flask 是一个使用 Python 编写的轻量级 Web 应用程序框架,使用简单的核心,用extension增加其他功能。
框架表示一个库和模块的集合,上面有很多已经完成的功能,未来可能有更多的功能,用于开发人员使用,无需做重复,复杂抽象的一些东西。(个人理解)
Web框架就能使Web应用程序开发人员能够编写应用程序,而不必担心协议,线程管理等低层但通用的细节。
还有很多概念都不细讲了,我只是初学者,不能胡说八道
基于flask框架写出的用户登录注册界面的html文件以及python代码。将用户名和加密后的密码储存在数据库中。
(网页背景图来自互联网,可能会失效,并没有密码错误多次就冻结的效果,不用注册登录直接写入/succes也能看到成功页面,在浏览器上并没有看到flash消息闪现)
from flask import Flask, render_template, request, redirect, url_for, flash, session
import pymysql
from werkzeug.security import generate_password_hash, check_password_hash

app = Flask(__name__)
app.secret_key = 'your_secret_key'


def connect_mysql():
    con1 = pymysql.connect(host='192.168.126.143', port=3306,
                           user='root', password='Ch#123456',
                           database='test')
    return con1


@app.route('/login', methods=['GET', 'POST'])
def login():
    if request.method == 'POST':
        username = request.form['username']
        password = request.form['password']
        remember = 'remember_me' in request.form
        conn = connect_mysql()
        cursor = conn.cursor()
        cursor.execute("SELECT password FROM user_info WHERE username = %s", (username,))
        result = cursor.fetchone()
        if result and check_password_hash(result[0], password):
            flash('登录成功!', 'success')
            session['username'] = username
            return redirect(url_for('success'))
        else:
            flash('登录失败,请检查用户名和密码。', 'danger')
        # 及时关闭,不然我发现mysql会锁住
        conn.close()
        cursor.close()
    return render_template('login.html')


@app.route('/register', methods=['GET', 'POST'])
def register():
    if request.method == 'POST':
        username = request.form['username']
        password = request.form['password']
        confirm_password = request.form['confirm_password']

        if password != confirm_password:
            flash('两次输入的密码不一致。', 'danger')
            return redirect(url_for('register'))
        hashed_password = generate_password_hash(password, method='sha256')
        conn = connect_mysql()
        cursor = conn.cursor()
        cursor.execute("INSERT INTO user_info (username, password) VALUES (%s, %s)", (username, hashed_password))
        conn.commit()
        # 及时关闭,不然我发现mysql会锁住
        conn.close()
        cursor.close()
        flash('注册成功!您现在可以登录。', 'success')
        return redirect(url_for('login'))
    return render_template('register.html')


@app.route('/success')
def success():
    return render_template('success.html', username=session.get('username'))


if __name__ == '__main__':
    app.run(debug=True)
login.html
<!DOCTYPE html>
<html lang="en">

<head>
  <meta charset="UTF-8">
  <meta name="viewport" content="width=device-width, initial-scale=1.0">
  <title>Document</title>
  <style>
    body {
      background:  url('https://img2.doubanio.com/view/photo/l/public/p2561828903.jpg') no-repeat;
      background-size: 100% 130%;
    }

    #login_box {
      width: 20%;
      height: 400px;
      background-color: #00000060;
      margin: auto;
      margin-top: 10%;
      text-align: center;
      border-radius: 10px;
      padding: 50px 50px;
    }

    h2 {
      color: #ffffff90;
      margin-top: 5%;
    }

    #input-box {
      margin-top: 5%;
    }

    span {
      color: #fff;
    }

    input {
      border: 0;
      width: 60%;
      font-size: 15px;
      color: #fff;
      background: transparent;
      border-bottom: 2px solid #fff;
      padding: 5px 10px;
      outline: none;
      margin-top: 10px;
    }

    button {
      margin-top: 50px;
      width: 60%;
      height: 30px;
      border-radius: 10px;
      border: 0;
      color: #fff;
      text-align: center;
      line-height: 30px;
      font-size: 15px;
      background-image: linear-gradient(to right, #30cfd0, #330867);
    }

    #sign_up {
      margin-top: 45%;
      margin-left: 60%;
    }

    a {
      color: #b94648;
    }
  </style>
</head>

<body>
  <div id="login_box">
    <h2>LOGIN</h2>
    <form action="/login" method="post">
      <div id="input_box">
        <input type="text" name="username" placeholder="请输入用户名" required>
      </div>
      <div class="input_box">
        <input type="password" name="password" placeholder="请输入密码" required>
      </div>
      <div>
        <input type="checkbox" name="remember_me" id="remember_me">
        <label for="remember_me">记住密码</label>
      </div>
      <button type="submit">登录</button><br>
    </form>
    <div>
      <a href="/register">注册</a>
    </div>
  </div>
</body>
</html>
register.html
<!DOCTYPE html>
<html lang="en">

<head>
  <meta charset="UTF-8">
  <meta name="viewport" content="width=device-width, initial-scale=1.0">
  <title>注册页面</title>
  <style>
    body {
      background:  url('https://img2.doubanio.com/view/photo/l/public/p2561828903.jpg') no-repeat;
      background-size: 100% 130%;
    }

    #login_box {
      width: 20%;
      height: 400px;
      background-color: #00000060;
      margin: auto;
      margin-top: 10%;
      text-align: center;
      border-radius: 10px;
      padding: 50px 50px;
    }

    h2 {
      color: #ffffff90;
      margin-top: 5%;
    }

    #input-box {
      margin-top: 5%;
    }

    span {
      color: #fff;

  </style>
</head>

<body>
  <div id="login_box">
    <h2>注册</h2>
    <form action="/register" method="post">
      <div id="input_box">
        <input type="text" name="username" placeholder="请输入用户名" required>
      </div>
      <div class="input_box">
        <input type="password" name="password" placeholder="请输入密码" required>
      </div>
      <div class="input_box">
        <input type="password" name="confirm_password" placeholder="请确认密码" required>
      </div>
      <button type="submit">注册</button><br>
    </form>
    <div>
      <a href="/login">已有账号?登录</a>
    </div>
  </div>
</body>
</html>
success.html
<!DOCTYPE html>
<html>
<head>
<meta charset="utf-8">
<title>登录成功</title>
<style>
body {
background: #eff0f1;
}
.success-container {
width: 400px;
margin: 200px auto;
text-align: center;
background: #fff;
border-radius: 5px;
padding: 20px;
}
.success-img {
width: 200px;
}
</style>
</head>
<body>
<div class="success-container">
<img class="success-img" src="https://img.soogif.com/oMoxAAWRVXZvHB9SkuMbWrh89IrB4Ogj.gif">
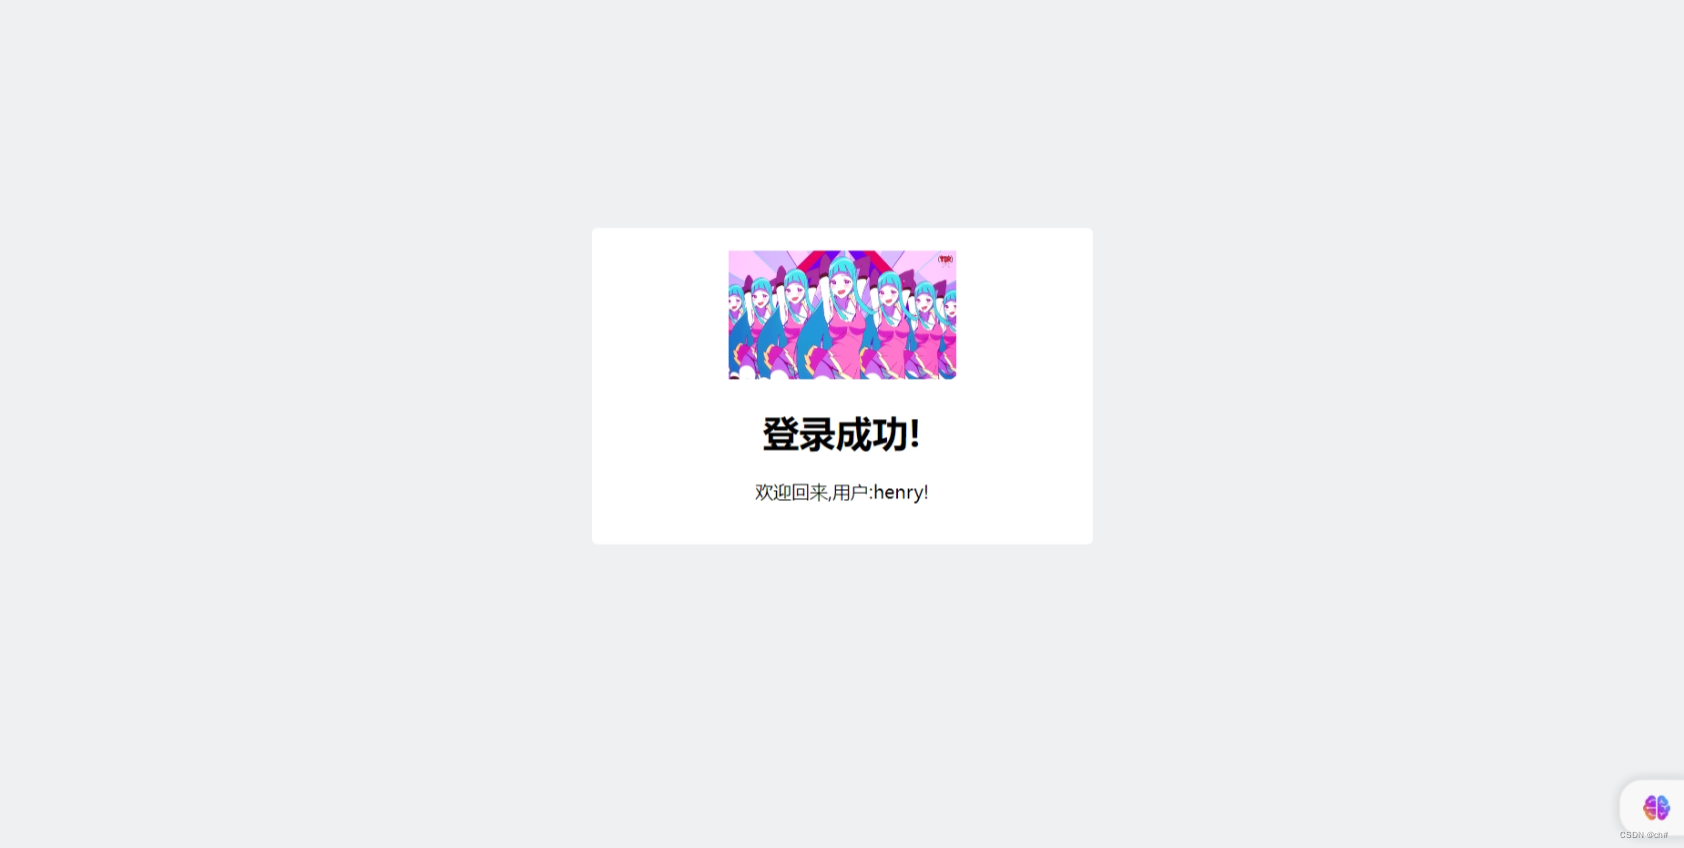
<h1>登录成功!</h1>
<p>欢迎回来,<span>用户:{{username}}</span>!</p>
</div>
</body>
</html>效果
登录页面

注册页面

以用户名为‘henry’,密码为‘123’进行登录


 315
315


 被折叠的 条评论
为什么被折叠?
被折叠的 条评论
为什么被折叠?
 到【灌水乐园】发言


