


IOC:Inversion of Control:控制反转
目录
Spring Bean配置类:用于替代XML 对 注解注入 的 繁琐的配置
一、jar包配置
src外层导入lib:用project structure导入jar包:

二、XML注入对象
1.所有文件的相对位置图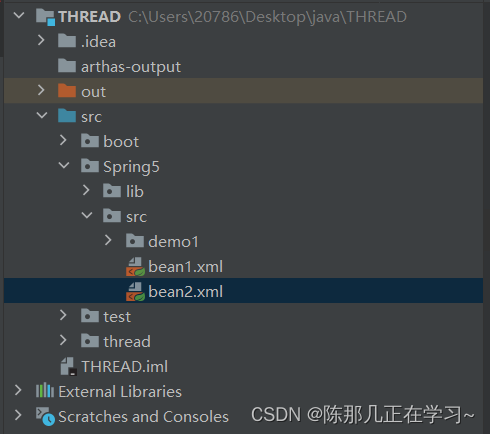
说明:后续所有路径的写法,起始位置都是顶层src开始。
2.Test类中的main方法中对象创建:
package Spring5.src.demo1;

import org.springframework.context.ApplicationContext;
import org.springframework.context.support.ClassPathXmlApplicationContext;

public class TestForNote {
    public static void main(String[] args) {
        ApplicationContext ag = new ClassPathXmlApplicationContext("Spring5/src/bean2.xml");
        Demo1 demo1 = ag.getBean("demo1", Demo1.class);
        demo1.tell();
    }
}
两步:
1.实例获取bean的类
ApplicationContext ag = new ClassPathXmlApplicationContext("Spring5/src/bean2.xml");
2.实例目标类
Demo1 demo1 = ag.getBean("demo1", Demo1.class);
3.XML配置说明
<?xml version="1.0" encoding="UTF-8"?>
<beans xmlns="http://www.springframework.org/schema/beans"
       xmlns:xsi="http://www.w3.org/2001/XMLSchema-instance"
       xsi:schemaLocation="http://www.springframework.org/schema/beans http://www.springframework.org/schema/beans/spring-beans.xsd">
    <beans>
        <bean id="demo1" class="Spring5.src.demo1.Demo1">
            <property name="name" value="stupidity"/>
            <property name="money" value="50000"/>
            <property name="passiveClass" ref="passiveClass"/>
        </bean>
        <bean id="passiveClass" class="Spring5.src.demo1.PassiveClass"/>
    </beans>
</beans>
说明:
1.自动生成的:

2.注入类:
<beans>
<bean> 注入该类的fields</bean>
<beans>
说明:bean中的属性
id:配置的类所指定的唯一id,是main中创建对象的索引id
class:需要配置的类的包路径
3.注入fields
注入属性:
<property name="name" value="stupidity"/><property name="money" value="50000"/>注入内部类:
<property name="passiveClass" ref="passiveClass"/>
说明:property的属性:
name:目标类中的field的名称
value:属性注入的值
ref:注入的内部类在bean中的设定的name,是要一一对应的
4.注入类的部分代码
说明:
set注入:Demo1中的set方法对应XML中的property注入方式
构造器注入:Demo1中的构造方法对应XML中的<constructor-arg>注入方式
三、注解注入
1.基本实现方式的简短介绍
(1)在需要配置类中的类上方打上@Component注解表示该类将被配置
补充:
@Component 普通用法
@Service 用于service业务逻辑层
@Controller 用于web层
@Repository 用于DAO持久层
(2)在需要配置类中的各属性上方打上
@Autowired:根据属性类型进行自动装配
@Qualifier:根据属性名称进行注入(默认类名首字母小写)
@Resource:可以根据类型注入,可以根据名称注入:最常用
2.Test类中的main方法中对象创建:
package Spring5.src.demo1;
import org.springframework.context.ApplicationContext;
import org.springframework.context.annotation.AnnotationConfigApplicationContext;
import org.springframework.context.support.ClassPathXmlApplicationContext;

public class Test {
    public static void main(String[] args) {
        ApplicationContext context =
                new AnnotationConfigApplicationContext(SpringConfiguration.class);
        Demo1 demo1 = context.getBean("demo1",Demo1.class);
        System.out.println(demo1);
        System.out.println(demo1.name);
        System.out.println(demo1.money);
        demo1.tell();
    }
}
两步:
1.实例获取配置类的类:
ApplicationContext context = new AnnotationConfigApplicationContext(SpringConfigration.class)
2.实例已注入的类:
Demo1 demo1 = context.getBean("demo1",Demo1.class);
说明:括号中的类是完全注解开发中所替代XML配置的Spring配置类,如图:
Spring Bean配置类
package Spring5.src.demo1;

import org.springframework.context.annotation.ComponentScan;
import org.springframework.context.annotation.Configuration;

@Configuration
@ComponentScan(basePackages = {"Spring5.src.demo1"})
public class SpringConfiguration {
}
@Configuration:表示该类是一个Spring Bean的配置类
@ComponentScan:括号填写所需要注入的类的位置,或类的上层包(表示包下所有类参与注入)
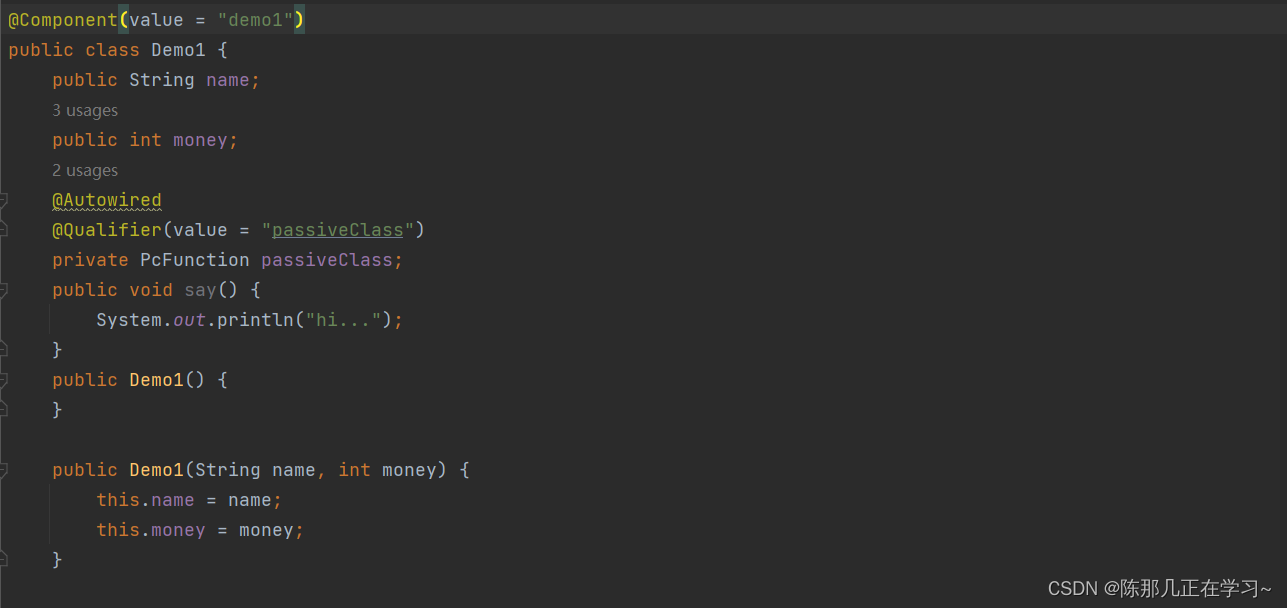
3.注入类的部分代码
package Spring5.src.demo1;

import Spring5.src.demo1.PassiveClass;
import org.springframework.beans.factory.annotation.Autowired;
import org.springframework.beans.factory.annotation.Qualifier;
import org.springframework.stereotype.Component;
import org.springframework.stereotype.Repository;

import java.util.PrimitiveIterator;

@Component(value = "demo1")
public class Demo1 {
    public String name;
    public int money;
    @Autowired
    @Qualifier(value = "passiveClass")
    private PcFunction passiveClass;
    public void say() {
        System.out.println("hi...");
    }
    //后边省略一些构造方法和setter getter方法
}
说明:如果基本数据类型想要注入属性:比如name money属性,可以在其上方打上
@Value(value = "5")


 4611
4611


 被折叠的 条评论
为什么被折叠?
被折叠的 条评论
为什么被折叠?
 到【灌水乐园】发言


