


1.下载nginx
nginx官方网址:http://nginx.org/
2.下载和解压
#下载:
[root@iZwz9cl4i8oy1reej7o8pmZ soft]# wget http://nginx.org/download/nginx-1.10.3.tar.gz
[root@iZwz9cl4i8oy1reej7o8pmZ soft]# tar xf nginx-1.10.3.tar.gz
[root@iZwz9cl4i8oy1reej7o8pmZ soft]#
3.安装
[root@iZwz9cl4i8oy1reej7o8pmZ nginx-1.10.3]# ./configure --prefix=/usr/local/nginx-1.104.出现的错误
./configure: error: the HTTP rewrite module requires the PCRE library.
You can either disable the module by using --without-http_rewrite_module
option, or install the PCRE library into the system, or build the PCRE library
statically from the source with nginx by using --with-pcre=<path> option.
5.安装必要的插件
[root@iZwz9cl4i8oy1reej7o8pmZ nginx-1.10.3]# yum install -y pcre pcre-devel#安装完pcre and pcre-devel后继续编译
[root@iZwz9cl4i8oy1reej7o8pmZ nginx-1.10.3]# ./configure --prefix=/usr/local/nginx-1.10
#出现以下问题
./configure: error: the HTTP gzip module requires the zlib library.
You can either disable the module by using --without-http_gzip_module
option, or install the zlib library into the system, or build the zlib library
statically from the source with nginx by using --with-zlib=<path> option.
#再次安装必要插件
[root@iZwz9cl4i8oy1reej7o8pmZ nginx-1.10.3]# yum install -y zlib zlib-devel6.再次编译
#再次编译
[root@iZwz9cl4i8oy1reej7o8pmZ nginx-1.10.3]# ./configure --prefix=/usr/local/nginx-1.10


#出现如下,则OK
Configuration summary
  + using system PCRE library
  + OpenSSL library is not used
  + using builtin md5 code
  + sha1 library is not found
  + using system zlib library

  nginx path prefix: "/usr/local/nginx-1.10"
  nginx binary file: "/usr/local/nginx-1.10/sbin/nginx"
  nginx modules path: "/usr/local/nginx-1.10/modules"
  nginx configuration prefix: "/usr/local/nginx-1.10/conf"
  nginx configuration file: "/usr/local/nginx-1.10/conf/nginx.conf"
  nginx pid file: "/usr/local/nginx-1.10/logs/nginx.pid"
  nginx error log file: "/usr/local/nginx-1.10/logs/error.log"
  nginx http access log file: "/usr/local/nginx-1.10/logs/access.log"
  nginx http client request body temporary files: "client_body_temp"
  nginx http proxy temporary files: "proxy_temp"
  nginx http fastcgi temporary files: "fastcgi_temp"
  nginx http uwsgi temporary files: "uwsgi_temp"
  nginx http scgi temporary files: "scgi_temp"
7.执行make and make install
[root@iZwz9cl4i8oy1reej7o8pmZ nginx-1.10.3]# make && make install && echo $?#如果最后一行是0的话,那么安装完成
test -d '/usr/local/nginx-1.10/logs' \
|| mkdir -p '/usr/local/nginx-1.10/logs'
make[1]: Leaving directory `/root/soft/nginx-1.10.3'
0
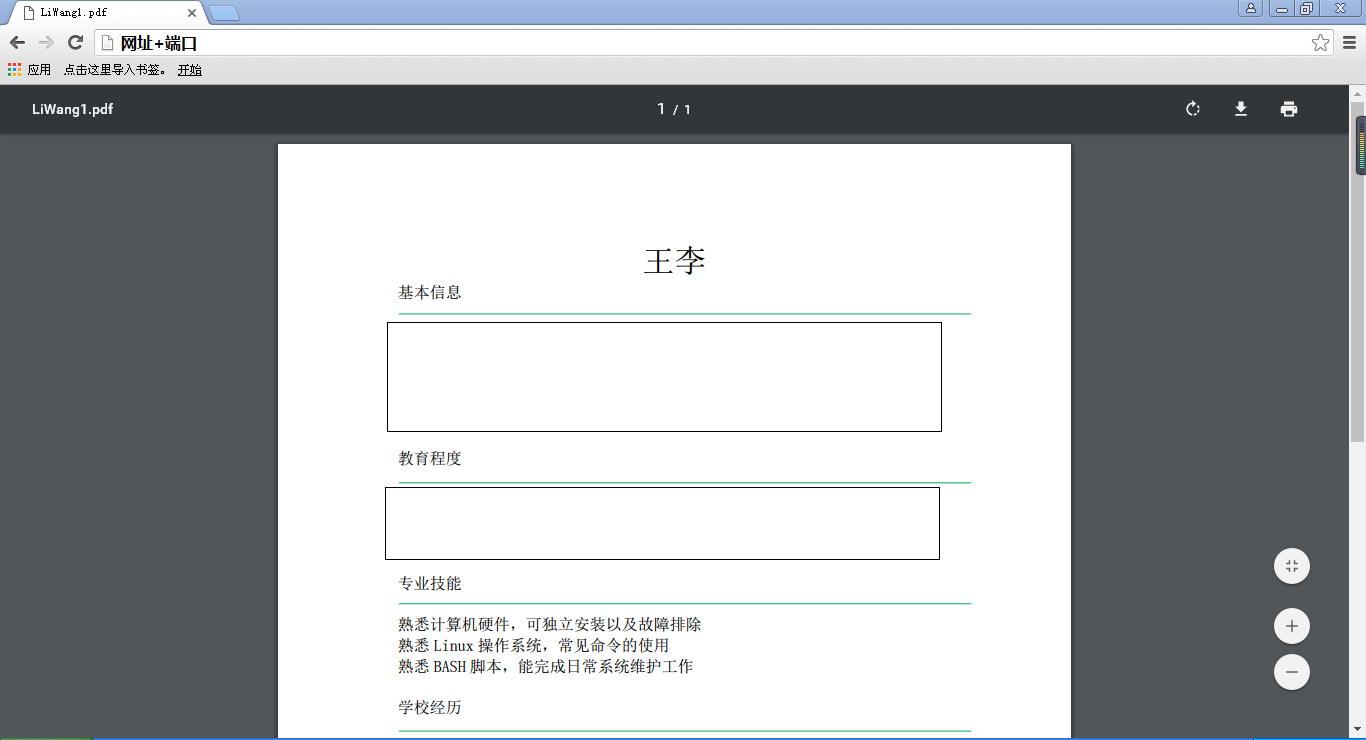
8.搭建个人简历网页
8.1 修改配置文件如下
#进入已经编安装完成的nginx服务器下
[root@iZwz9cl4i8oy1reej7o8pmZ ~]# cd /usr/local/nginx-1.10/

#进入安装后的nginx下的conf配置文件下
[root@iZwz9cl4i8oy1reej7o8pmZ nginx-1.10]# cd conf/;ls
fastcgi.conf          fastcgi_params          koi-utf  mime.types          nginx.conf          scgi_params          uwsgi_params          win-utf
fastcgi.conf.default  fastcgi_params.default  koi-win  mime.types.default  nginx.conf.default  scgi_params.default  uwsgi_params.default
[root@iZwz9cl4i8oy1reej7o8pmZ conf]#
#修改配置
[root@iZwz9cl4i8oy1reej7o8pmZ conf]# vim nginx.conf#修改nginx.conf如下:
#其中:listen是监听的端口
#server_name是虚拟机的名称
server {
listen 你需要监听的端口;
server_name 网址;
#charset koi8-r;
#access_log logs/host.access.log main;
location / {
root html;
index index.html index.htm;
}
#error_page 404 /404.html;
# redirect server error pages to the static page /50x.html
#
error_page 500 502 503 504 /50x.html;
location = /50x.html {
root html;
}8.2 上传html文档
#进入到html文件夹下上传html文件
[root@iZwz9cl4i8oy1reej7o8pmZ html]# pwd
/usr/local/nginx-1.10/html
[root@iZwz9cl4i8oy1reej7o8pmZ html]# ls
50x.html  index.html  li.tar.gz
[root@iZwz9cl4i8oy1reej7o8pmZ html]# #解压li.tar.gz文件
[root@iZwz9cl4i8oy1reej7o8pmZ html]# tar xf li.tar.gz
#删除html目录下的index.html文件,否则待会可能会出错
[root@iZwz9cl4i8oy1reej7o8pmZ html]# rm -f index.html
#查看当前目录下的文件
[root@iZwz9cl4i8oy1reej7o8pmZ html]# ls
50x.html li.tar.gz www
#进入到www文件夹
[root@iZwz9cl4i8oy1reej7o8pmZ html]# cd www
#移动www下所有文件至上一层目录
[root@iZwz9cl4i8oy1reej7o8pmZ www]# mv * ../
#返回上一层目录
[root@iZwz9cl4i8oy1reej7o8pmZ www]# cd ..
#查看文件
[root@iZwz9cl4i8oy1reej7o8pmZ html]# ls
50x.html html index.html li.tar.gz LiWang1.docx LiWang1.pdf LiWang.jpg trash www9..检测nginx软件,开启服务
#检测nginx语法
[root@iZwz9cl4i8oy1reej7o8pmZ html]# /usr/local/nginx-1.10/sbin/nginx -t
nginx: the configuration file /usr/local/nginx-1.10/conf/nginx.conf syntax is ok
nginx: configuration file /usr/local/nginx-1.10/conf/nginx.conf test is successful
[root@iZwz9cl4i8oy1reej7o8pmZ html]#
#启动nginx服务器
[root@iZwz9cl4i8oy1reej7o8pmZ html]# /usr/local/nginx-1.10/sbin/nginx
#查看是否有进程启动
[root@iZwz9cl4i8oy1reej7o8pmZ html]# ps aux | grep nginx
root 18577 0.0 0.0 19984 648 ? Ss 16:20 0:00 nginx: master process /usr/local/nginx-1.10/sbin/nginx
nobody 18578 0.0 0.1 20404 1240 ? S 16:20 0:00 nginx: worker process
root 18580 0.0 0.0 103312 876 pts/0 S+ 16:20 0:00 grep nginx
[root@iZwz9cl4i8oy1reej7o8pmZ html]# #利用curl命令查看服务器是否正常工作
[root@iZwz9cl4i8oy1reej7o8pmZ html]# curl -I 网址
HTTP/1.1 200 OK
Server: nginx/1.10.3
Date: Mon, 10 Apr 2017 08:22:13 GMT
Content-Type: text/html
Content-Length: 560
Last-Modified: Sun, 26 Mar 2017 13:51:24 GMT
Connection: keep-alive
ETag: "58d7c75c-230"
Accept-Ranges: bytes
[root@iZwz9cl4i8oy1reej7o8pmZ html]#
#其中:200 OK 代表正常访问通过域名加端口的形式进行访问,OK


 1524
1524

 被折叠的 条评论
为什么被折叠?
被折叠的 条评论
为什么被折叠?
 到【灌水乐园】发言


